Naming of our Motor-Home

We have been considering the Name ( WasAbus ) for some time now but after doing a search of the Webb I have found there is an RV in the USA named                 ( Wasabus), in light of this & to help keep the 2 names as separate identities We have decided to modify our Motor-Home name to  ” Was’A’Bus”.

I hope this does not create any confusion between the 2 vehicles.

Photo Gallery of completed areas


The new Paint

Well it has been some time since I last updated the Blog, 1st time this year in fact. The Bus is now a Motor-Home, Her name is Was’A’Bus & she has been up at Kunda Park on the Sunshine Coast since March being painted & having a few other mods done.

Wayne Smith owner of  North Coast Bus & Coach has done a great job with the paint & mods considering the condition of the unit he started with! Thanks for the Great job Wayne she really does look like a Motor-Home now. If anybody wants to contact North Coast Bus & Coach  Wayne’s web site is http://www.ncbc.com.au/

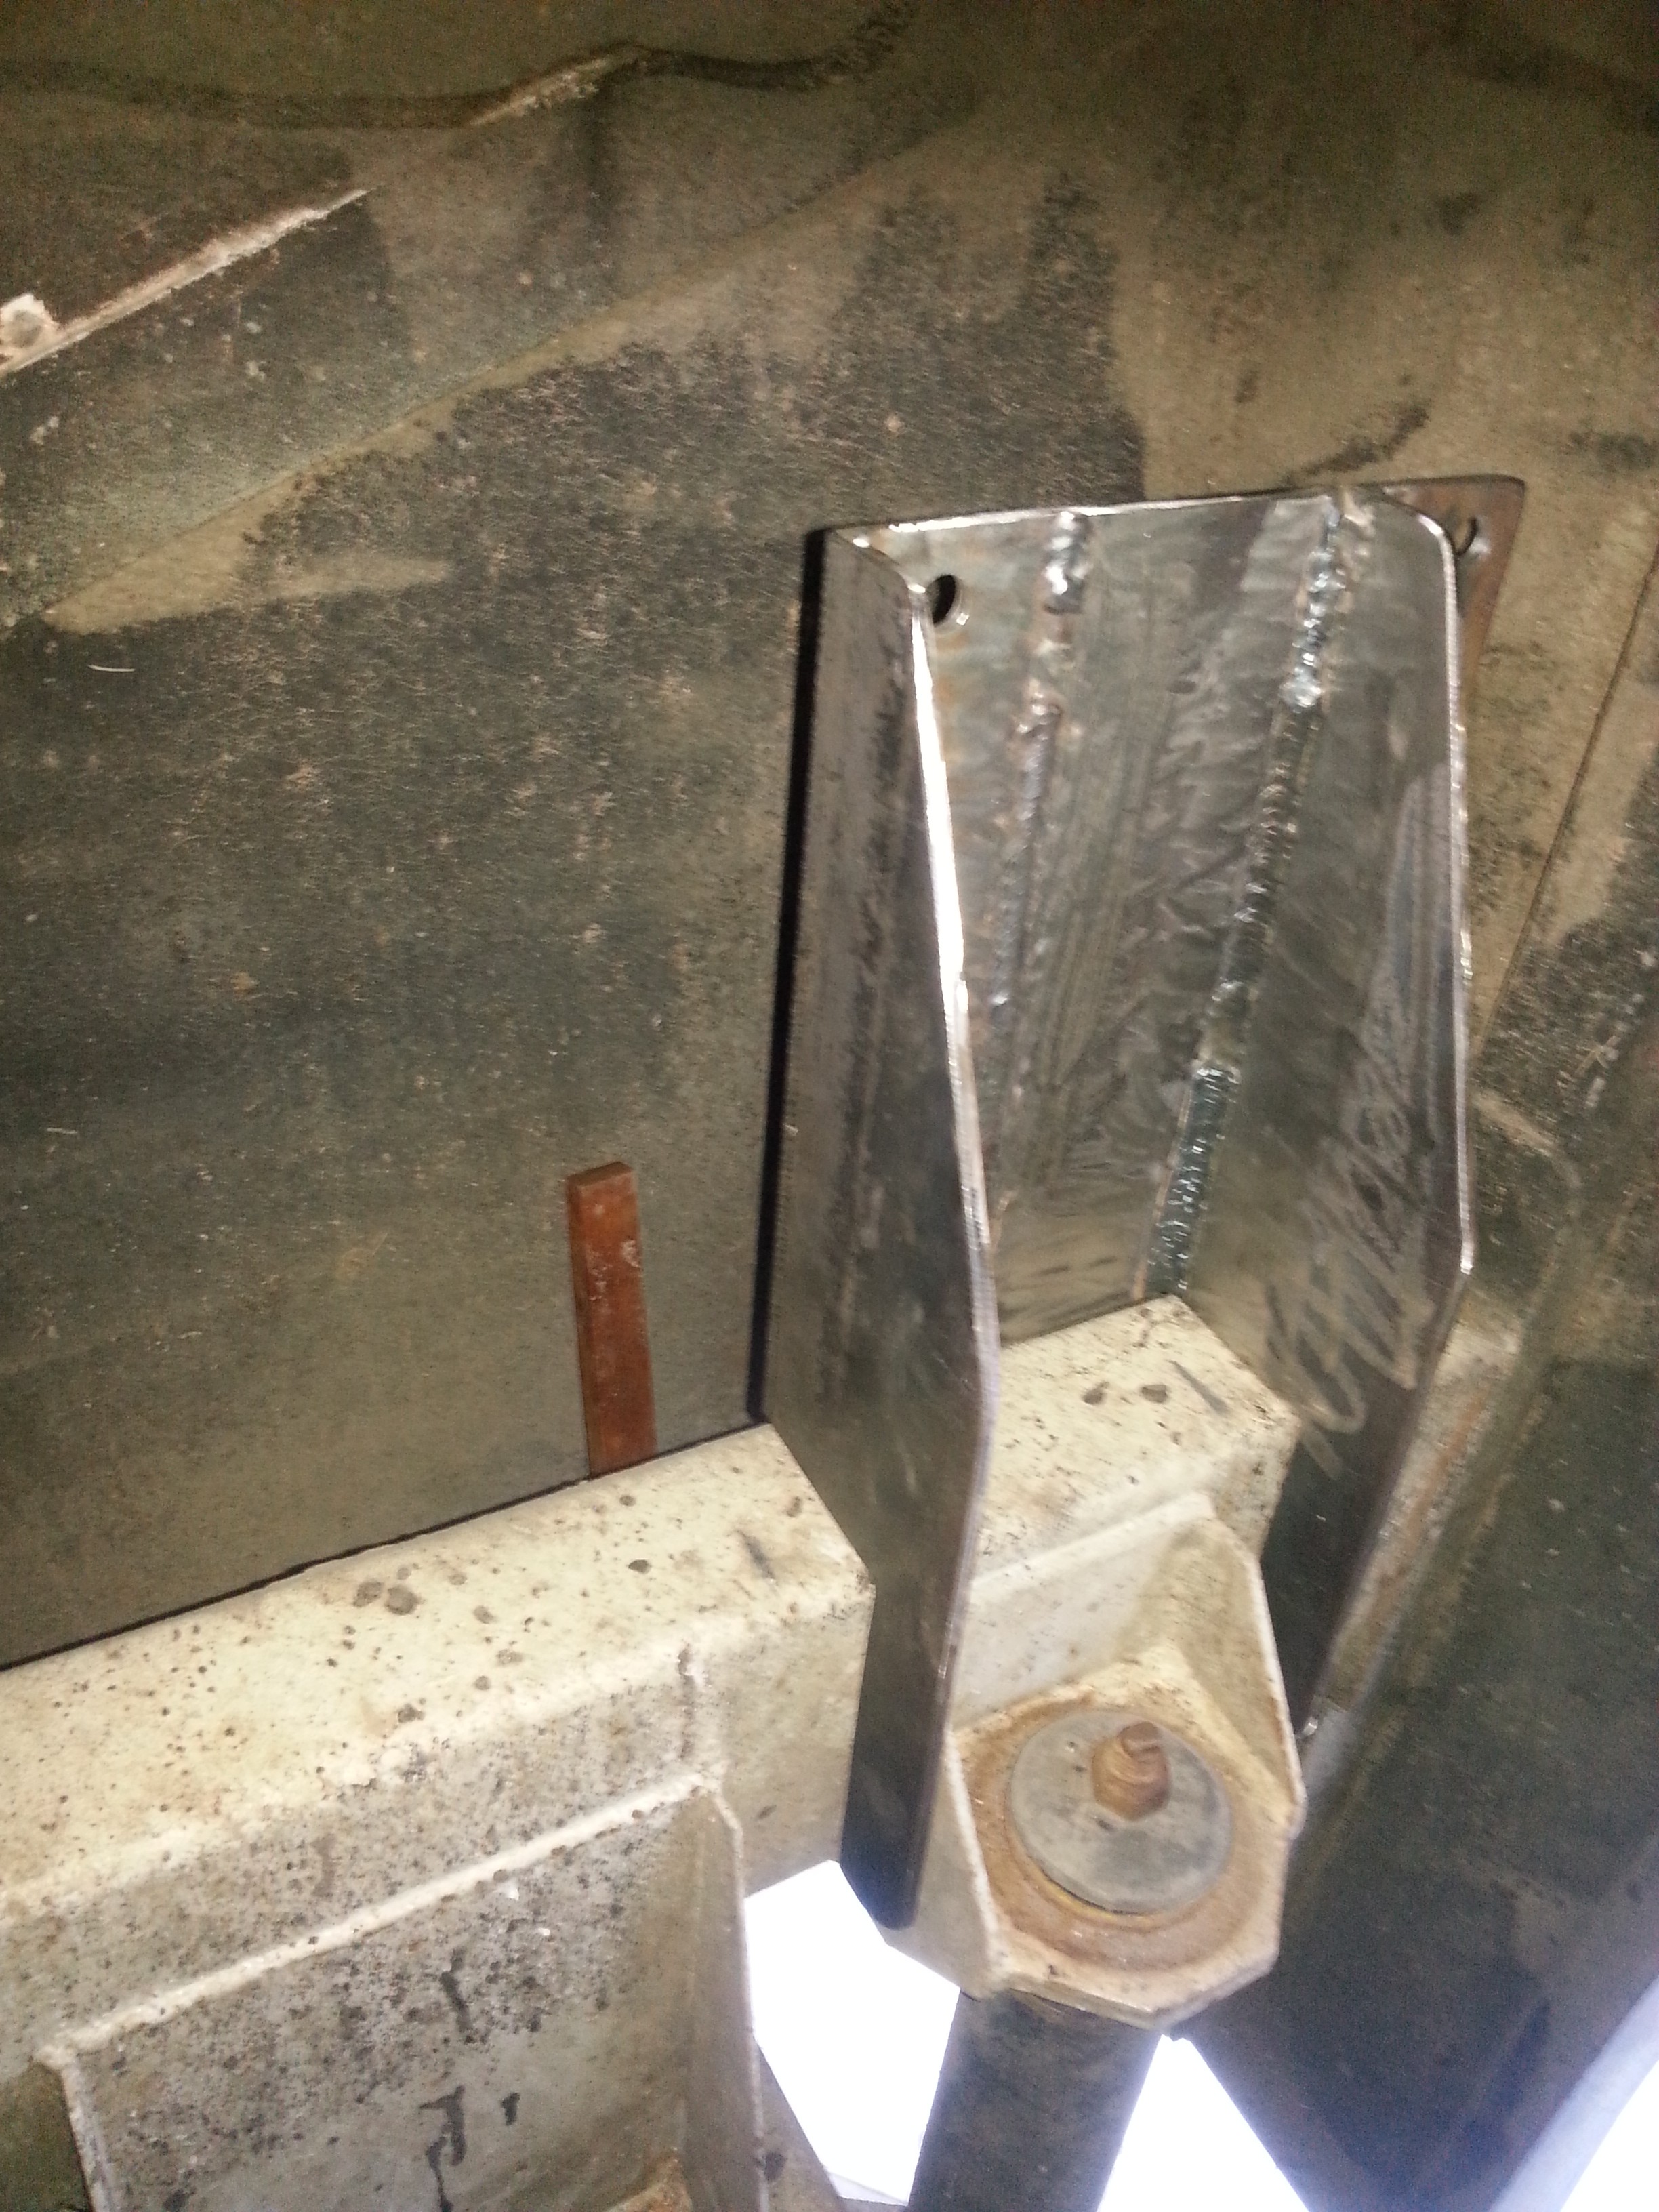
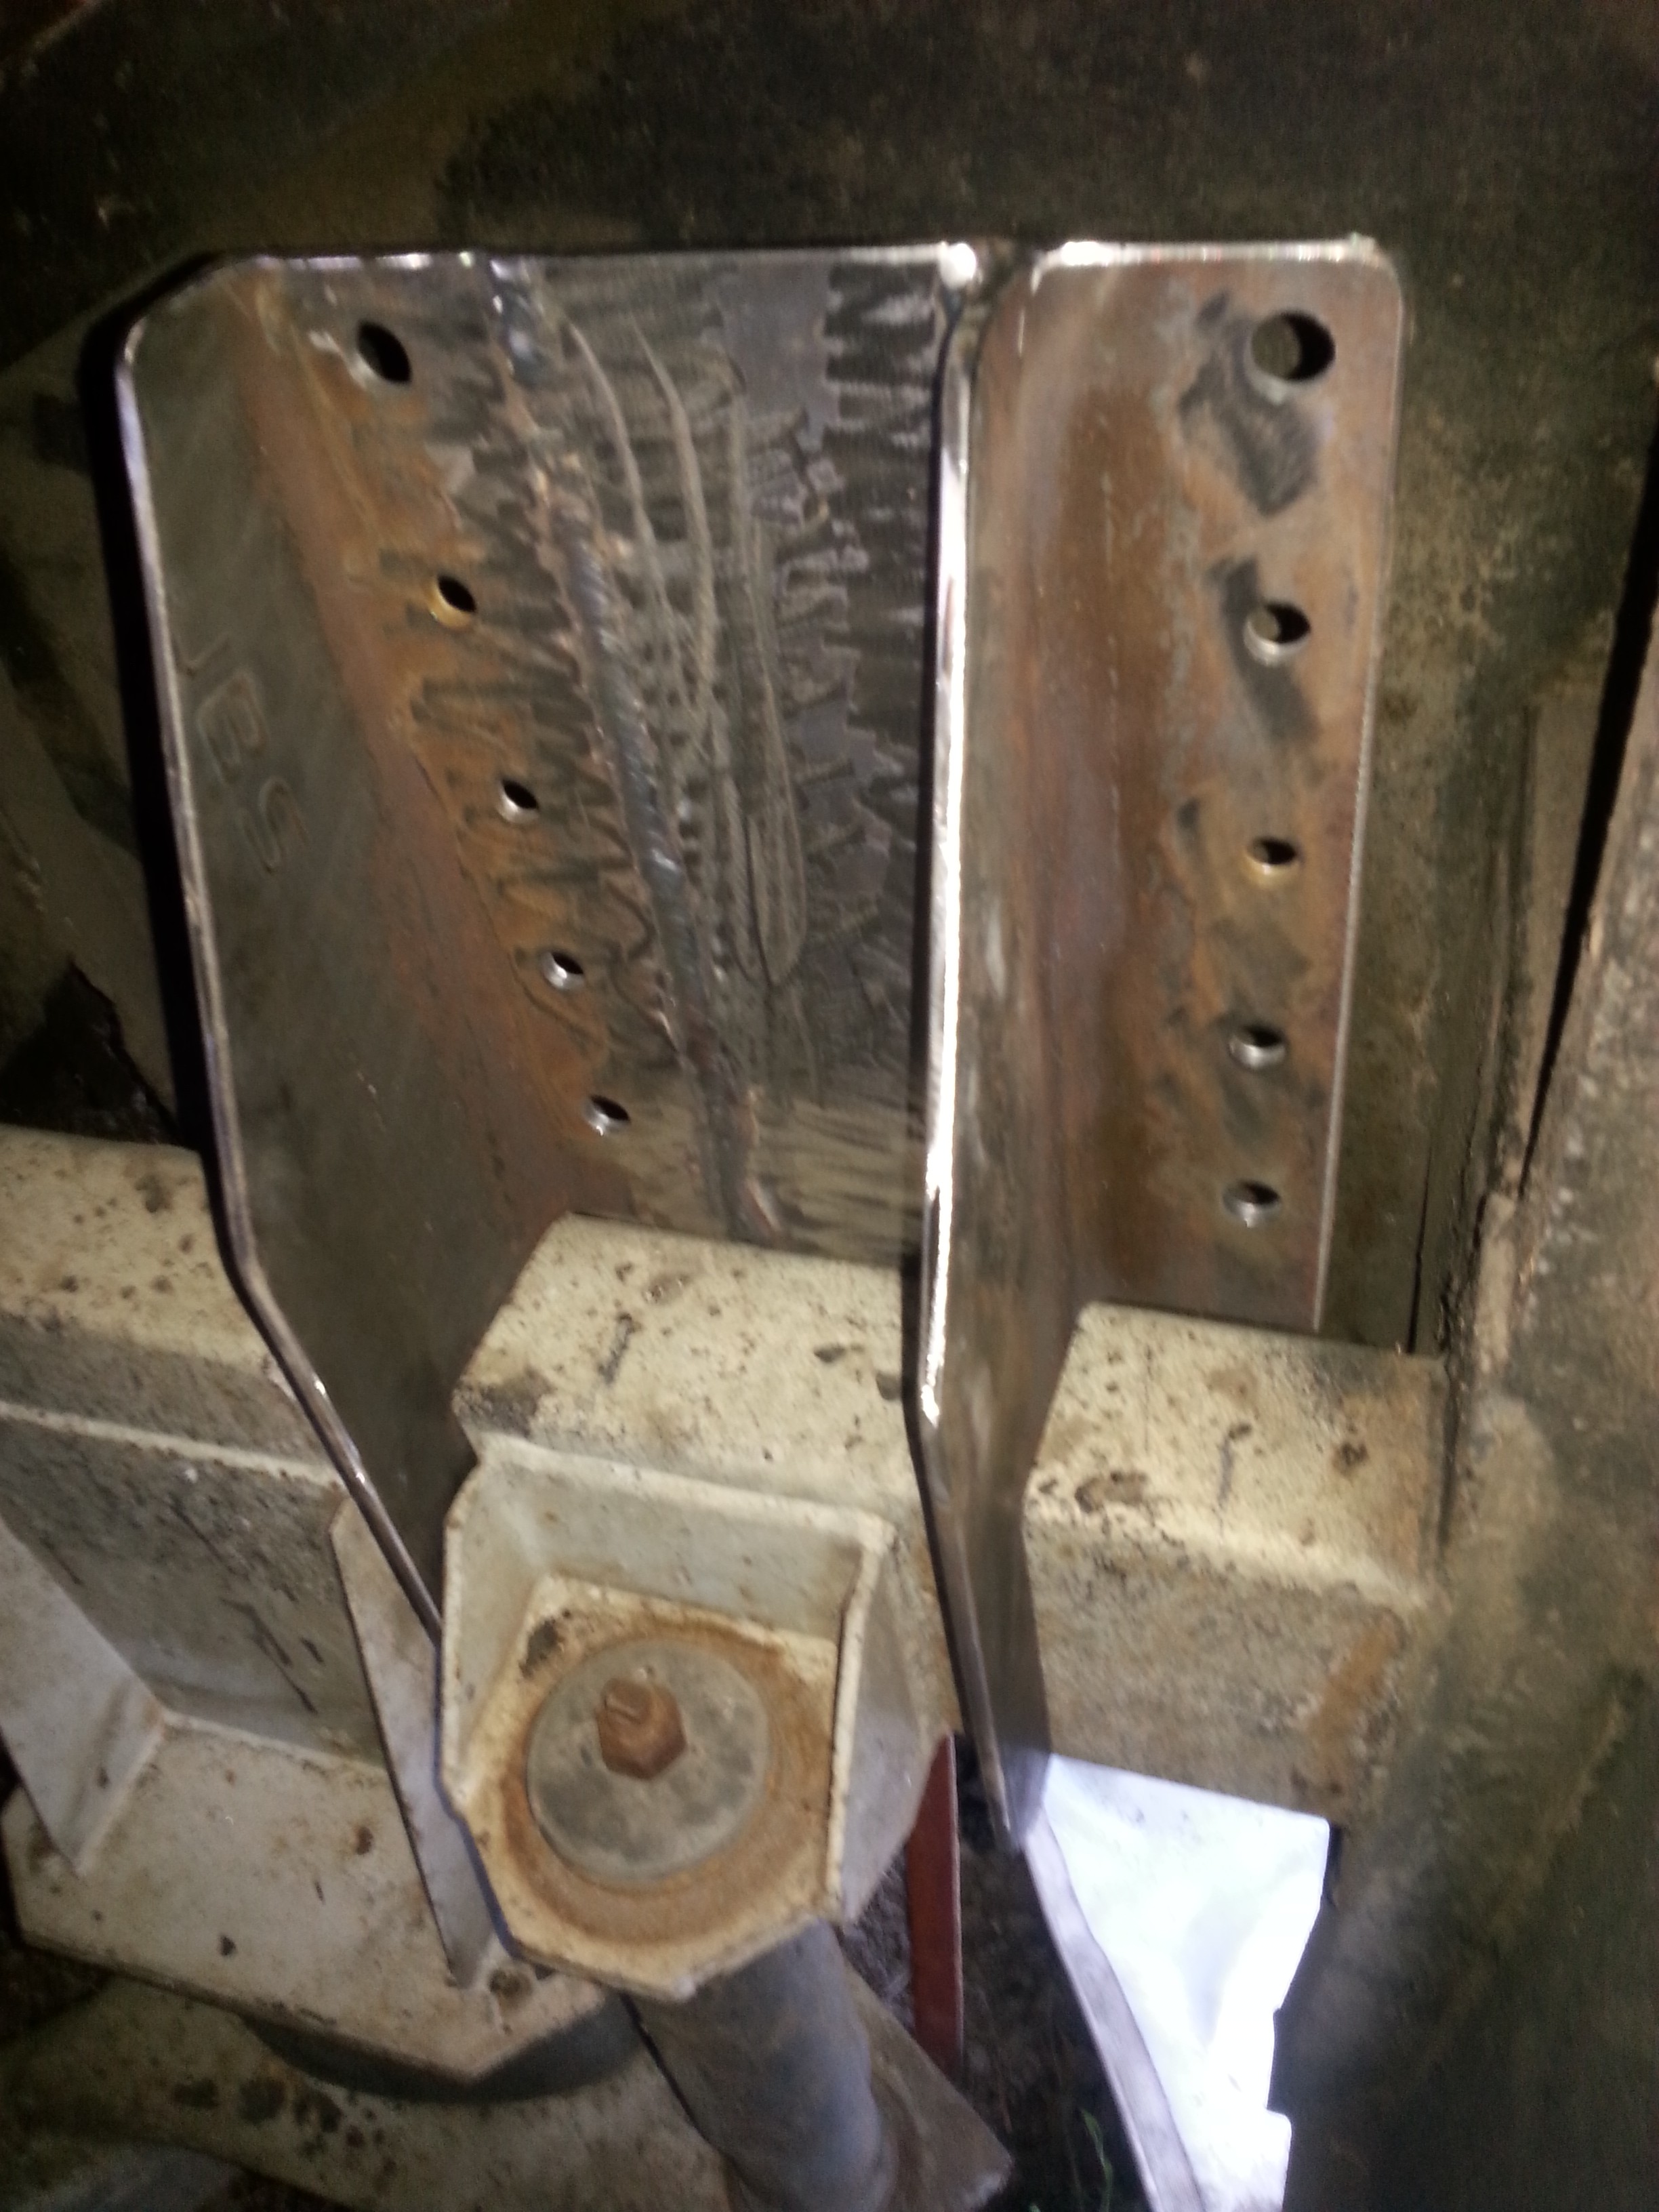
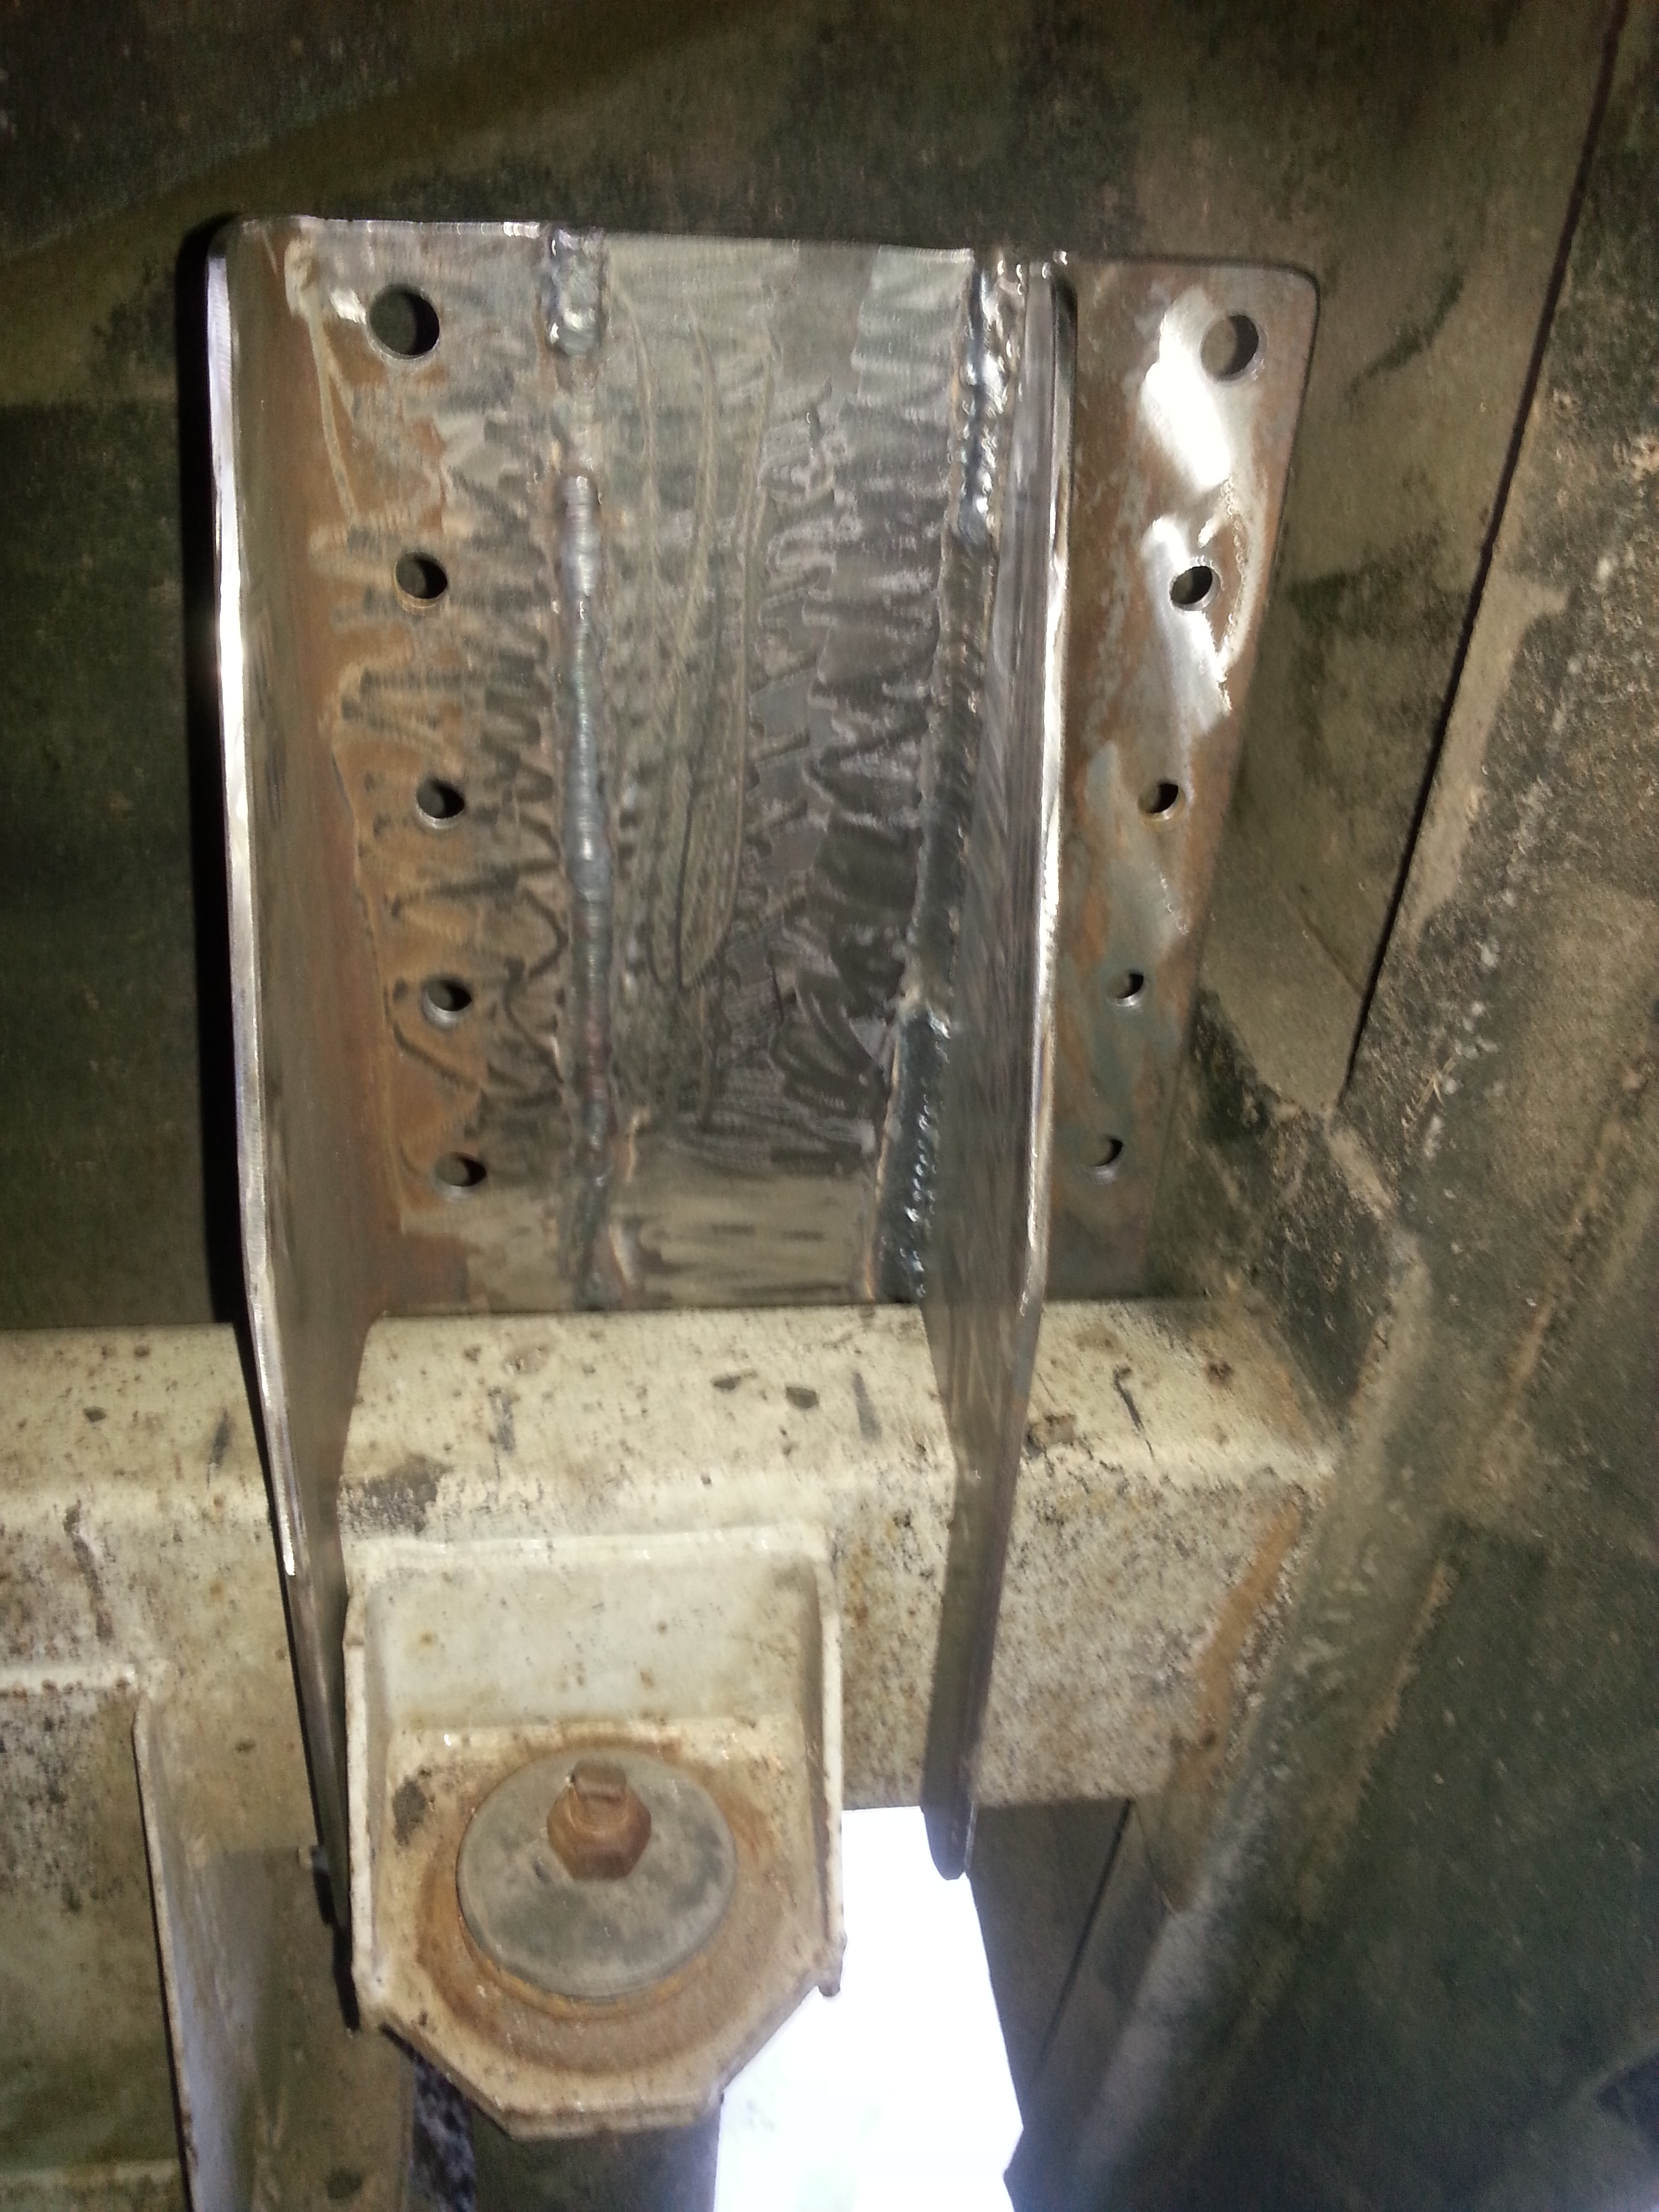
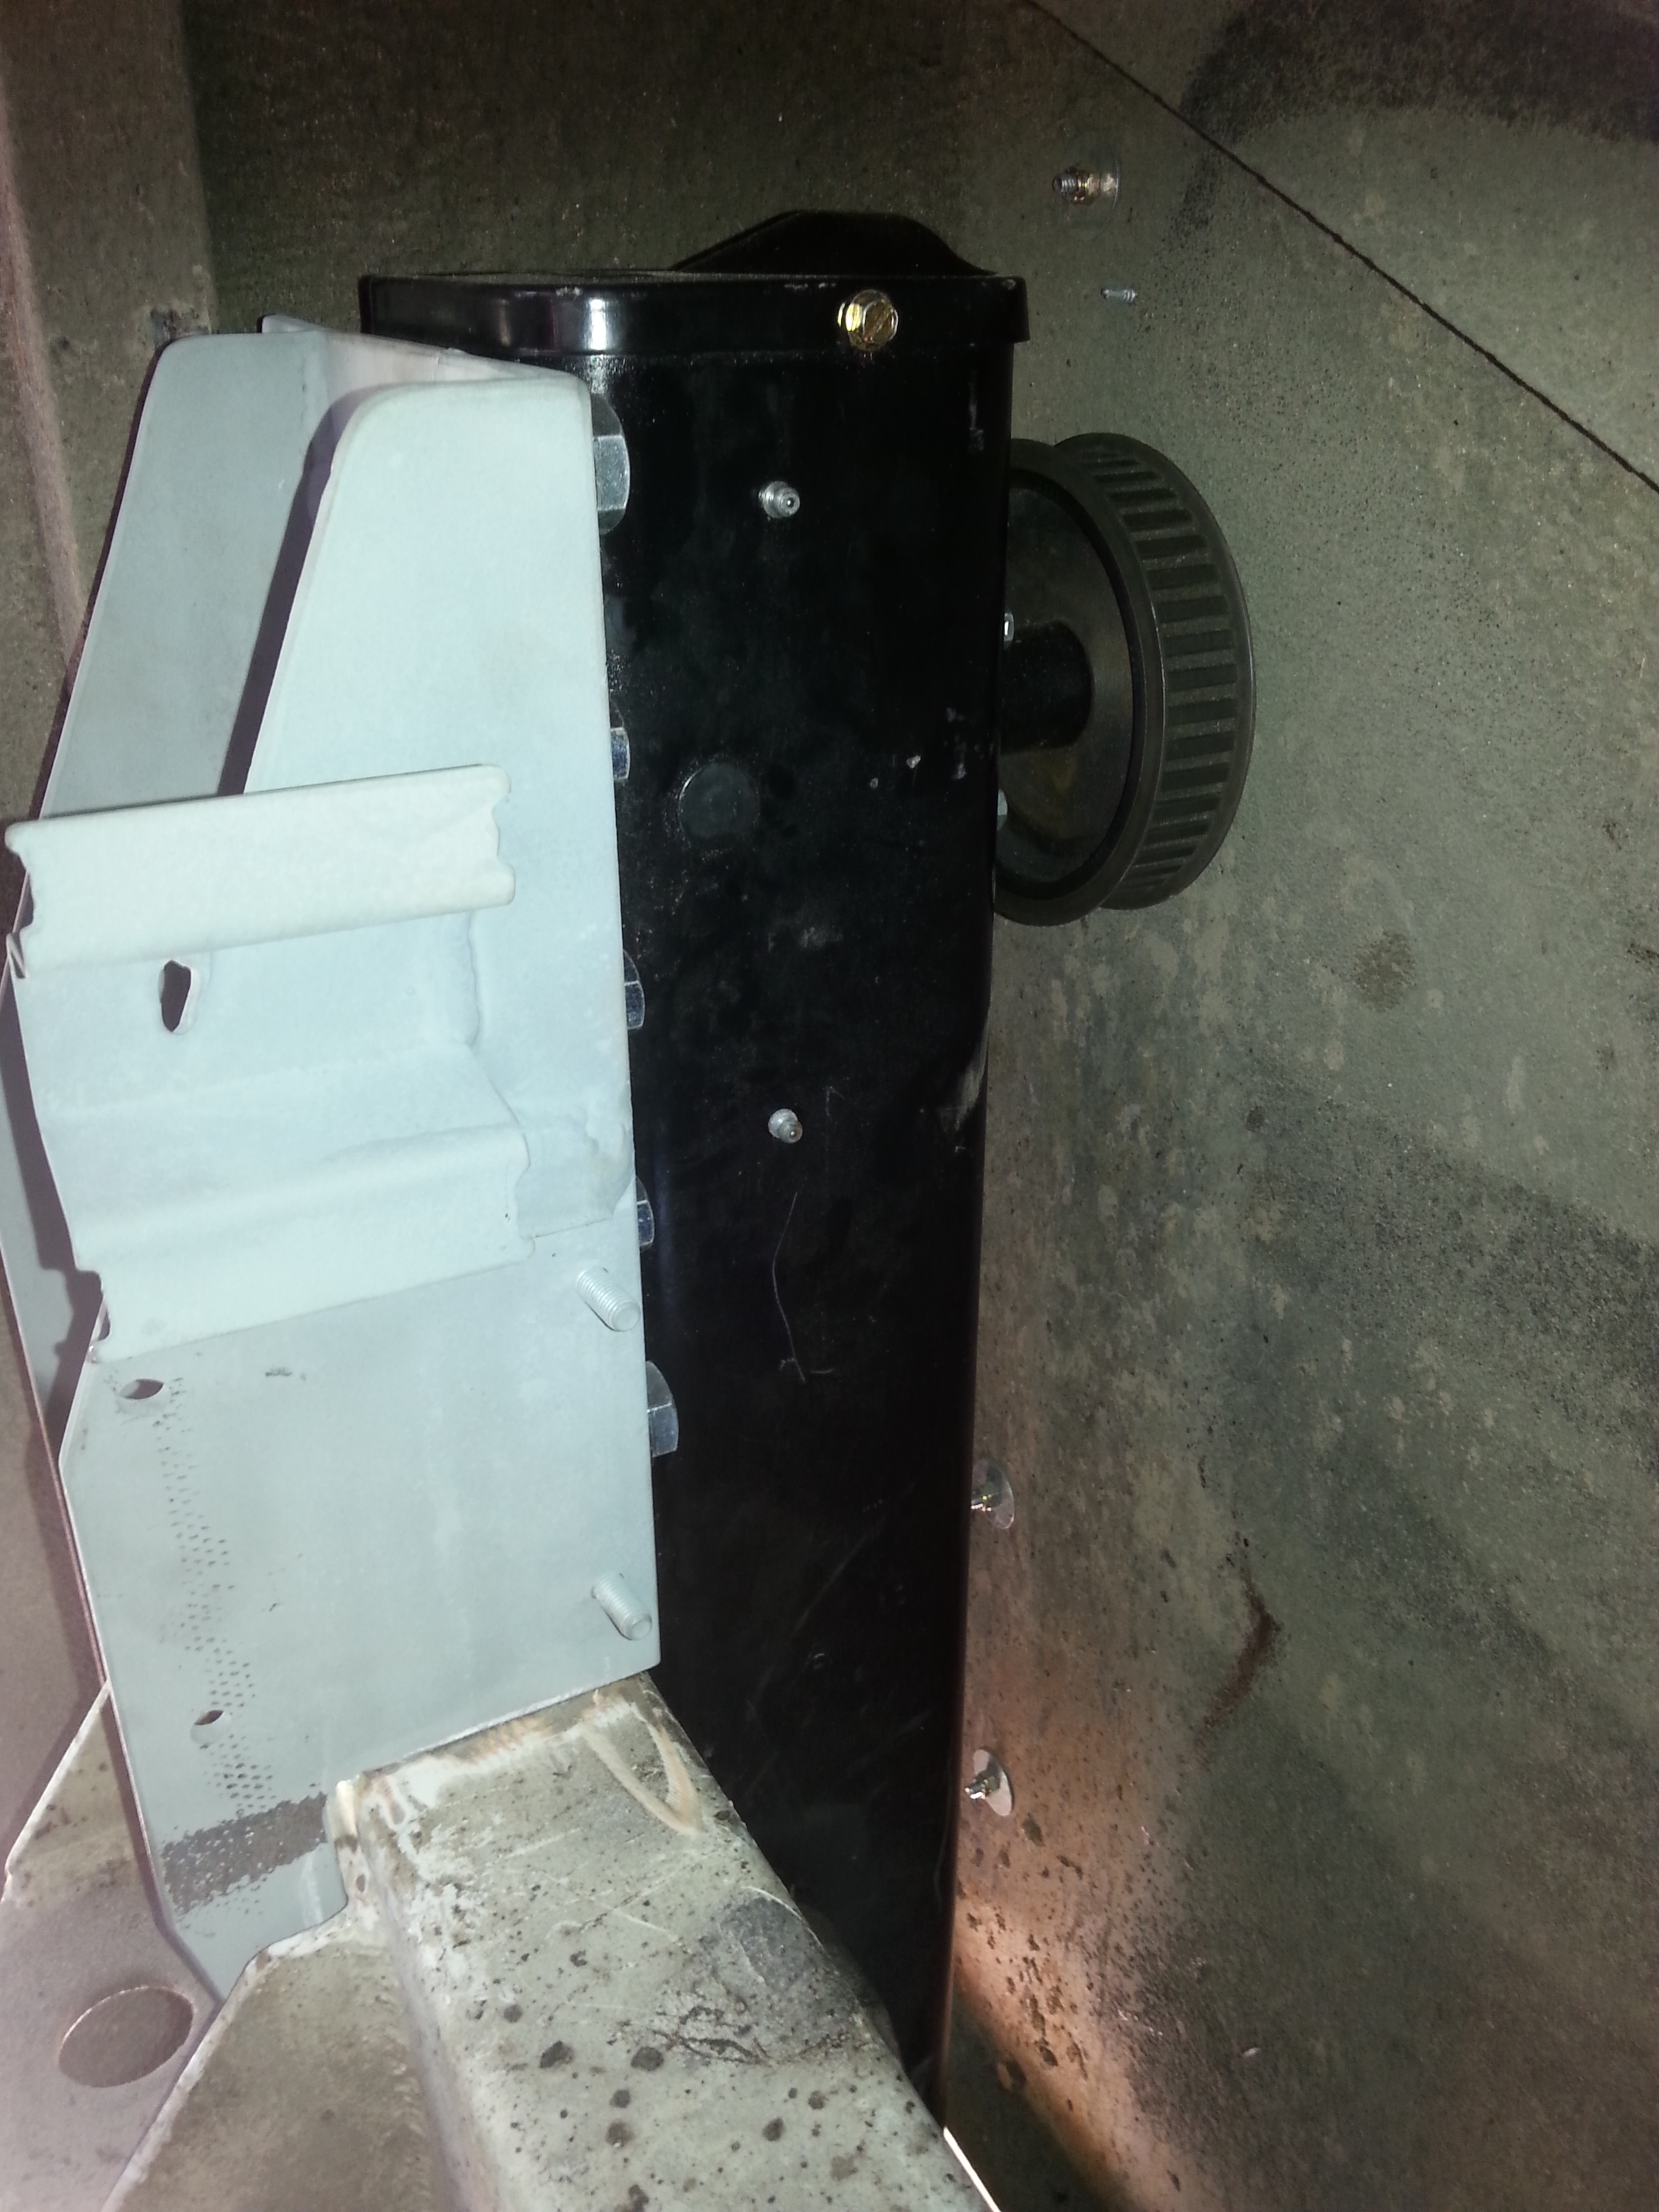
Well what have we done, Wayne has added a removable panel behind the Dr/Side front wheel for the front Air conditioning unit + an extra fuel tank to supply the Generator & the diesel hot water system, ventilation panels for both Air conditioners, Generator, Transmission oil cooler & new radiator grill, A 4.5 tonne tow-bar has been installed, the windscreens have been out, rust repaired to the surround screens refitted & sealed, New windscreen wiper system & screen protector fitted, The rust along the top & bottom of the panels below the windows has been fixed & repairs covered with Anodized Aluminum moldings. New door brushes have been fitted to reduce wind noise & water entering the stair well.

Then the paint preparation & painting started, one does not realize scale of the task when it comes to repainting a well used 12m Bus/Motor-Home. it is not until you start to sand back the old paint you can get a sense of the real condition of the canvas, the original paint did not look bad from a distance but when the preparation was started all of the stone chips, bad previous repairs, dents & flaking paint starts to show itself.

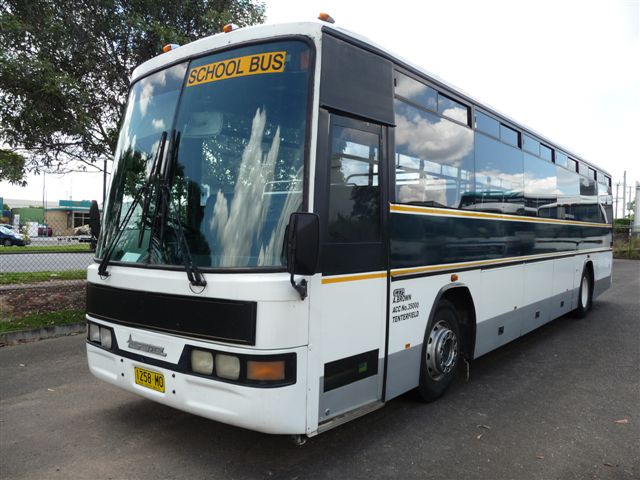
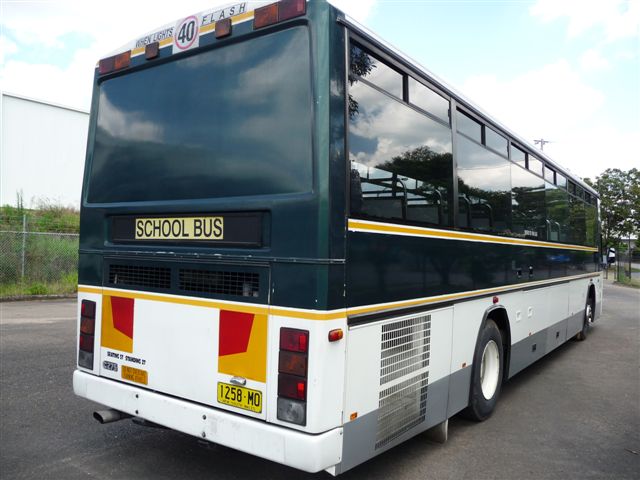
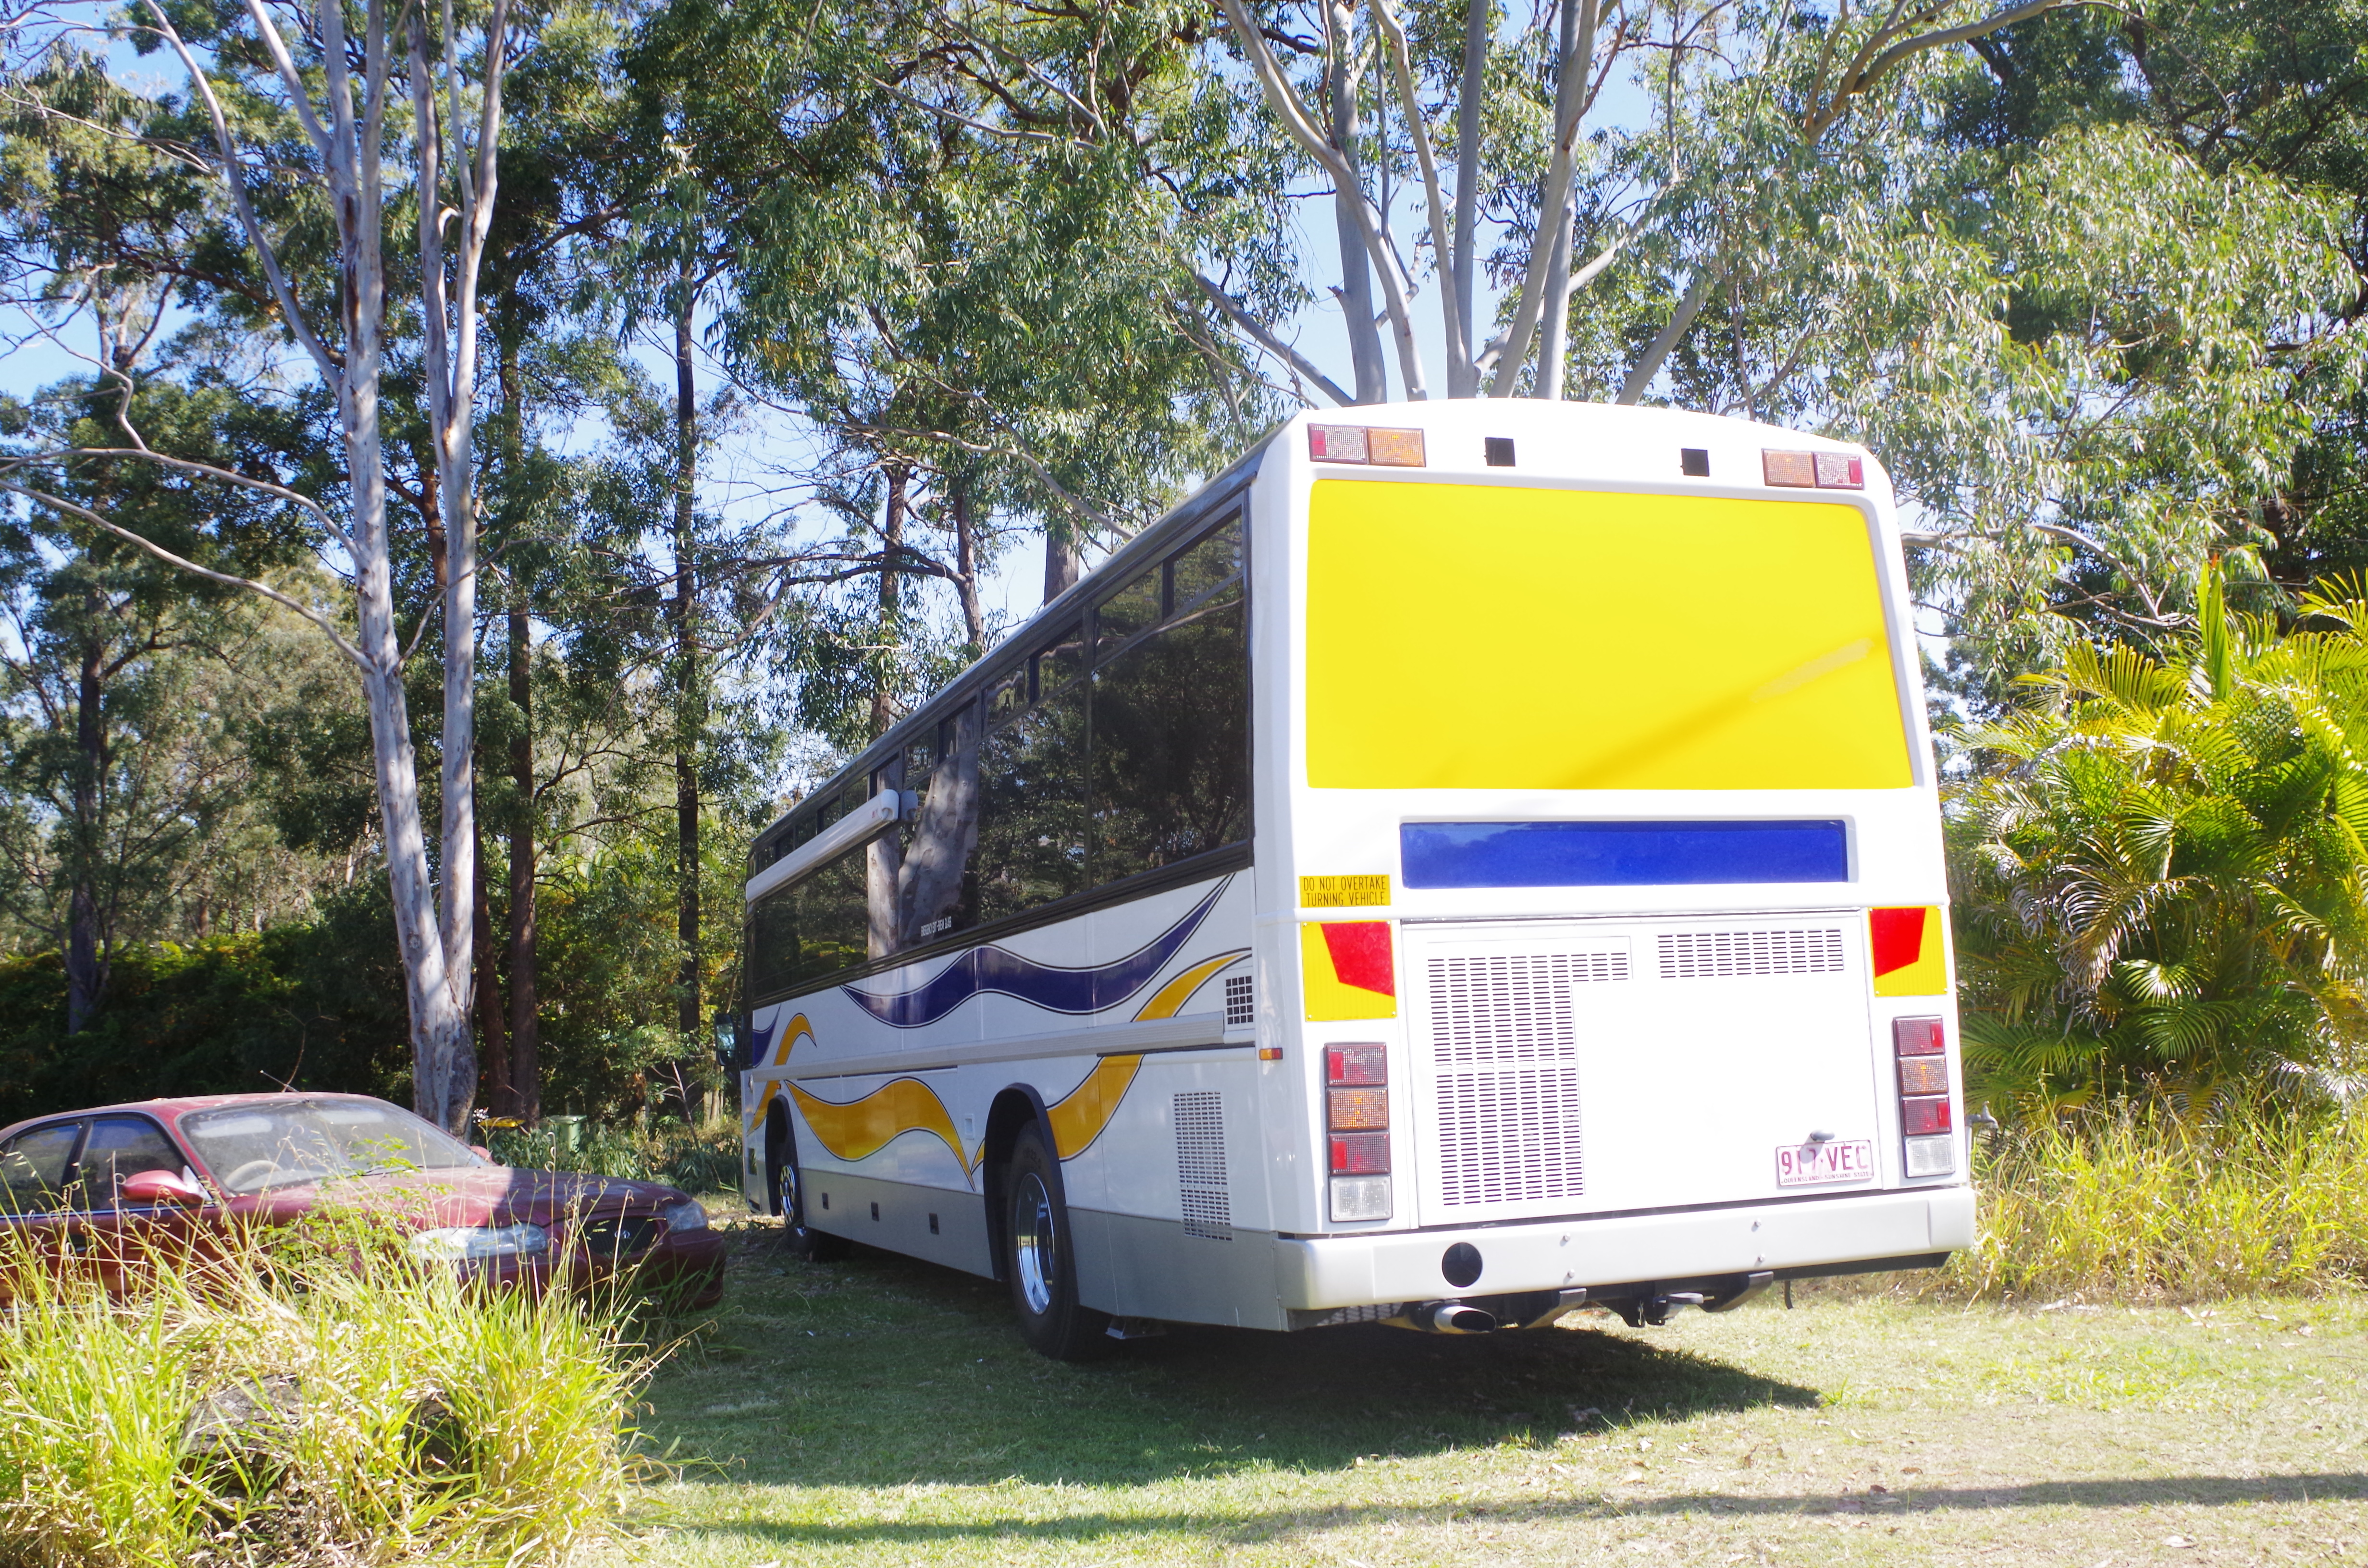
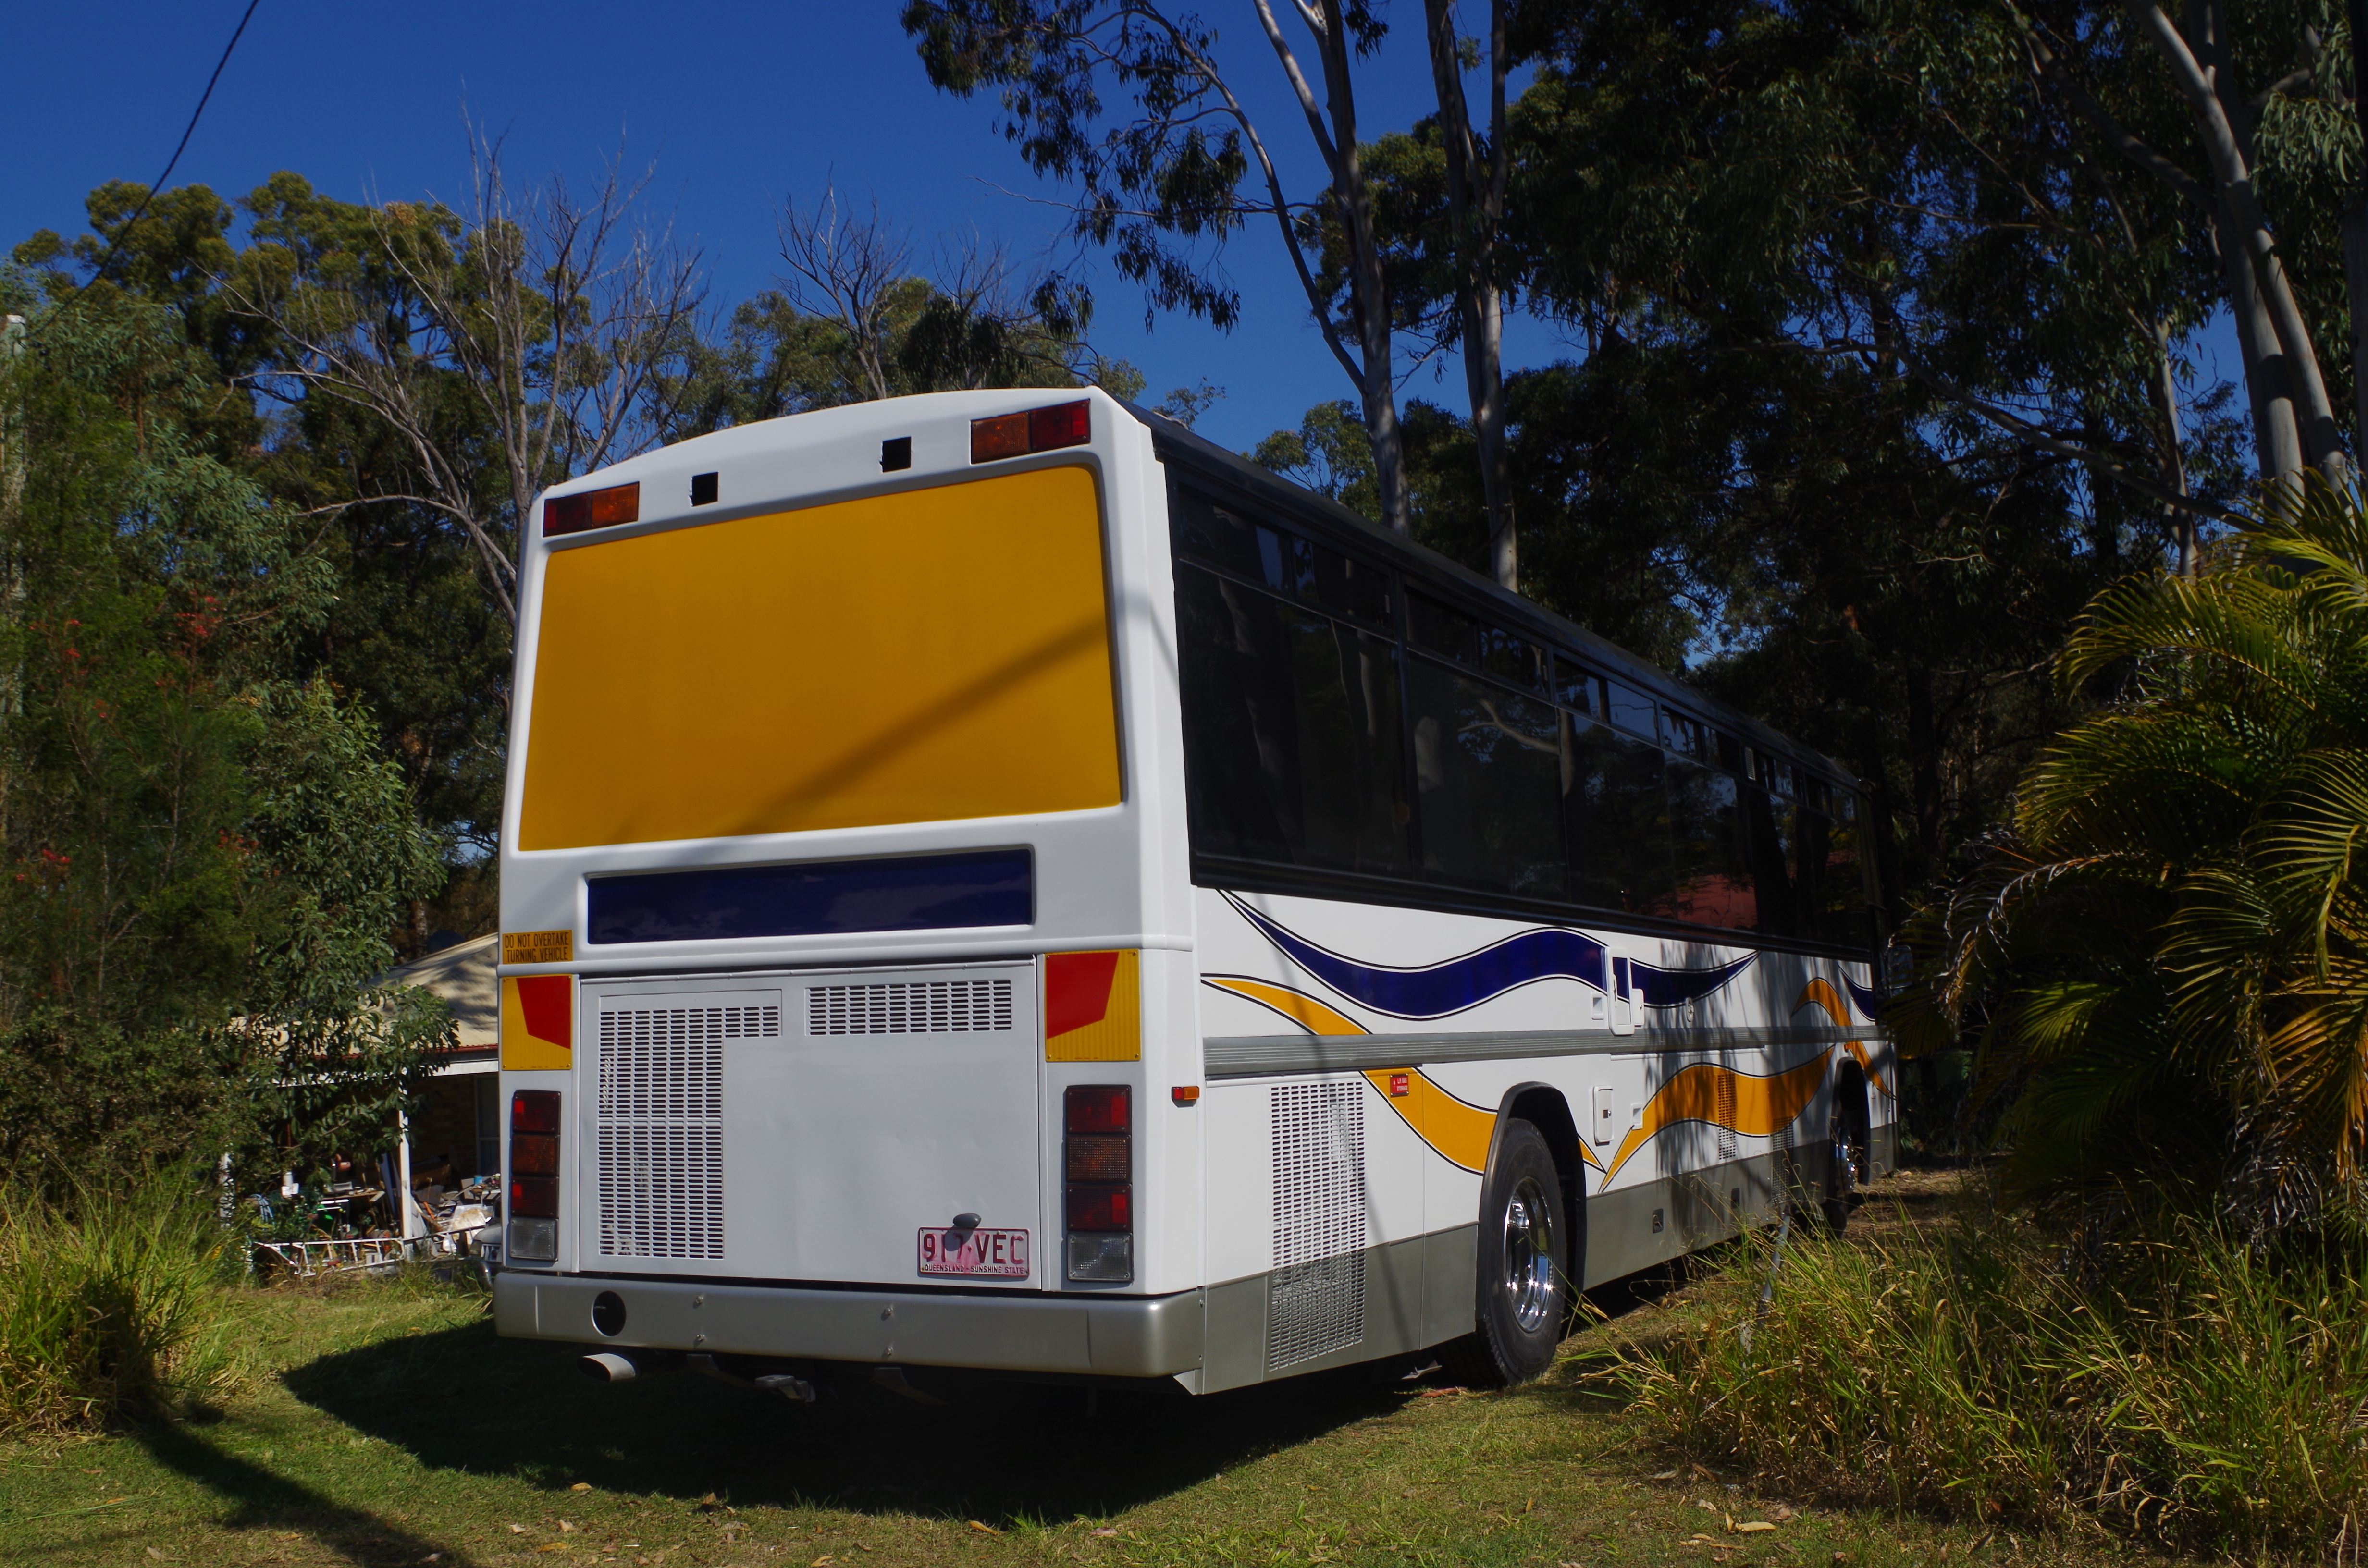
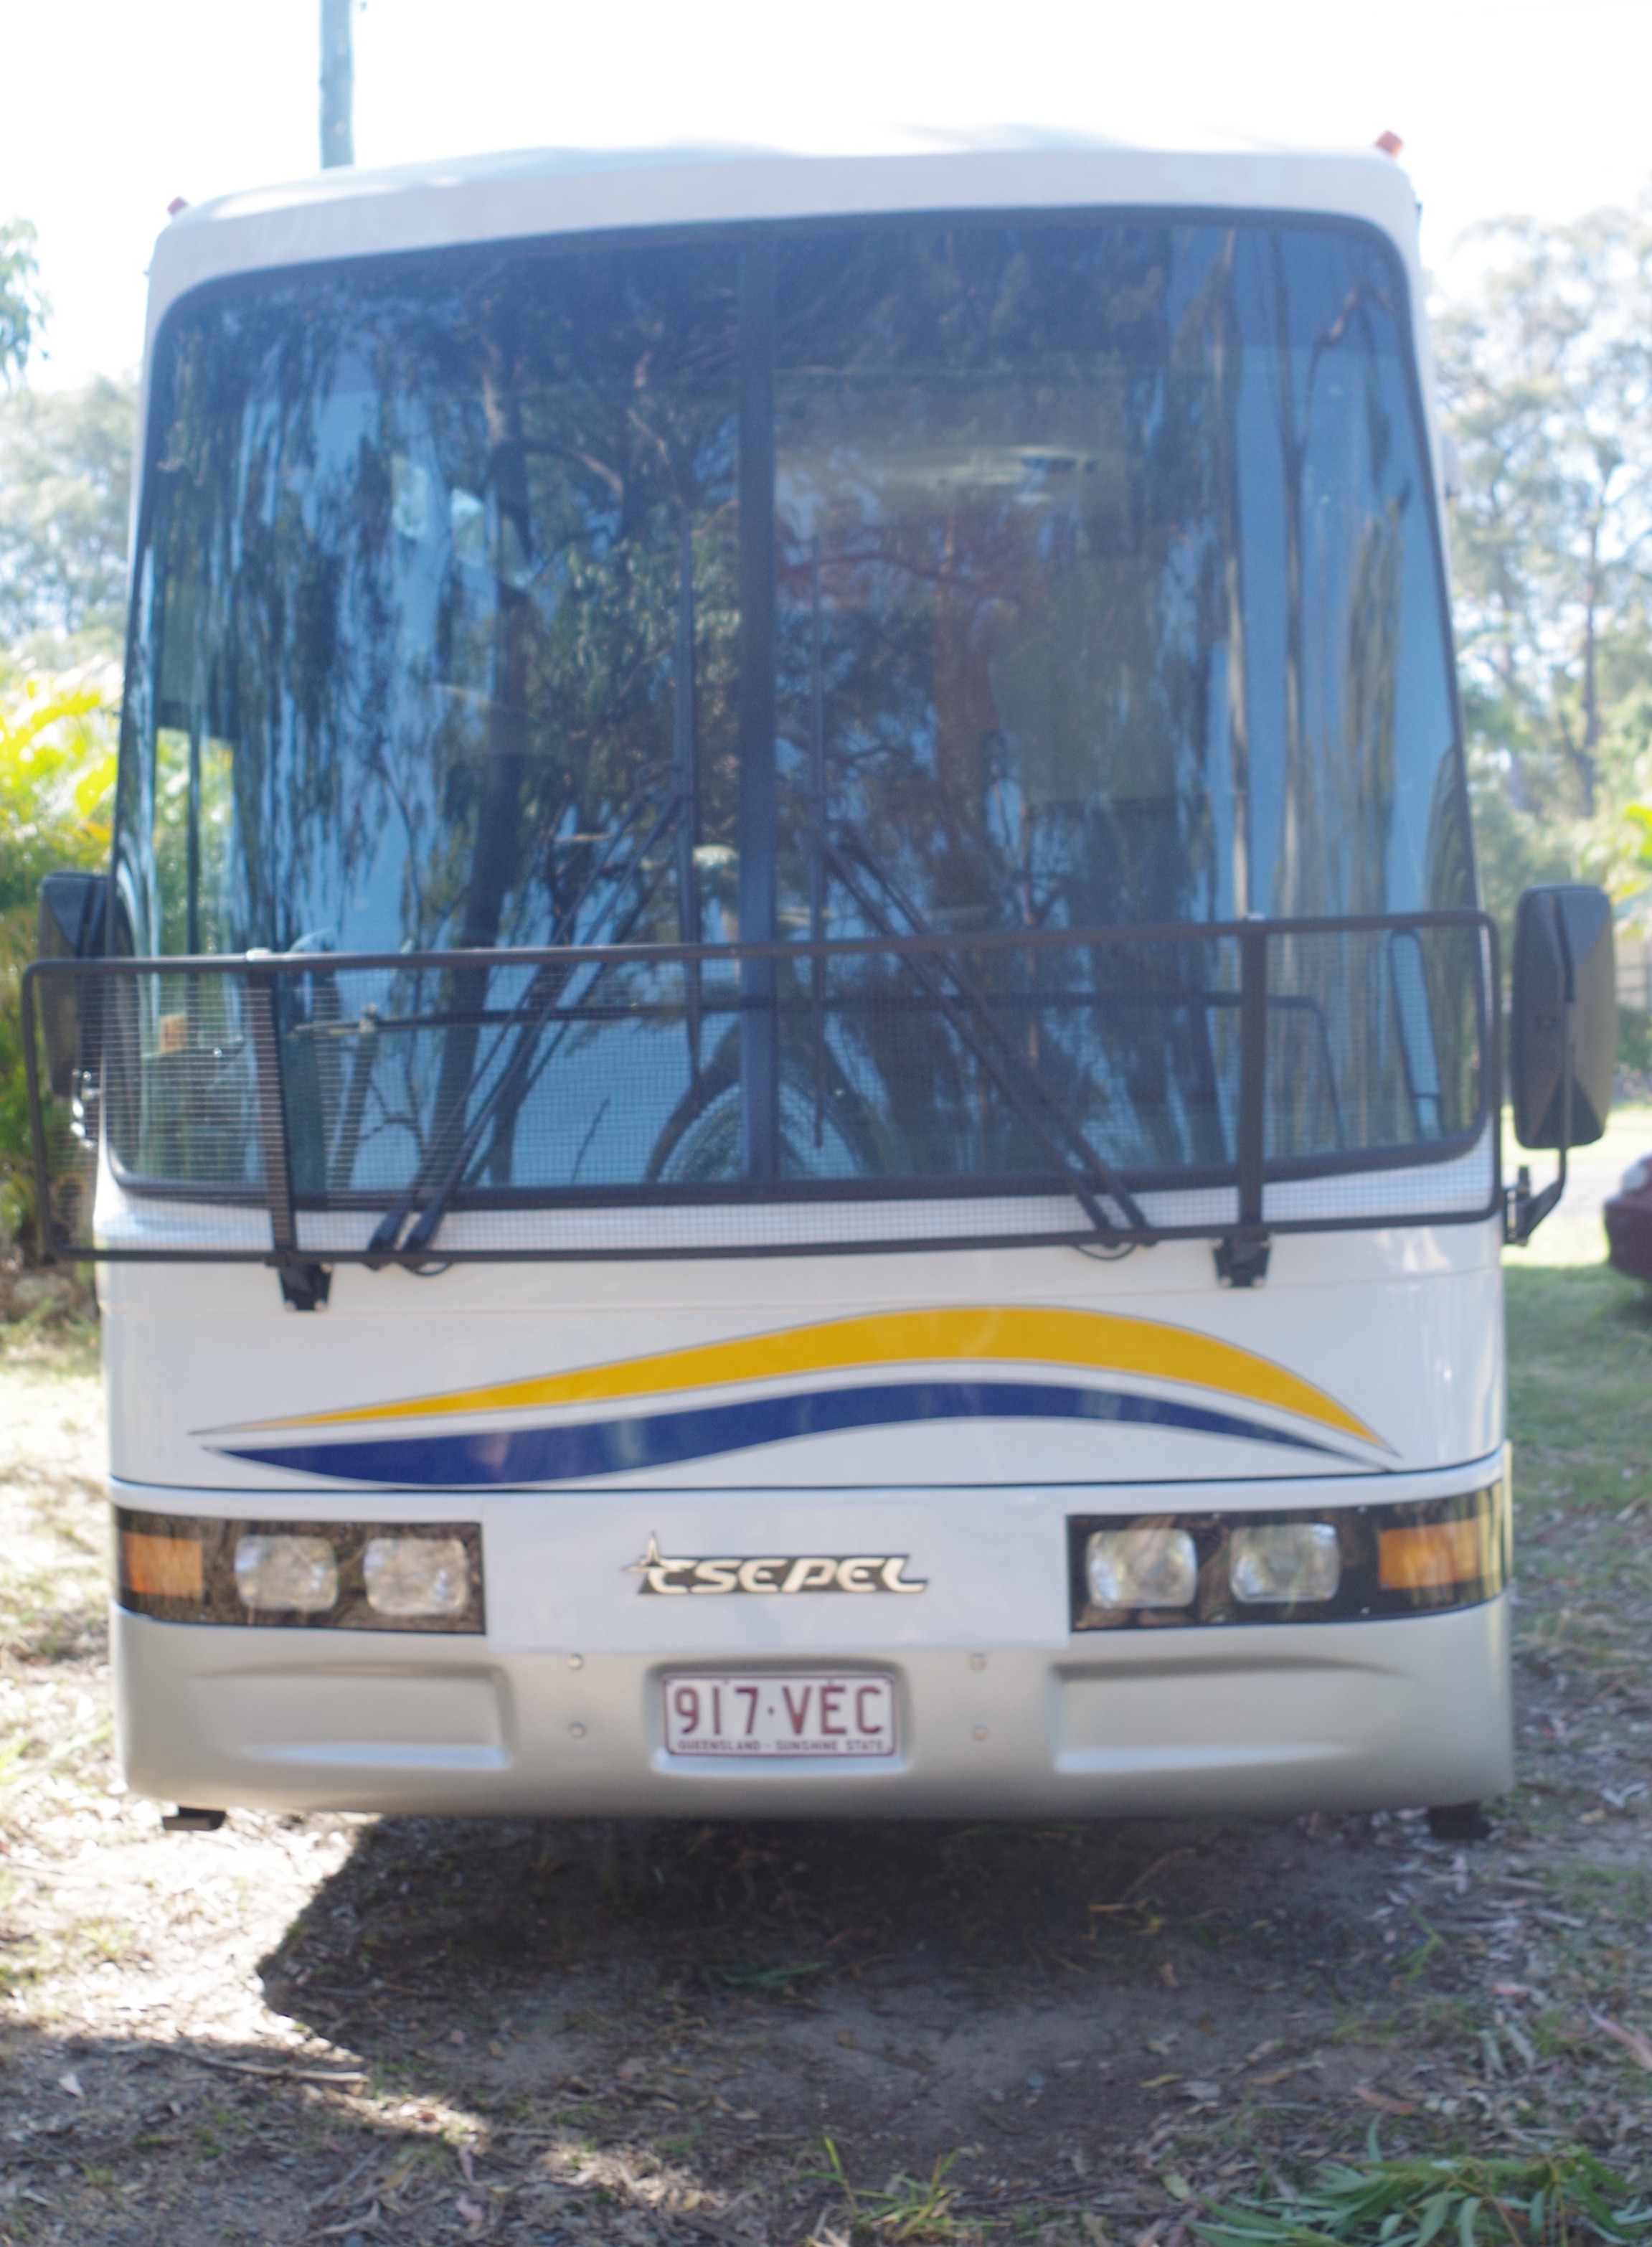
The Bus as started with:

Csepel L-F Csepel r-r

Looked good from a distance but once the bump rubbers were removed from the sides the rust became evident. Myself with the much appreciated help from 2 very good friends, Colin Ball & Peter Watson we removed all of the side windows, repaired the rust scale then refitted & sealed the windows back in place.  Peter & Colin thank you very much I could not have done this task without you both!

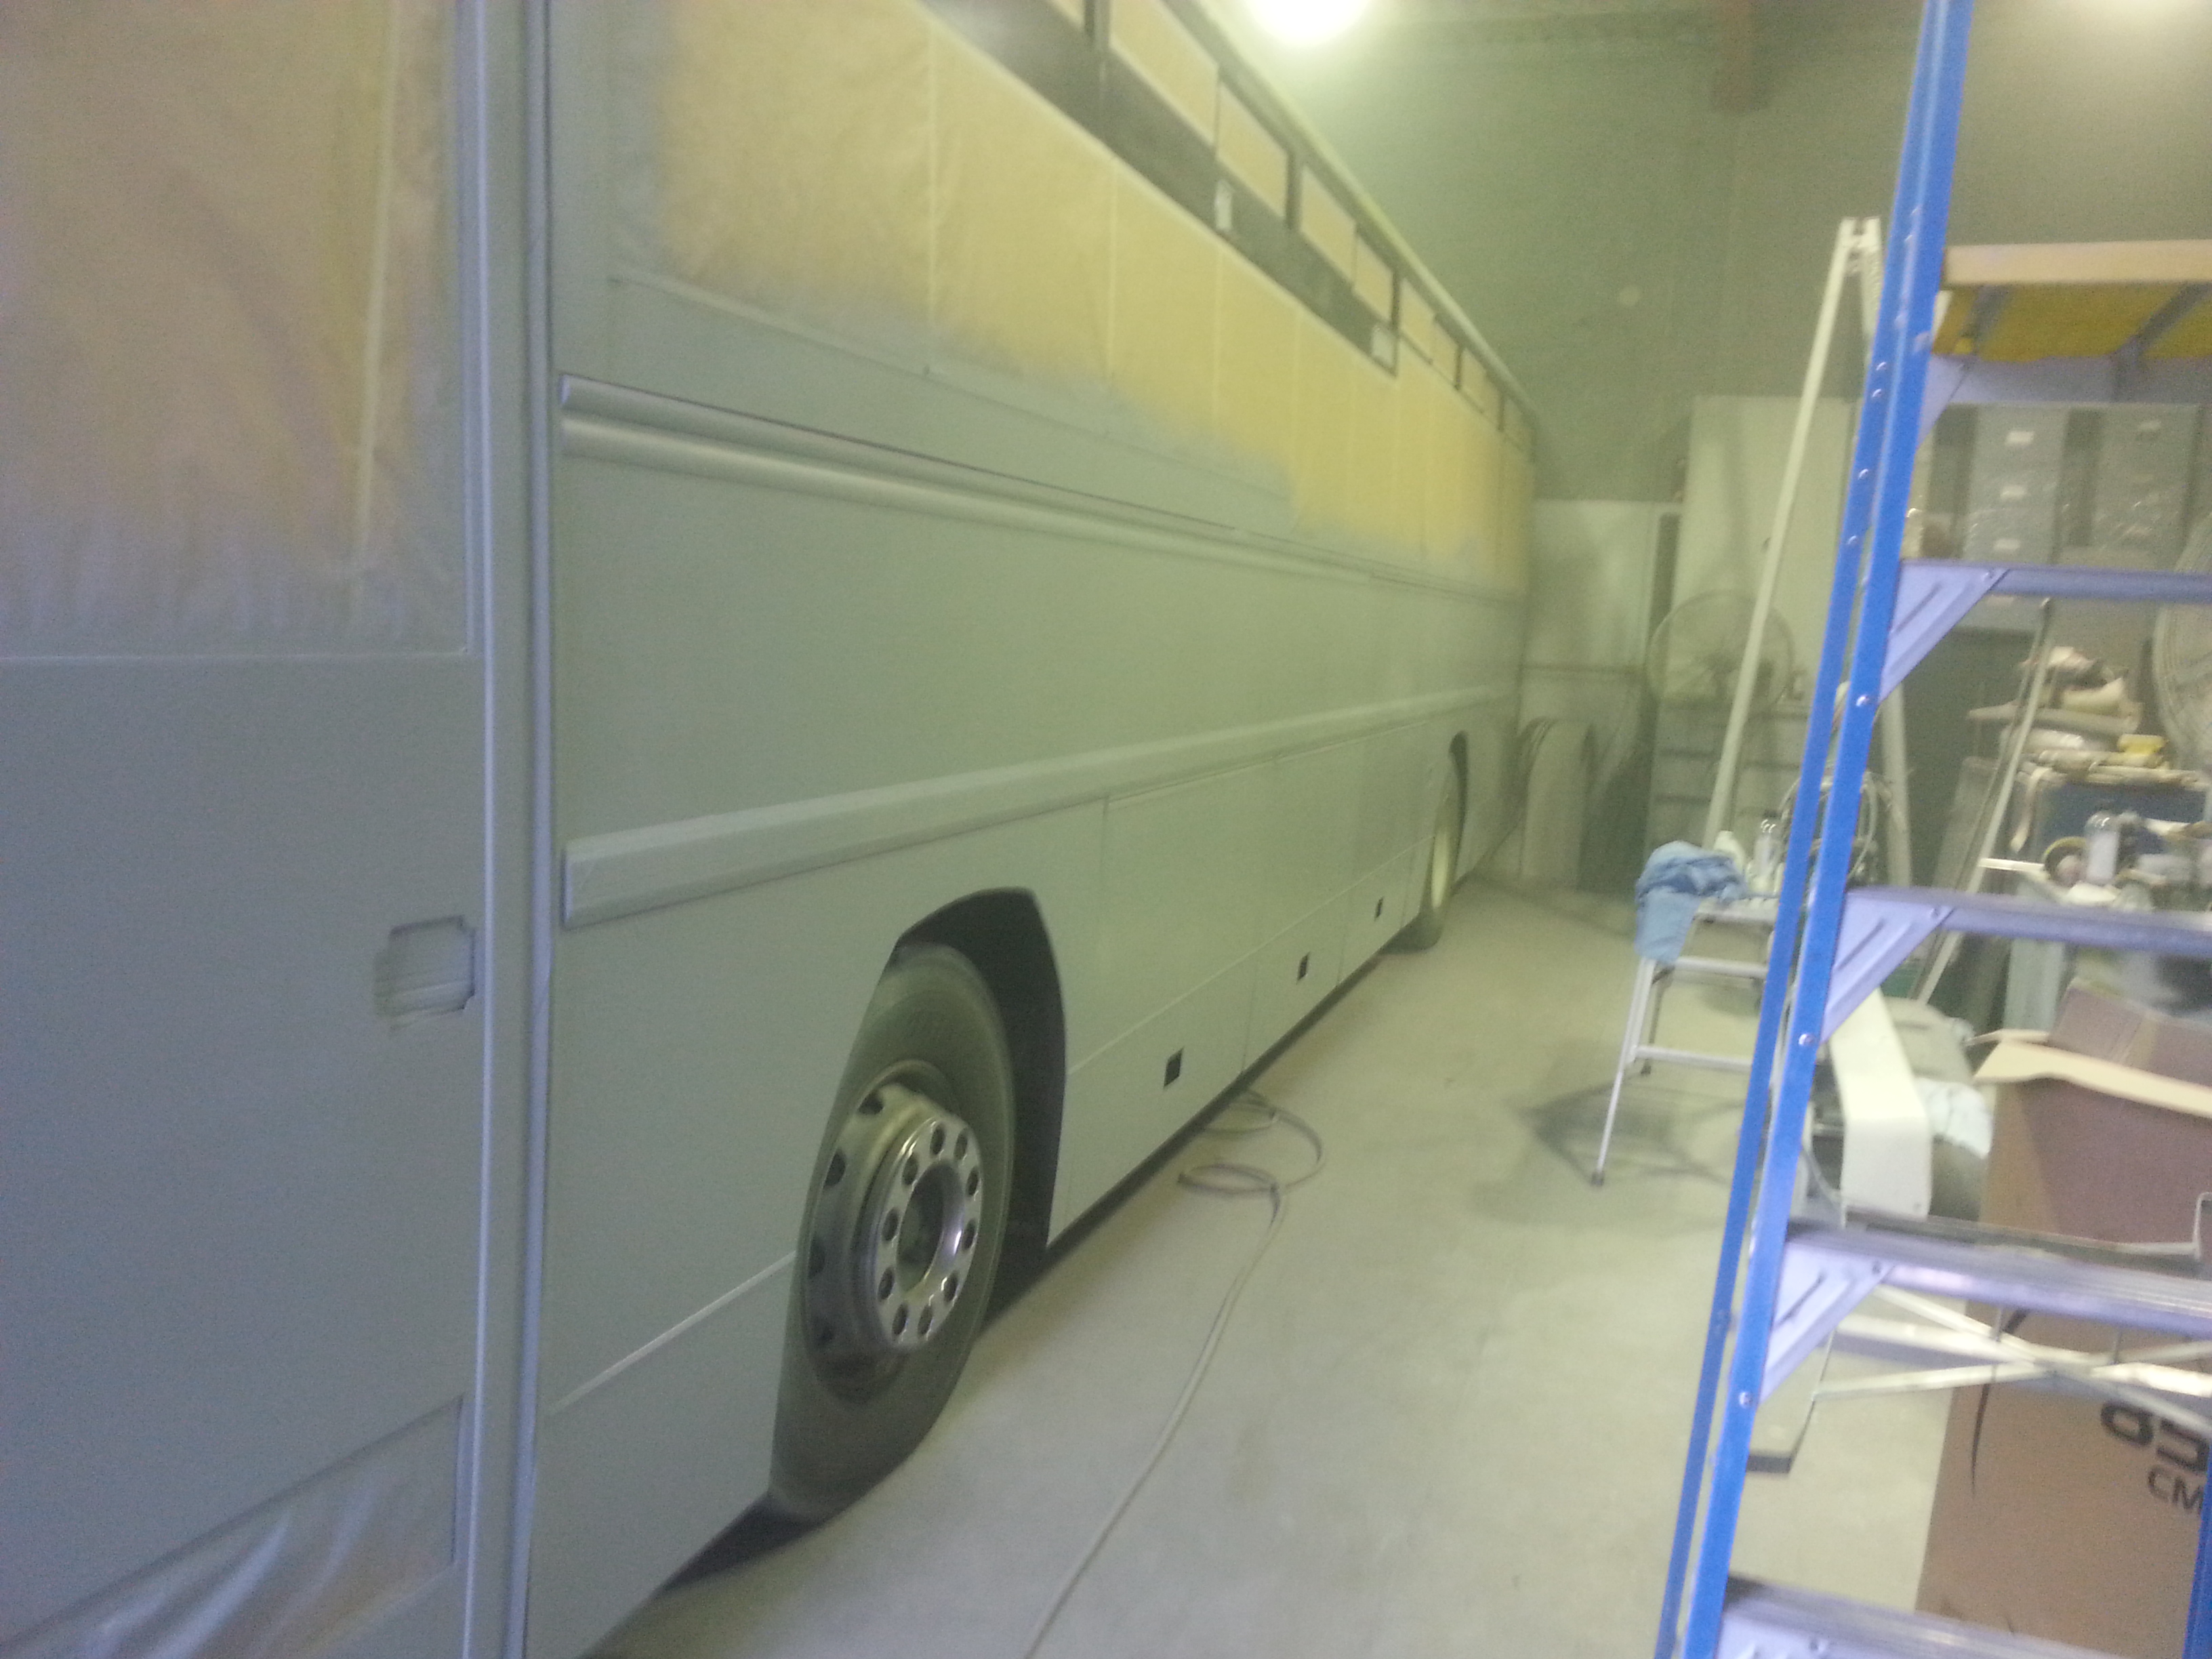
Well the preparation & Painting what can I say this was a mammoth task, I was helping ( although I think sometimes hindering Wayne ) with the sanding, Masking, removing & refitting items. I did not realize the number of times the bus would need to be masked up, unmasked & re-masked again before the painting was completed. there was cracked fibre-glass to be repaired, panels to be replaced, dent, hollows & bumps to be filled. almost every panel on the bus had to be spray puttied. due to the amount of stone chips in the area of the lower panels we decided to spray this area with Stone Guard & redo it in silver paint.

Some of the preparation work & masking during the Painting:-

20150706_164955 20150706_165003 20150709_174653 20150711_165201

We used approximately 250m of brown paper, around 14 rolls of 20mm masking tape, 25m of plastic masking sheet for the roof , 4l of acetone, 6l of turps, 4l of wax & grease remover, a large quantity of sanding disks & numerous other materials just for the preparation.

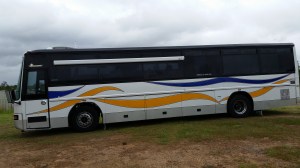
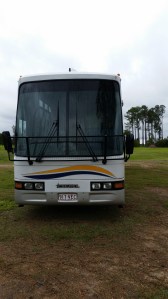
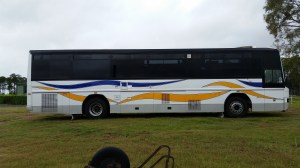
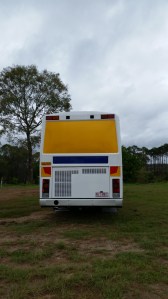
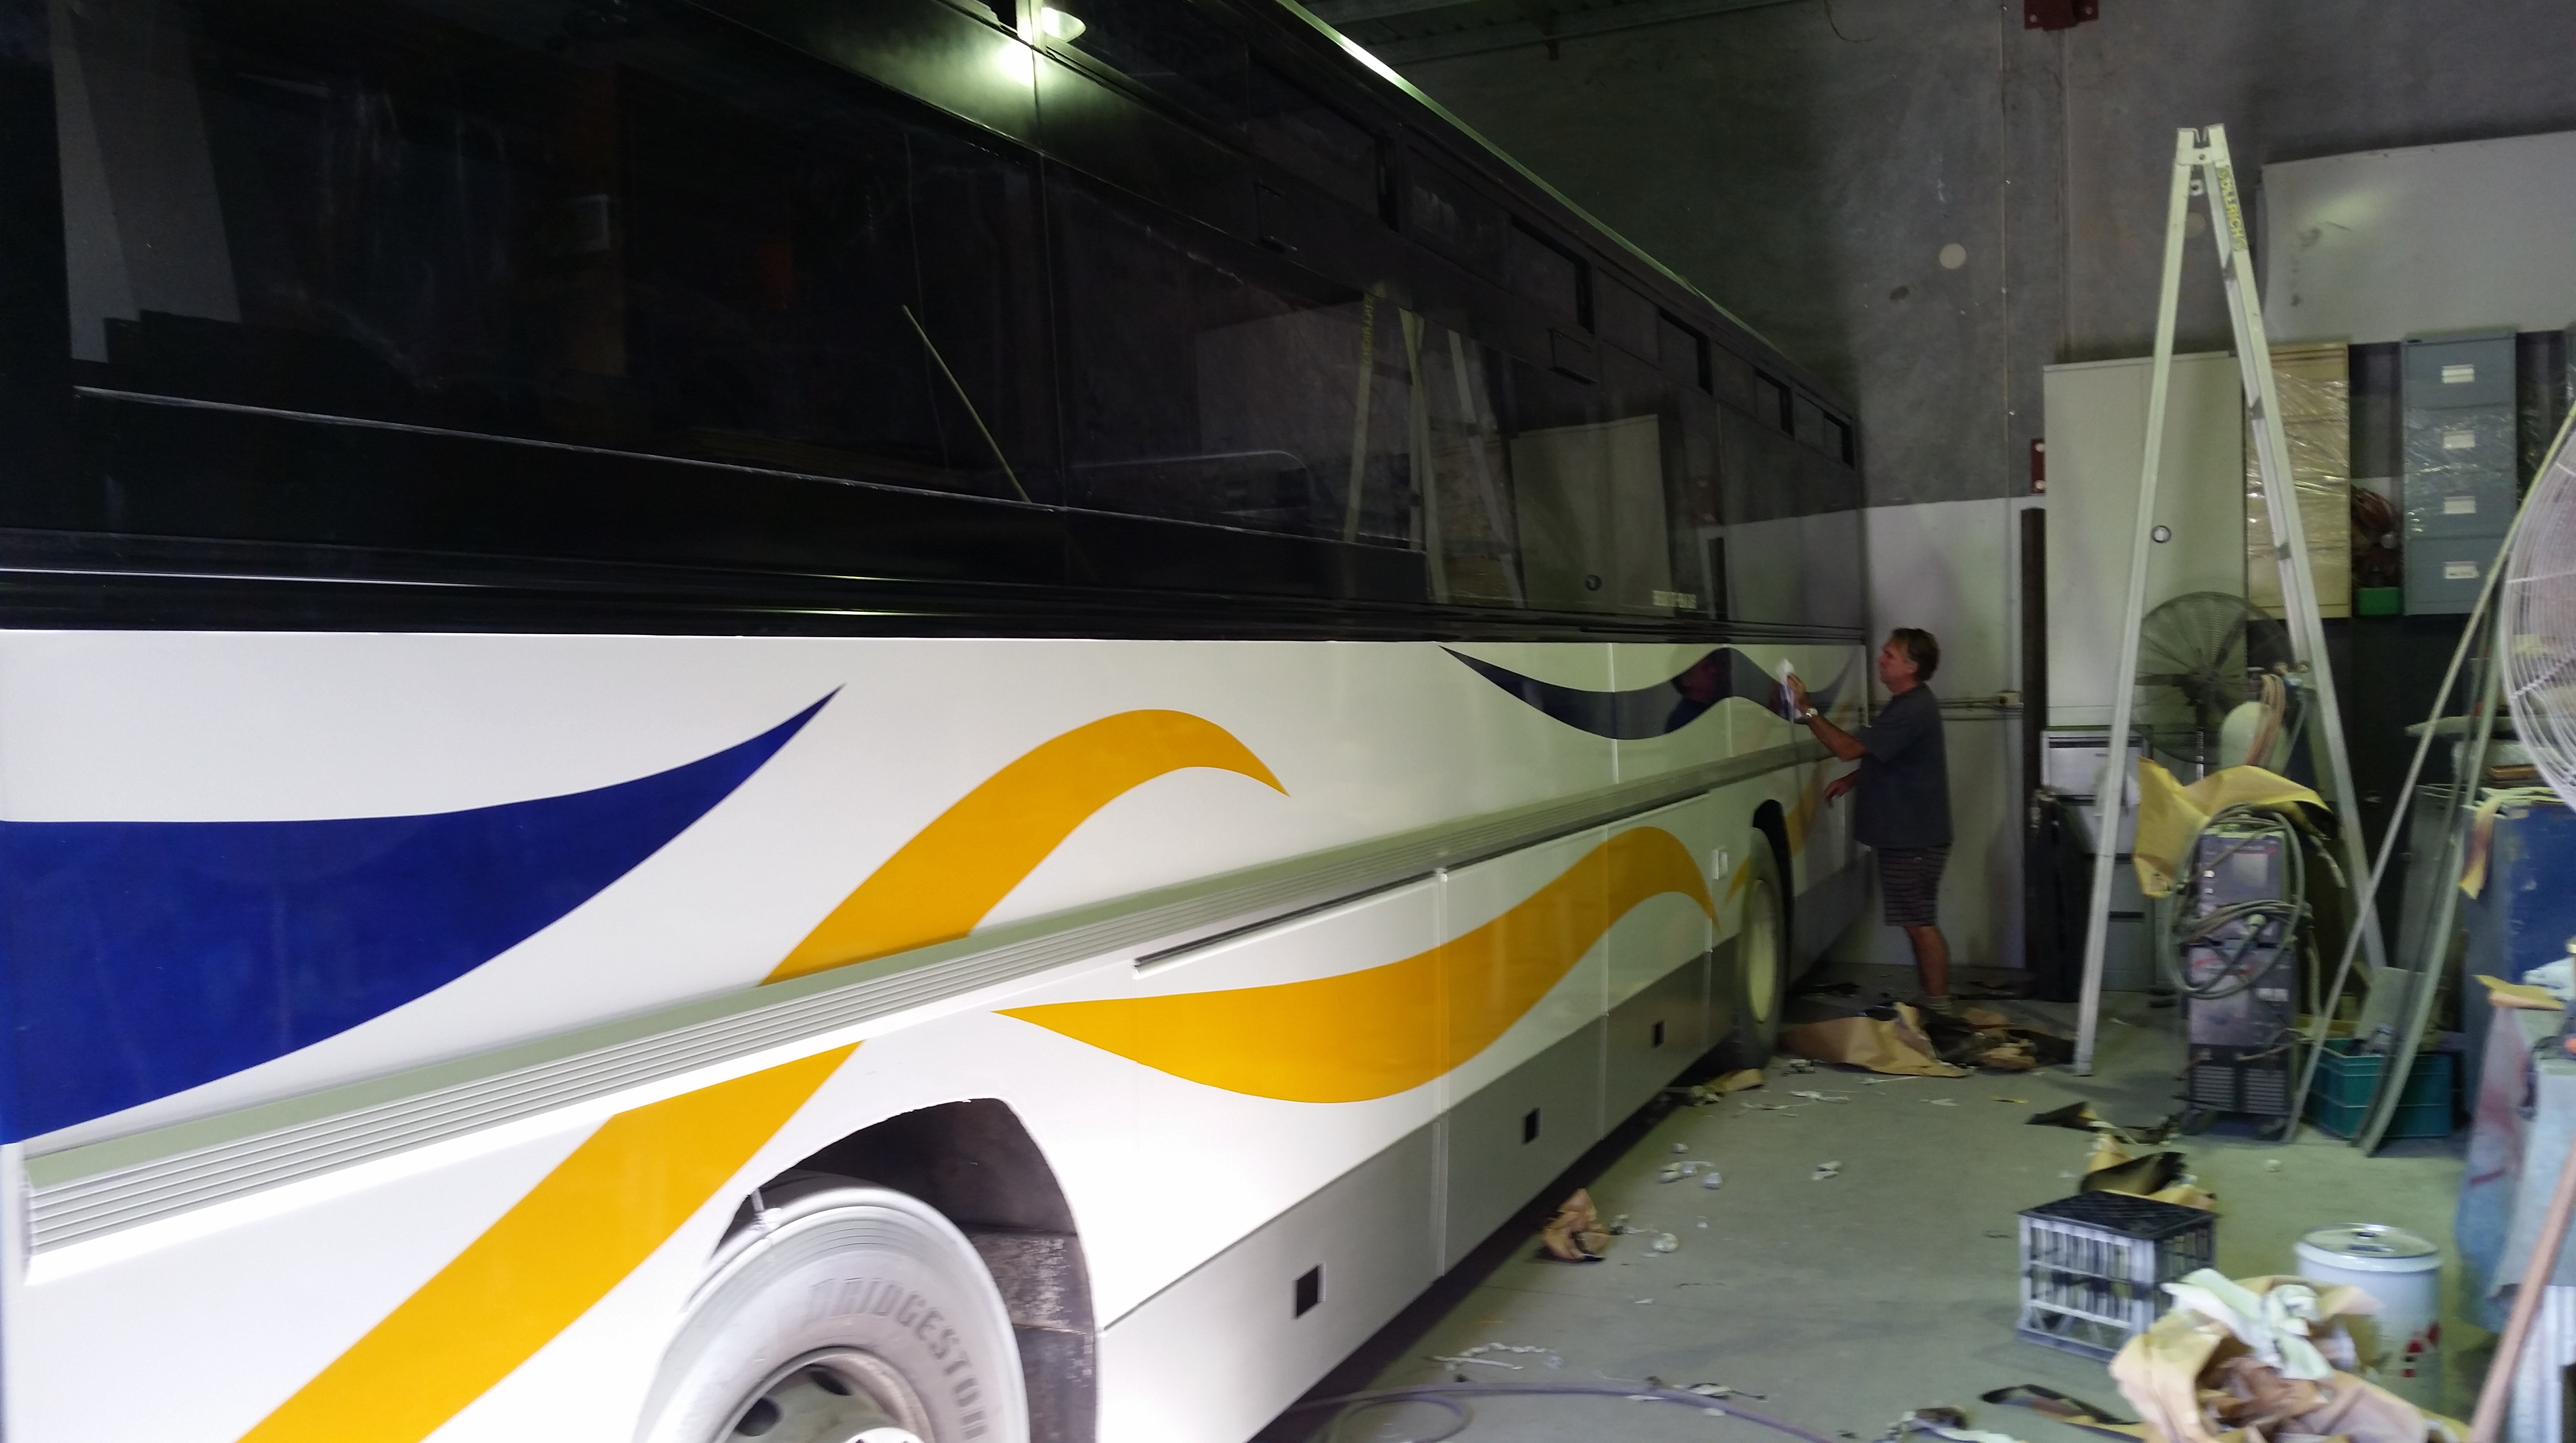
Once the Stone Guard & Silver were applied the basic colors of White & Black were then done, this then left the Blue Metallic & Pearl Tangerine graphics to be sprayed. with the painting basically completed the Black pin stripping around the Blue & Tangerine was administered.

20150713_132750 20150725_103351 20150725_103402 20150725_162634

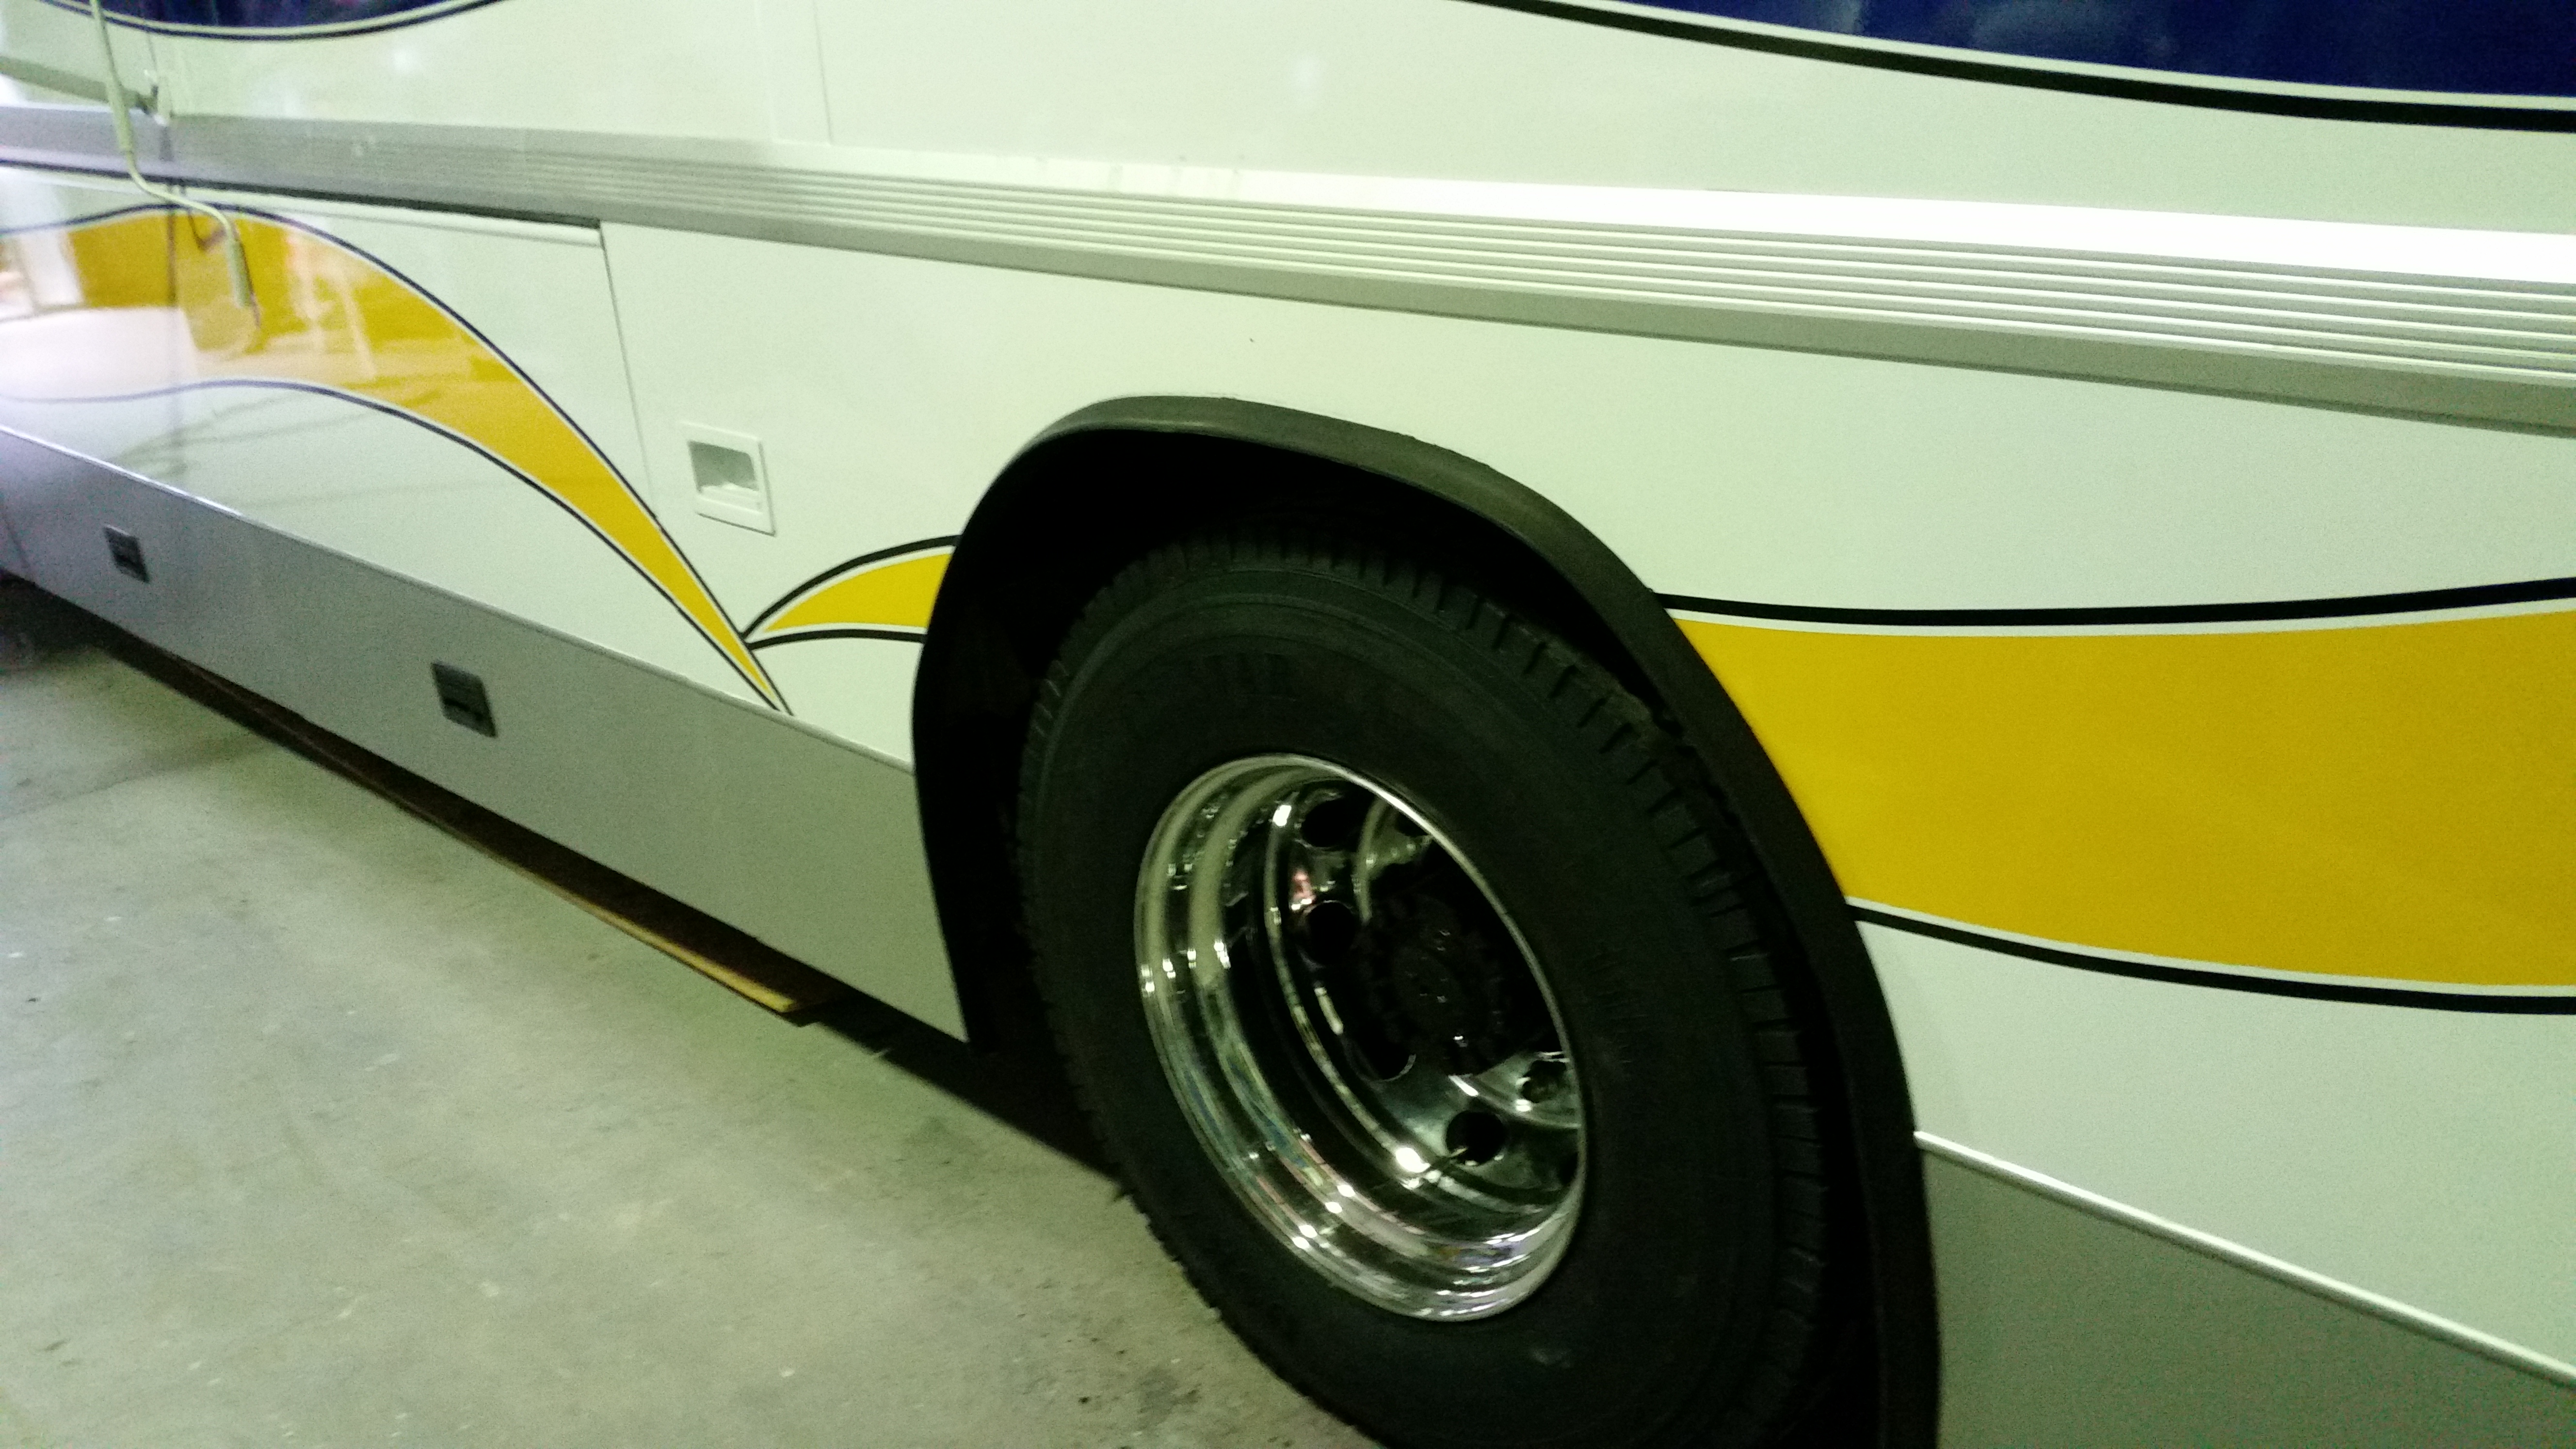
The Fiamma 5m wind out Awning has now been fitted & 4 New Chrome wheels to complement the new paint, with new tyres on the rear, re-assembly of the now Motor-Home is well under way.

The new wipers, Mirrors, door seals, some new Led lights on the side panels & roof to modernize & most important the new Windscreen protector. The front & rear bumpers are fitted, now a cleanup, some sealing with Sikaflex to stop water ingression at key points & the transformation is complete.

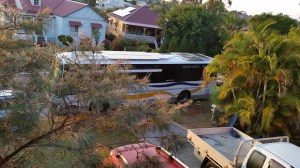
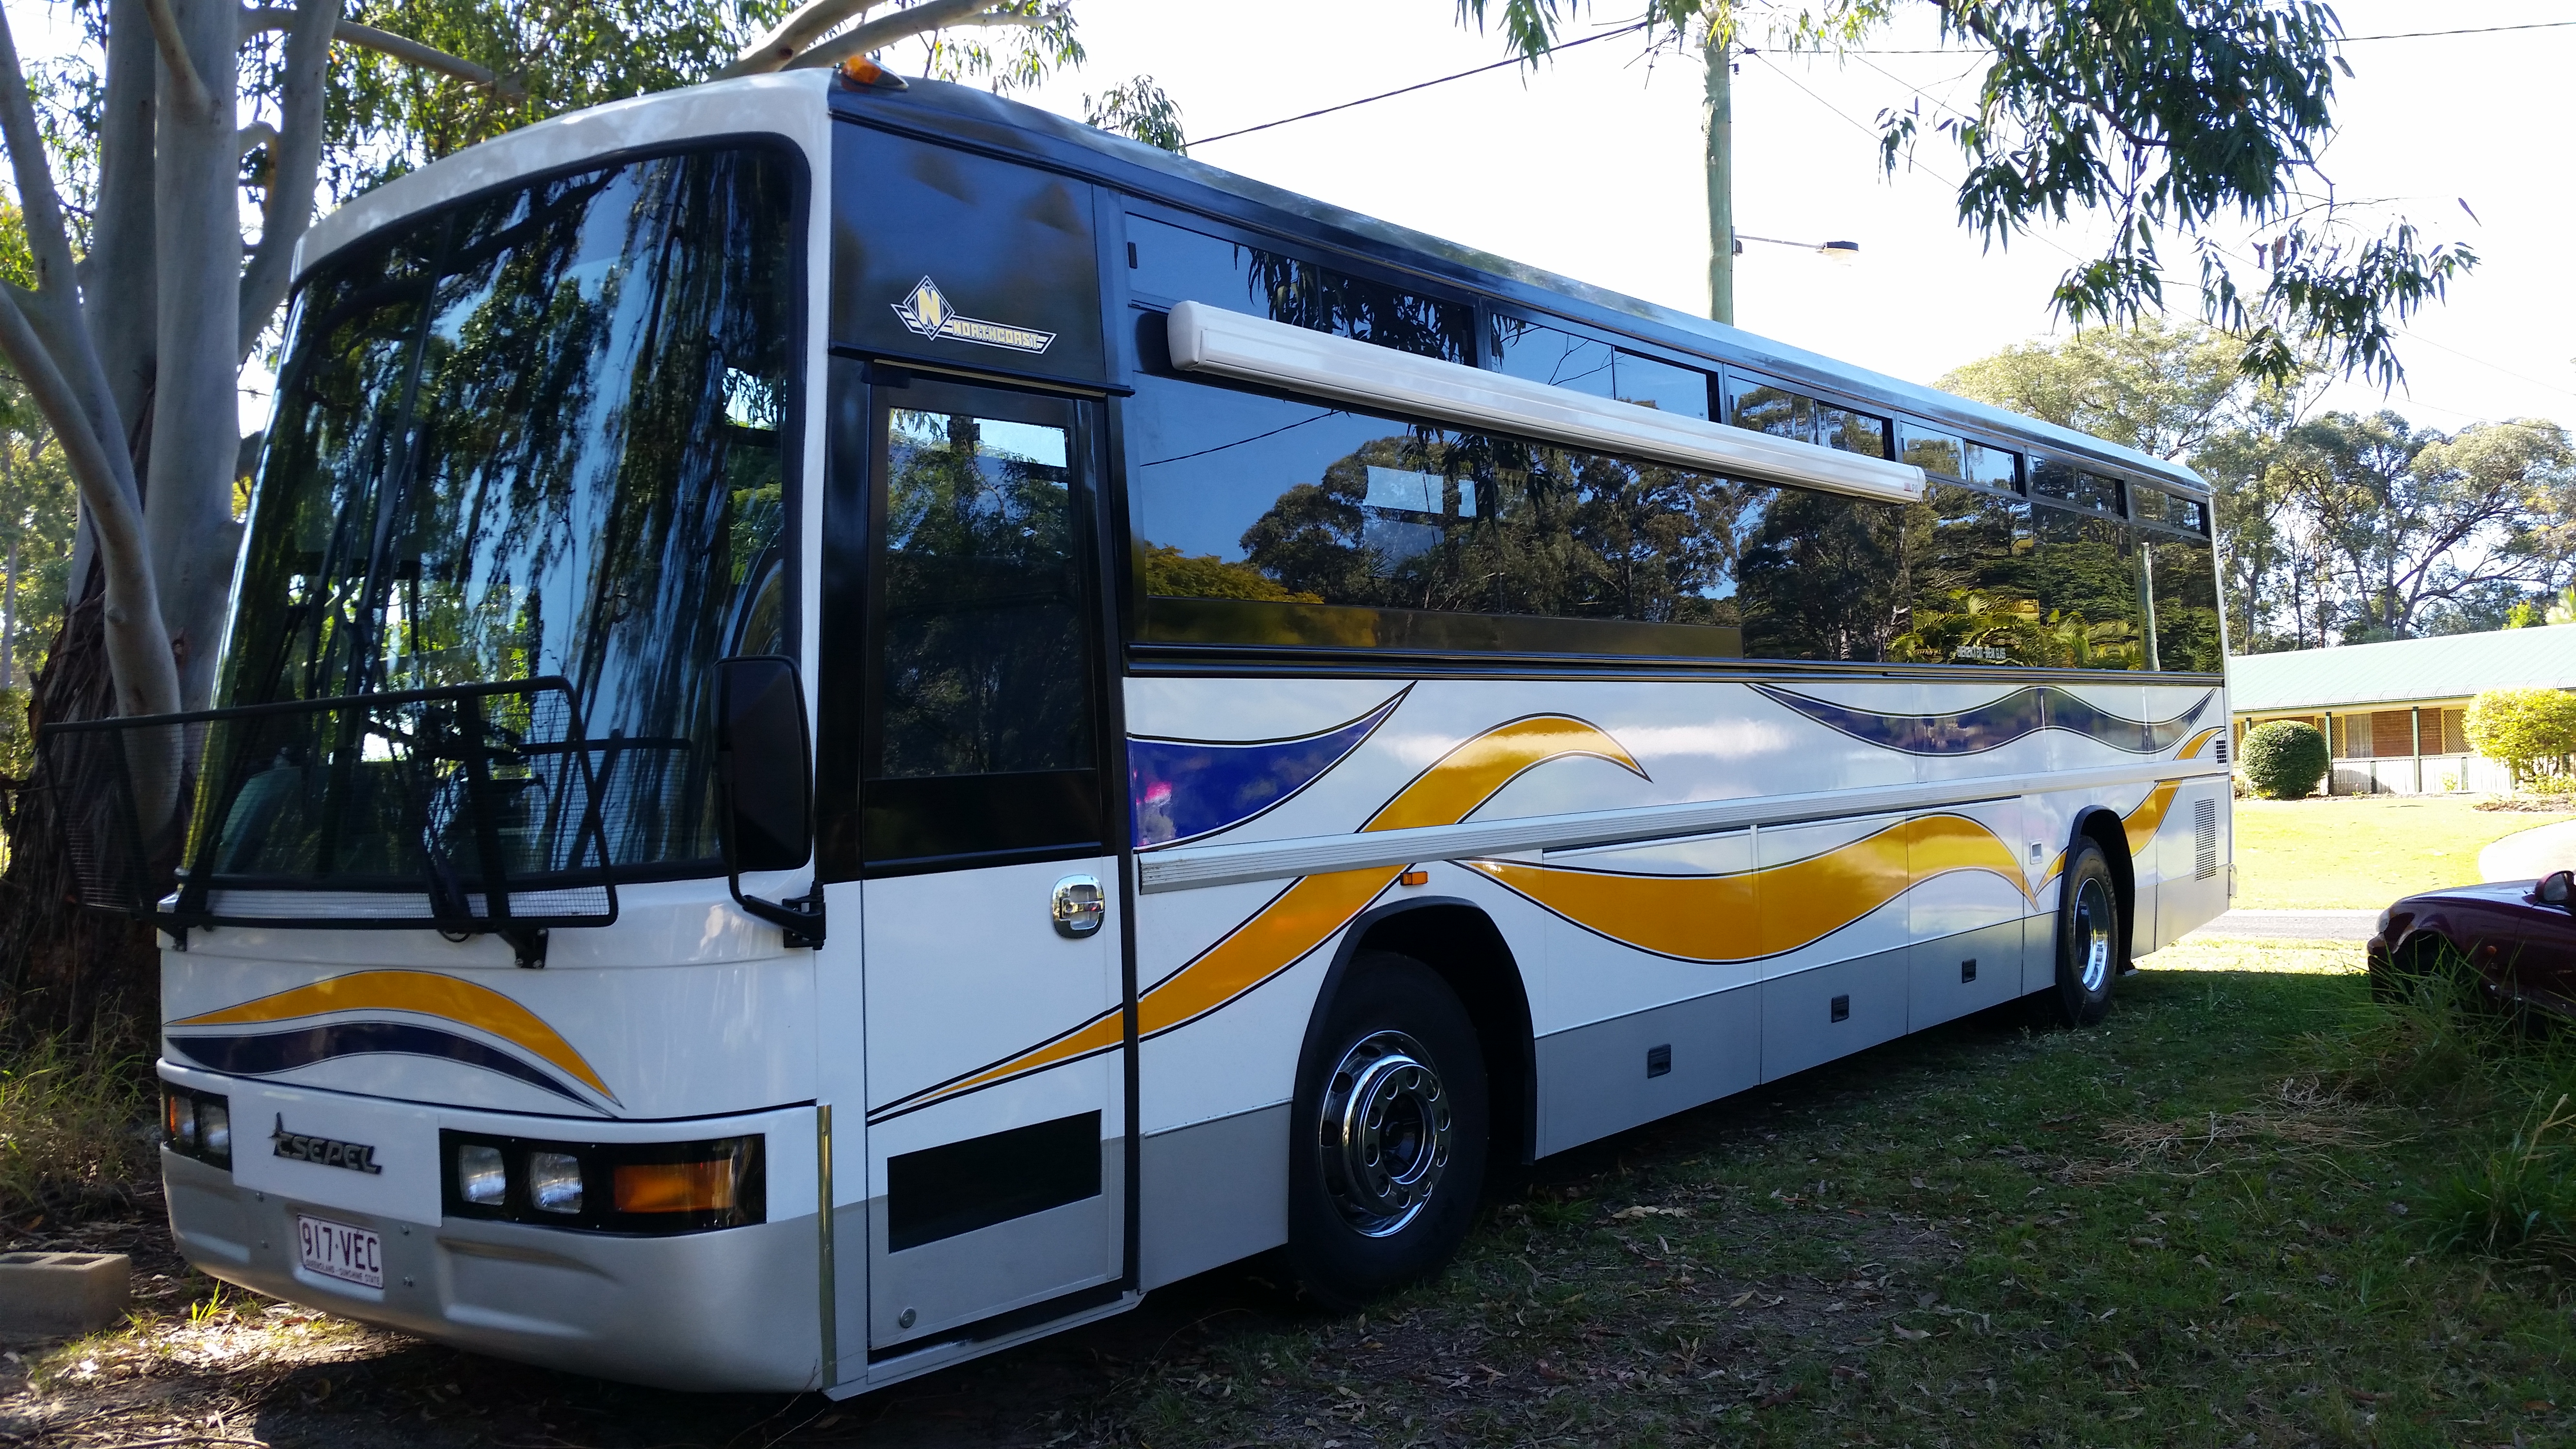
Time to take Was’A’Bus home & give Wayne a well deserved break :-

20150731_125531 20150731_125625 IMGP2346  IMGP2352 IMGP2358 IMGP2364 IMGP2368

We are excited to have Was’A’Bus home, she looks great ( well Karen & I think she does ) Wayne has done an excellent  job with what he had to start with and We could not be happier it has been a long project.

Thanks very much for your efforts Wayne!

Remember if you want any Coach, Bus or Motor-Home repairs Wayne can be contacted at http://www.ncbc.com.au/

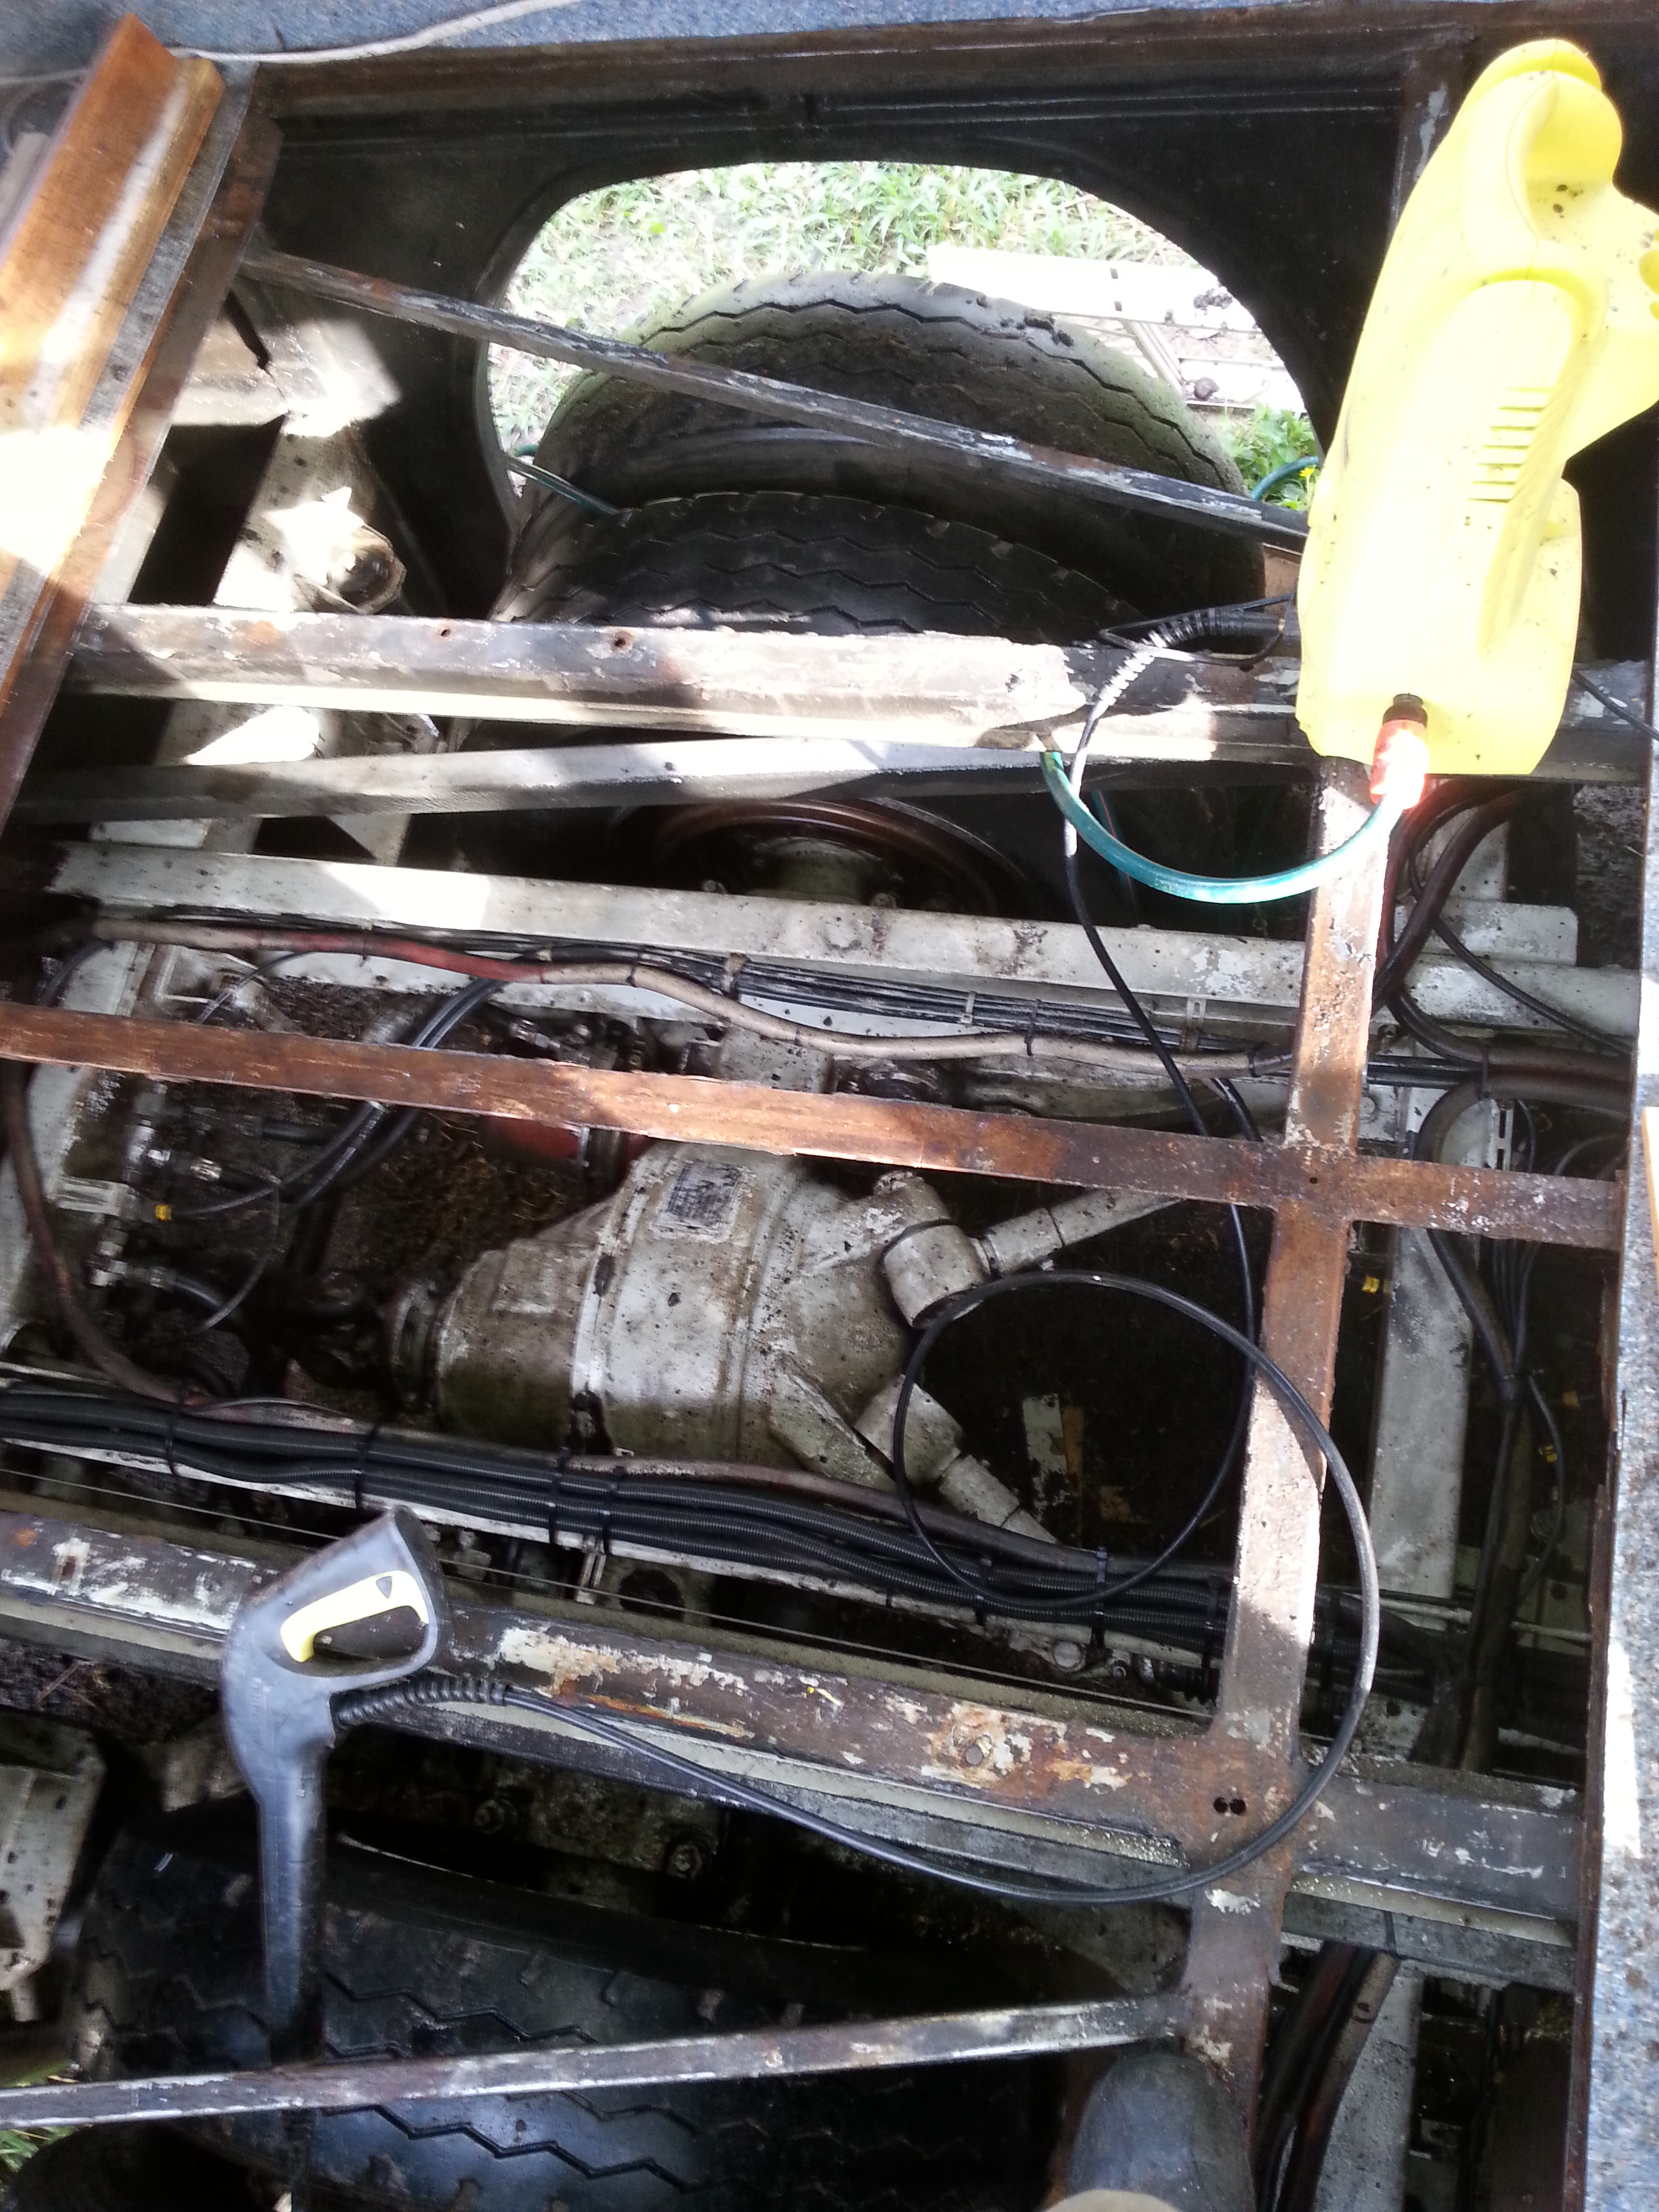
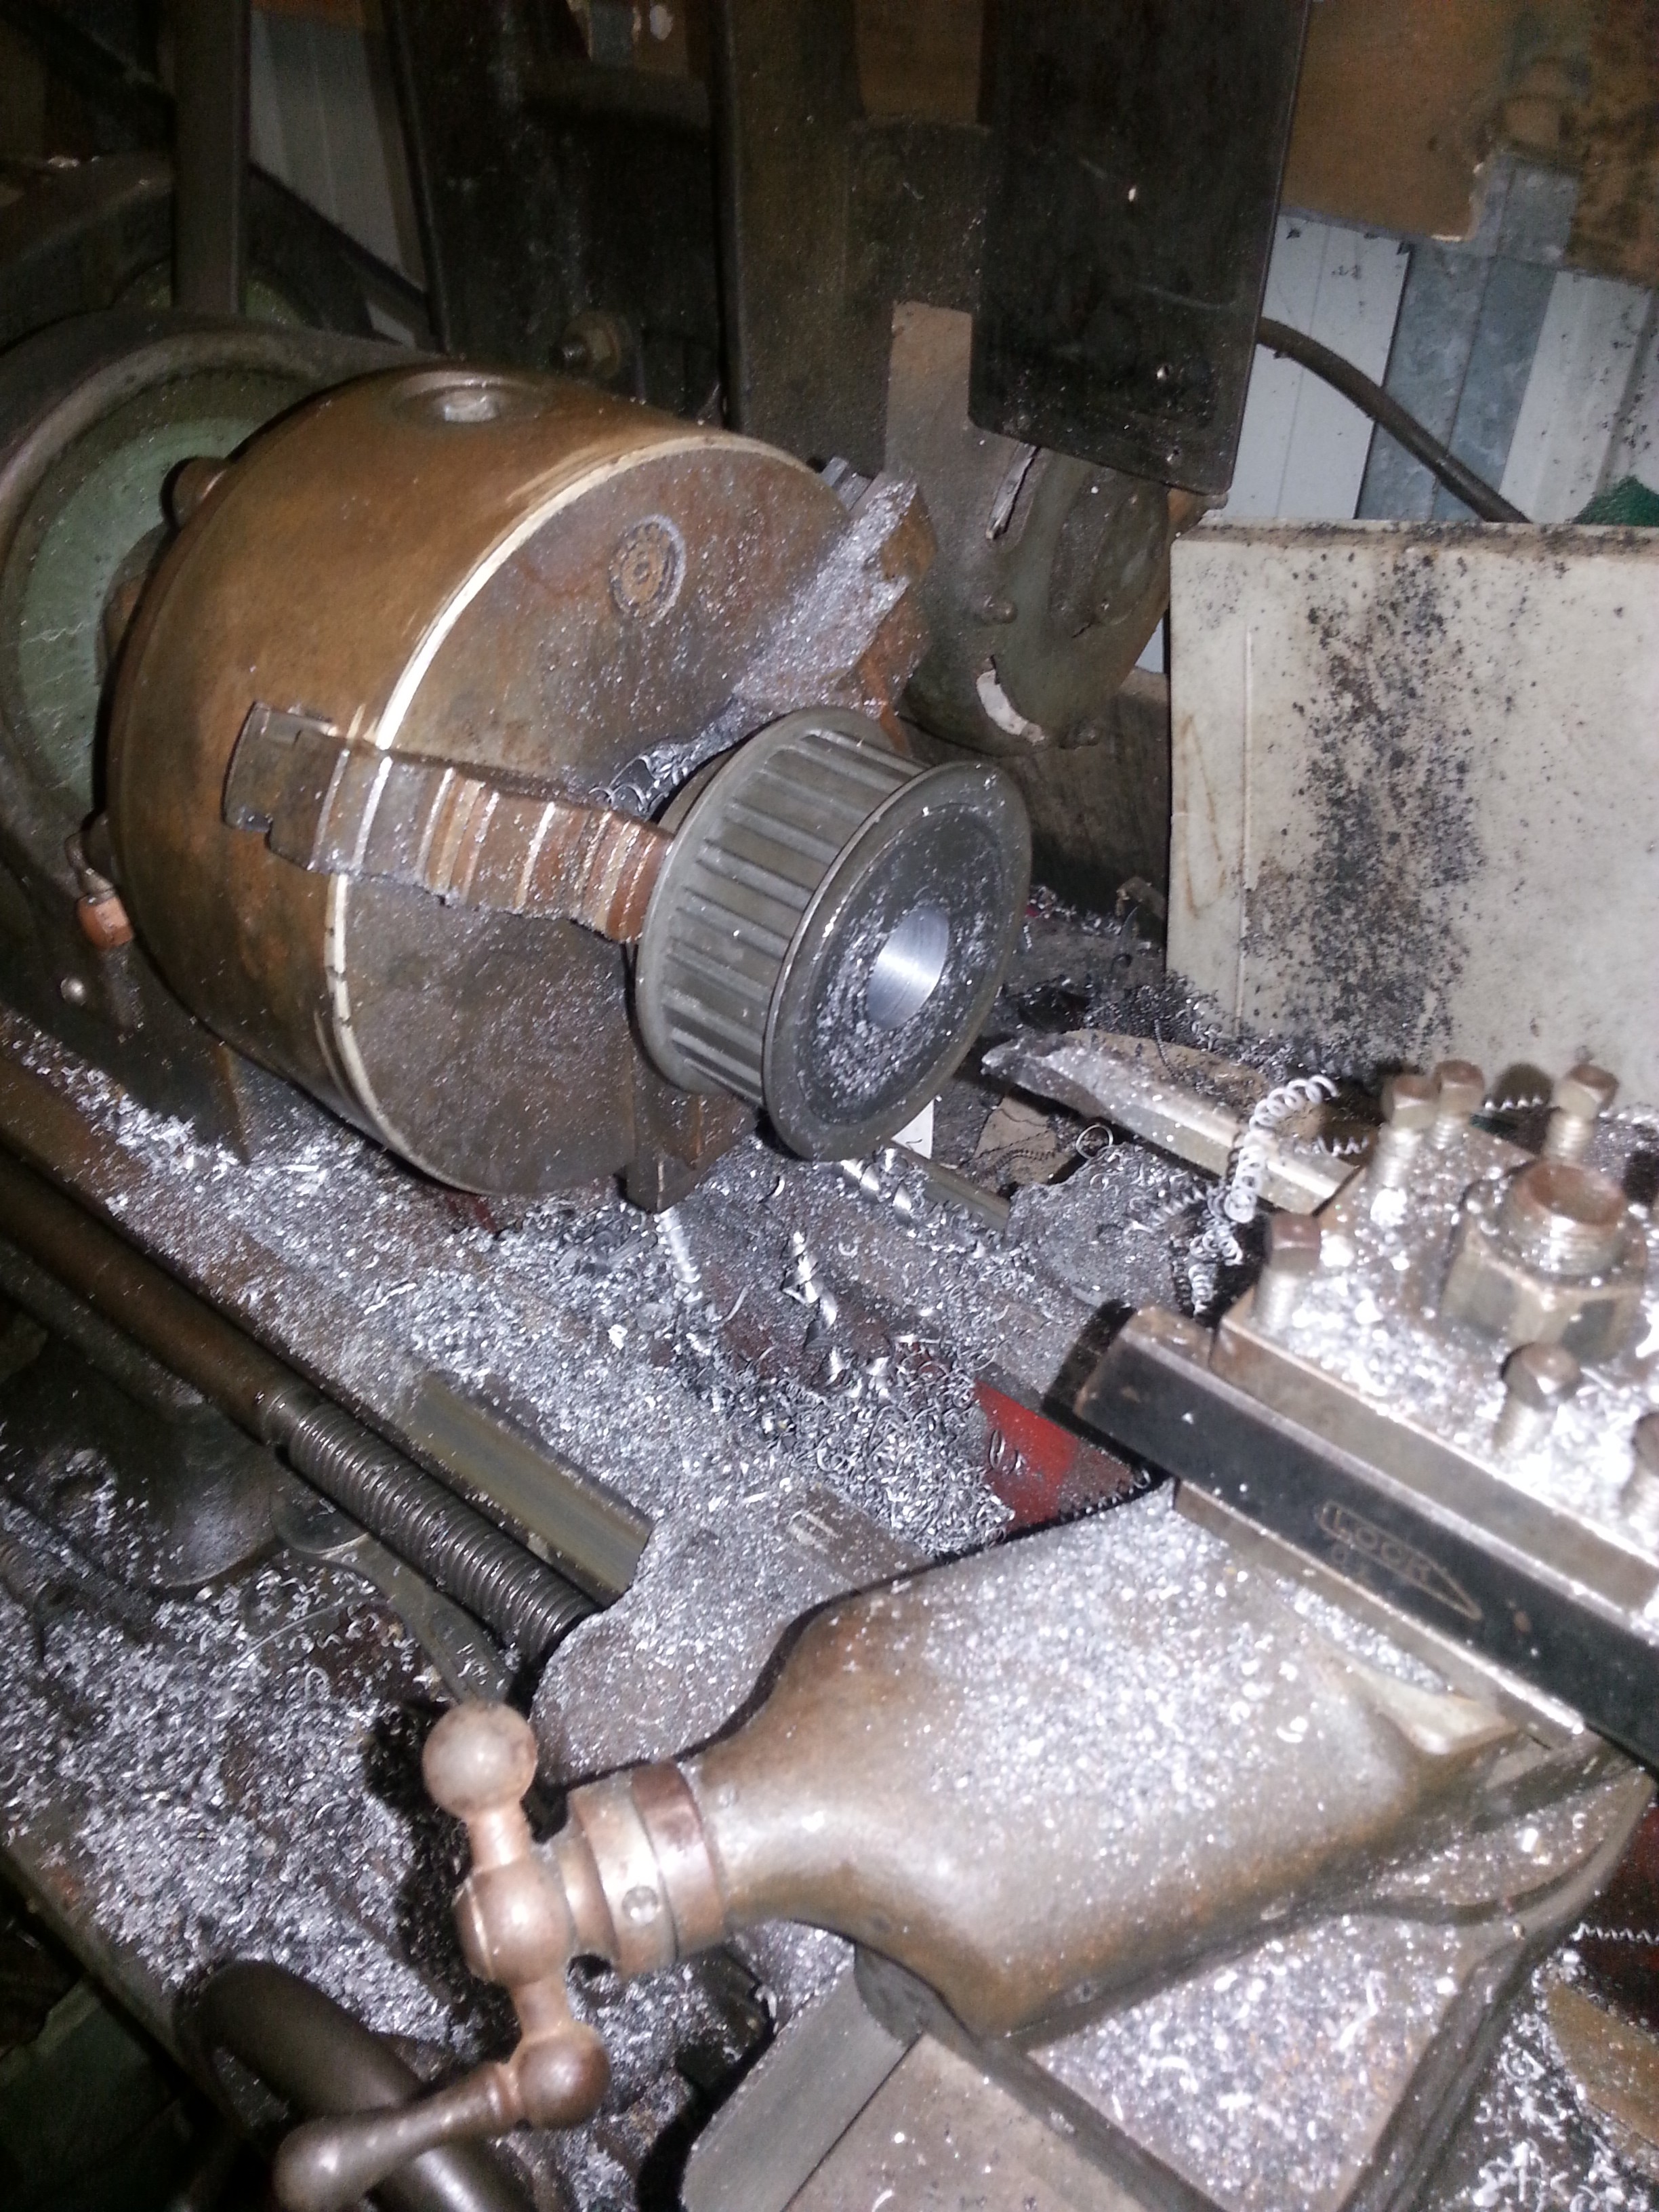
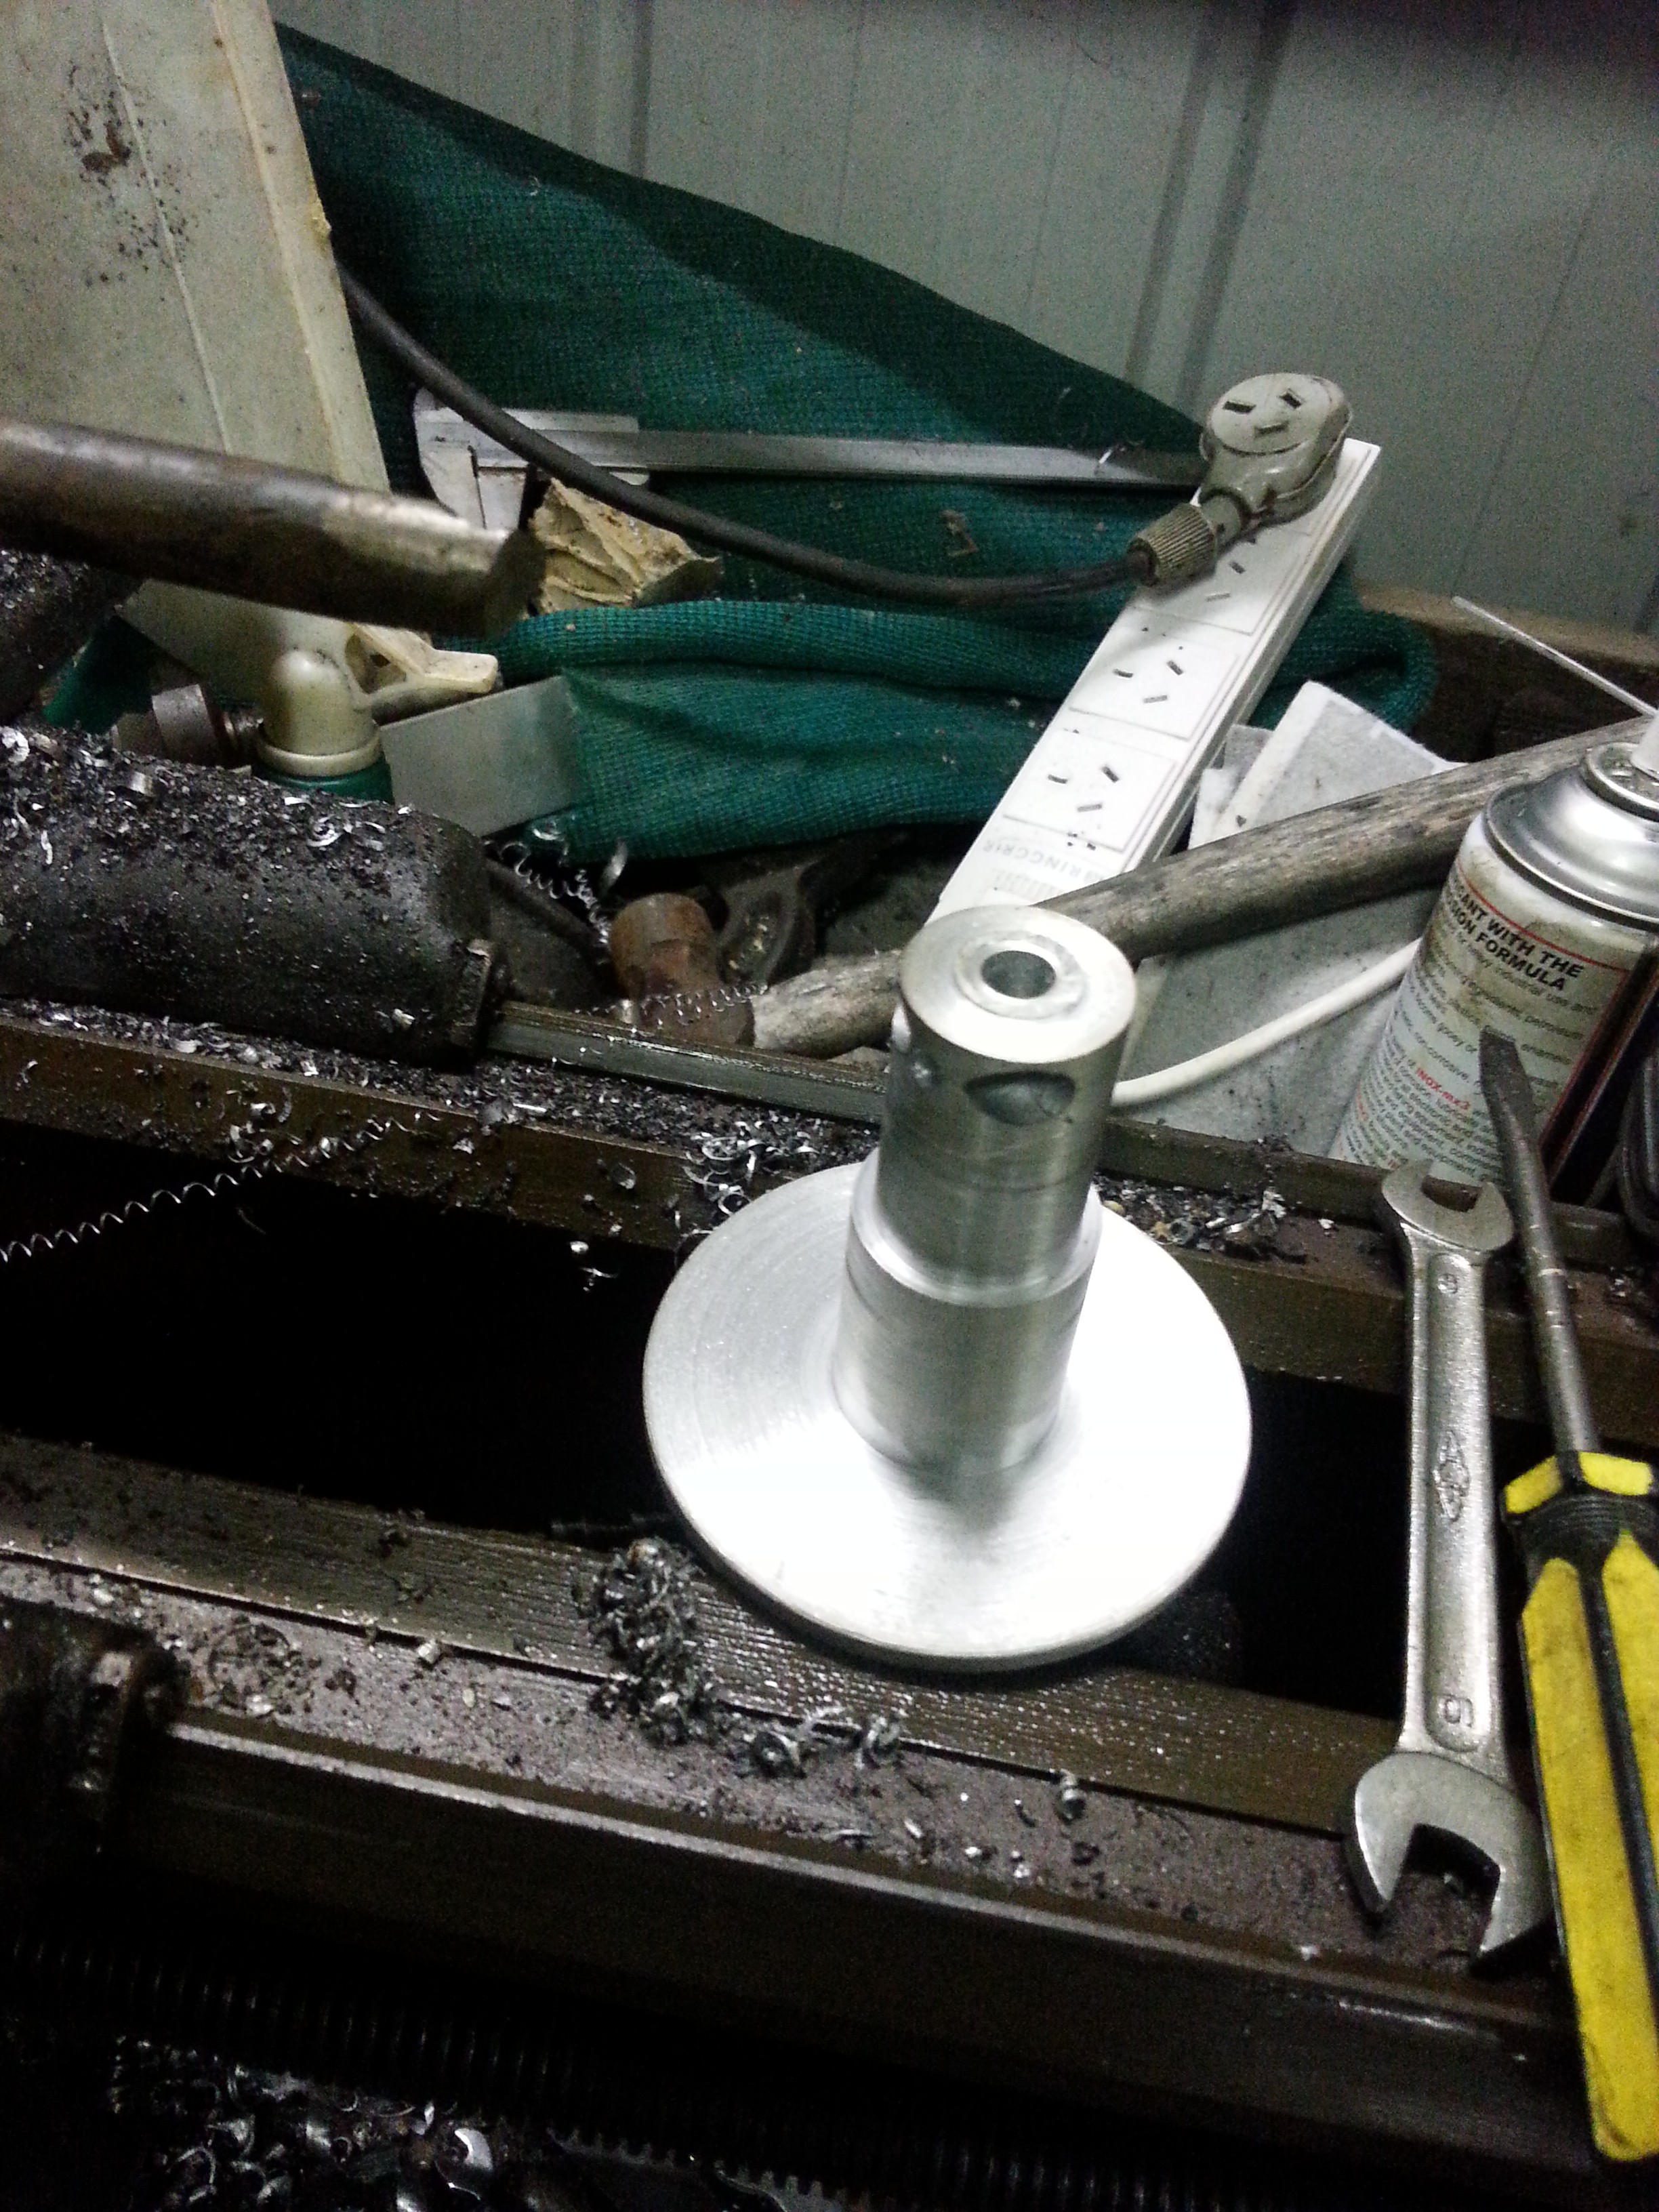
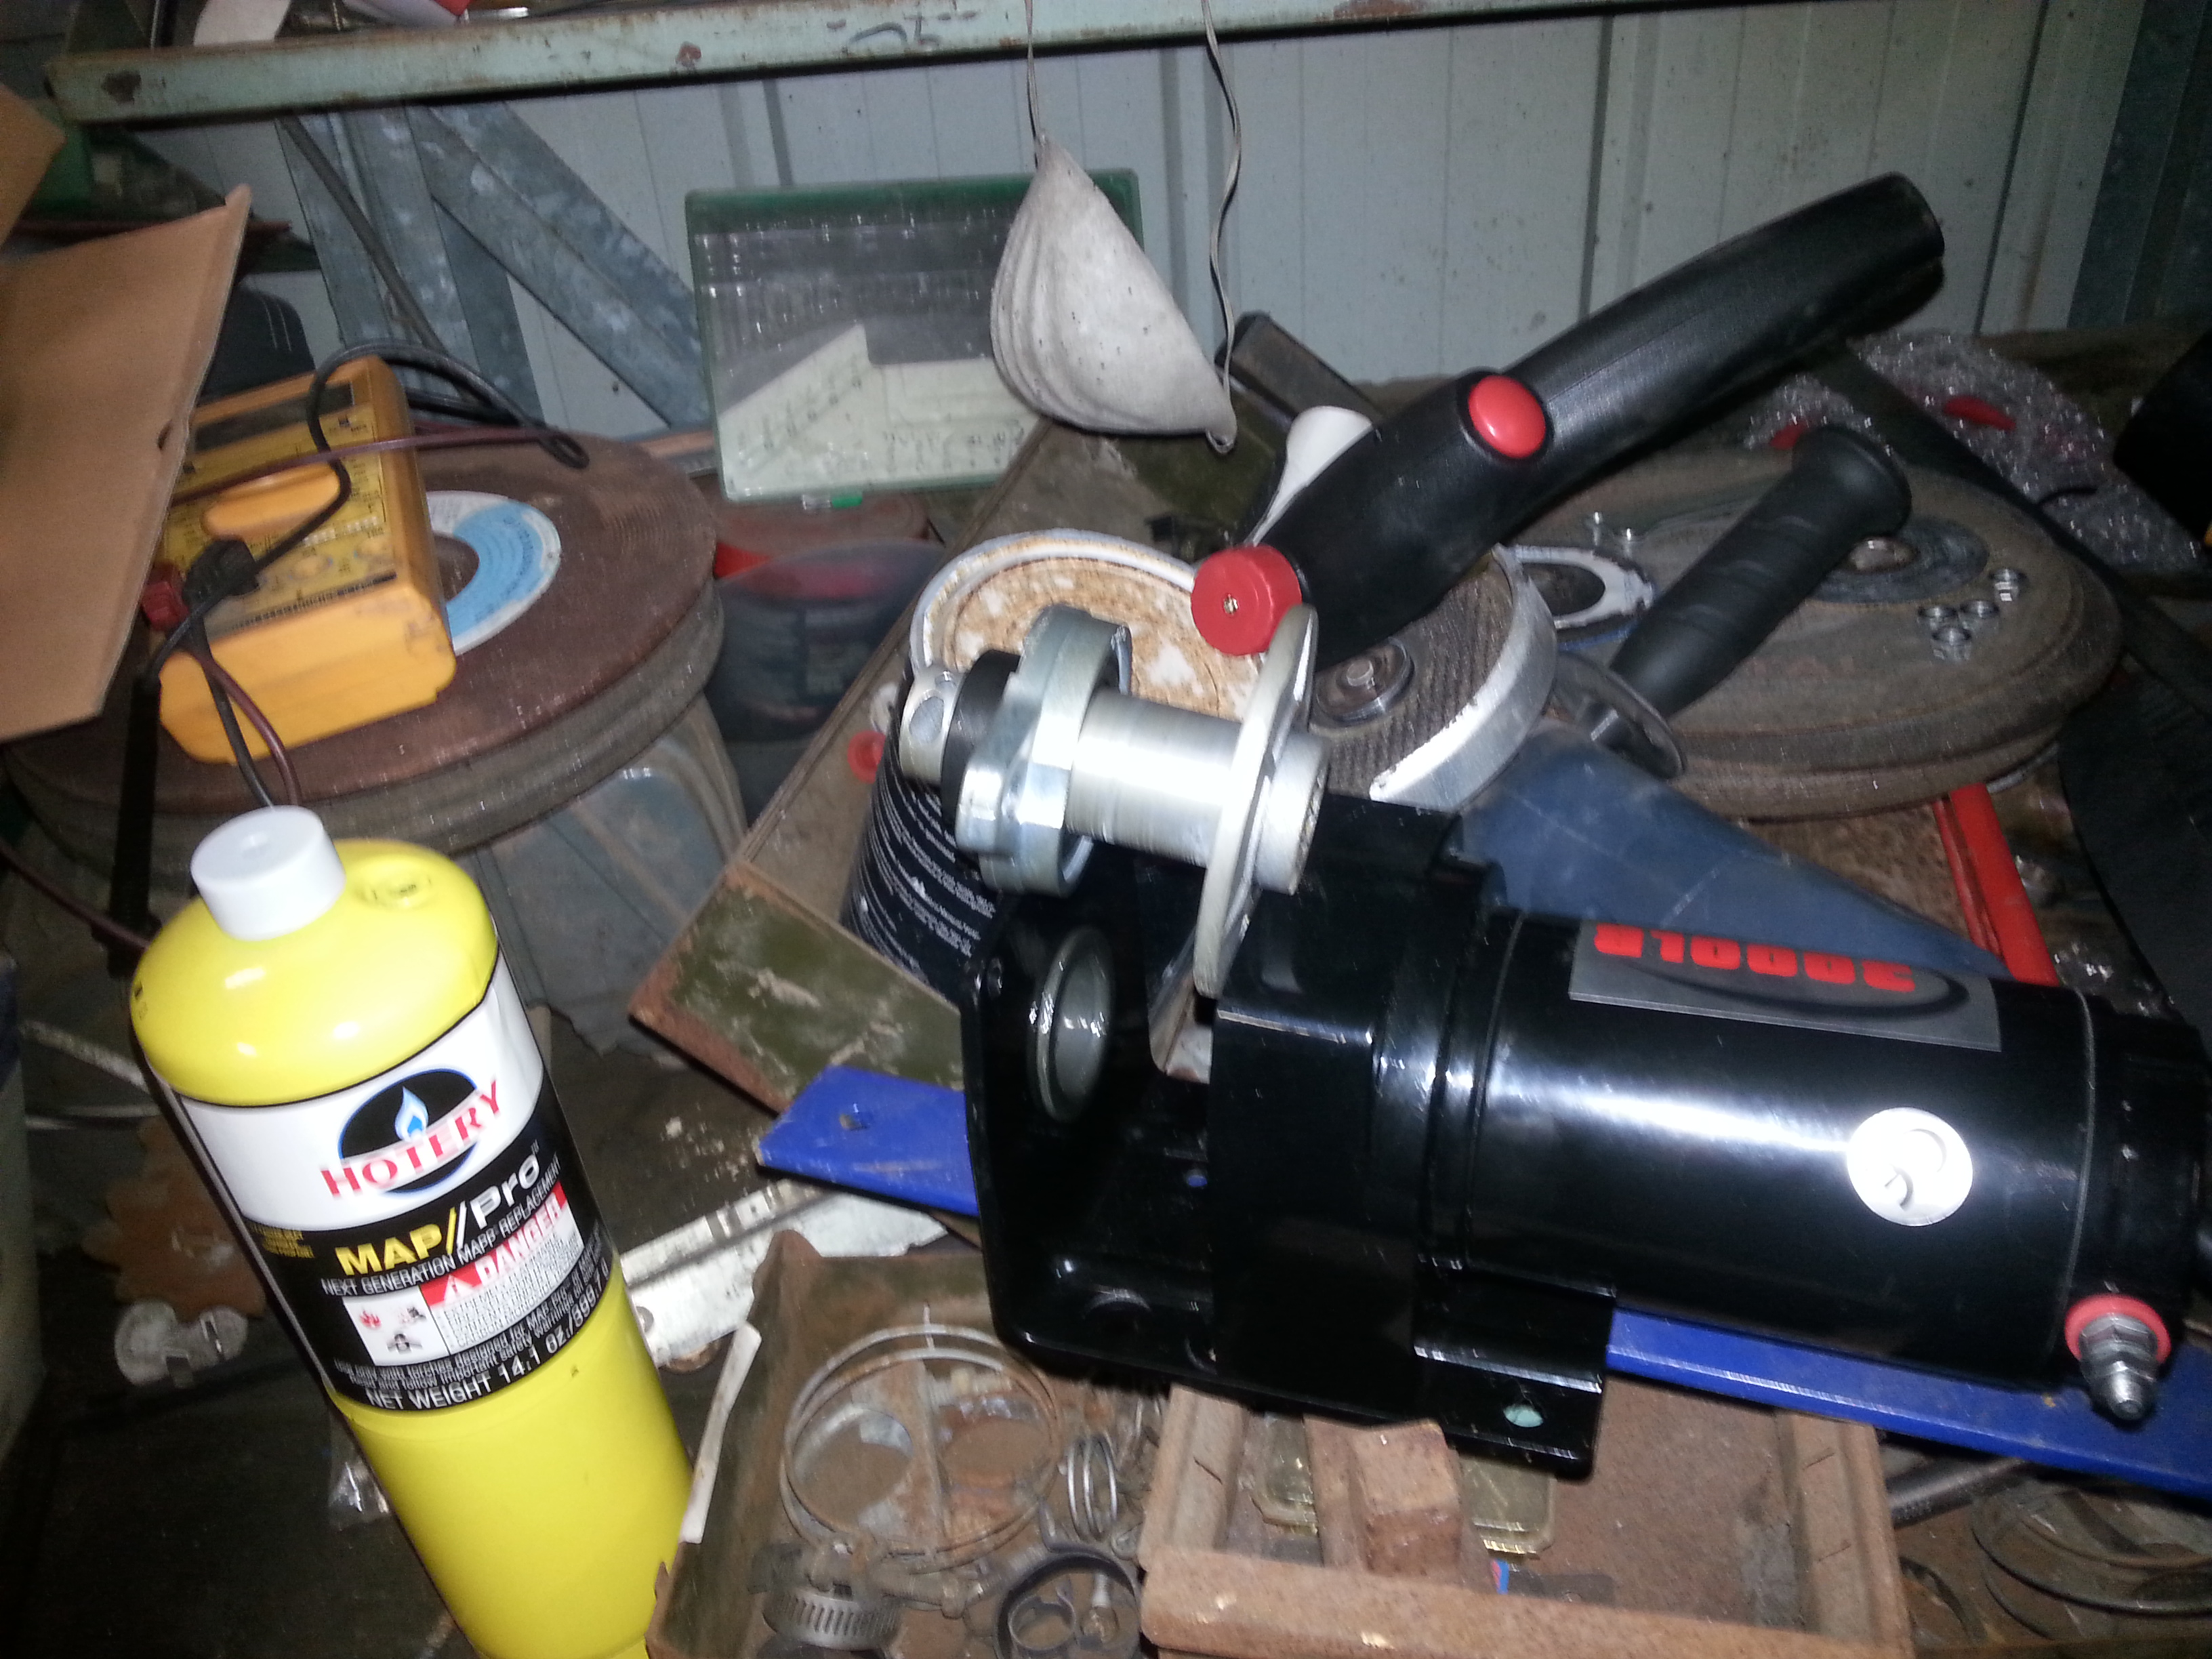
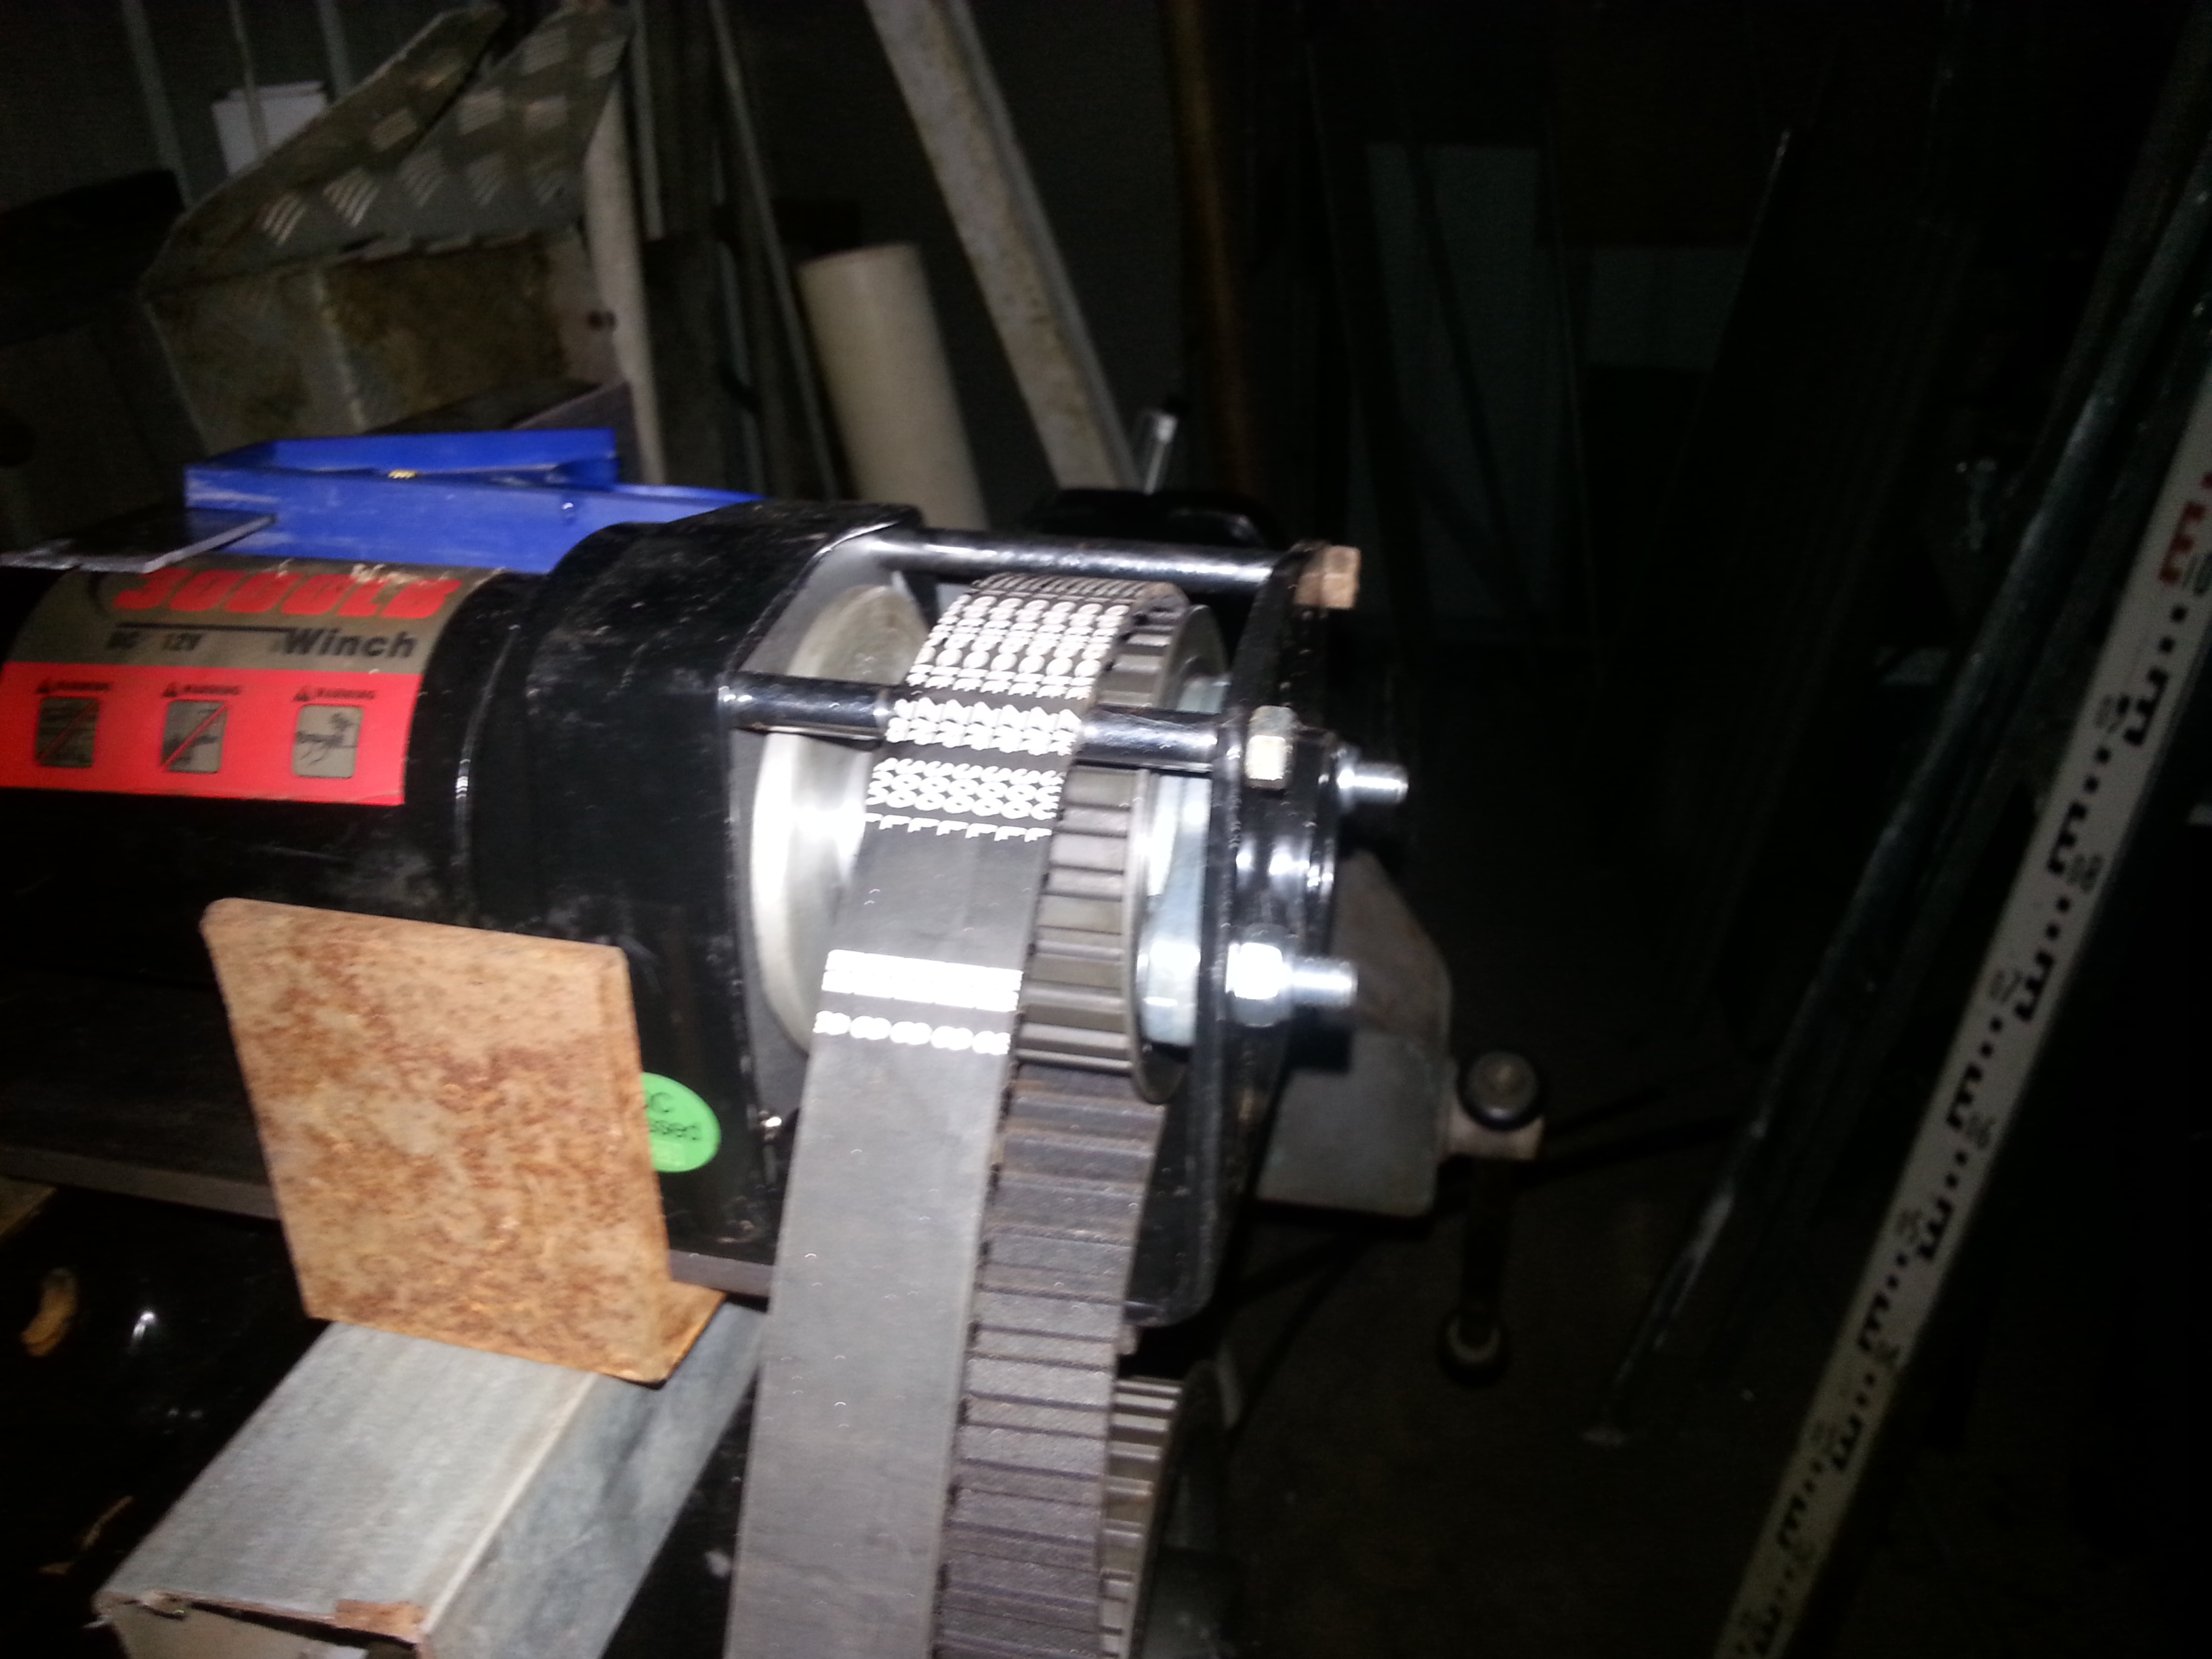
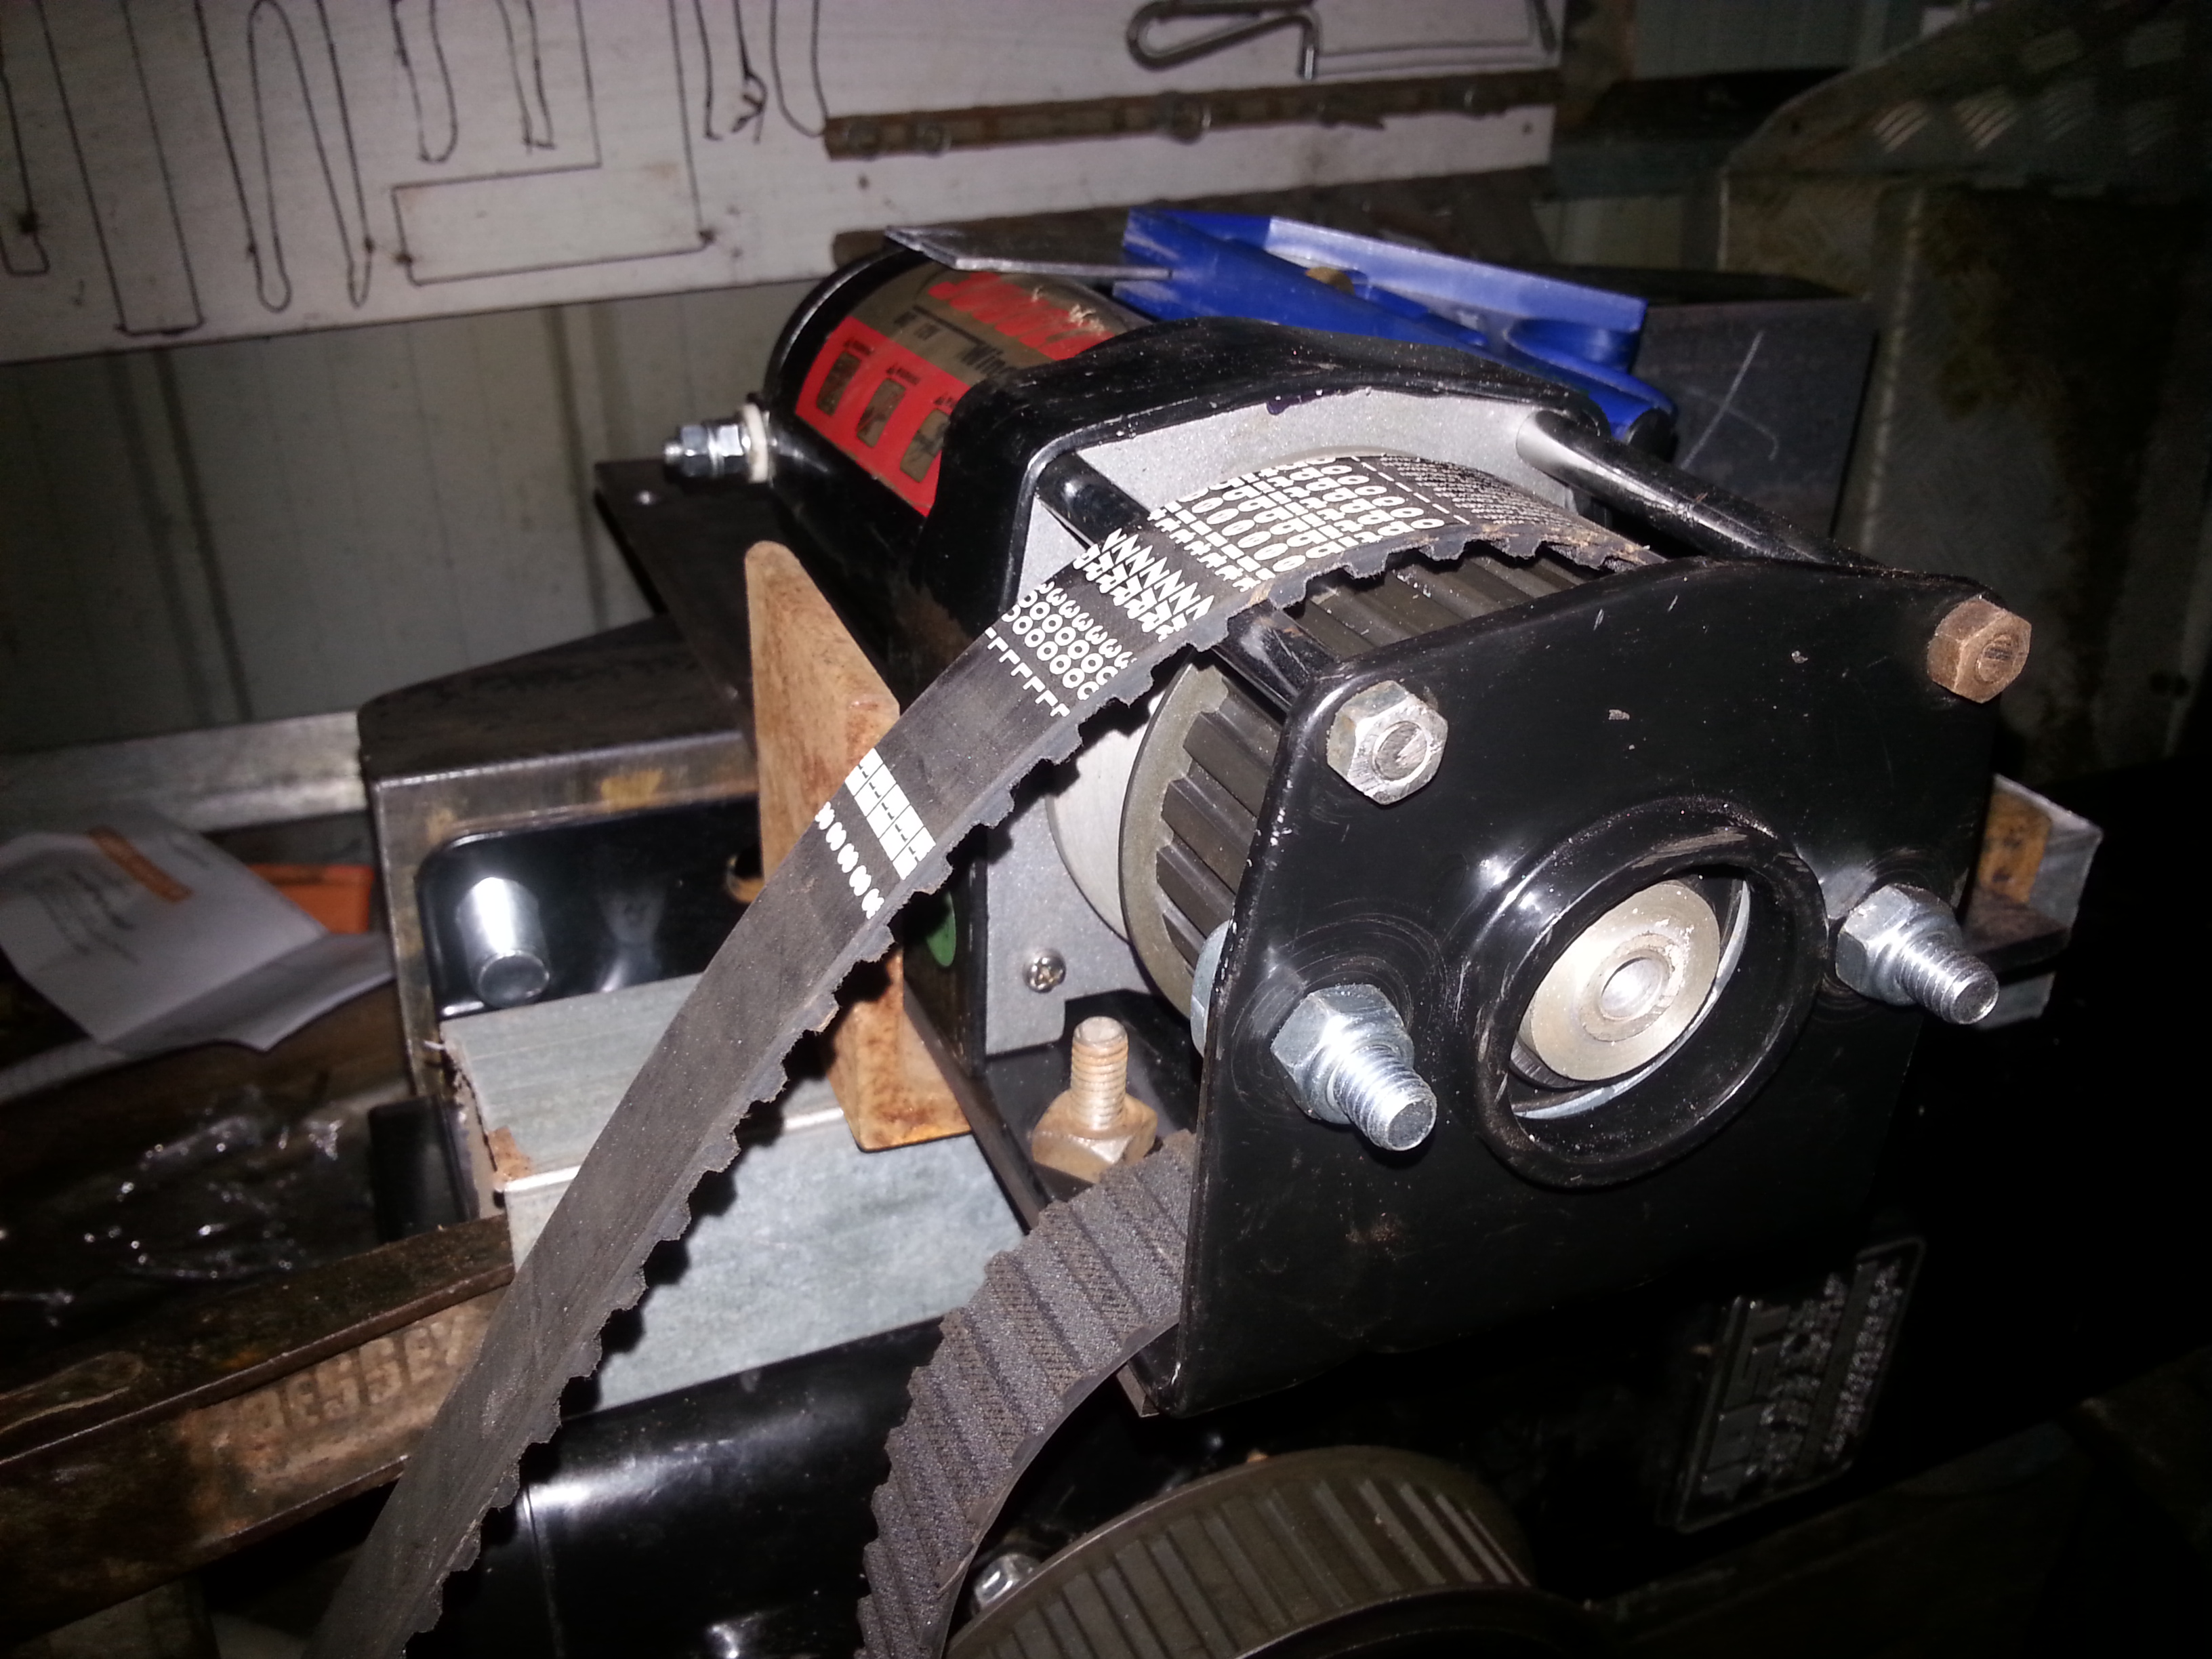
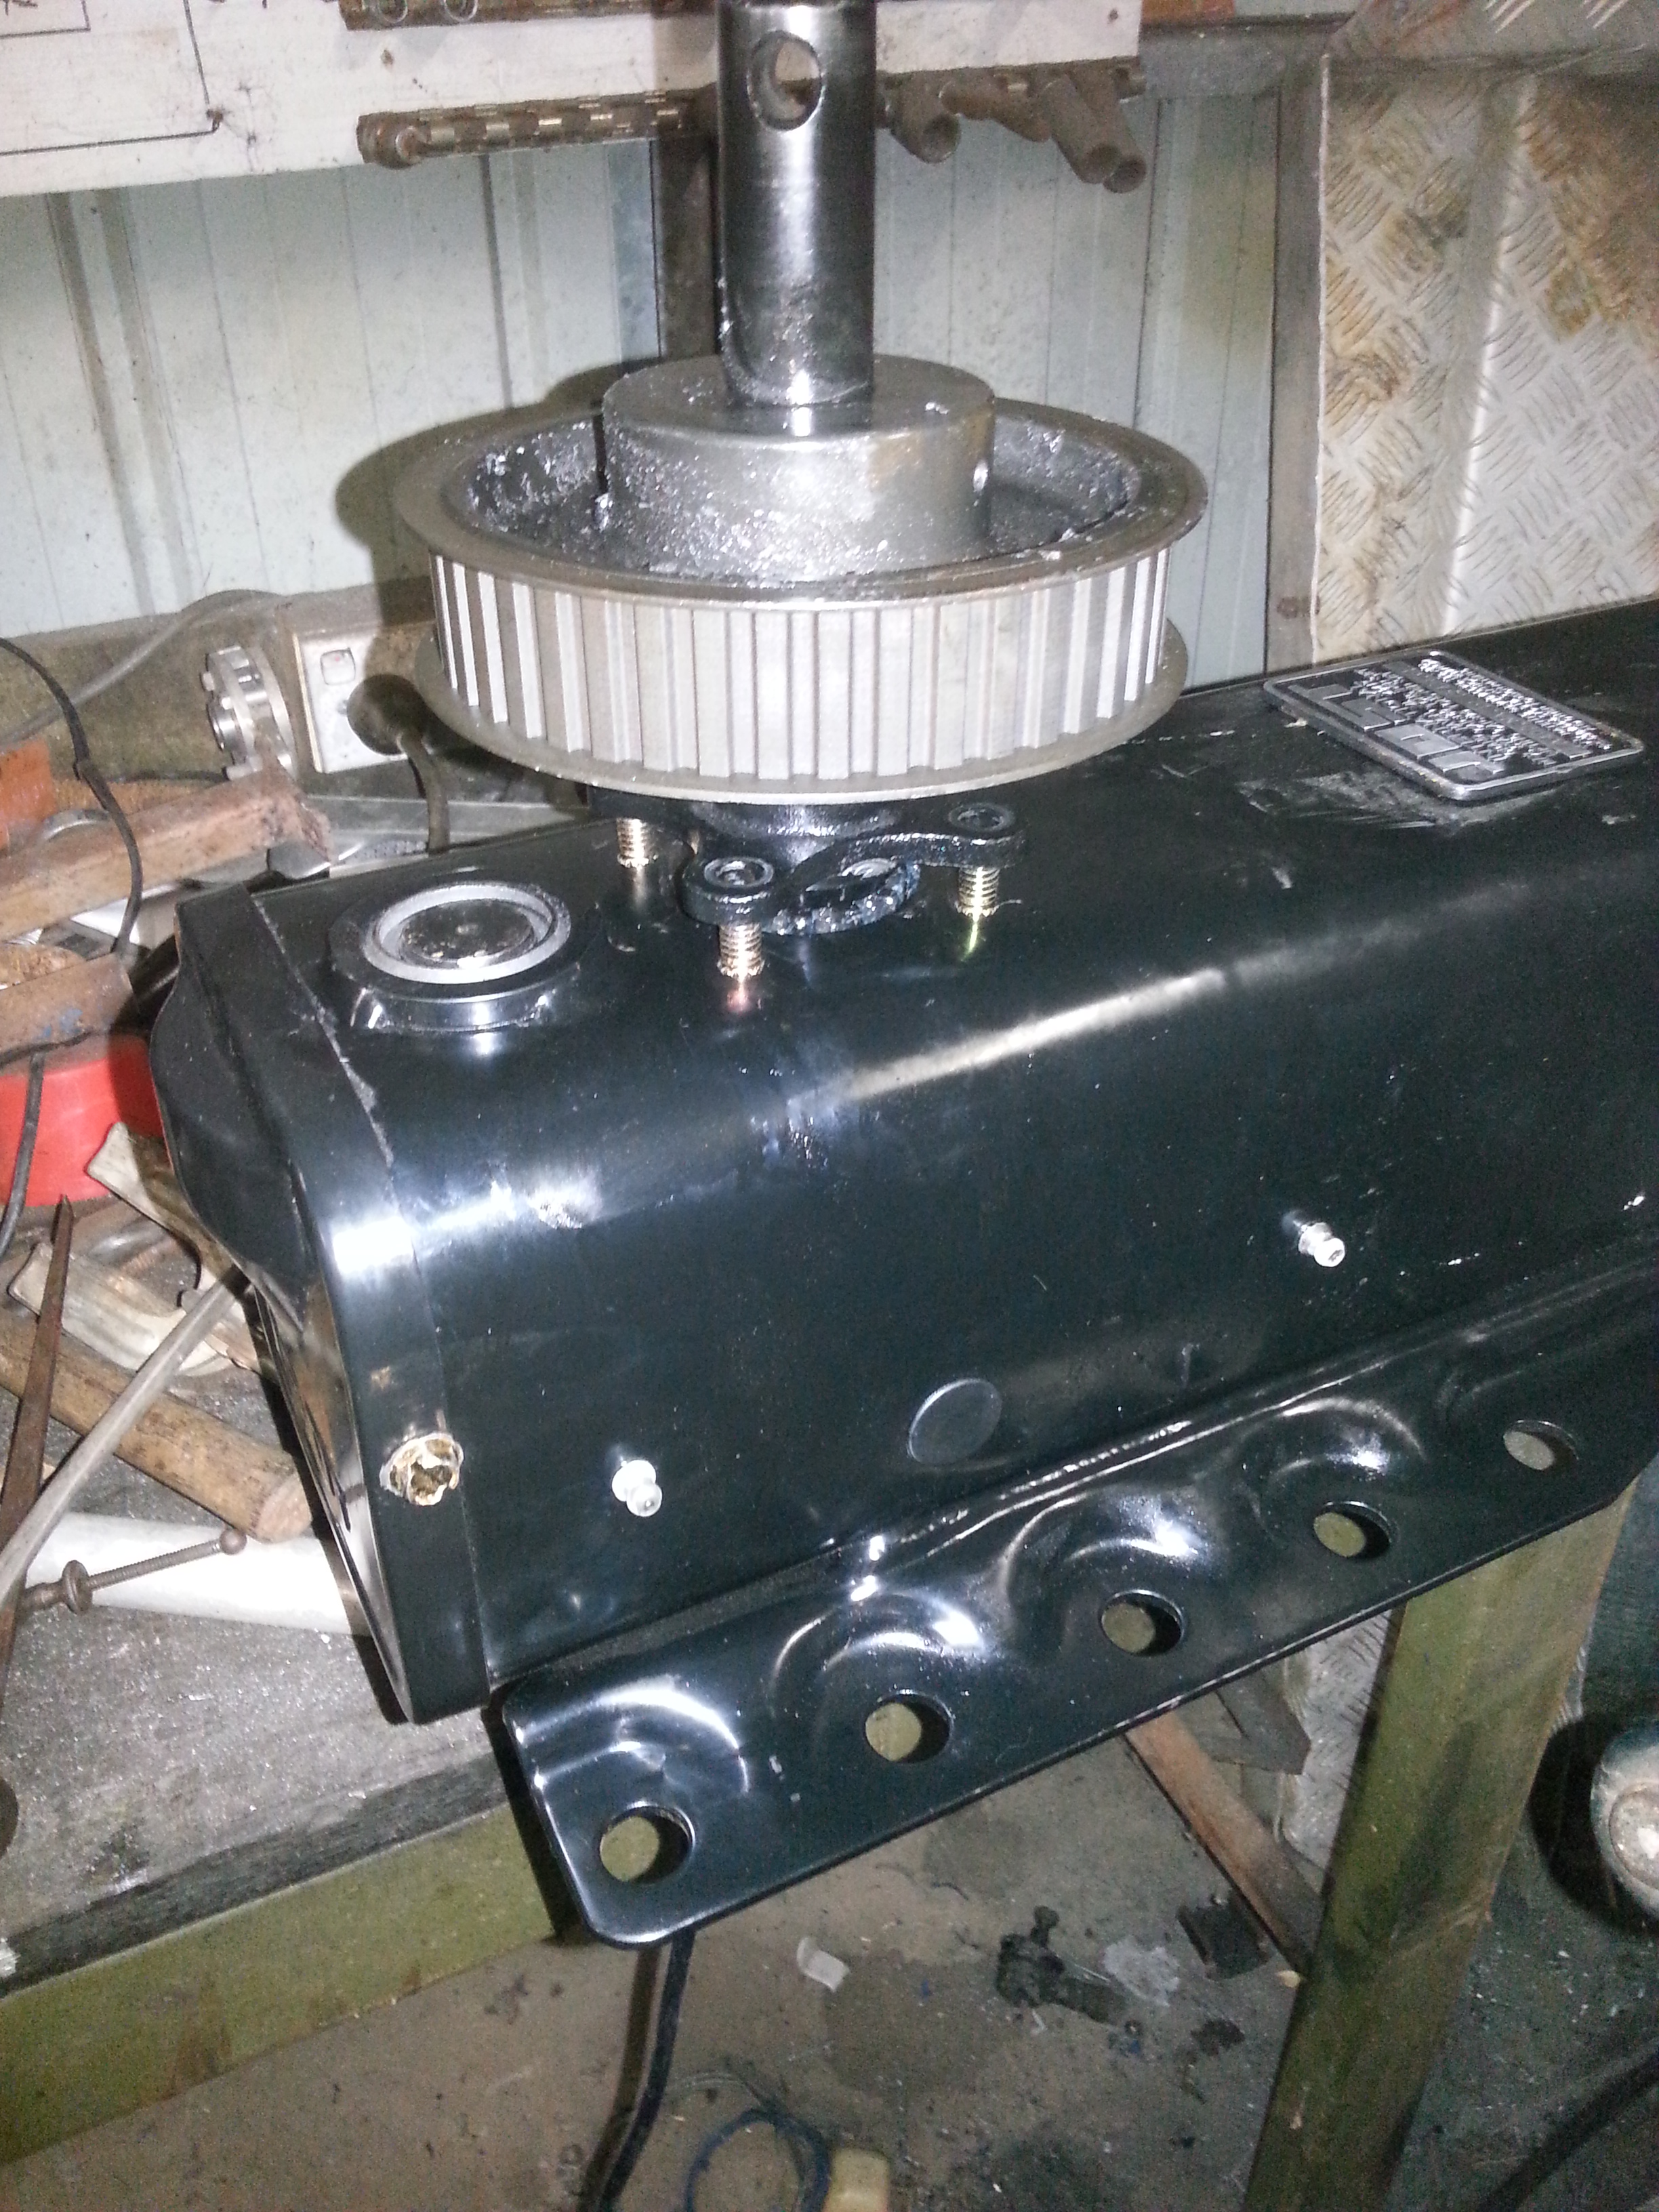
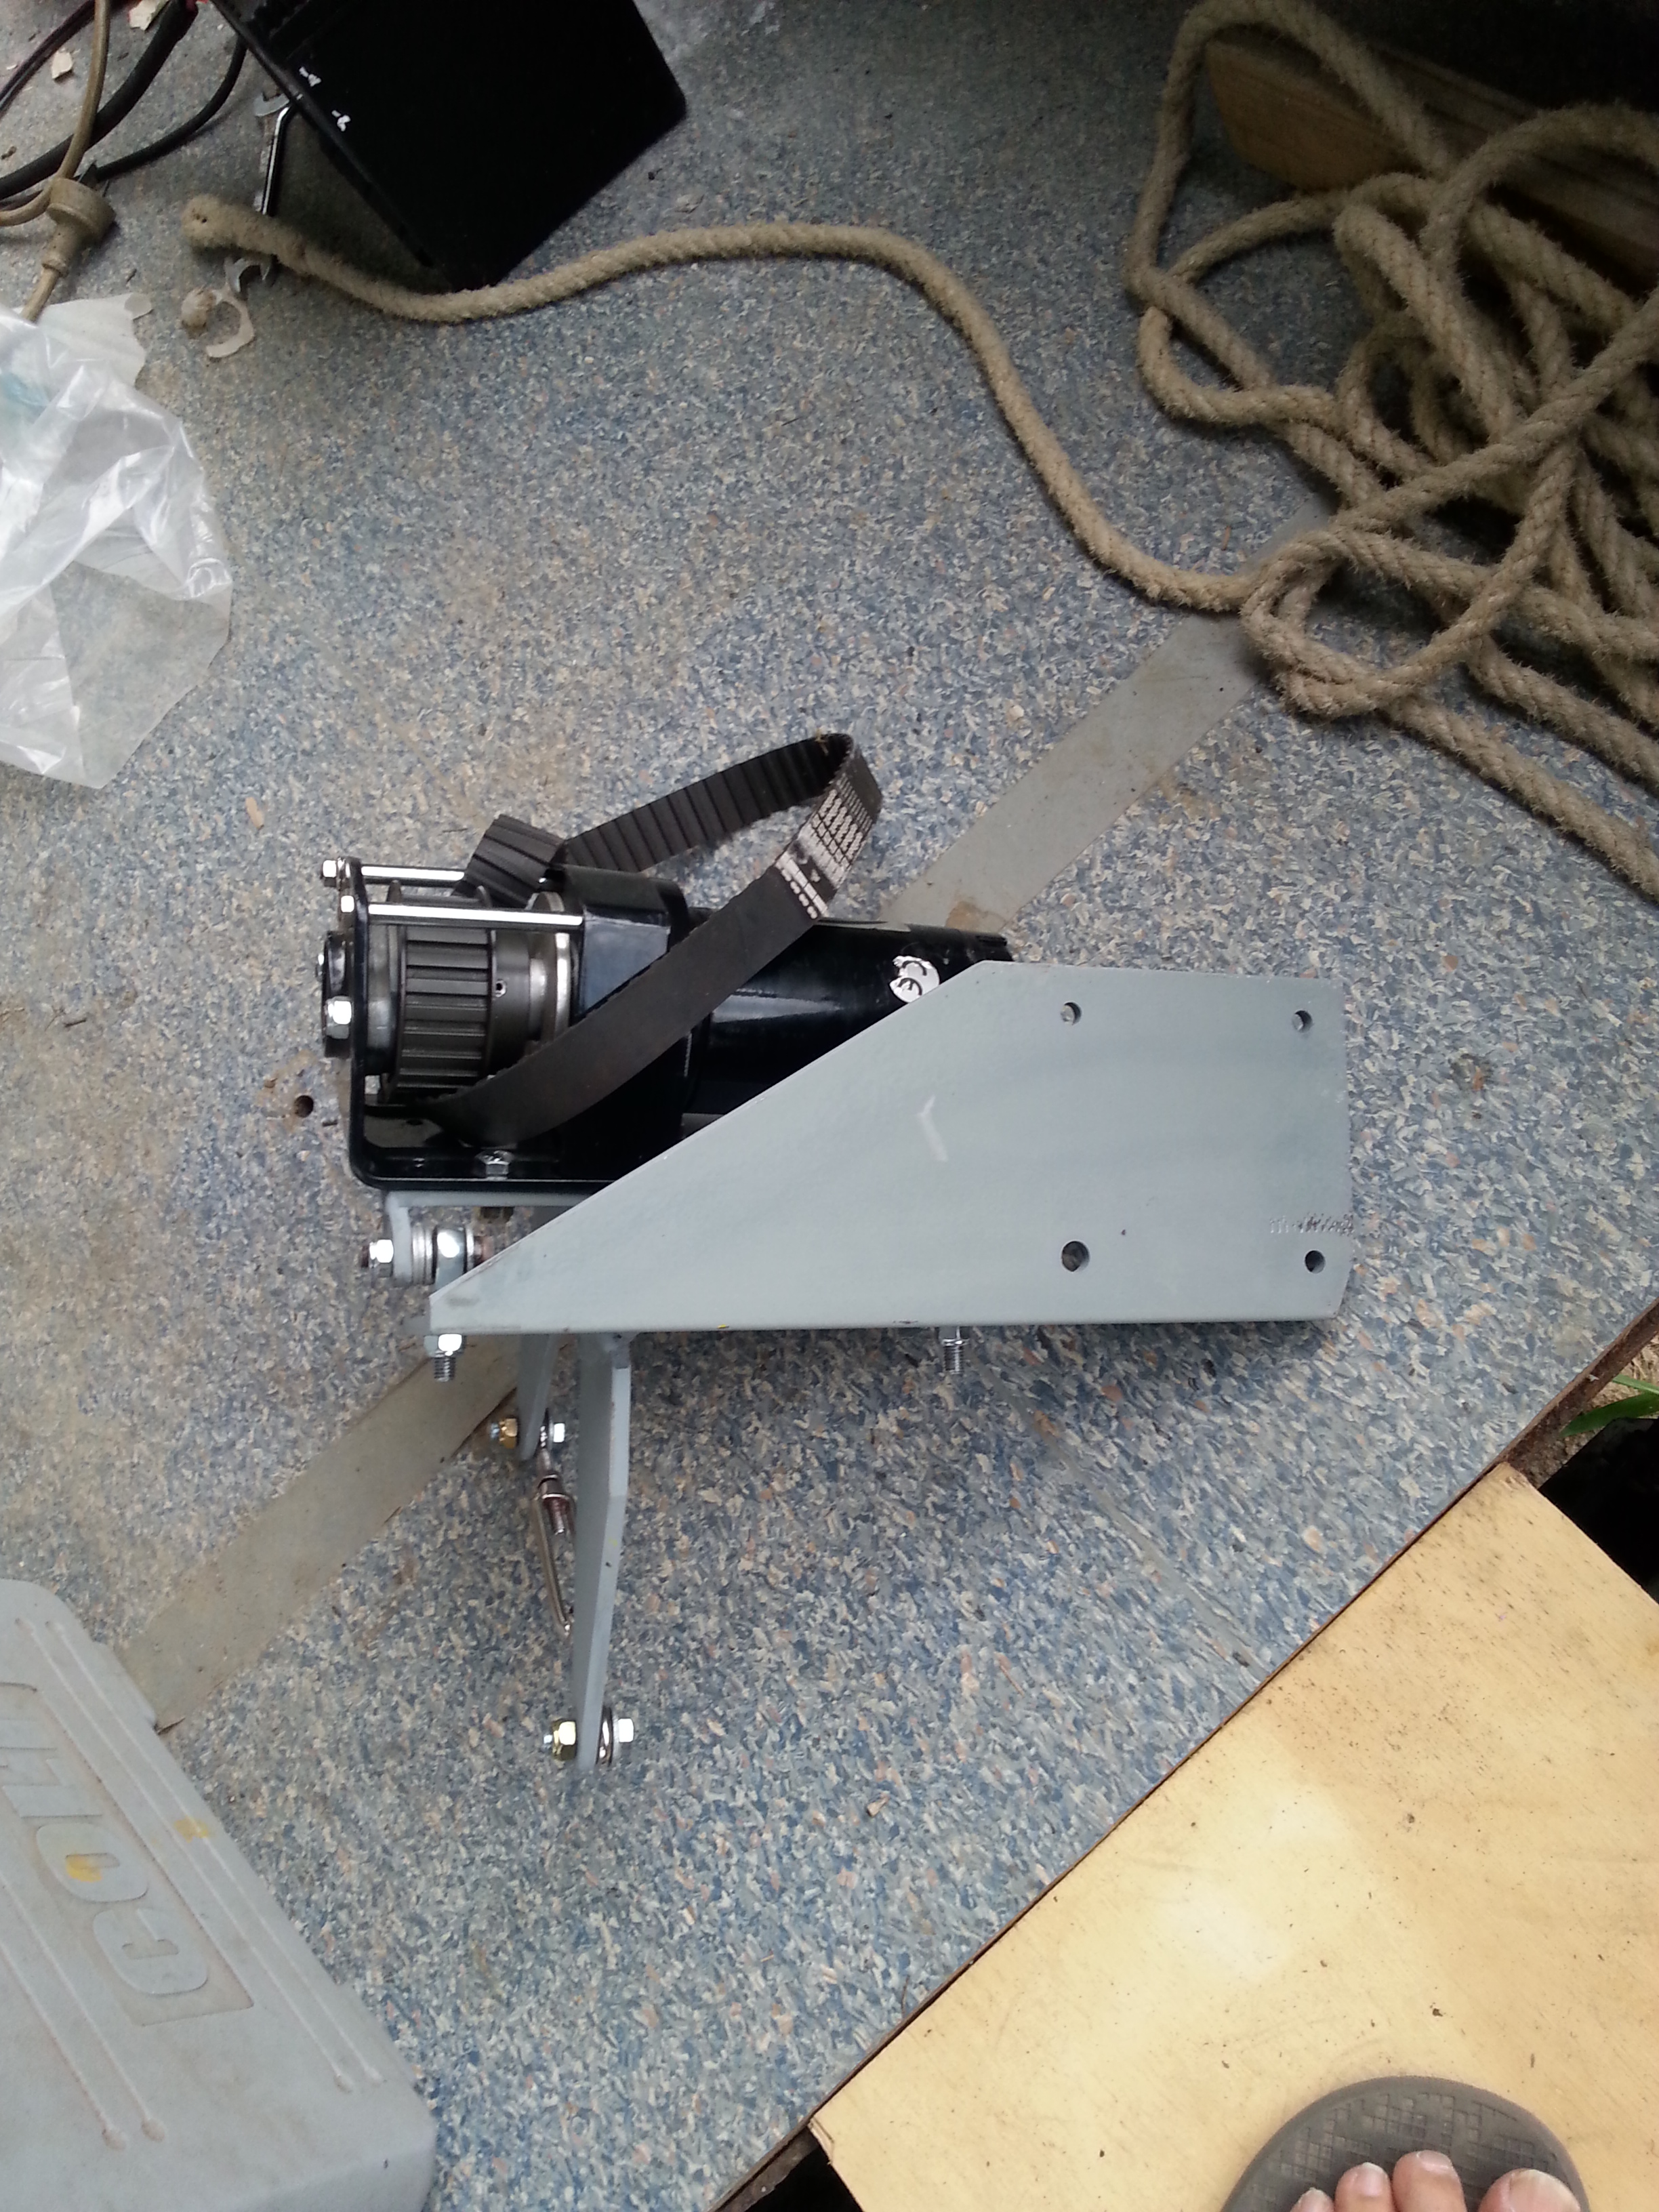
Next job will be fitting of the Auto Transmission, but that will be another Post.

Karen is having a play with the blog

Paint – the pearl does show up on the back. One picture shows yellow and the other orange. Just amazing! Could not see this before the picture! We are covering it with a mural though. Yes, completely! Don’t ask …

The Mural – Chris likes a peaceful scene of the ocean with a dinghy in the foreground, very nice BUt i quite like the FEROCIOUS Bengal tiger surfing in on a wave. Imagine the kids making their dad or mum stay behind the bus with ‘wow’ comments …

yellow

yellow

Link

The following are My 3D drawings of interior layout as completed at this point, the Driver & Passenger front seat have not been included in the drawings.

The area rear of the Passenger seat position is reserved for the computer desk & TV cabinet.

The original drawings were done with Sketchup which is a free download.

Unit directly to the left of Shower is the Wine & vegetable cabinet, the 210 litre fridge/Freezer is next left & then the pantry unit which is accessed from the kitchen area. the unit between the Microwave cabinet & the Lounge is the compartment for the 40 litre Engels fridge.

Unit directly to the left of Shower is the Wine & vegetable cabinet, the 210 litre fridge/Freezer is next left & then the pantry unit which is accessed from the kitchen area. the unit between the Microwave cabinet & the Lounge is the compartment for the 40 litre Engels fridge.

Area to the left of the Shower is the Hall way from the living area to the Bedroom.

Area to the left of the Shower is the Hall way from the living area to the Bedroom.

Area on Passenger side between Stairs & dinette will house the Passenger seat, Computer desk & TV cabinet.

Area on Passenger side between Stairs & dinette will house the Passenger seat, Computer desk & TV cabinet.

The white unit over the bed is the Air Conditioner, White unit on bottom wall just forward of the shower is Toilet with vanity in front of the Toilet.

The white unit over the bed is the Air Conditioner, White unit on bottom wall just forward of the shower is Toilet with vanity in front of the Toilet.

View from Drivers side, Shower screen has been fitted but too complexed for mere mortal to draw.

View from Drivers side, Shower screen has been fitted but too complexed for mere mortal to draw.

Update on the Hot Water

I have started to modify a Domestic water heater, as it is made of copper & in good condition it will be an easy modification. The unit has had 250mm cut out of its height & I will be adding 1 extra inlet & outlet ( 1 set for the Diesel water heater ) prior to Silver soldering the unit back together.

Once the mods are completed I can refit the outer case & re-insulate with 2 pack foam. The current 3600W element can then be replaced with a 1800W unit & the Hot water unit will be ready to fit.

The Diesel water heater has now been mounted inside the R/H rear wheel arch over the Air Bag system, the plumbing has been completed & is ready for connection to the Hot Water system. The exhaust pipe for the unit has been made to exit the Vehicle in front of the rear wheel just below the body work.

The Electrical controls have been fitted to the Kitchen side of the Pantry wall just below the ceiling, from this point the circulation pump & the Diesel heater can be started, stopped or set to Auto.

The 2 halves of Hot water tank, Unit on the left is to have 250mm removed to reduce the capacity.

The 2 halves of Hot water tank, Unit on the left is to have 250mm removed to reduce the capacity.

Diesel unit on mounts over the R/H front Air Bag of rear suspension.

Diesel unit on mounts over the R/H front Air Bag of rear suspension.

View of the Diesel Hot water unit from over the Driver side rear wheel.

View of the Diesel Hot water unit from over the Driver side rear wheel.

The 315L hot water unit opened up ready for modifications.

The 315L hot water unit opened up ready for modifications.

20140402_154838

Diesel hot water unit visible behind the plumbing, due to the position of this unit I have added an Air Cleaner to the intake. The Air Cleaner can be acessed through a hatch in the side of the RV.


Lower Left Hatch is for Access to Diesel heater filter.

Lower Left Hatch is for Access to Diesel heater filter.

The Transit Seats.

The Final seating arrangements are to be the forward facing Dinette seat replaced with a Coach seat which has the Seat belts built in, We have purchased a new ISRI 6860 Air seat for the front passenger,this will meet registration requirements for the 4 seat compliancing.

The front passenger seat has been fitted with a turntable & Arm rests thus allowing it to be used as a Lounge & Computer chair when not in Transit, it was recovered in a material to match the 2 seat lounge unit.

The old drivers seat has now been updated to a ISRI 6860 suspension seat to match the passenger seat, however we have left it with the original covering. 1 of the better of the old bench seats from the original lay out has been used for the Dinette at present but both it & the Coach seat are yet to be recovered with our selection of fabric.

The Dinette table folds back to the wall when in transit allowing more room for these passengers when & if on board.


The Driver now gets a new ISRI 6860 seat as well.

The Driver now gets a new ISRI 6860 seat as well.

The drivers new seat in place ready for action.

The drivers new seat in place ready for action.

ISRI 6860 V3

The Passengers Throne, I spoil her too much.

Front view, seat has turntable which allows 360 deg. rotation.

Front view, seat has turntable which allows 360 deg. rotation.

ISRI 6860 V6

The front Passenger seat in position beside the stairs from the driving platform. It was finally mounted slightly forward & to the left of this position to allow the Main lounge to be reclined without interference once the Passenger seat was rotated.

The Dinette table extended, i have used this timber for all bench & table tops throughout the RV.

The Dinette table extended, i have used this timber for all bench & table tops throughout the RV.

Both sets of seats are to be recovered with a change of Material to better suit the colors in the Vehicle.

Both sets of seats are to be recovered with a change of Material to better suit the colors in the Vehicle.

I have replaced the forward facing seats with a Coach seat, these incorporate Seat belts which meets the transit seating requirements.

I have replaced the forward facing seats with a Coach seat, these incorporate Seat belts which meets the transit seating requirements.


Stabilizer system mountings & installation.

Now that the Electrical drive system is completed for the Rear stabilizers work can proceed to the Leg mountings, these will be constructed from 8mm plate & 100 x 150 x 8mm steel angle. the completed mounts will be welded to the outer ends of the rear suspension Air Bag cross members.

The legs will be bolted behind the cross members in an area which is unimpeded by other equipment. As I am not confident in my vertical welding abilities I will have these mounts welded by a qualified welder, a friend of mine has been very kind in accepting this challenge as the position of the job makes it very hard to access. (Thank you Ken Schoulderman)

The cost of the rear stabilizer system  not counting my time has been very reasonable, Total Cost for Equipment has been just under $1400.00 + (2 cartons of Beer).

Leg bracket to be welded to the rear most suspension beam.

Leg bracket to be welded to the rear most suspension beam.

Passenger side Leg bracket photo 2

Space between the mount bracket & rear wall of wheel well is very tight, does not look so in photo but there is just enough room for Leg to be bolted behind.

Ready to be welded to beam.

Ready to be welded to beam.

L/H leg mounting bracket

This is the Passenger side unit, it will be welded in place a little closer to the side wall of the RV.

L/H side Leg & Bracket ready for welding to Frame.

Final mounting position for welding, the small hat section on the left of mount is for mounting the Electrical control unit for the drive motor.

R/H leg mounted on Bracket ready to be Welded to Frame

Drivers side mount with leg attached ready to be welded in place.

Floor section removed for work on Shower & Plumbing

The work on the rear Legs was done while the rear floor had been removed for working on the Shower, Plumbing & Grey water tank.

Rear Stabilizer system overview & drive system.

The Leveling / Stabilizers for the RV ( I am told I can not call it a Bus any longer ) had posed quite a problem for some time as the commercially available units were some what more expensive than I was prepared to pay, I have looked into using individual Hydraulic components & modifying the RV’s Air bag system But both created problems of their own.

I have settled on a Mechanical system utilizing Semi Trailer landing legs, these units have a greater weight lifting capacity & are substantially less expensive once completed.

The ” Jost” Legs selected have a 490mm lift & 25 ton maximum weight. I am driving these units with 12v electric motors which are belt driven on the rear of the RV but chain driven on the front unit.

The drive motors were sourced from 3000lb winch units bought from Ebay, these units cost $86.00 each & come with both Wired & Wireless remote controls.

Pine Rivers bearings were very helpful when sourcing the Pulley & Belt / Chain & sprockets systems.

I will be using 2 stabilizers on the rear of the RV & 1 central unit on the front thus creating a tripod system, this will ensure no torsional stress will be applied to the Chassis when the lift system is used for long periods.

The Electrical system for the drive motors will consist of a Master solenoid to isolate the system, this is controlled from a switch box mounted behind the drivers seat. This houses a master fuse for all power to the lifting legs which are then controlled by separate wireless remotes, there is a facility to use wired controllers if necessary.

Machining the drive pulley to fit the Winch motor arbor.

Machining the drive pulley to fit the Winch motor arbor. Lathe is a 1921 Hercus still going strong.

The winch arbor has been machined to take the driven pulley.

The winch arbor has been machined to take the driven pulley.

Setting the support bearing position prior to fitting the Drive pulley.

Setting the support bearing position prior to fitting the Drive pulley.

Machining completed & Pulley fitted, unit is being set up to make adjusting system for belt tensioning.

Machining completed & Pulley fitted, unit is being set up to make adjusting system for belt tensioning.

The unit is in correct position for mounting, to be rotated 90 deg. Anti-Clockwise & hinged by the lower edge where the belt is feeding out over the lower plate.

The unit is in correct position for mounting, to be rotated 90 deg. Anti-Clockwise & hinged by the lower edge where the belt is feeding out over the lower plate.

The mounting bracket in construction, this part will be bolted to the Leg mounting bracket once welded to the Suspension beam.

The mounting bracket in construction, this part will be bolted to the Leg mounting bracket once welded to the Suspension beam.

Drive sprocket on Leg with shaft ready to be trimmed.

Landing Leg with the Driven pulley mounted, shaft has yet to be shortened.

1 of the 2 drive motors ready to be bolted to the completed leg brackets # 1

Completed drive motor & bracket with adjustment facility.

1 of the 2 drive motors ready to be bolted to the completed leg brackets # 2

Drive unit ready to be fitted to the Leg mount.

Electrical Control cabinet update 23/08/14

Electrical Control cabinet is almost completed the side panels have been built, covered & fitted. The door is in the process of being made & will soon be installed.

The Fire extinguisher is now in position & the Lounge has been temporarily moved into place prior to making the cabinet for the Chest fridge at the other end of the Lounge.

The only work to be completed on the Electrical cabinet now is the wiring of the Solar system once the Solar panels have been installed.

The electrical cabinet is finished but for the door to access the 1st aid kit, the display for the inverter state can be seen at the bottom rear of the blue panel.

The electrical cabinet is finished but for the door to access the 1st aid kit, the display for the inverter state can be seen at the bottom rear of the blue panel.

Just waiting for the cabinet door to be completed.  One of the cabin fire extinguishers is to be mounted to the cabinet beside the 1st aid door & behind the drivers seat.

Just waiting for the cabinet door to be completed.
One of the cabin fire extinguishers is to be mounted to the cabinet beside the 1st aid door & behind the drivers seat.

Door to the 1st Aid cabinet installed & Fire extinguisher in place.

Door to the 1st Aid cabinet installed & Fire extinguisher in place.


With the lounge in position there is ample room to access the recline latch on the drivers end & still fit the Chest fridge on the opposite end.

With the lounge in position there is ample room to access the recline latch on the drivers end & still fit the Chest fridge on the opposite end.

Lounge in place beside the Electrical Panel.

Lounge in place beside the Electrical Panel.