The following are My 3D drawings of interior layout as completed at this point, the Driver & Passenger front seat have not been included in the drawings.
The area rear of the Passenger seat position is reserved for the computer desk & TV cabinet.
The original drawings were done with Sketchup which is a free download.

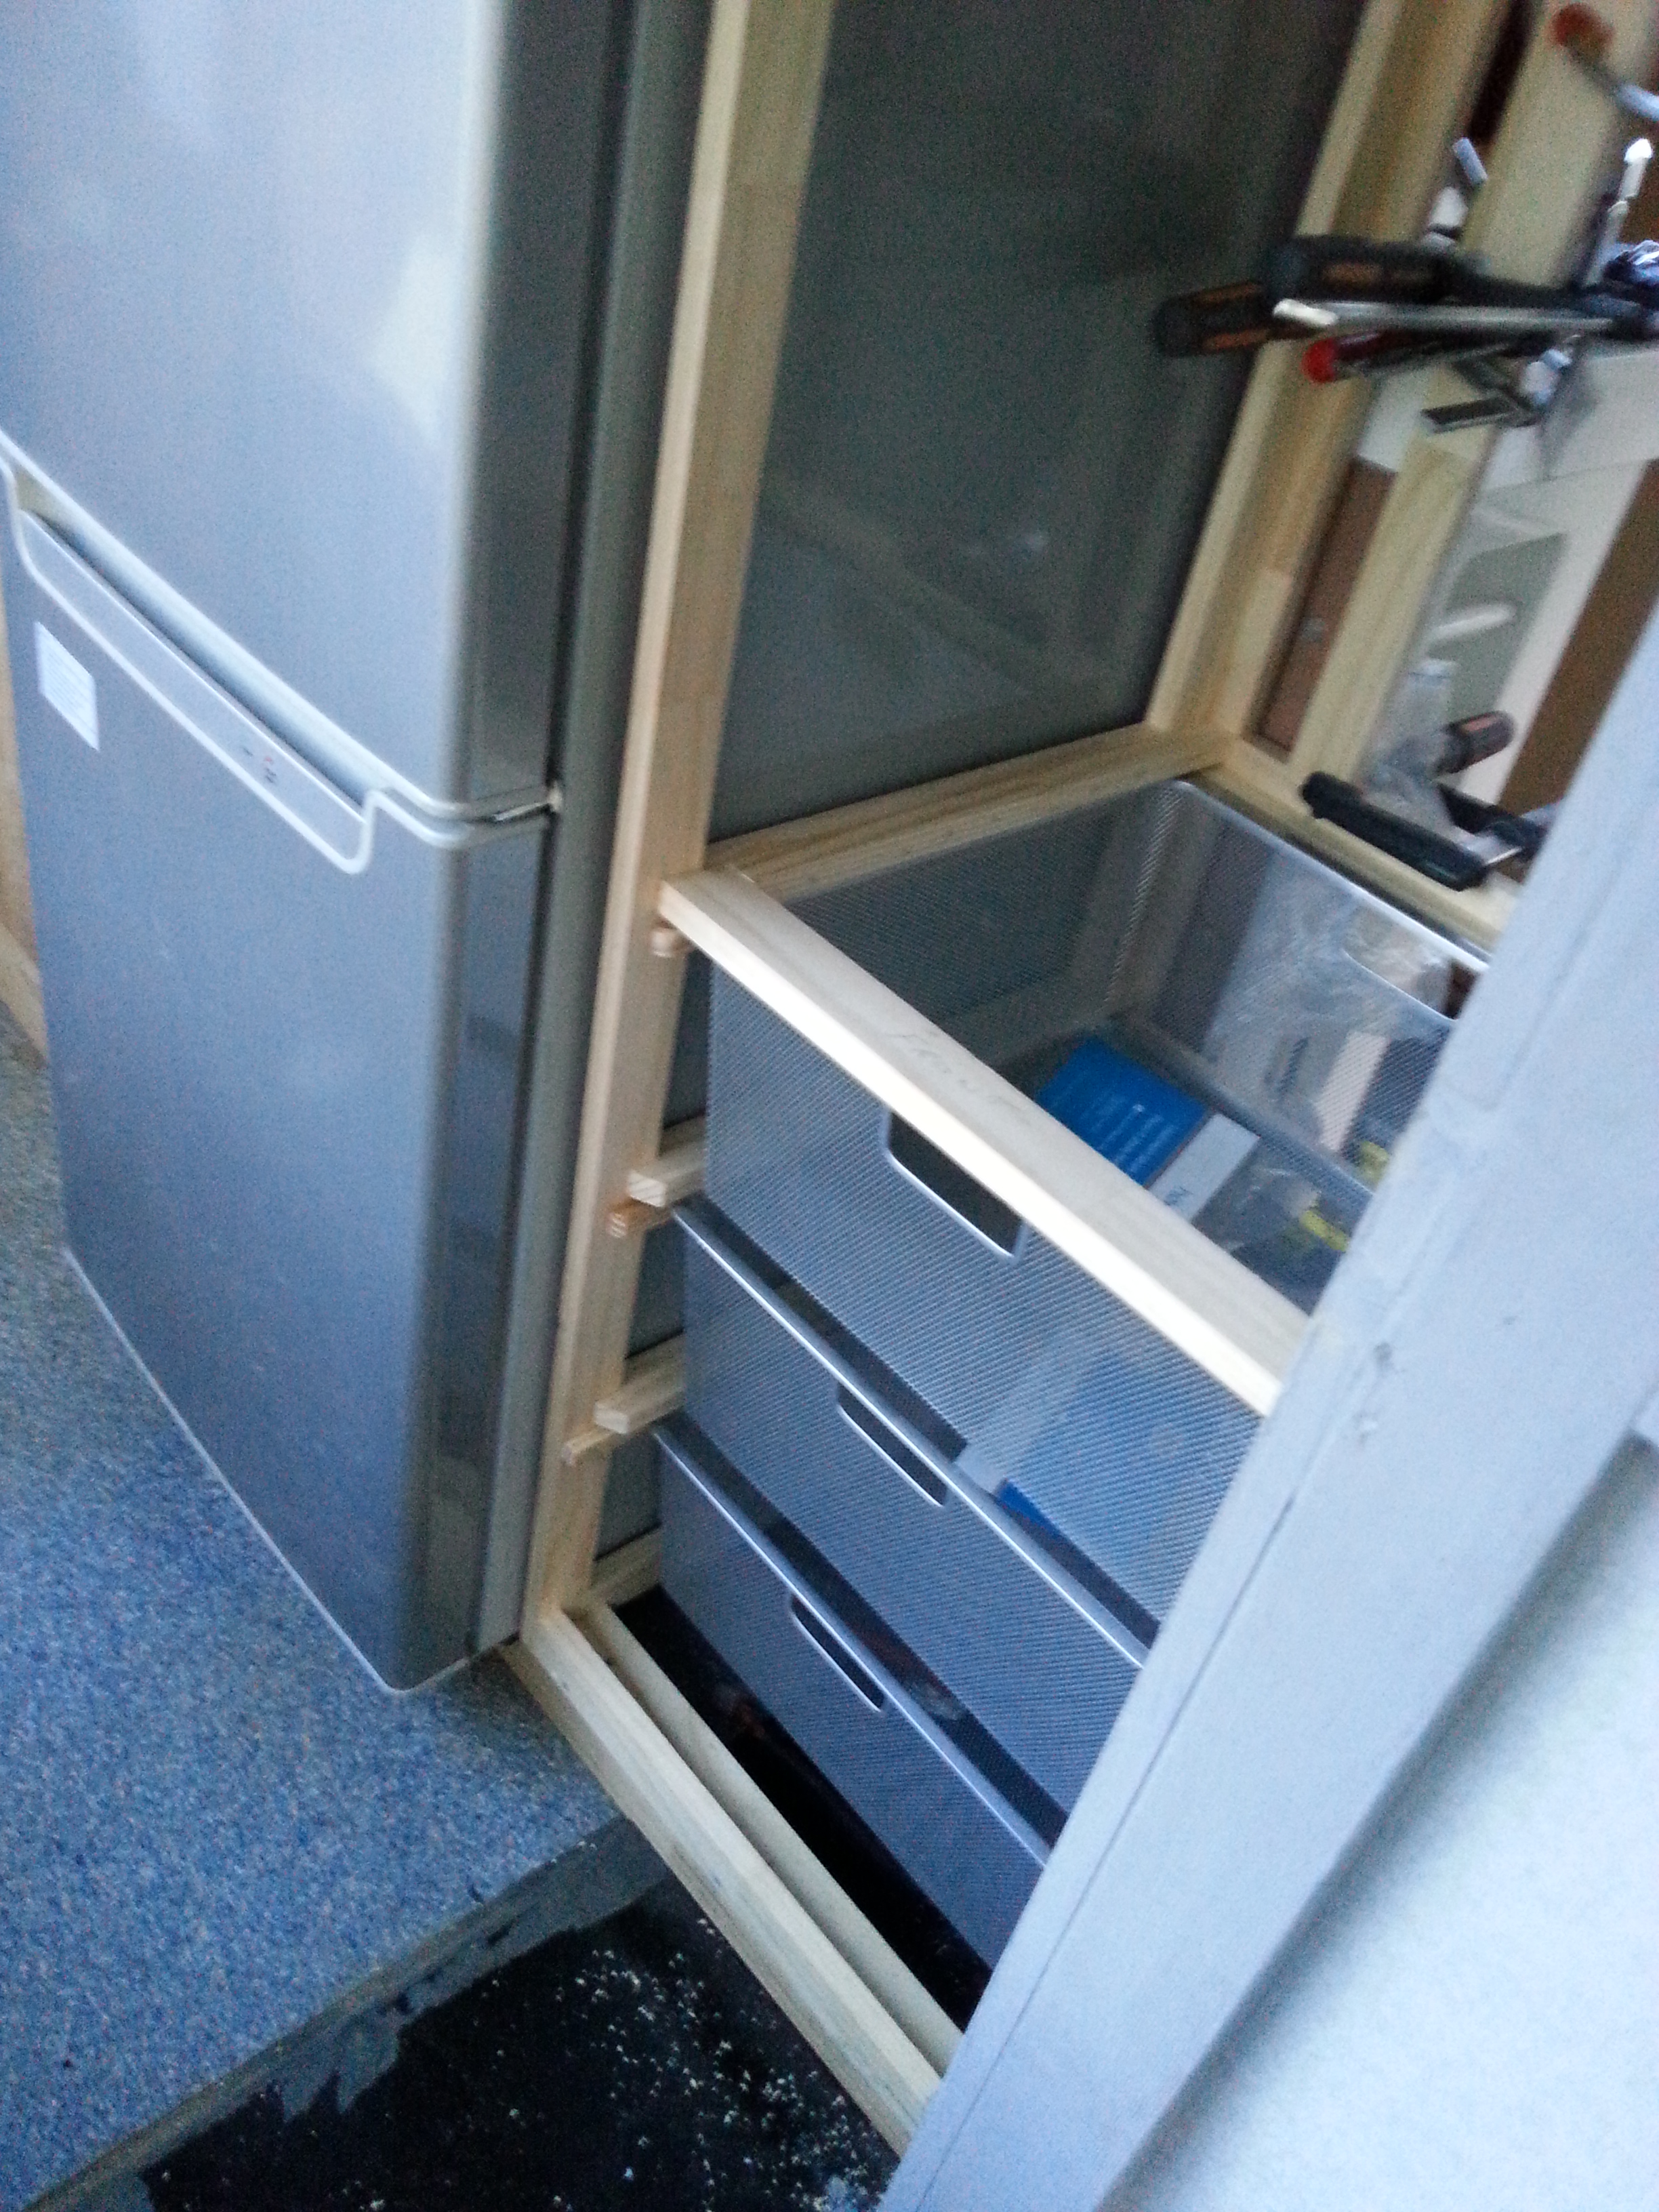
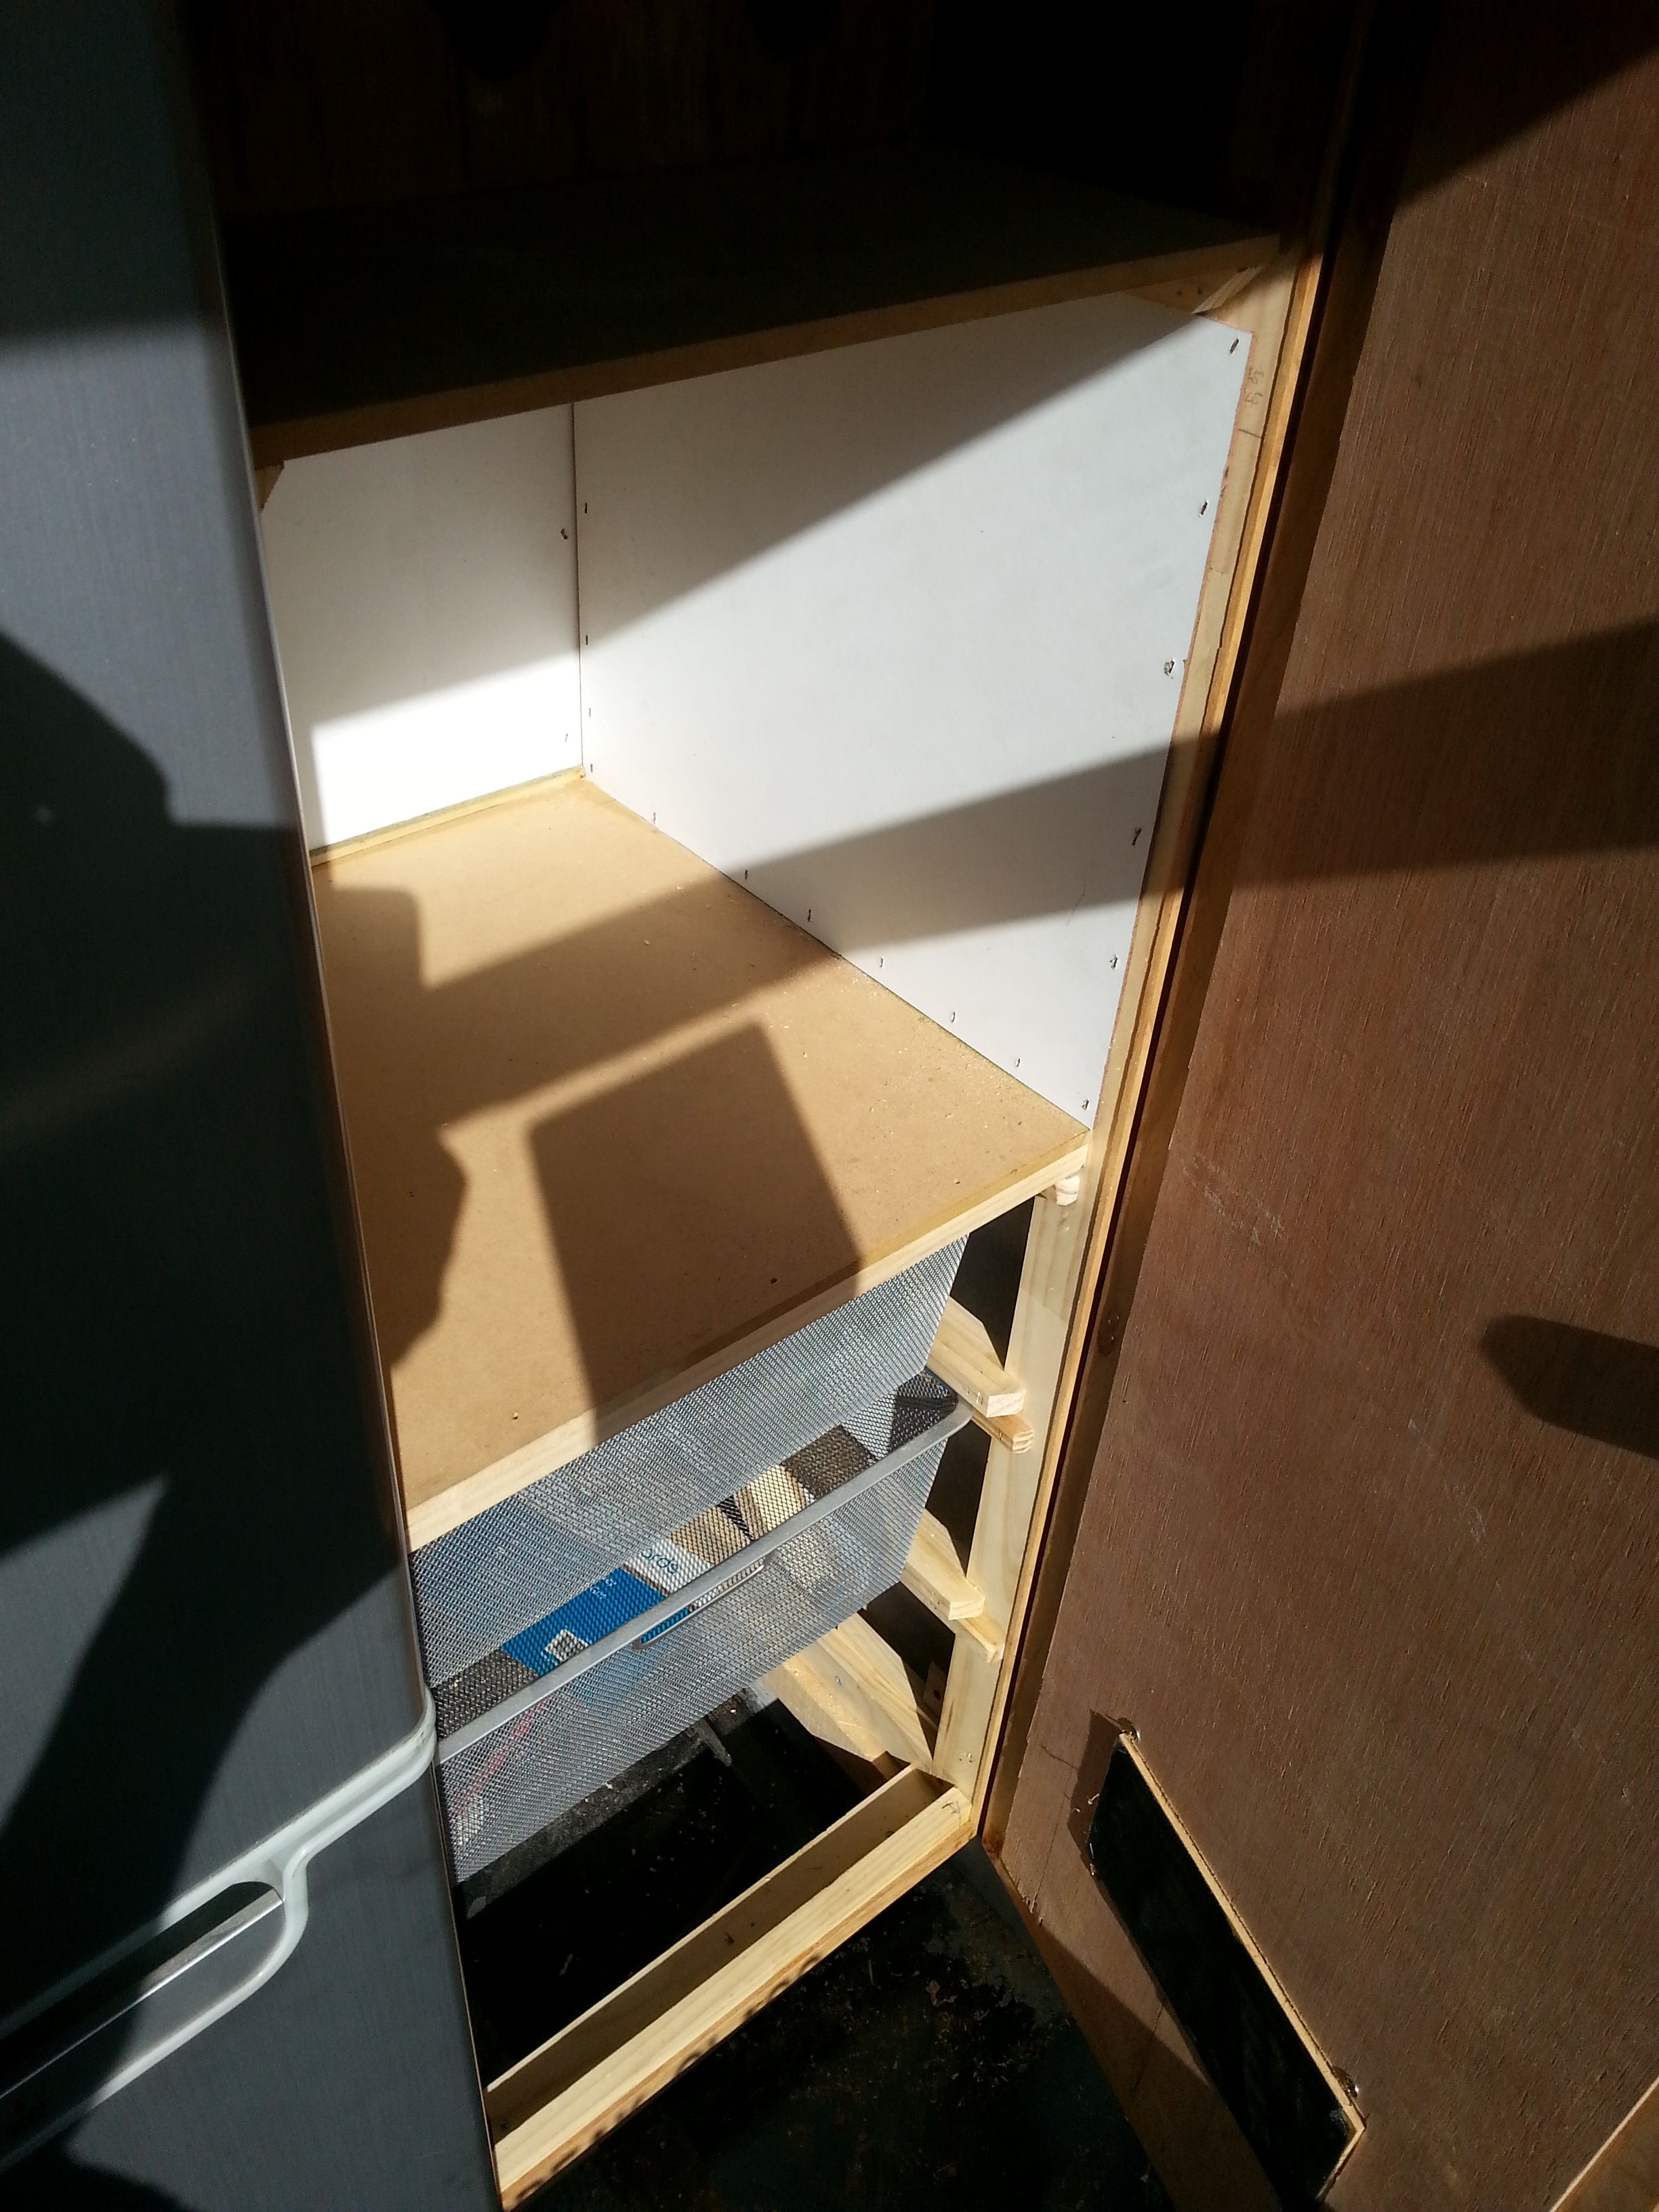
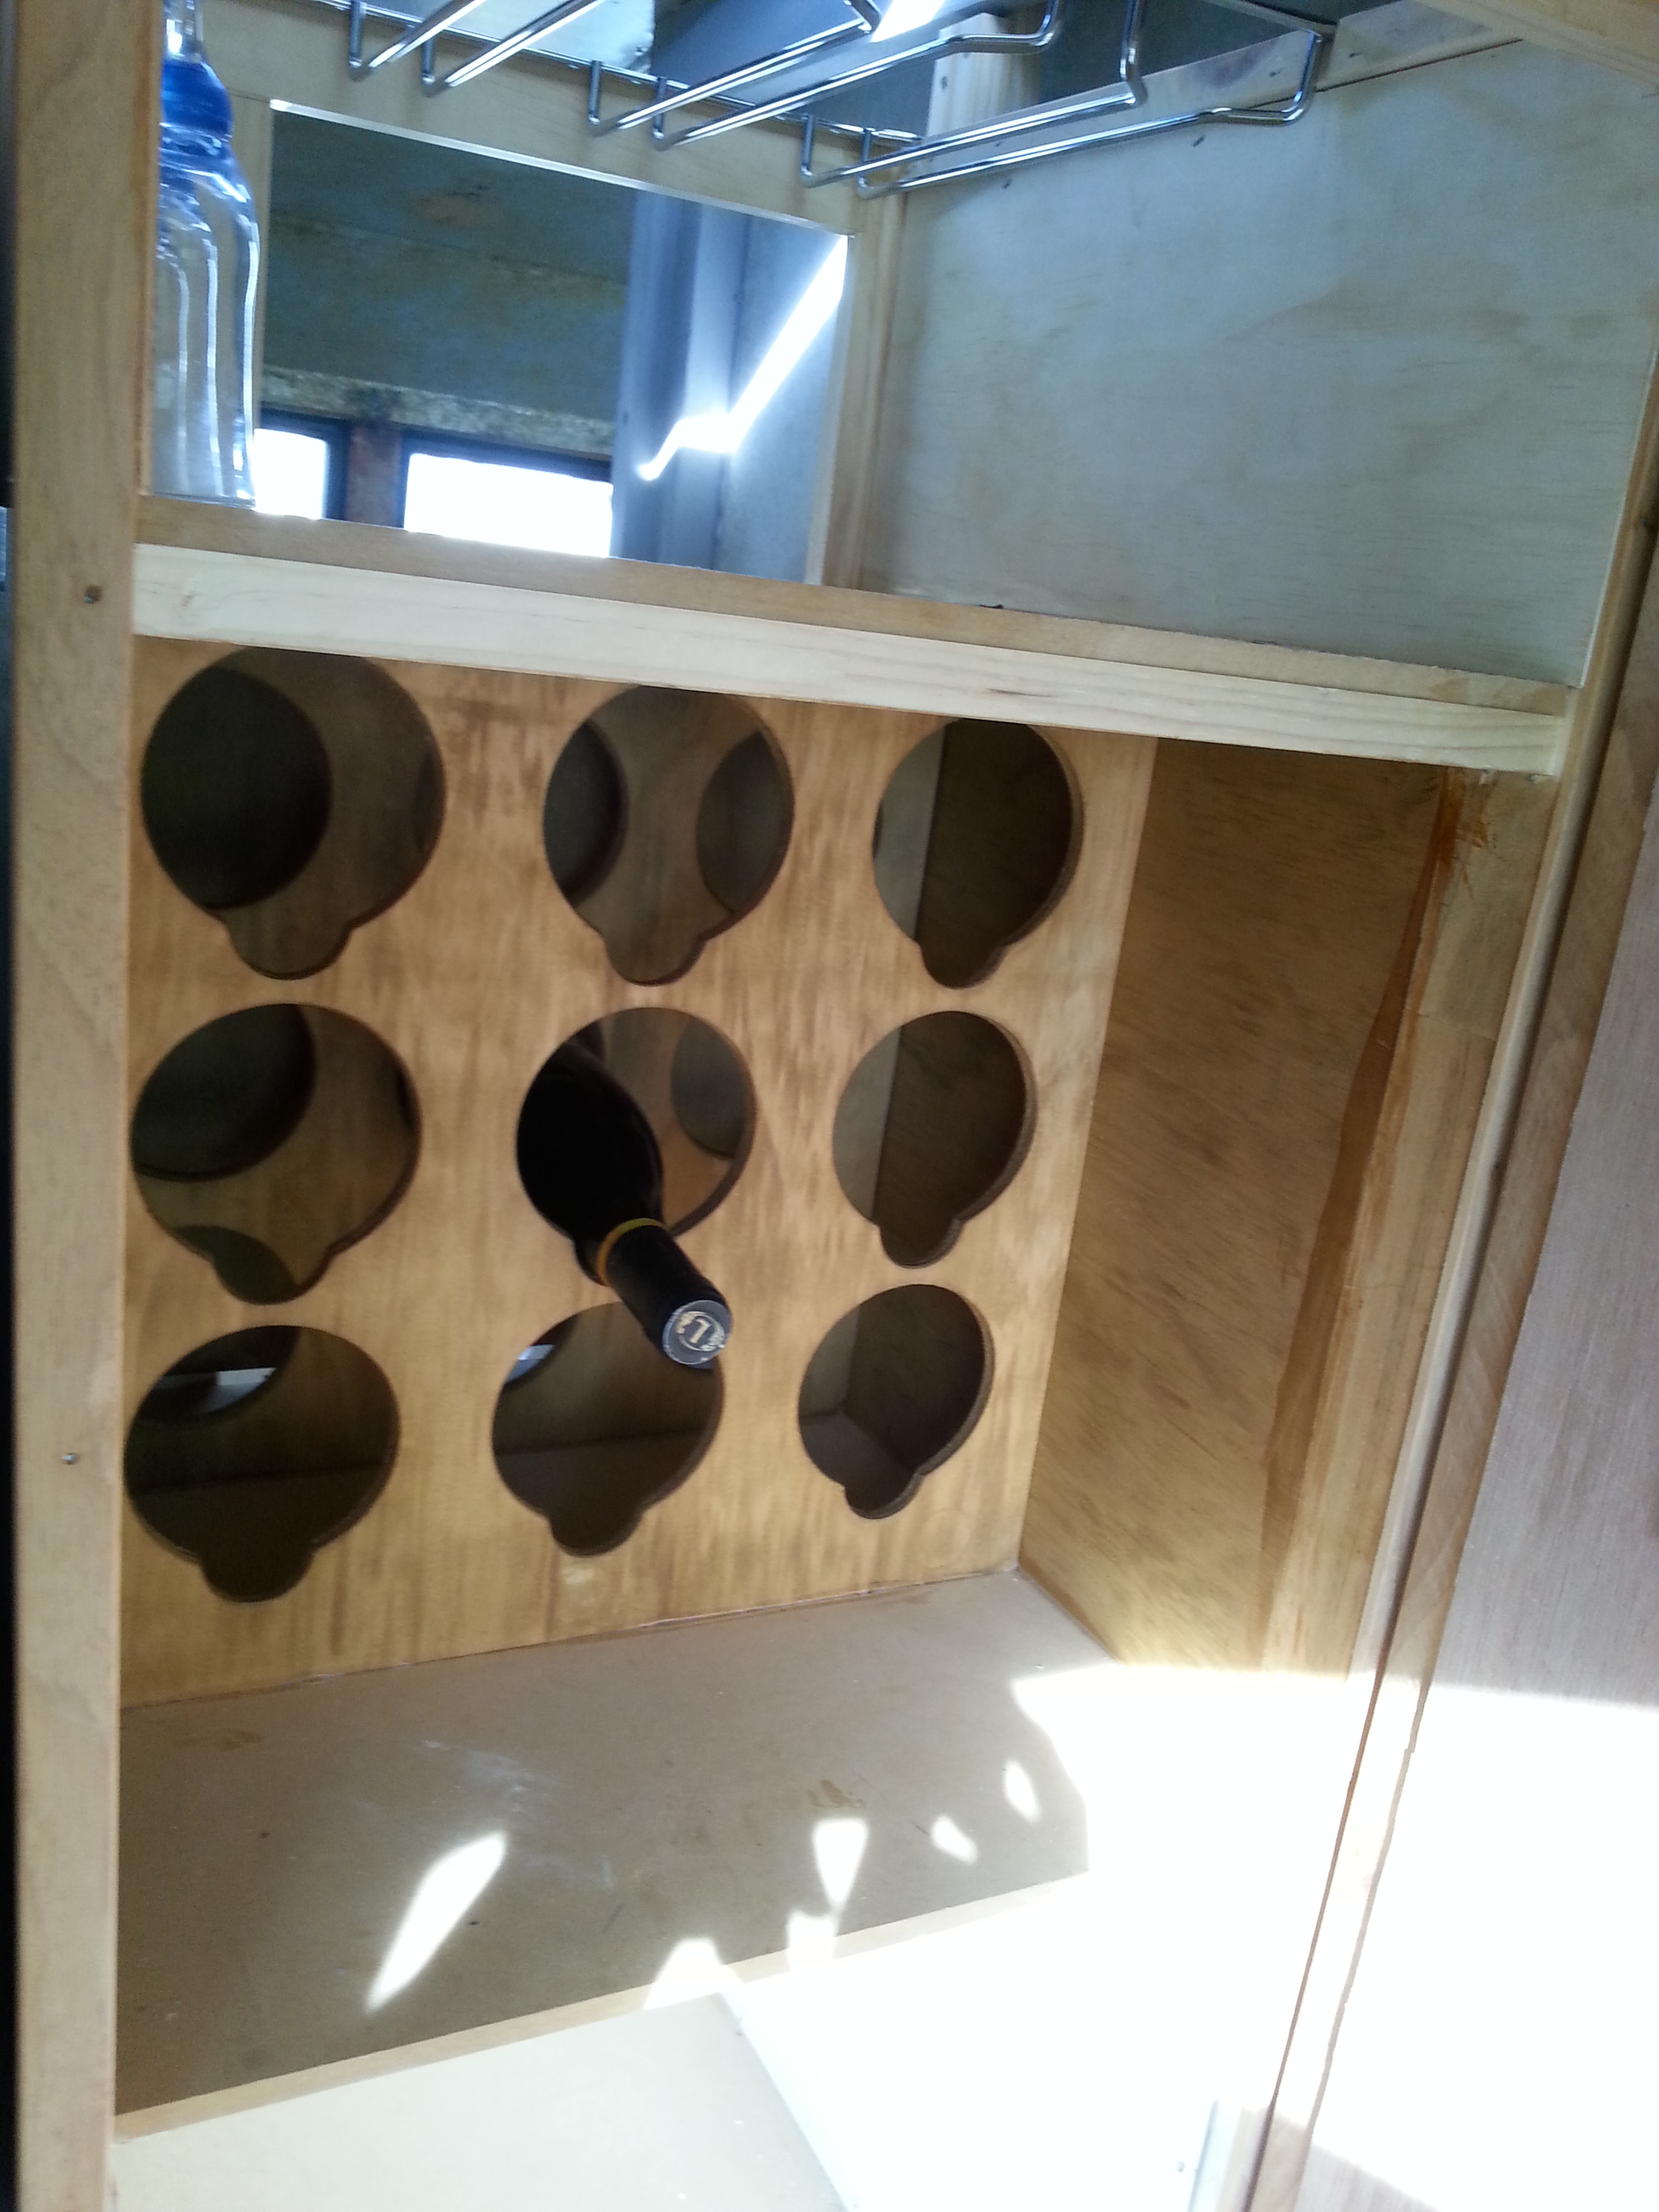
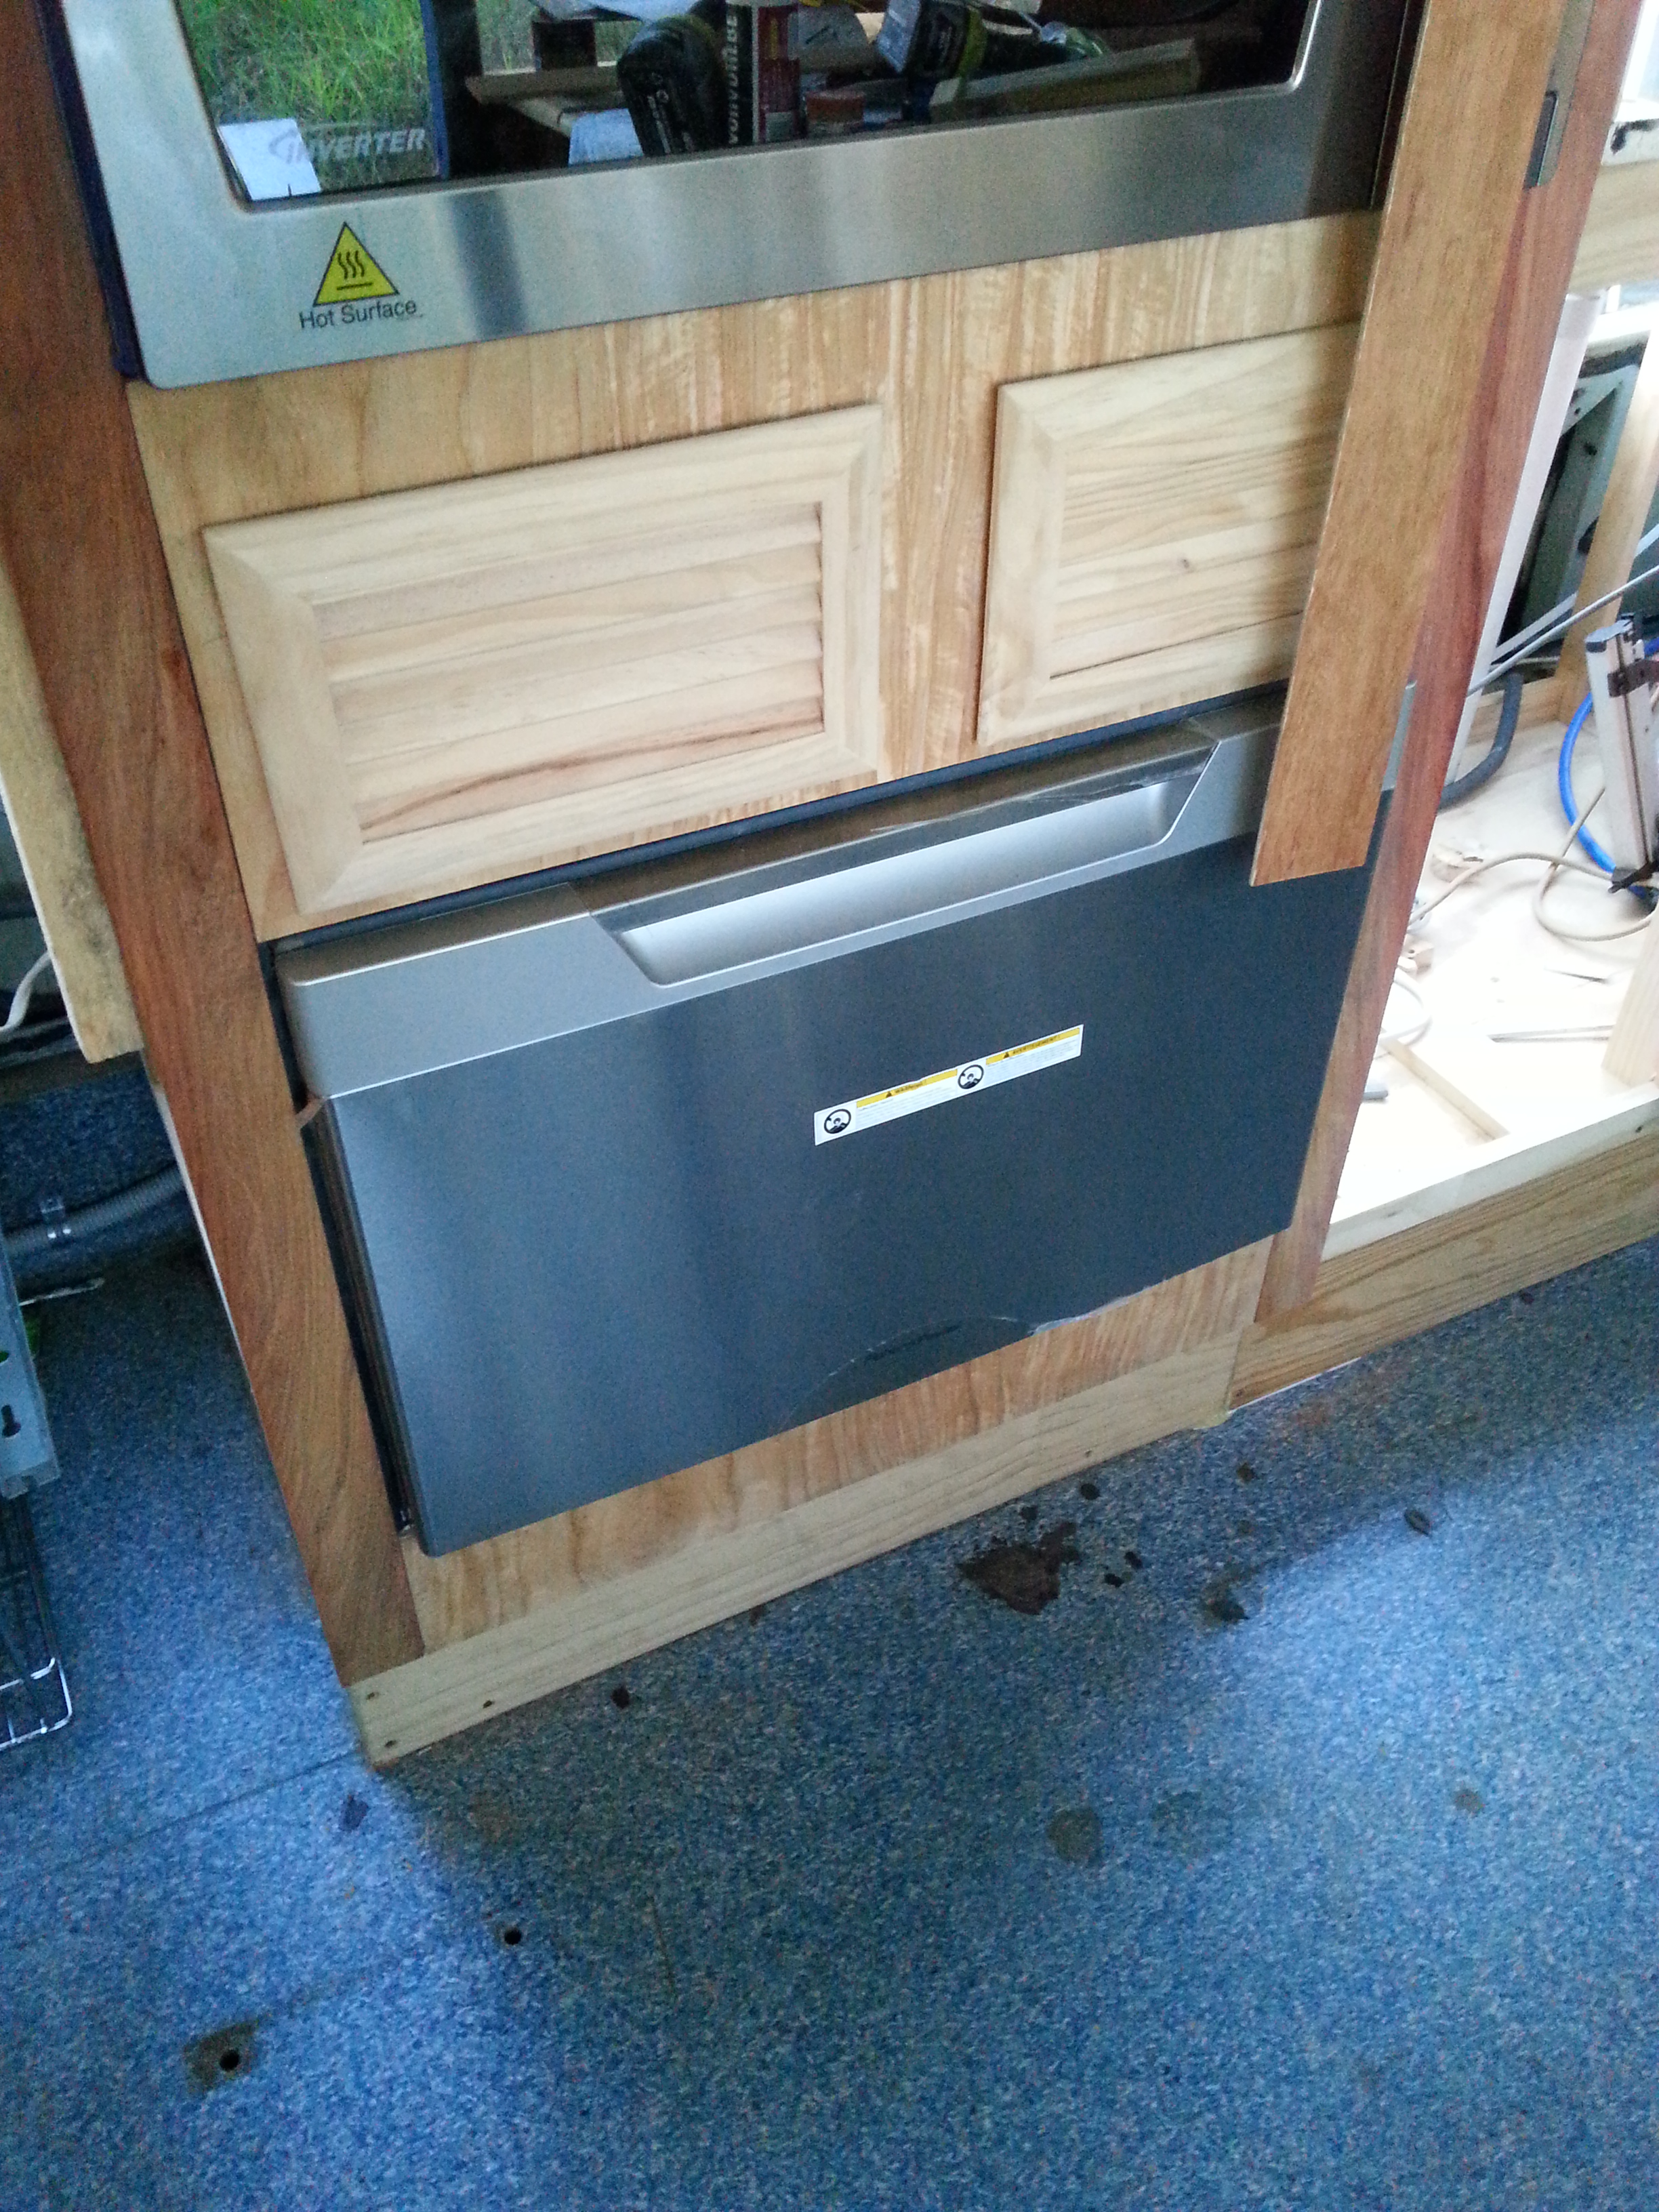
Unit directly to the left of Shower is the Wine & vegetable cabinet, the 210 litre fridge/Freezer is next left & then the pantry unit which is accessed from the kitchen area. the unit between the Microwave cabinet & the Lounge is the compartment for the 40 litre Engels fridge.

Area to the left of the Shower is the Hall way from the living area to the Bedroom.
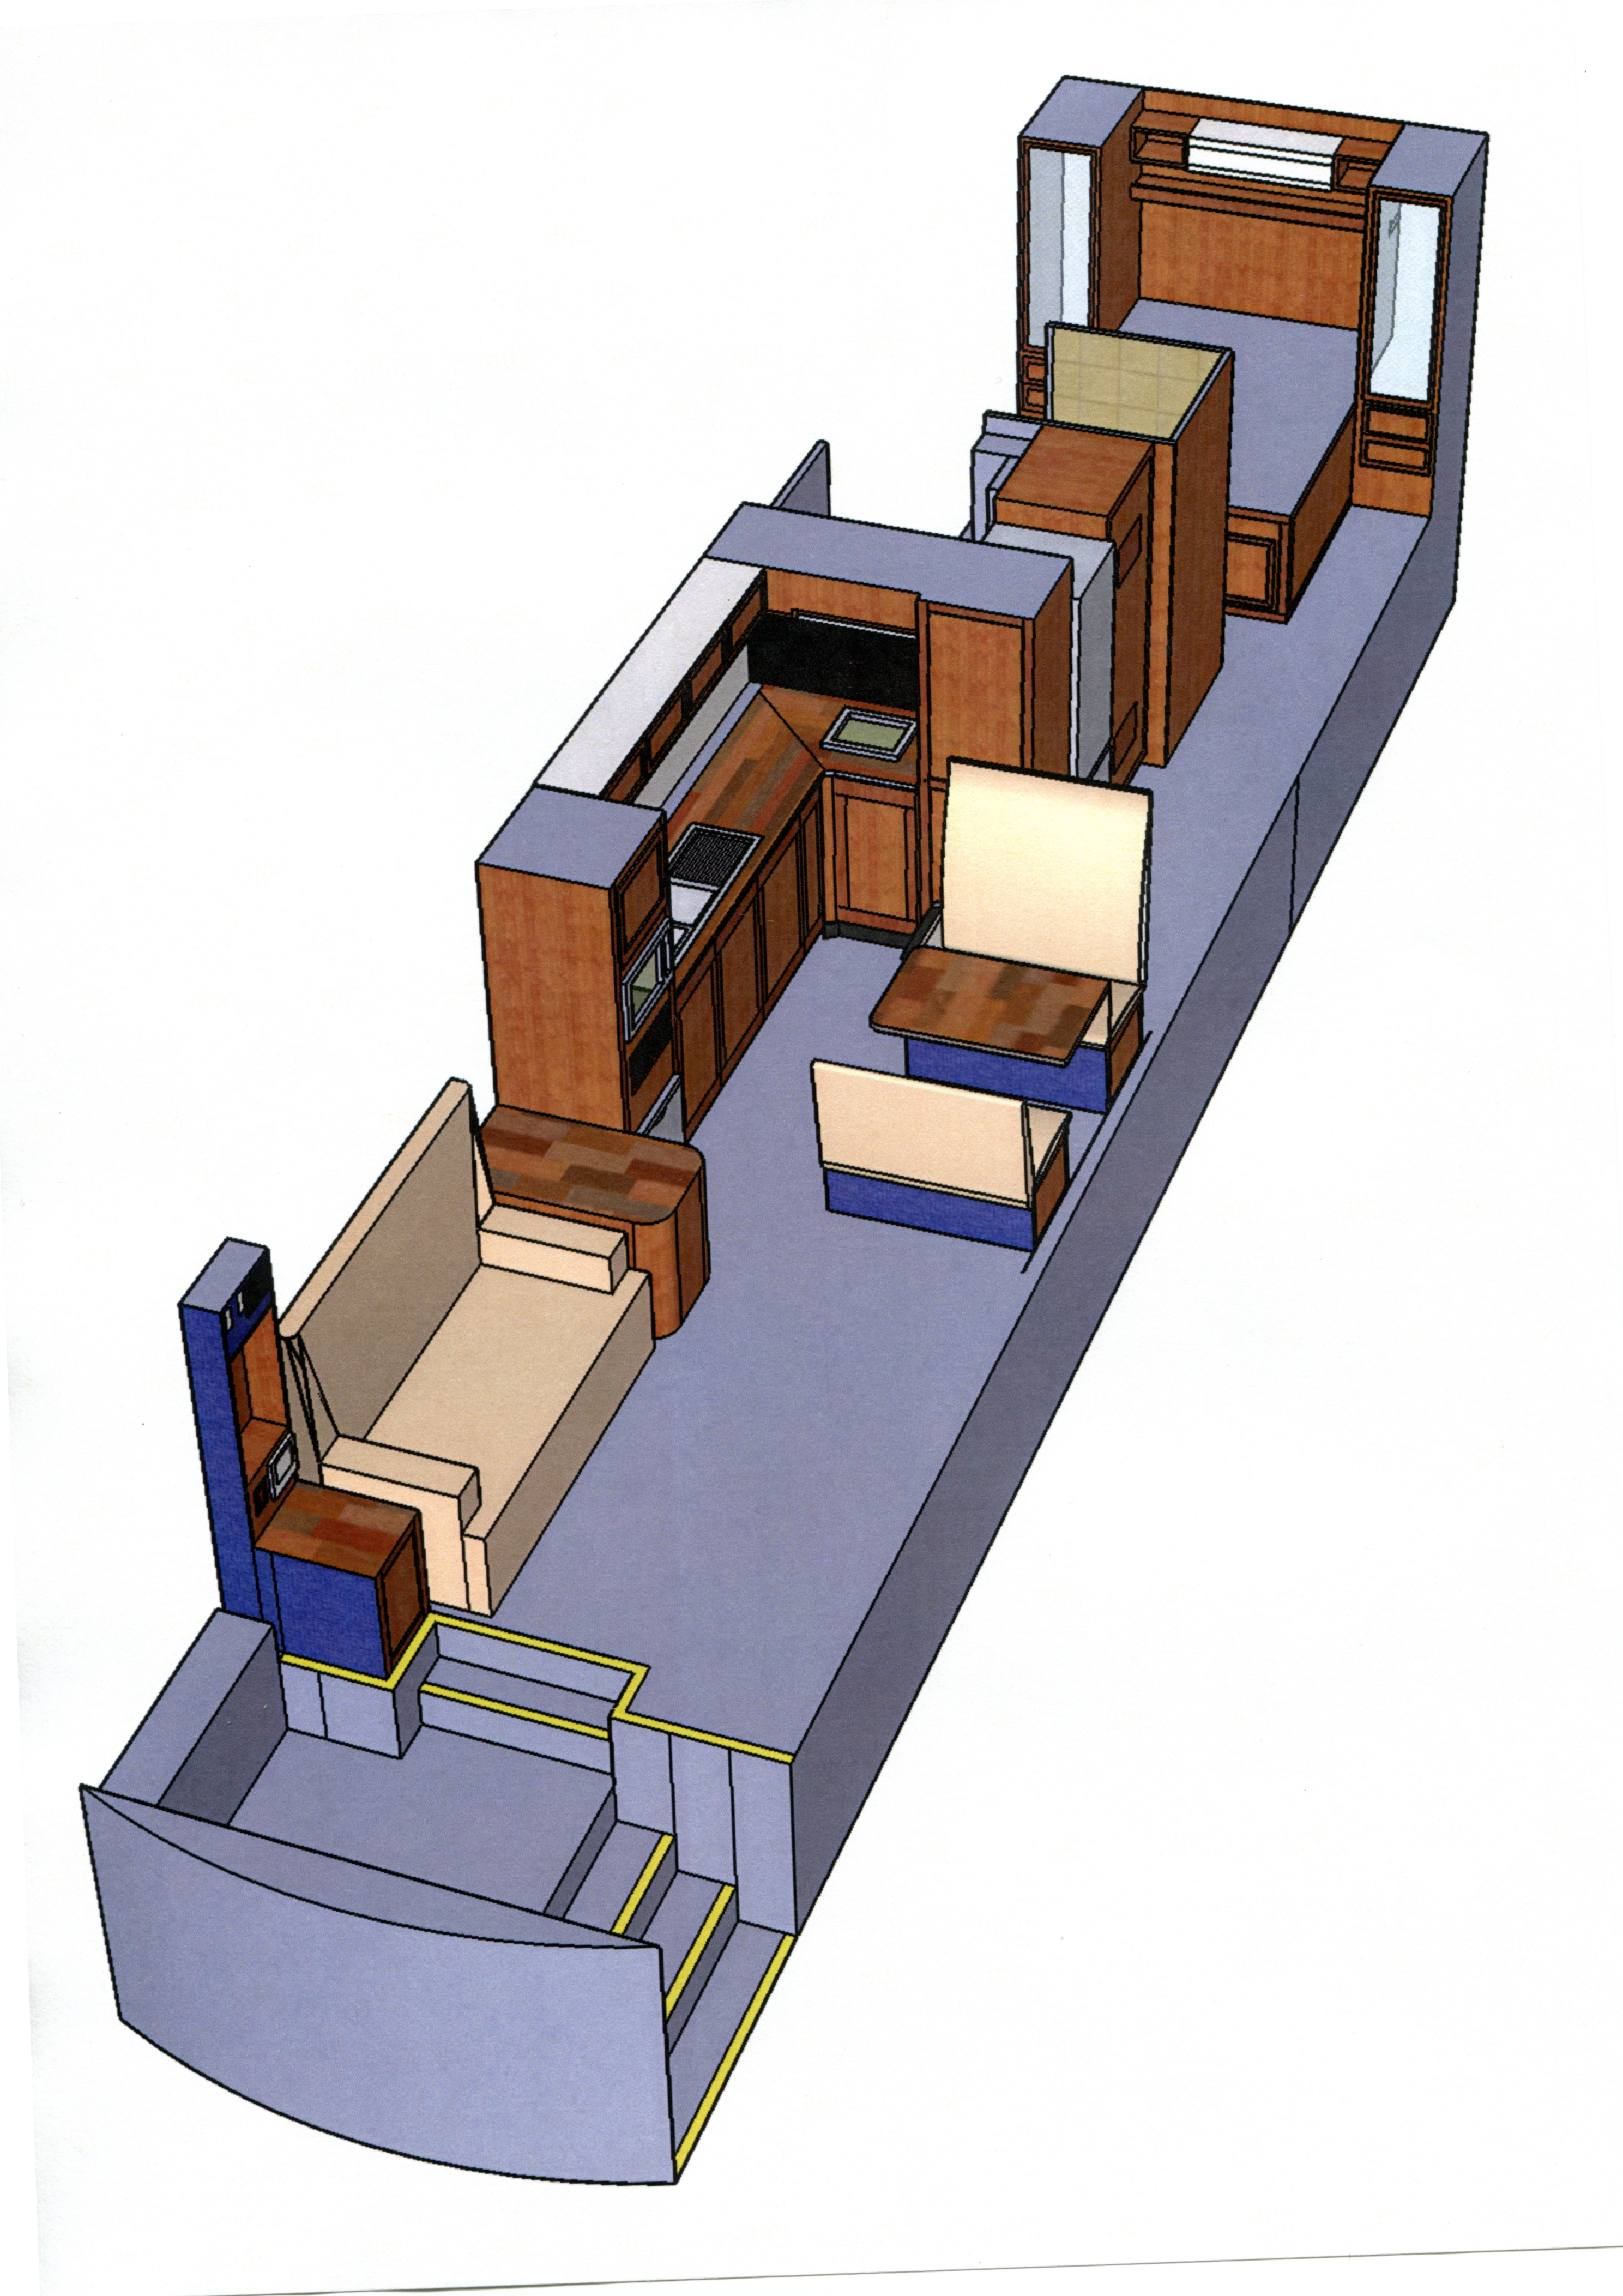
Area on Passenger side between Stairs & dinette will house the Passenger seat, Computer desk & TV cabinet.

The white unit over the bed is the Air Conditioner, White unit on bottom wall just forward of the shower is Toilet with vanity in front of the Toilet.
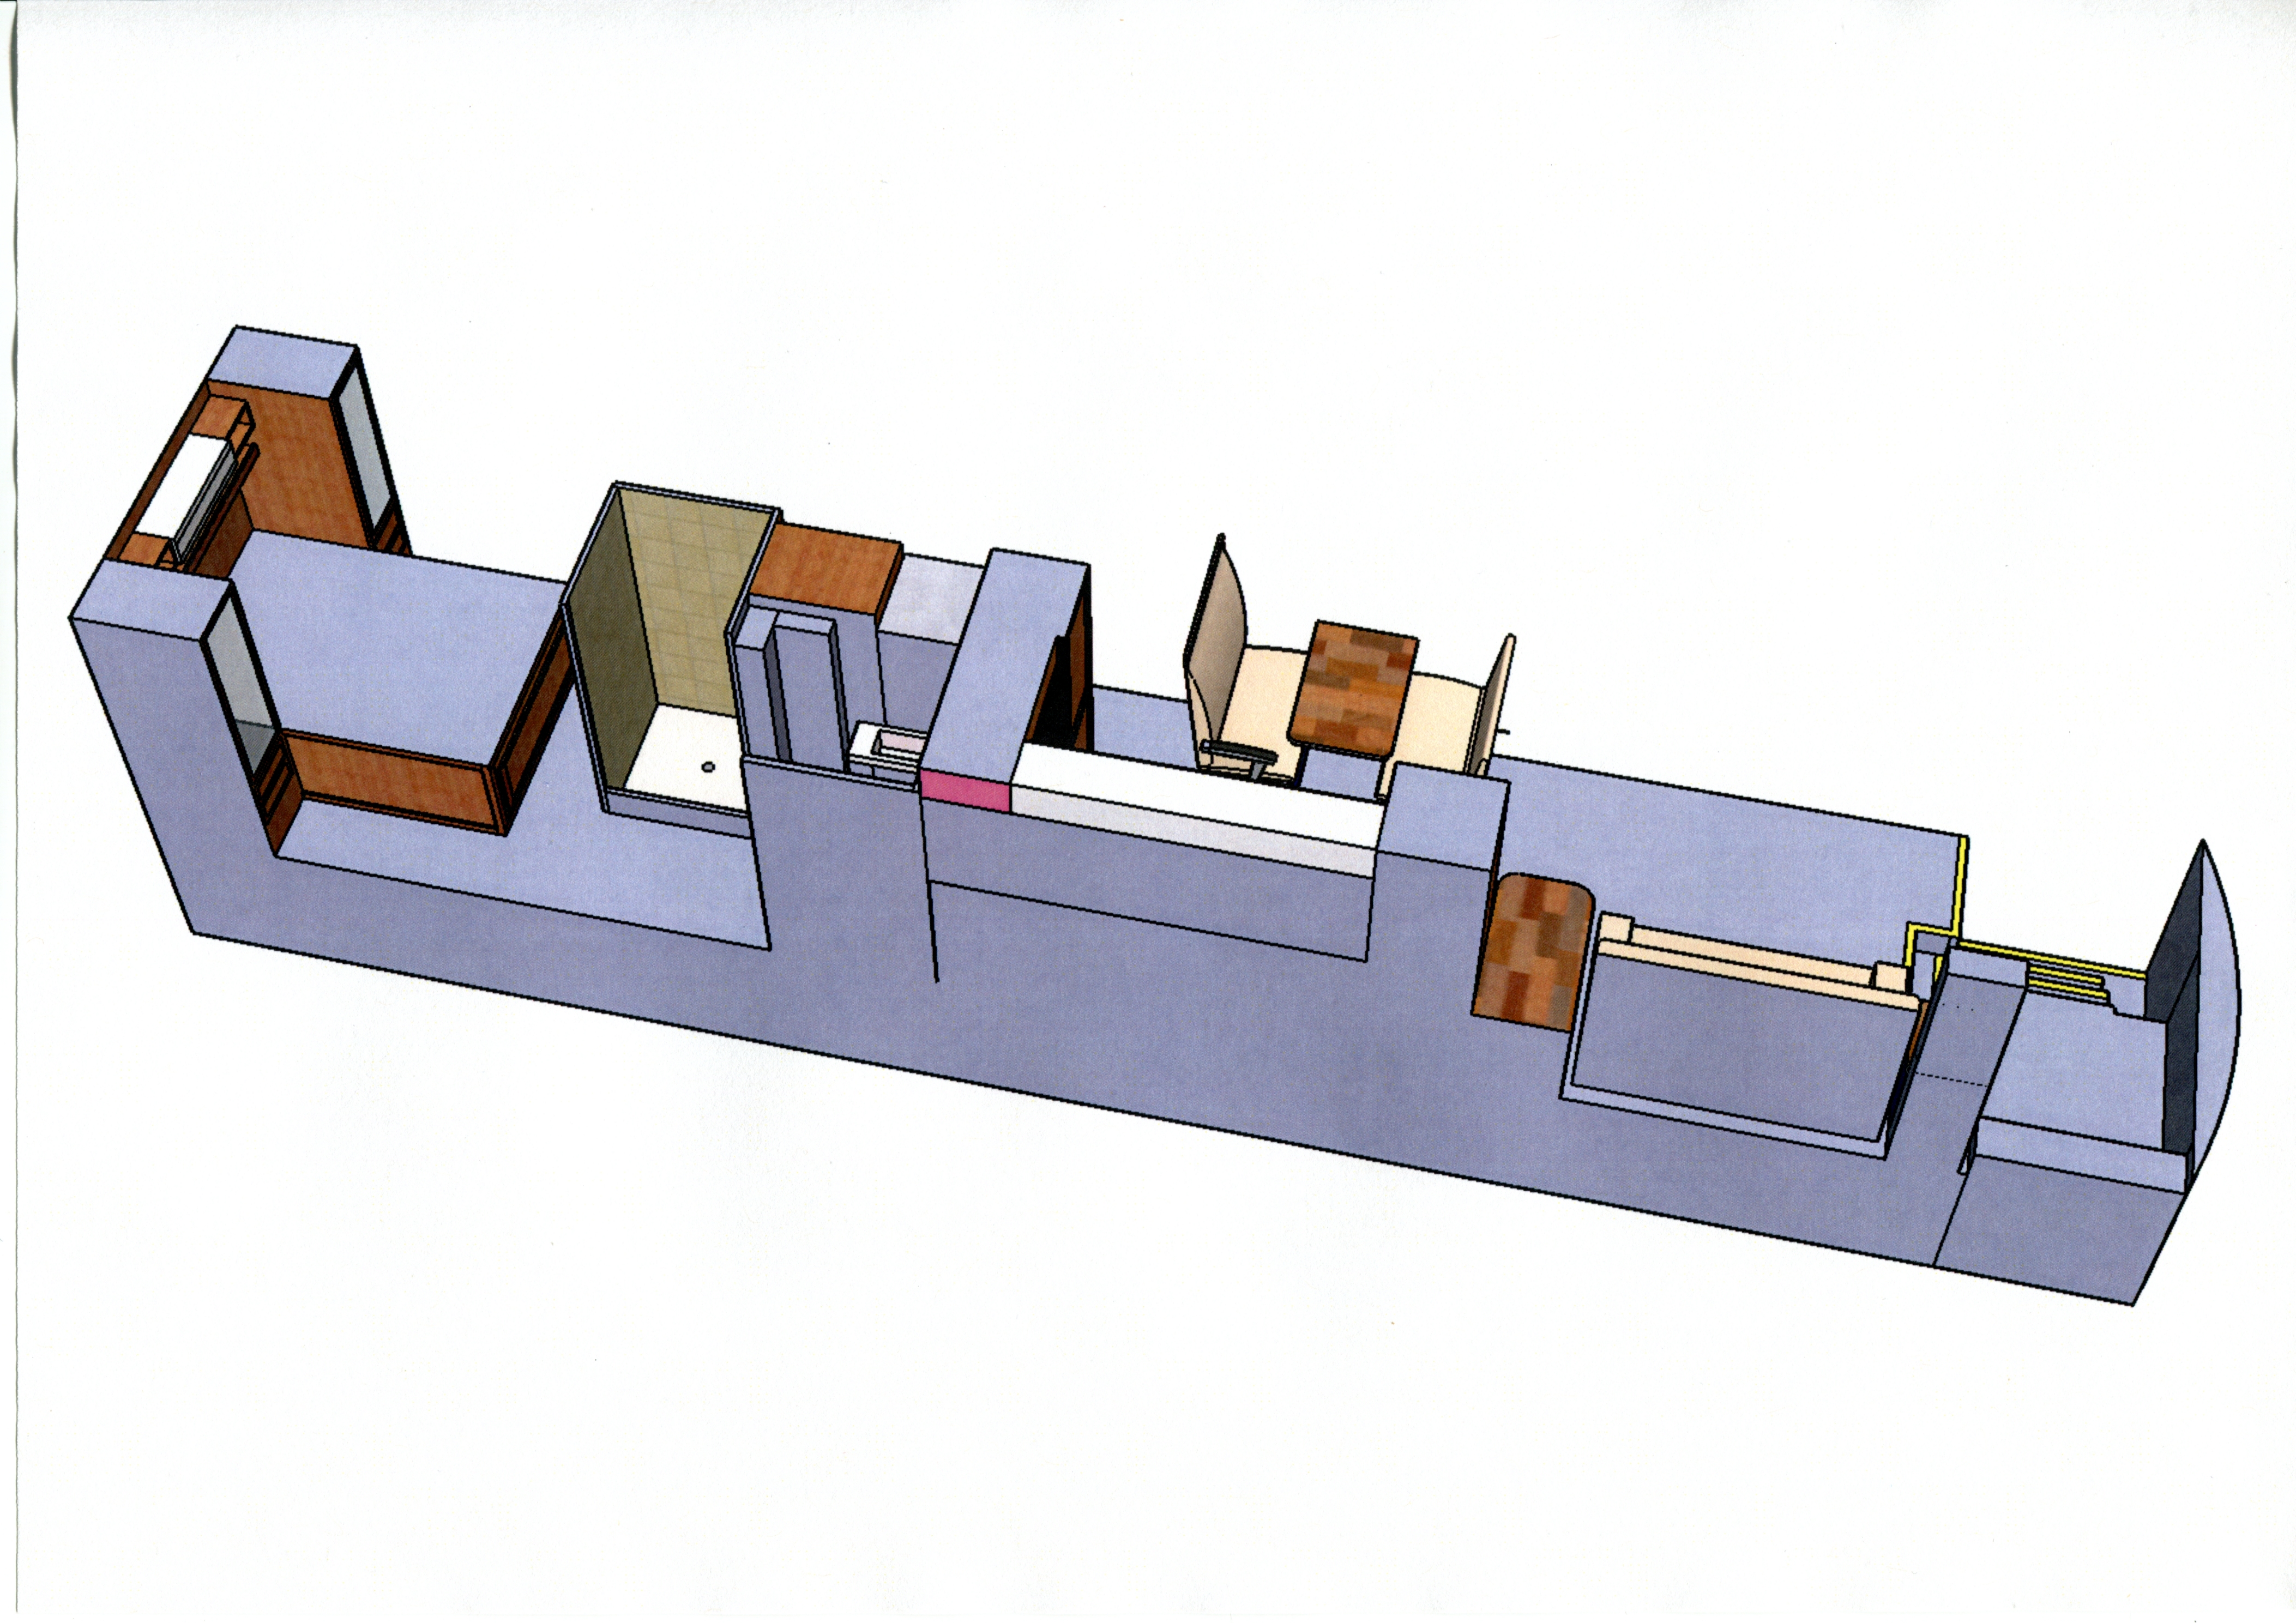
View from Drivers side, Shower screen has been fitted but too complexed for mere mortal to draw.