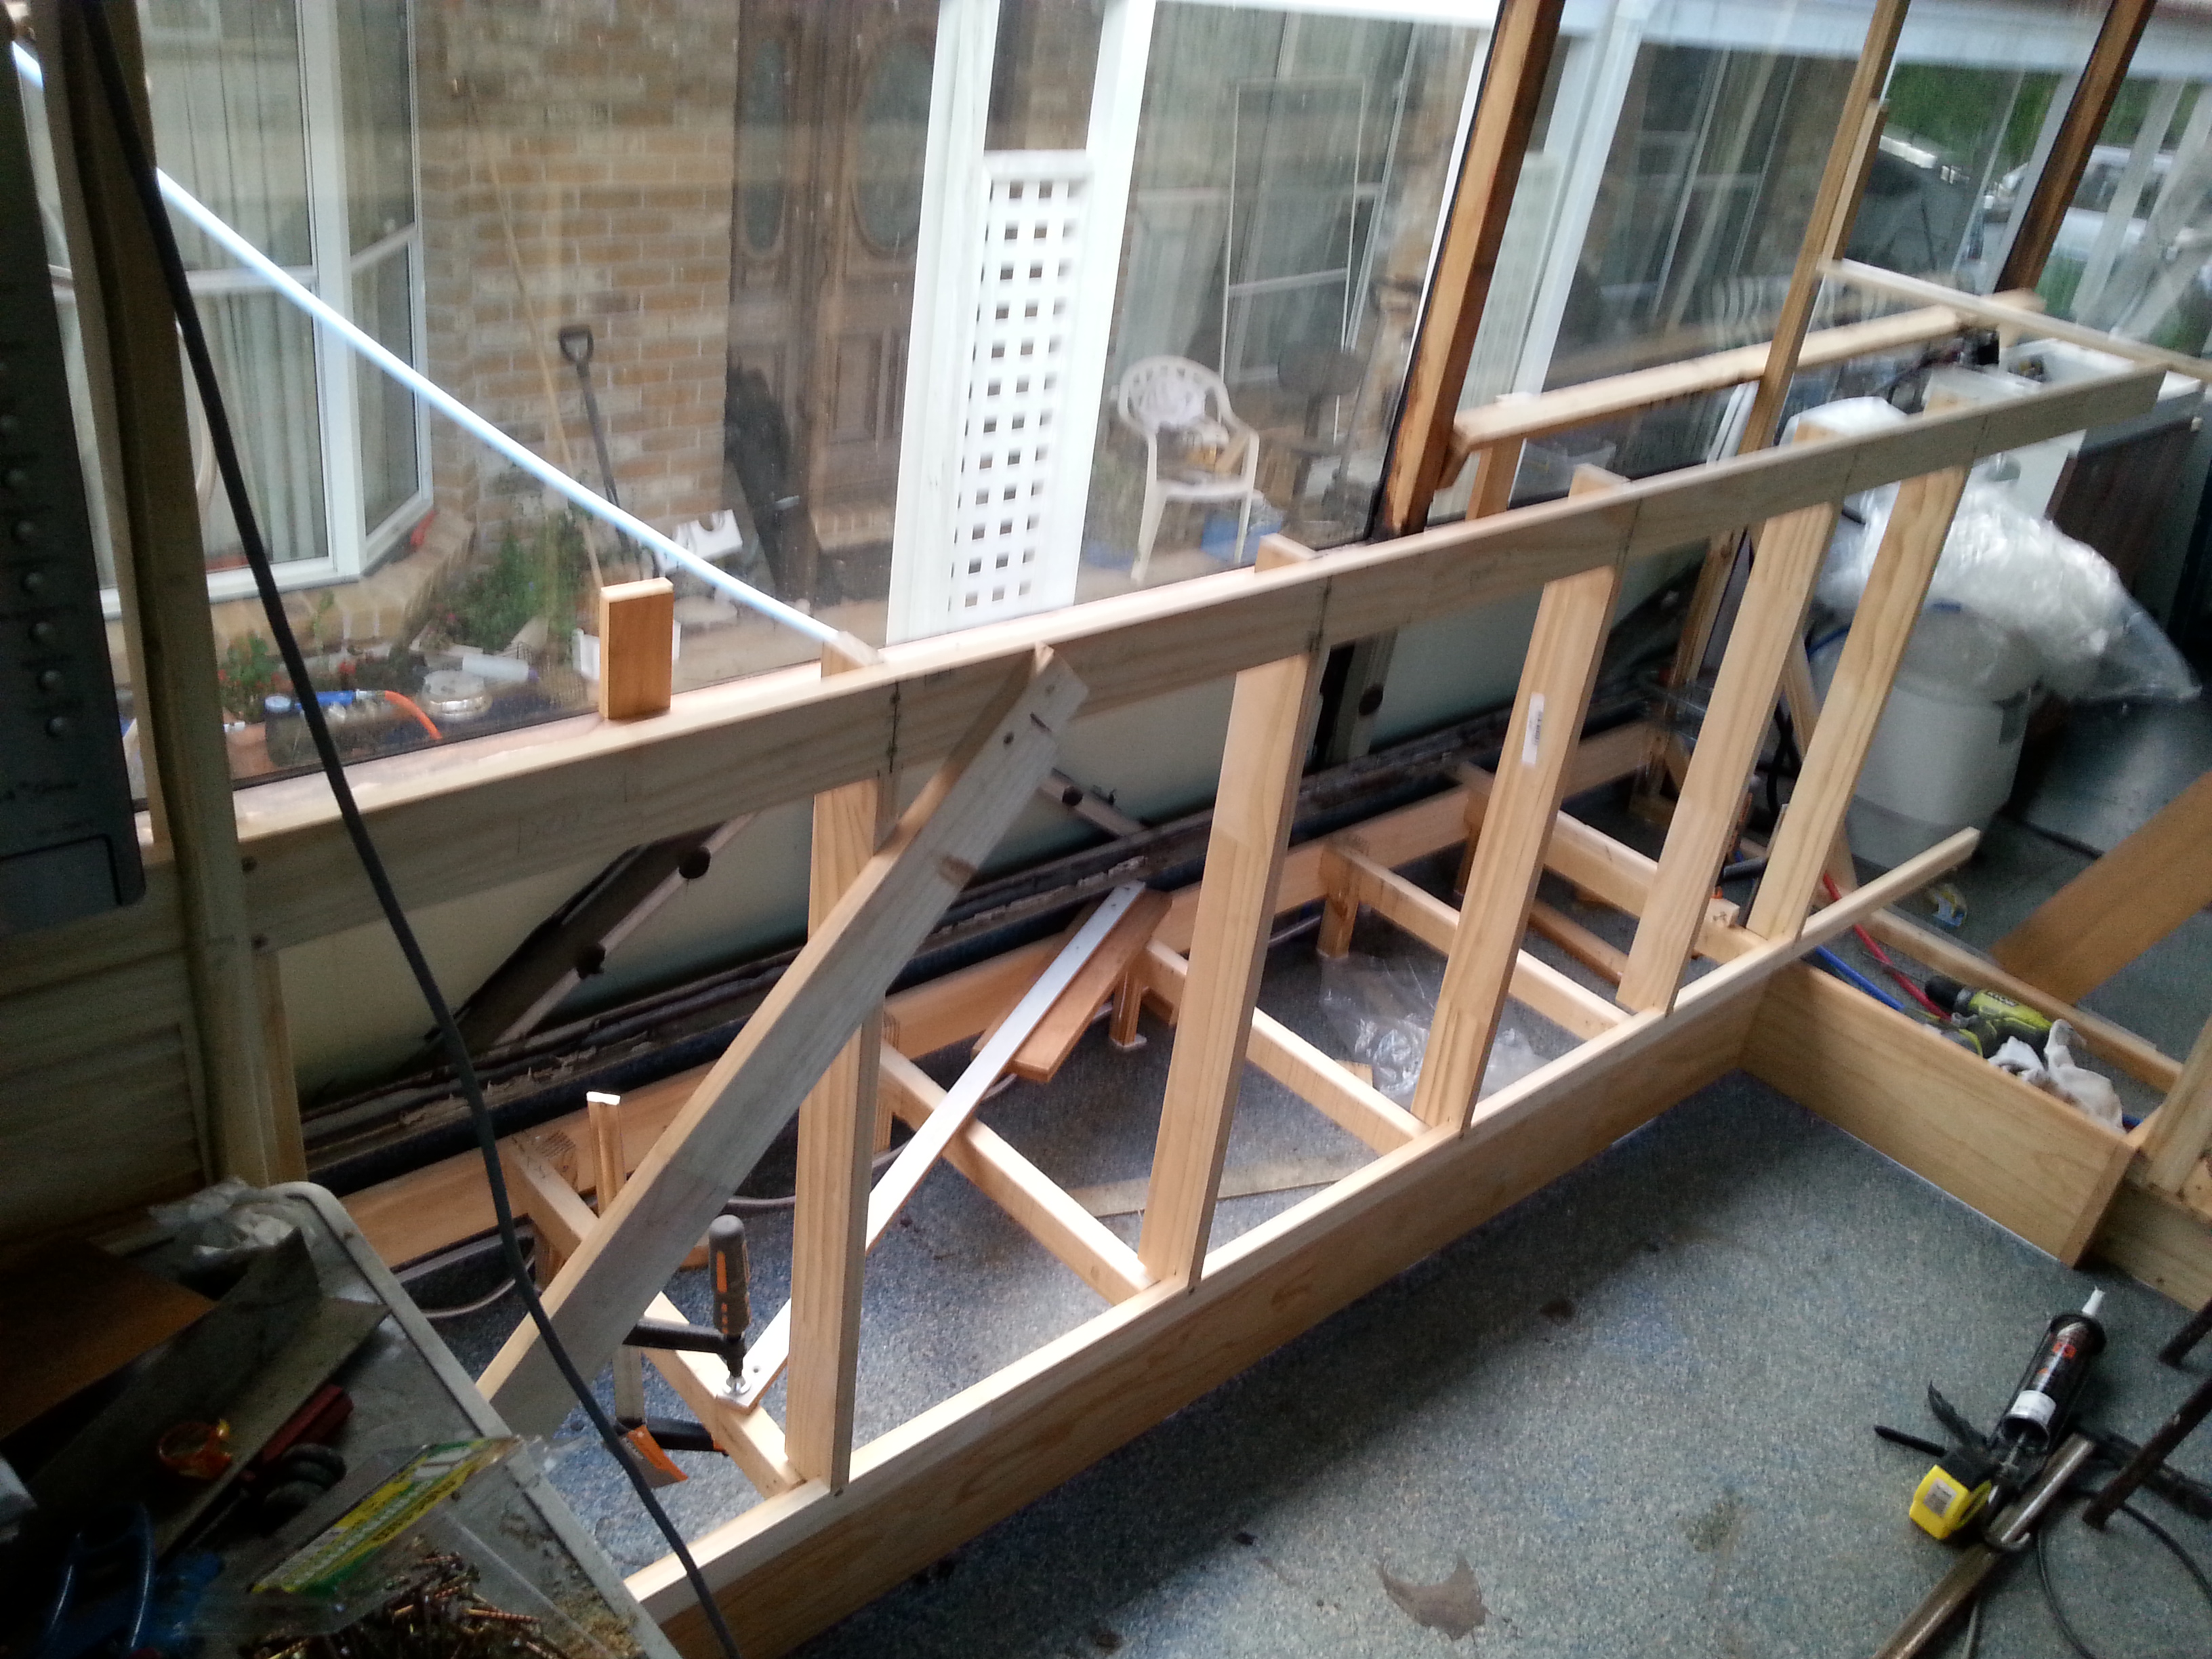
The Dinette has now found its final resting place, as the build progresses I have found that most of my original layout plans have required some modifications & adjustments due to the changes in some of the equipment & items we have selected for our Mobile Home.
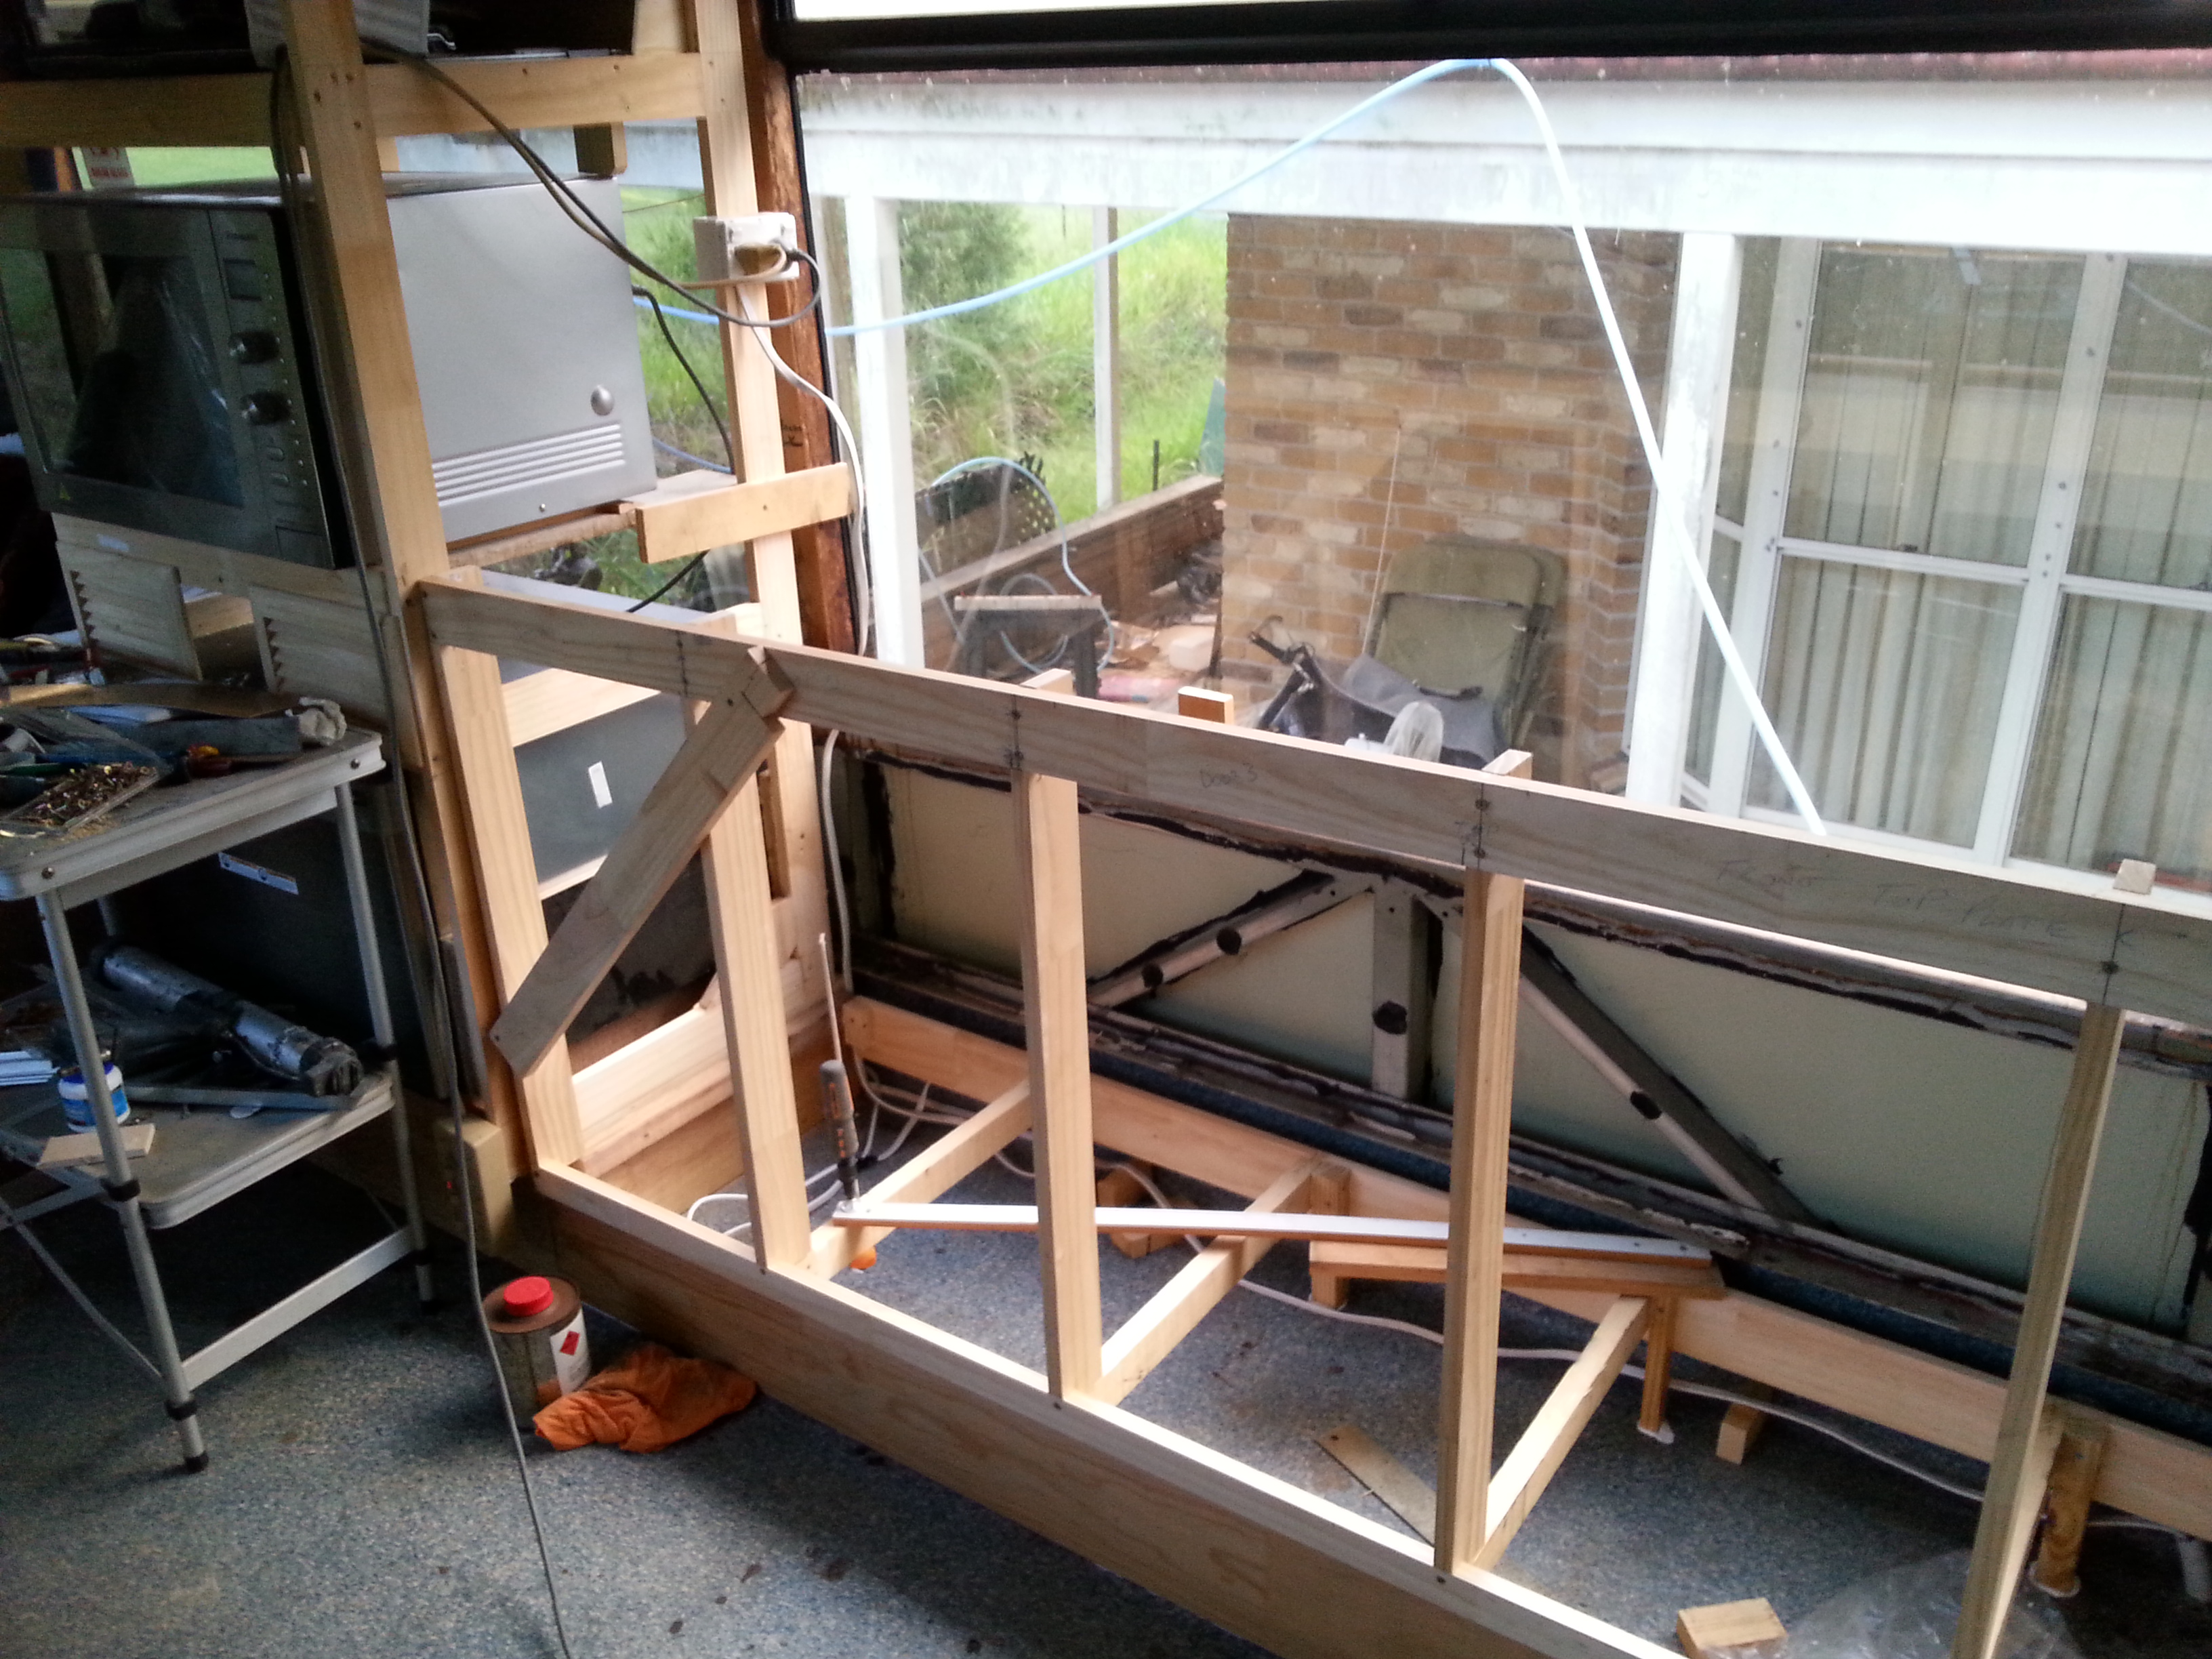
As the vehicle was to be registered with seating for 4 the original position for the Dinette required it have the forward facing seats placed adjacent to a window frame to allow fitting of the Sash section of the seat belt, at this point I was going to use one of the original Transit seat that were in the Bus when it was purchased. These seats were not designed for seat belts & this restricted the selection of the fitting position.
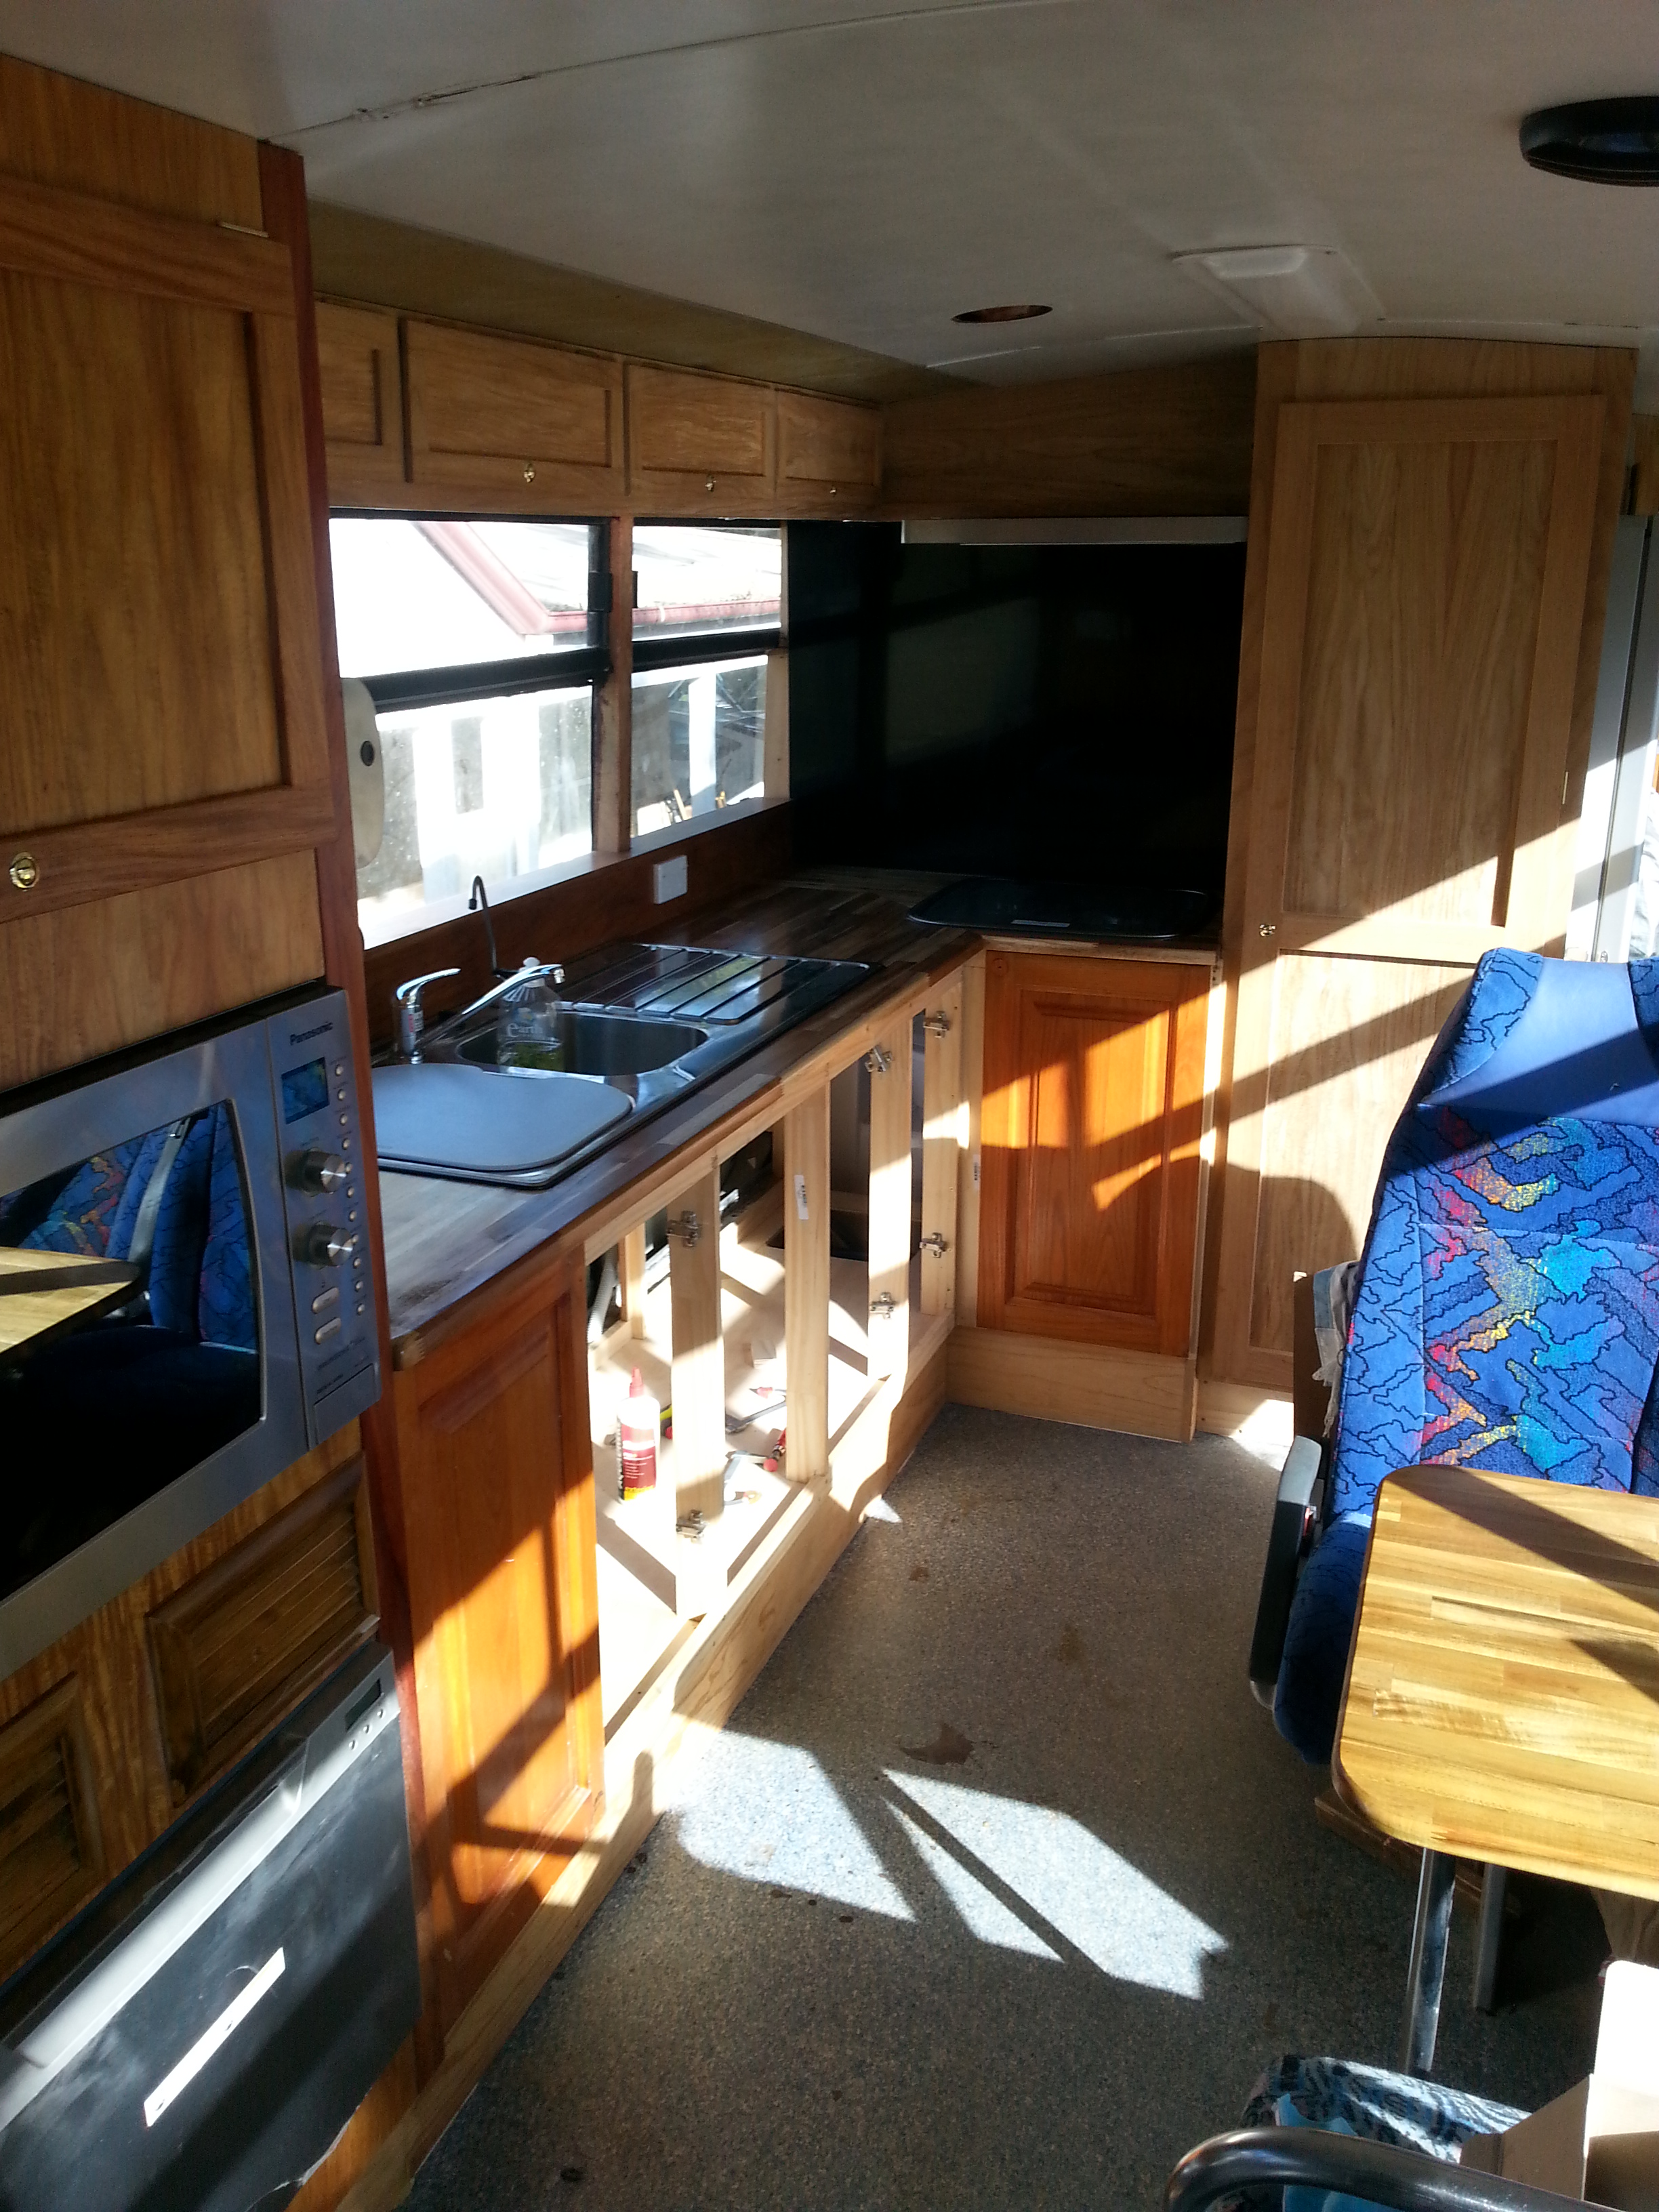
Once I had completed the Kitchen Cabinetry I found I could move the Dinette further towards the rear which gave more space in the Lounge area, by purchasing a Coach seat with built in seat belts I no longer have a problem with the placement of this unit as the belt system is integral with the seat. the only modifications required was to the mounting system in the floor.
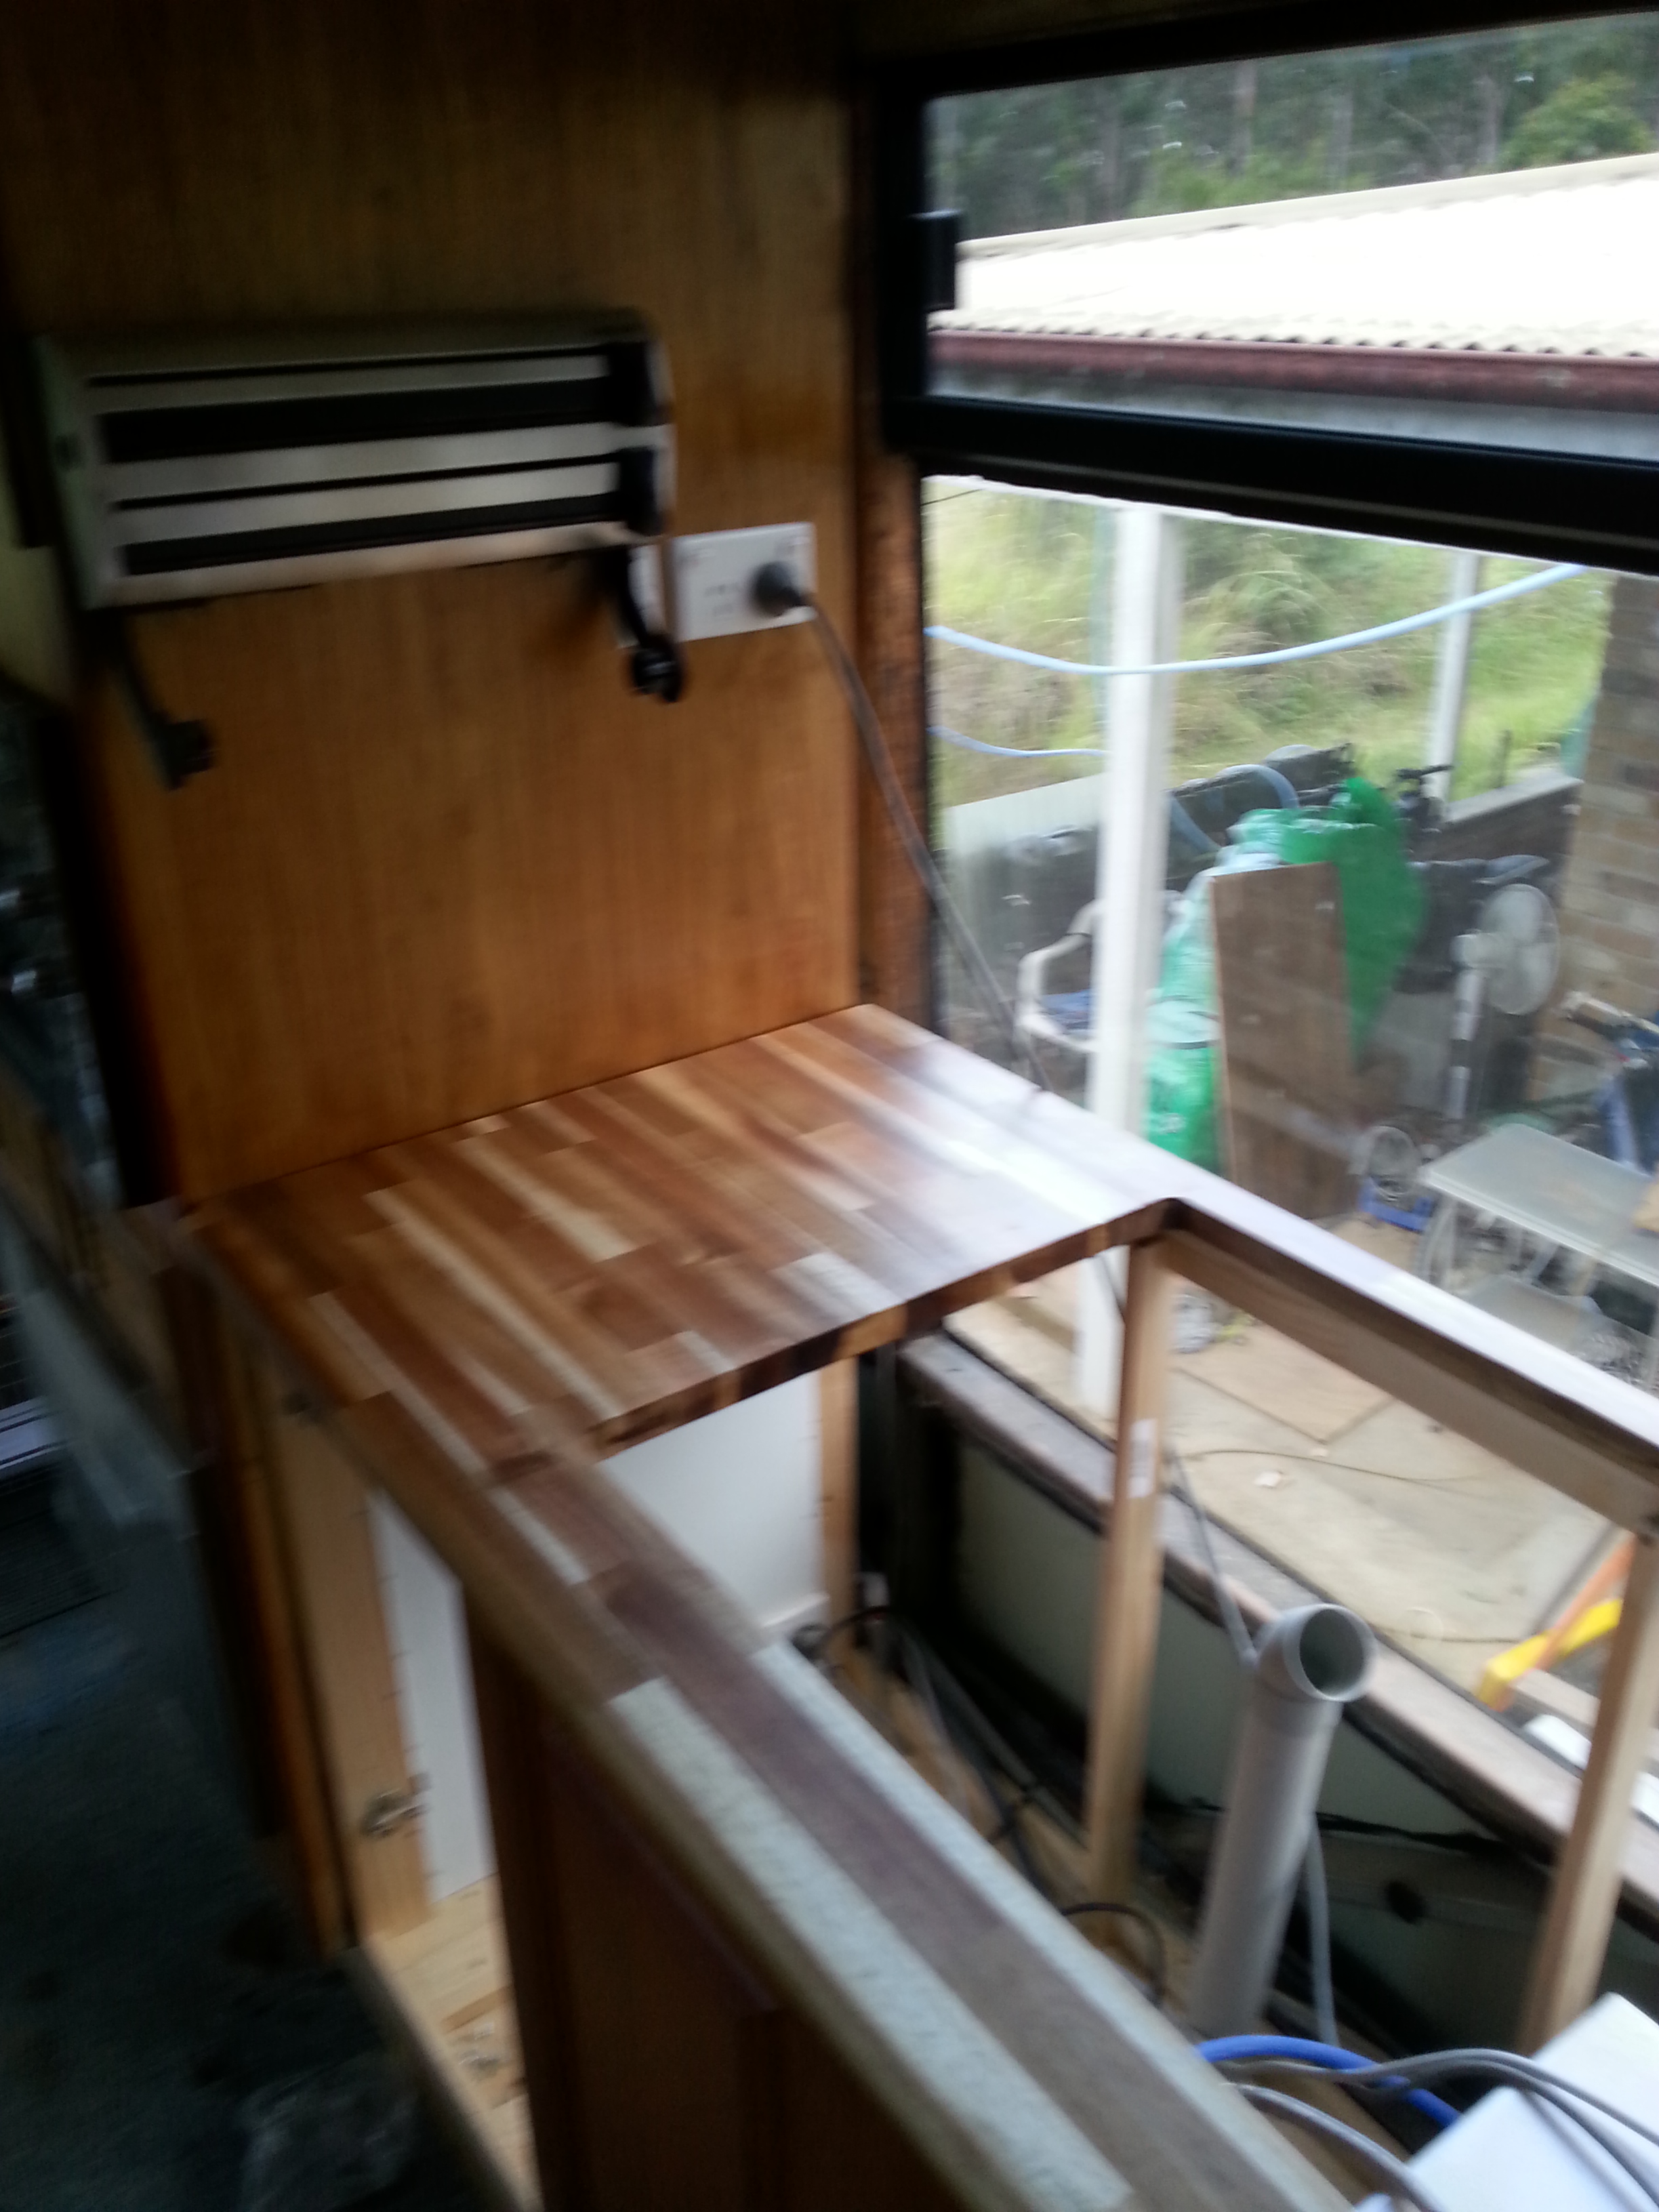
The Dinette table has been constructed to fold back to the window as used in a lot of the latest Caravans, this gave more space & comfort when not dinning. the laminated Acacia wood panel used has an oiled finish which is the same as will be used throughout the remainder of the RV.
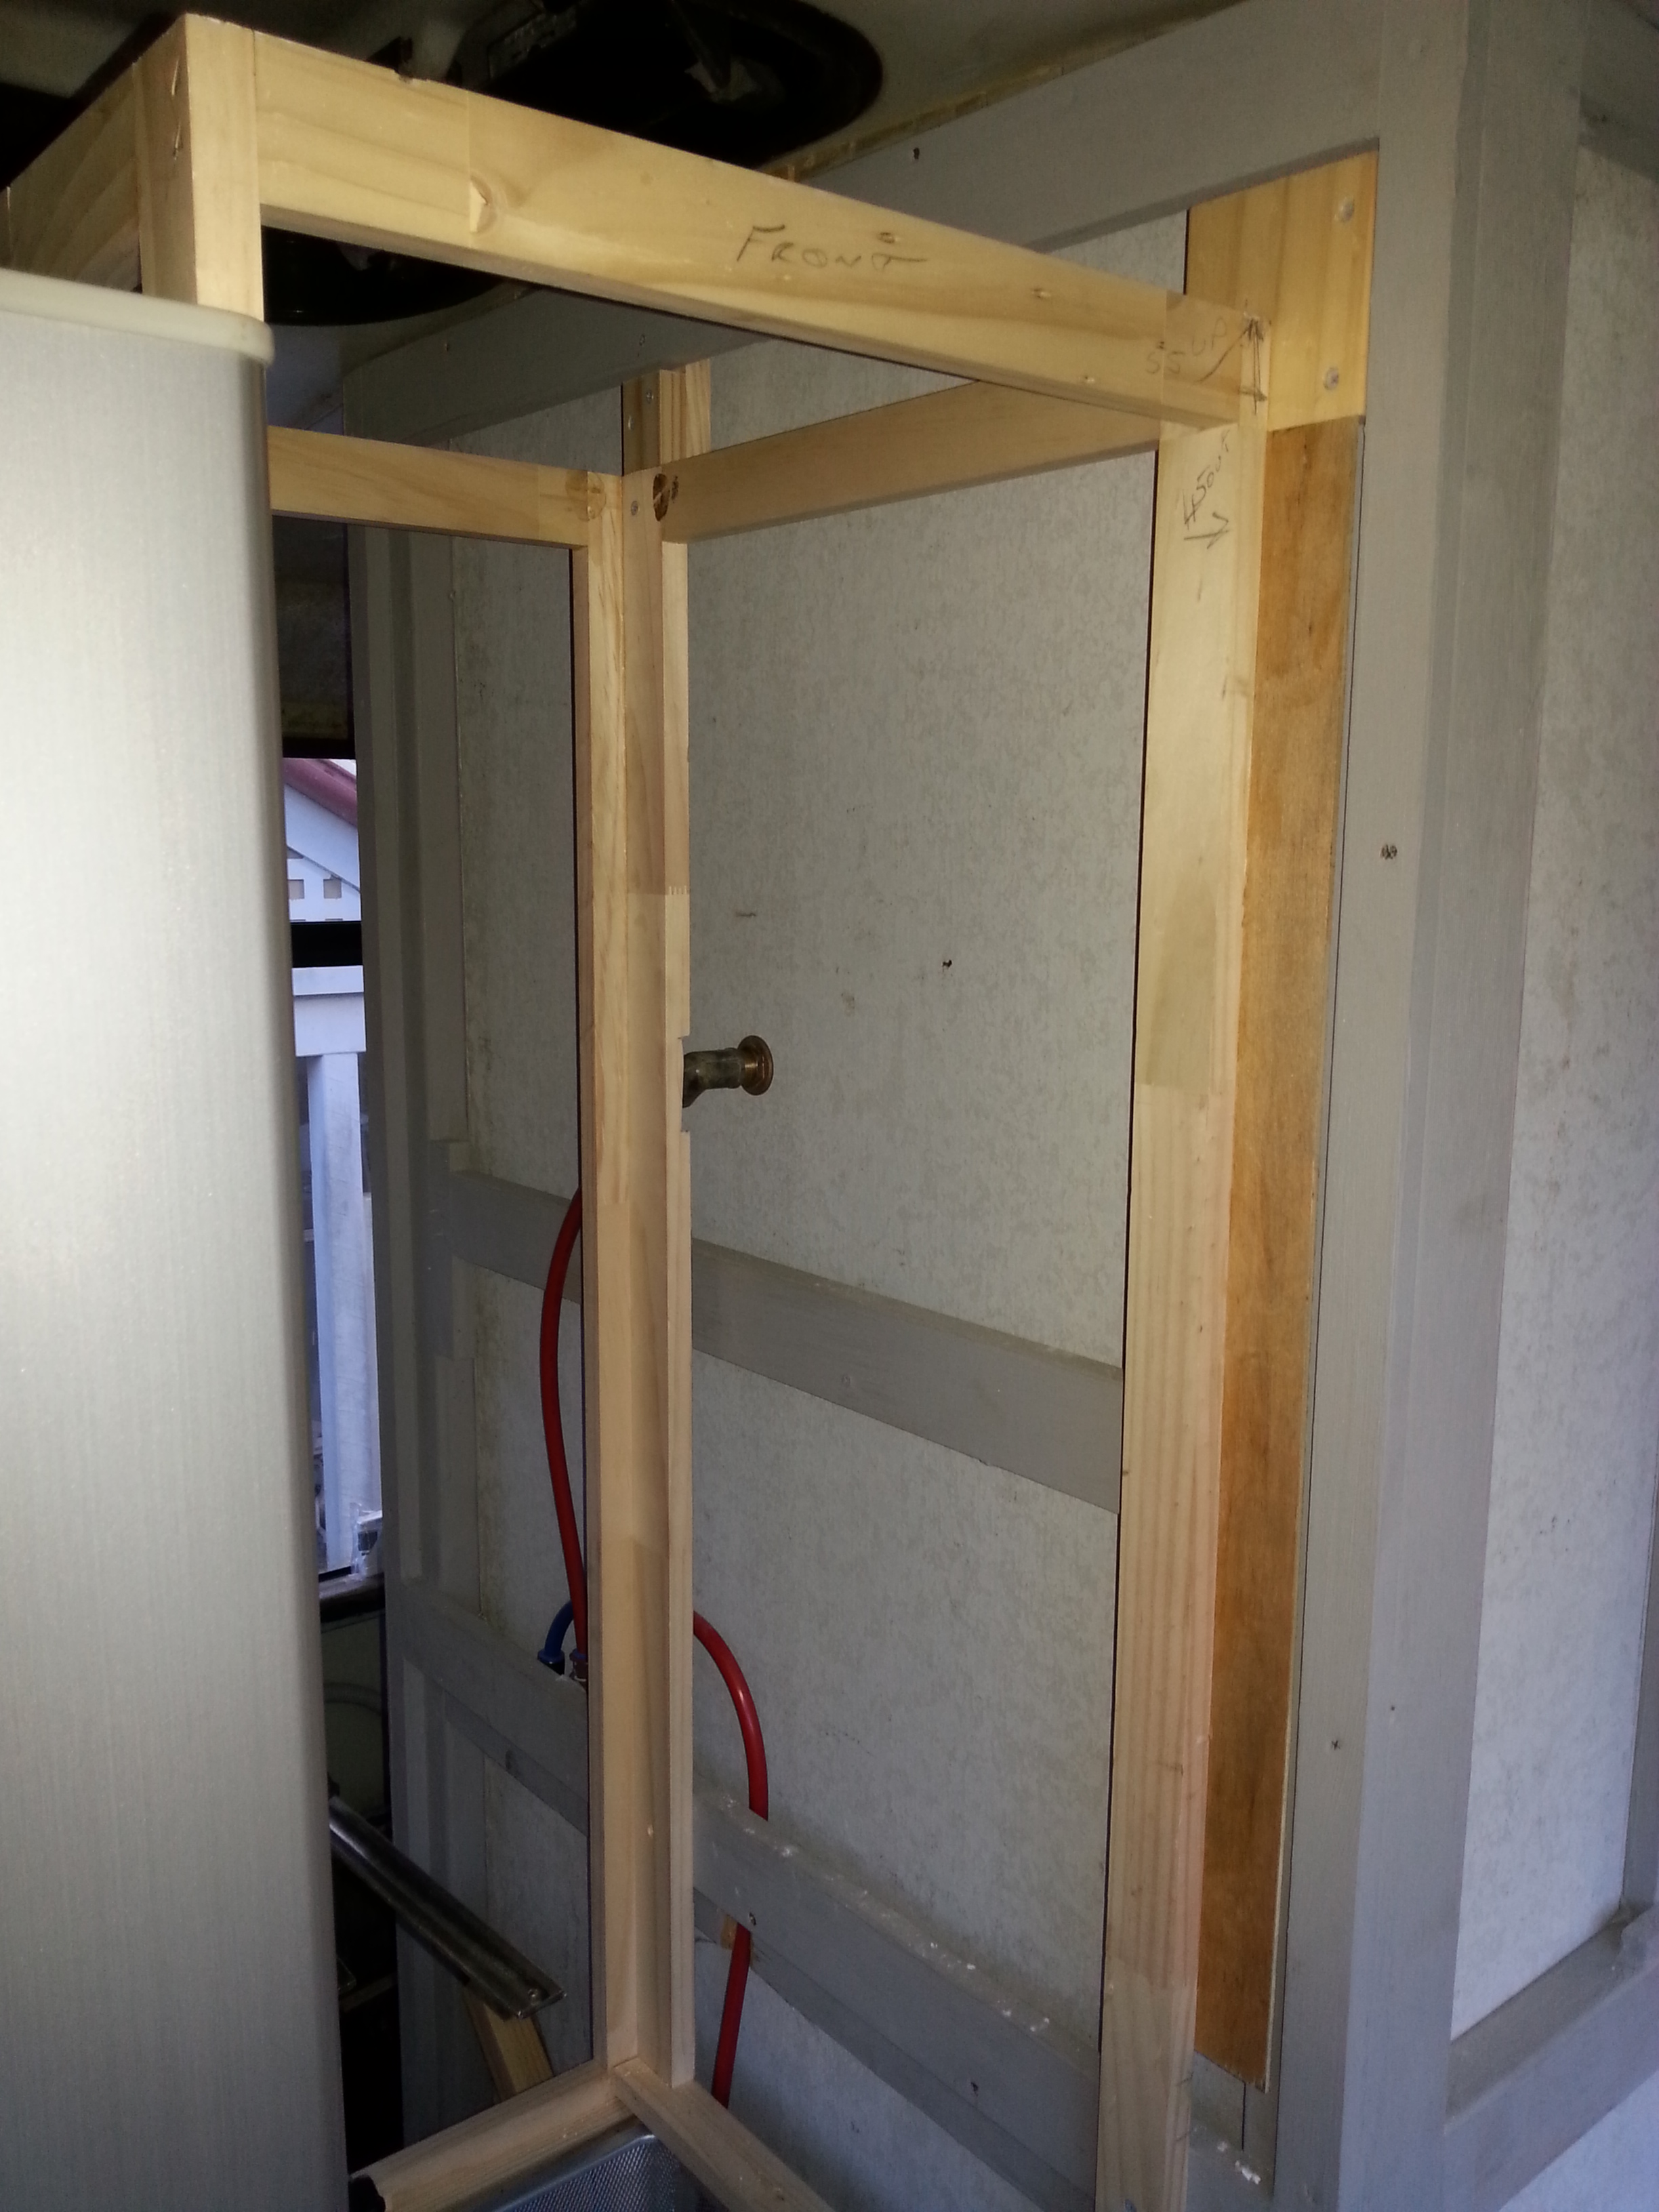
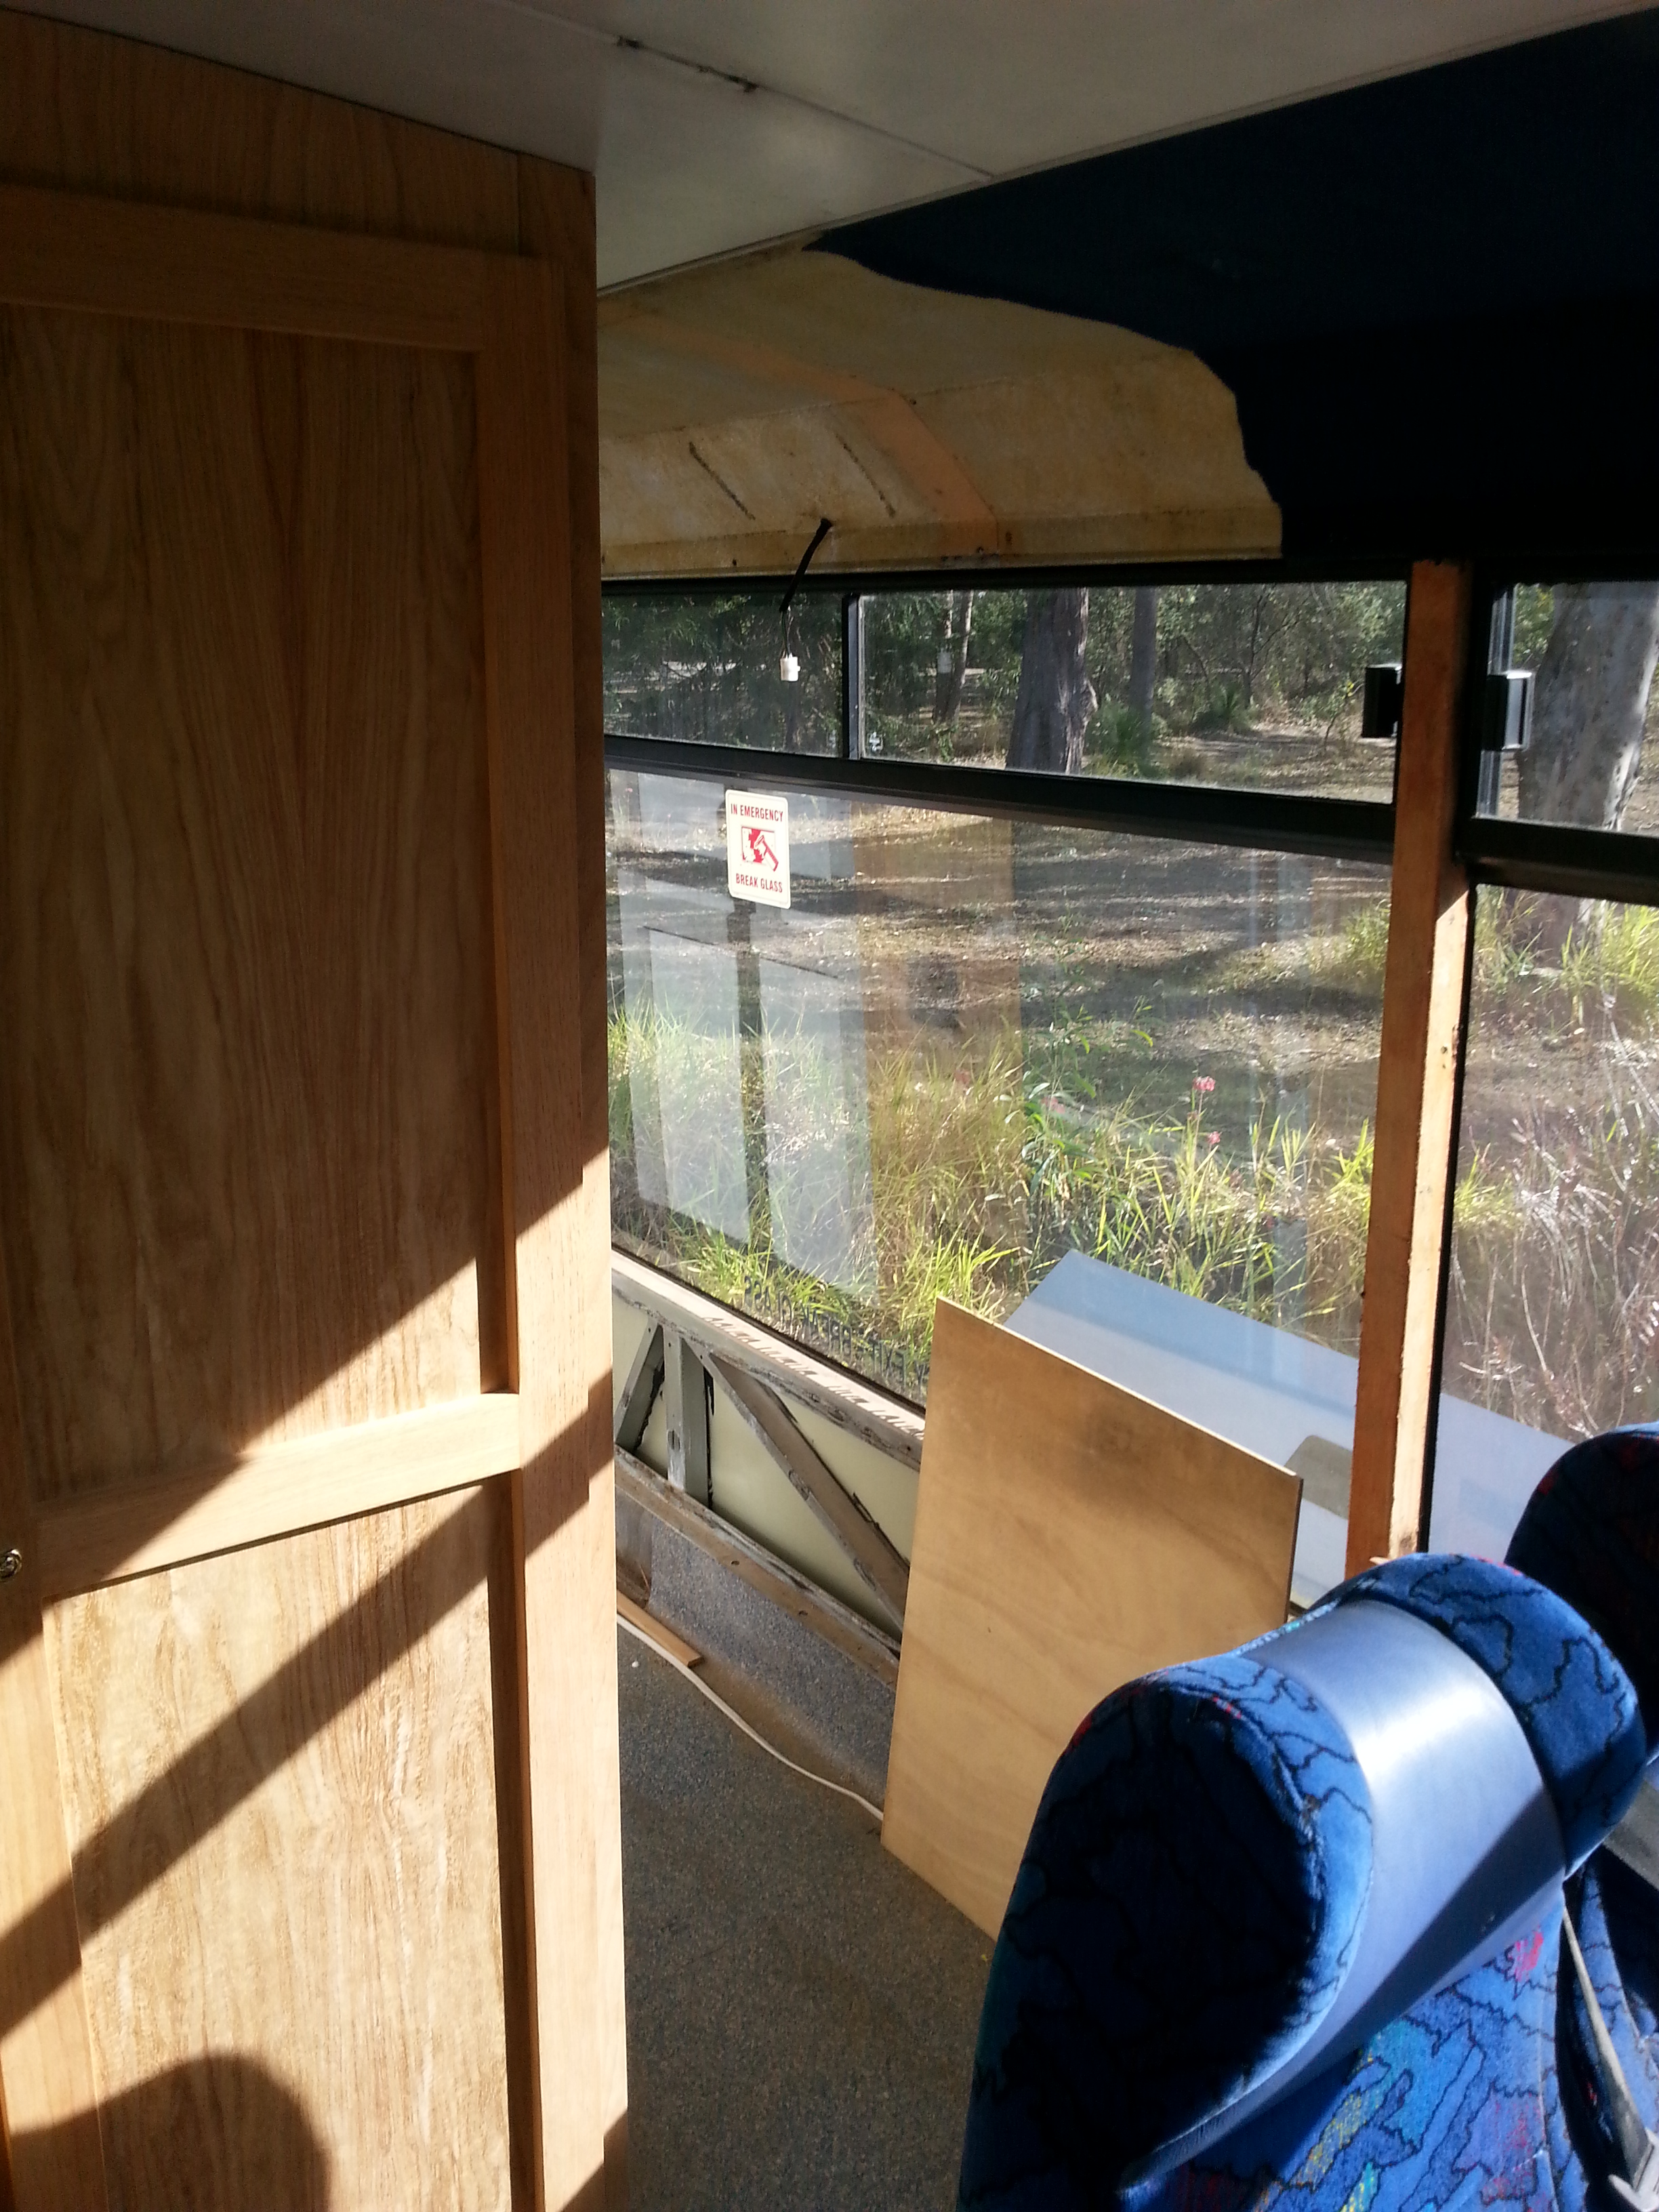
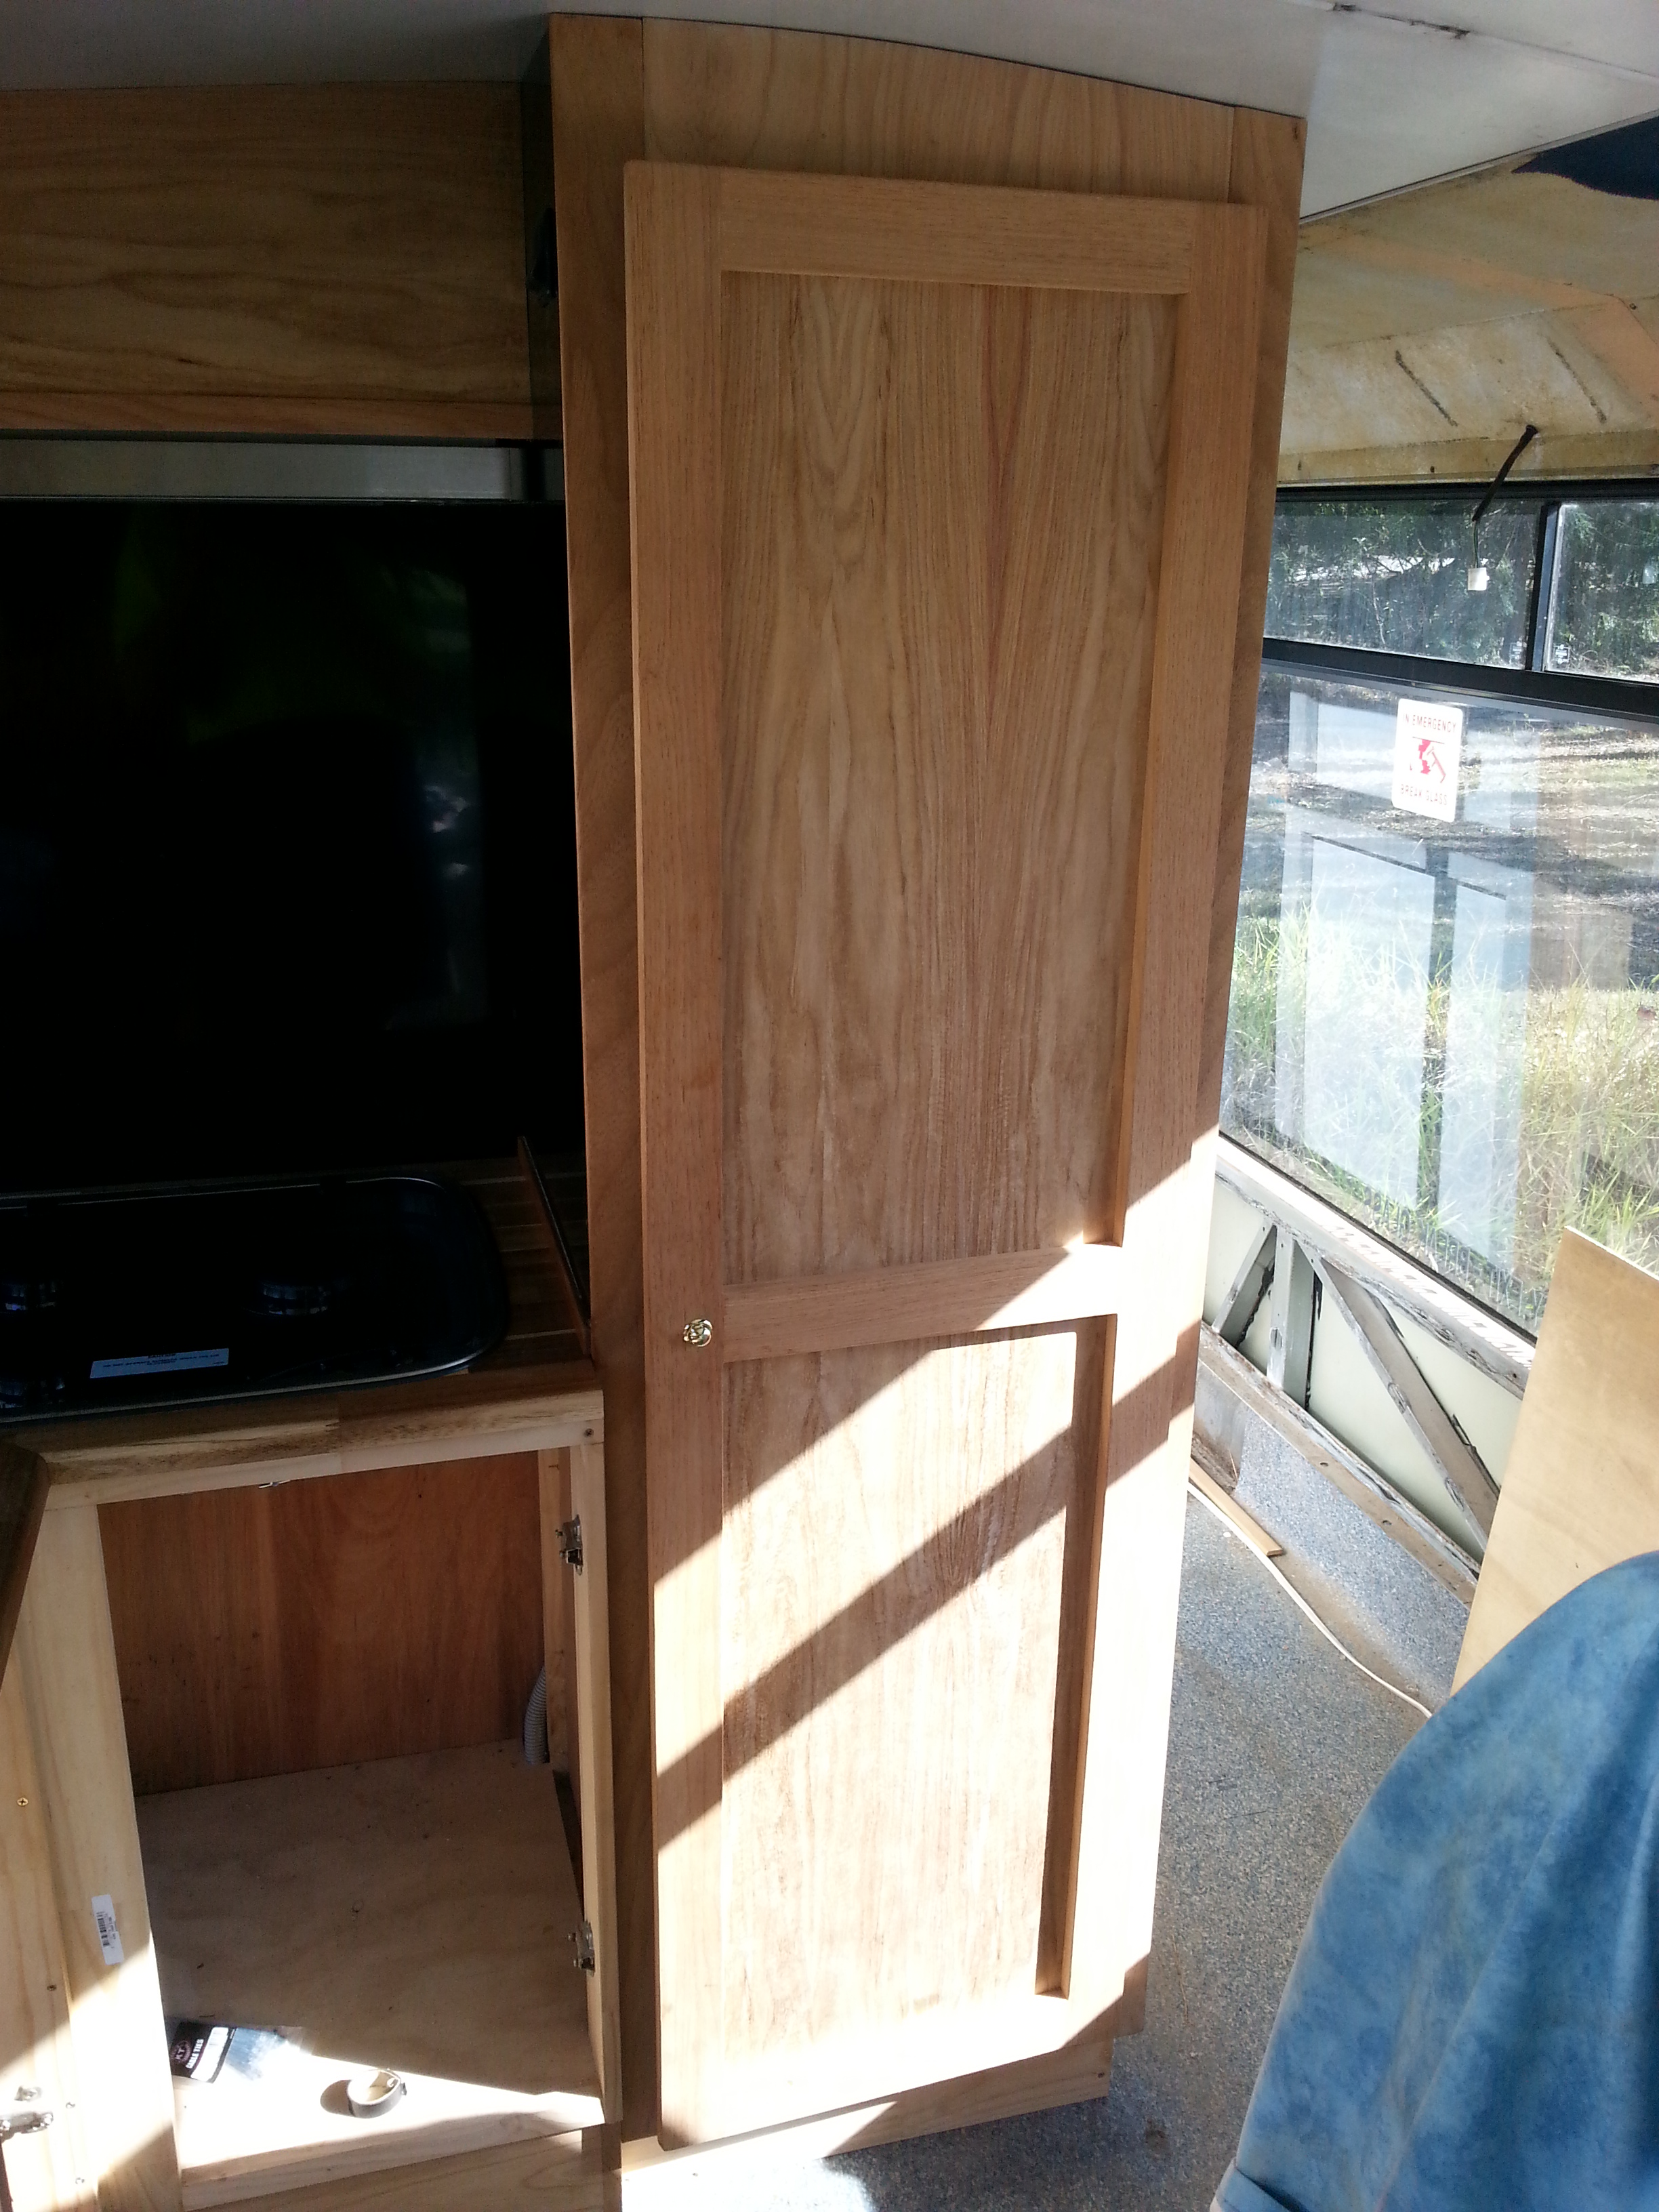
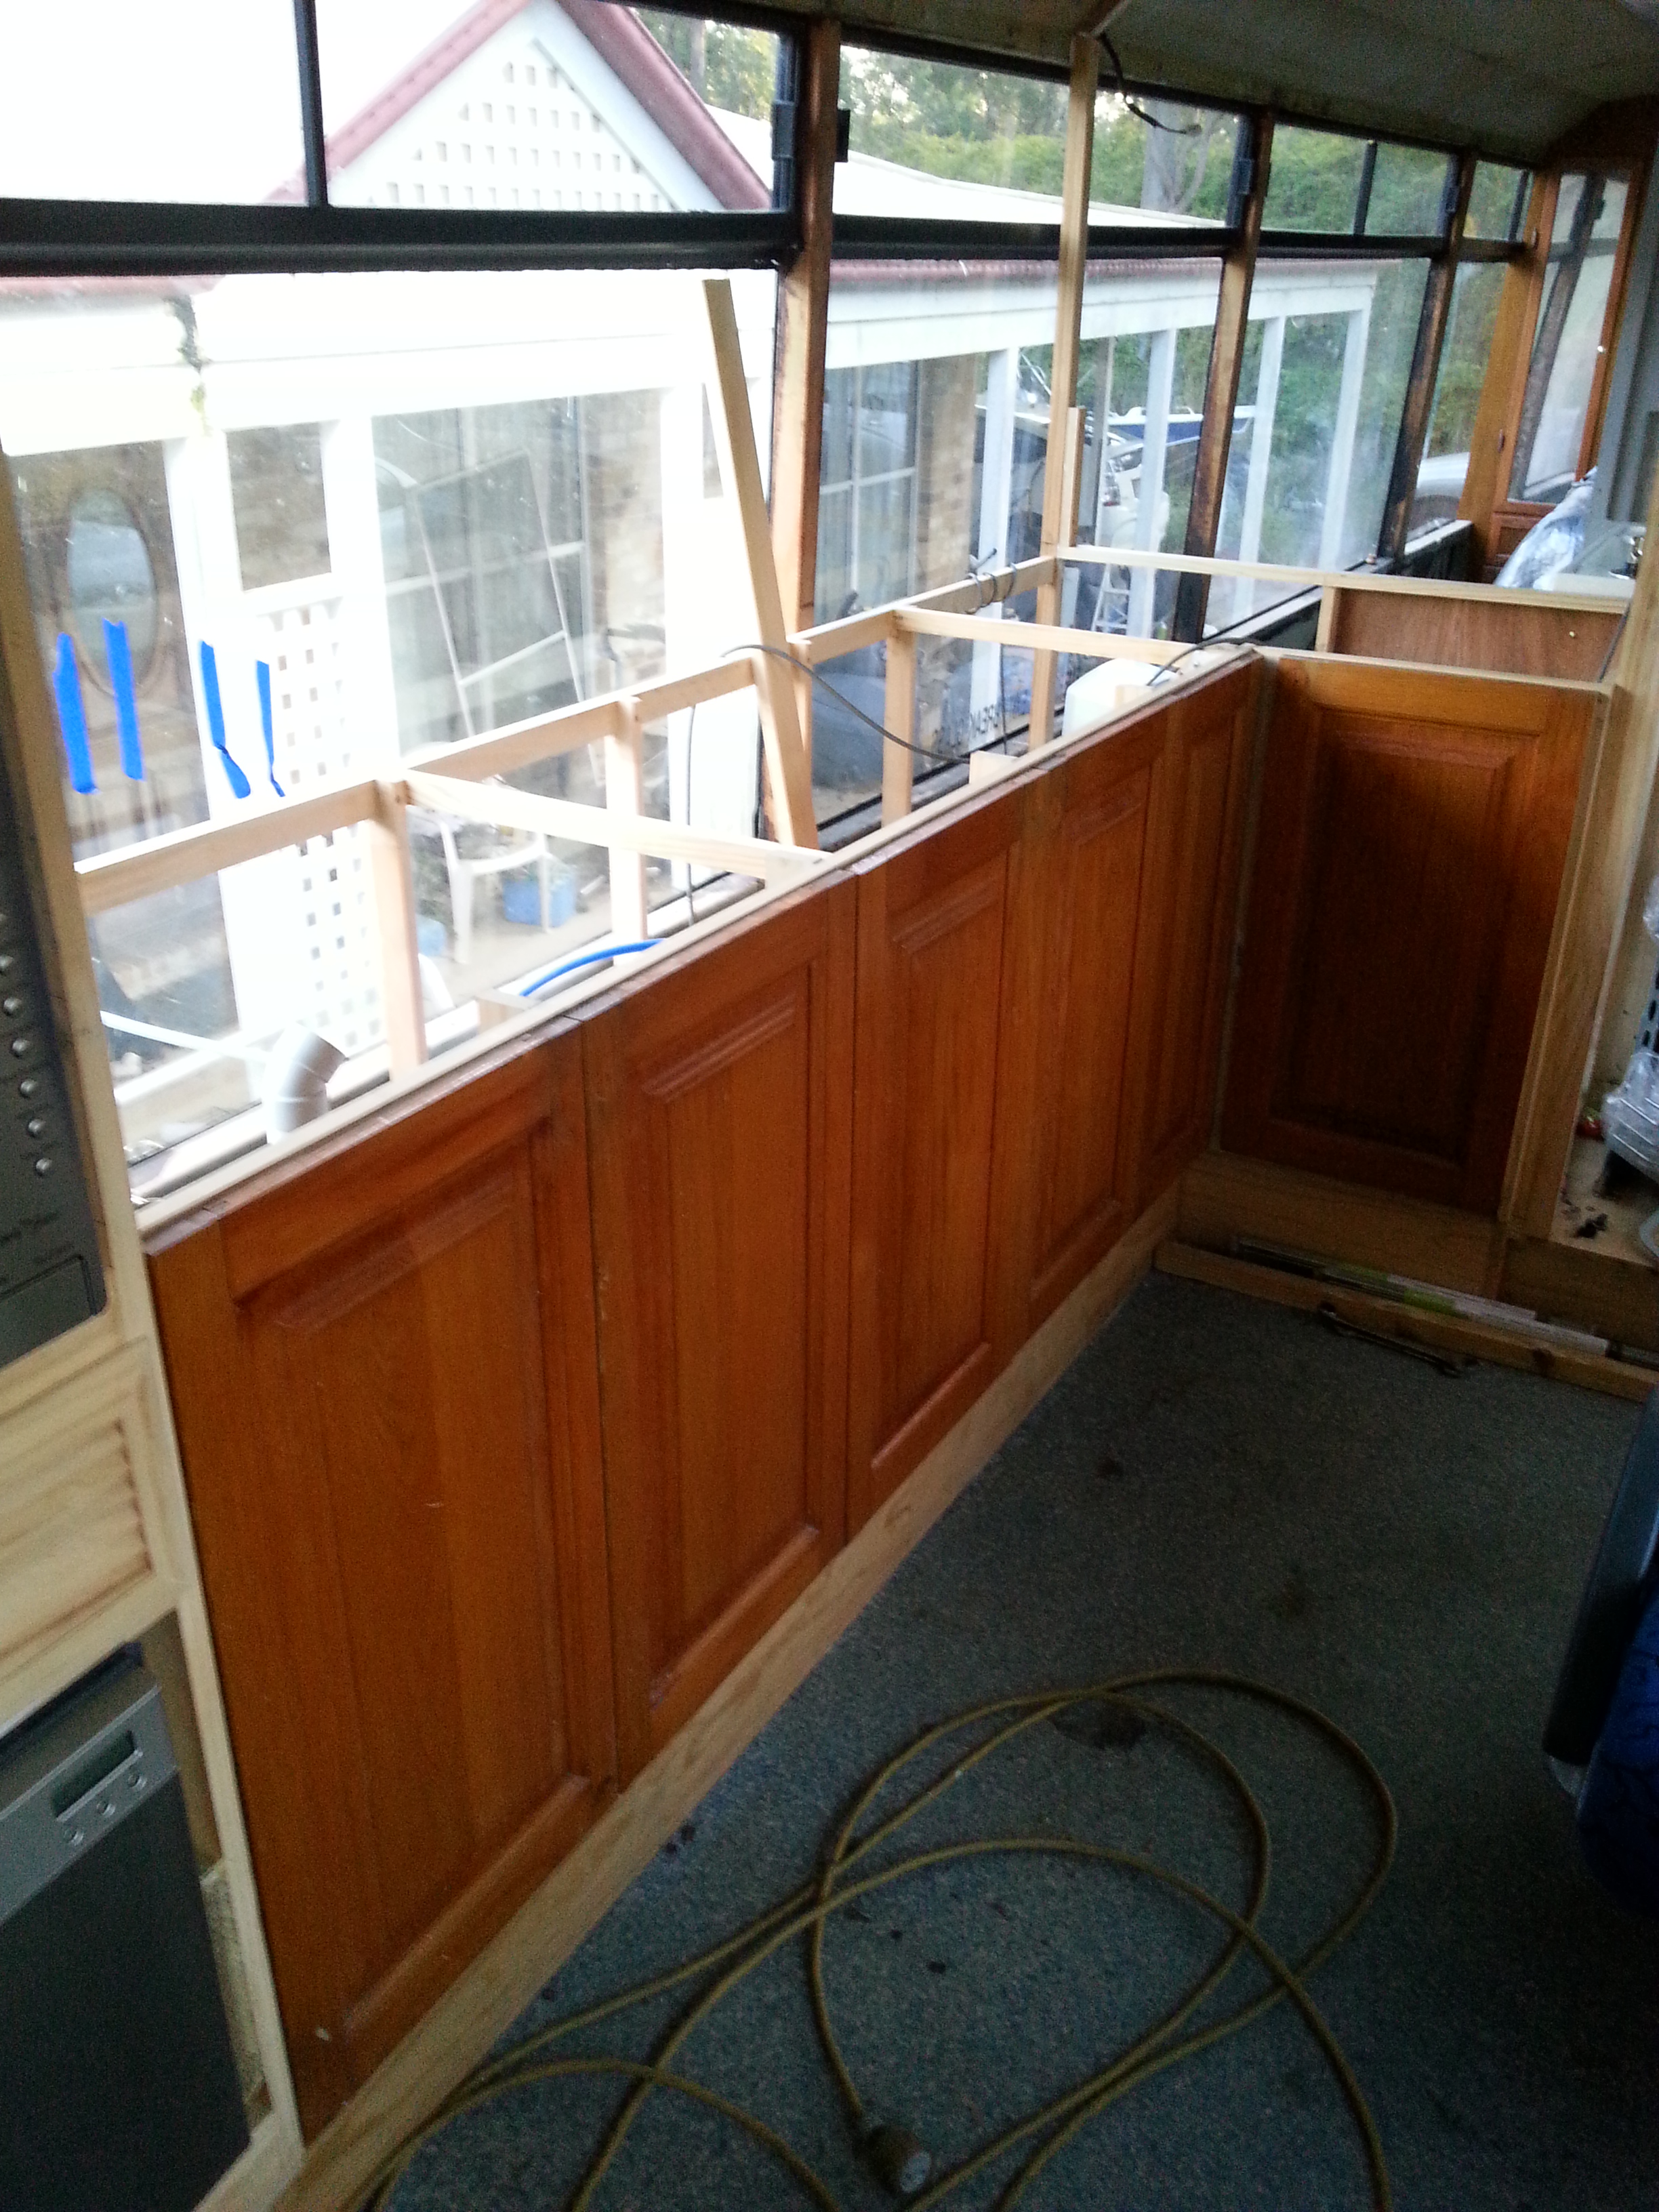
The doors have been fitted, view from front of Vehicle.

The Dinette table extended, i have used this timber for all bench & table tops throughout the RV.

Both sets of seats are to be recovered with a change of Material to better suit the colors in the Vehicle.
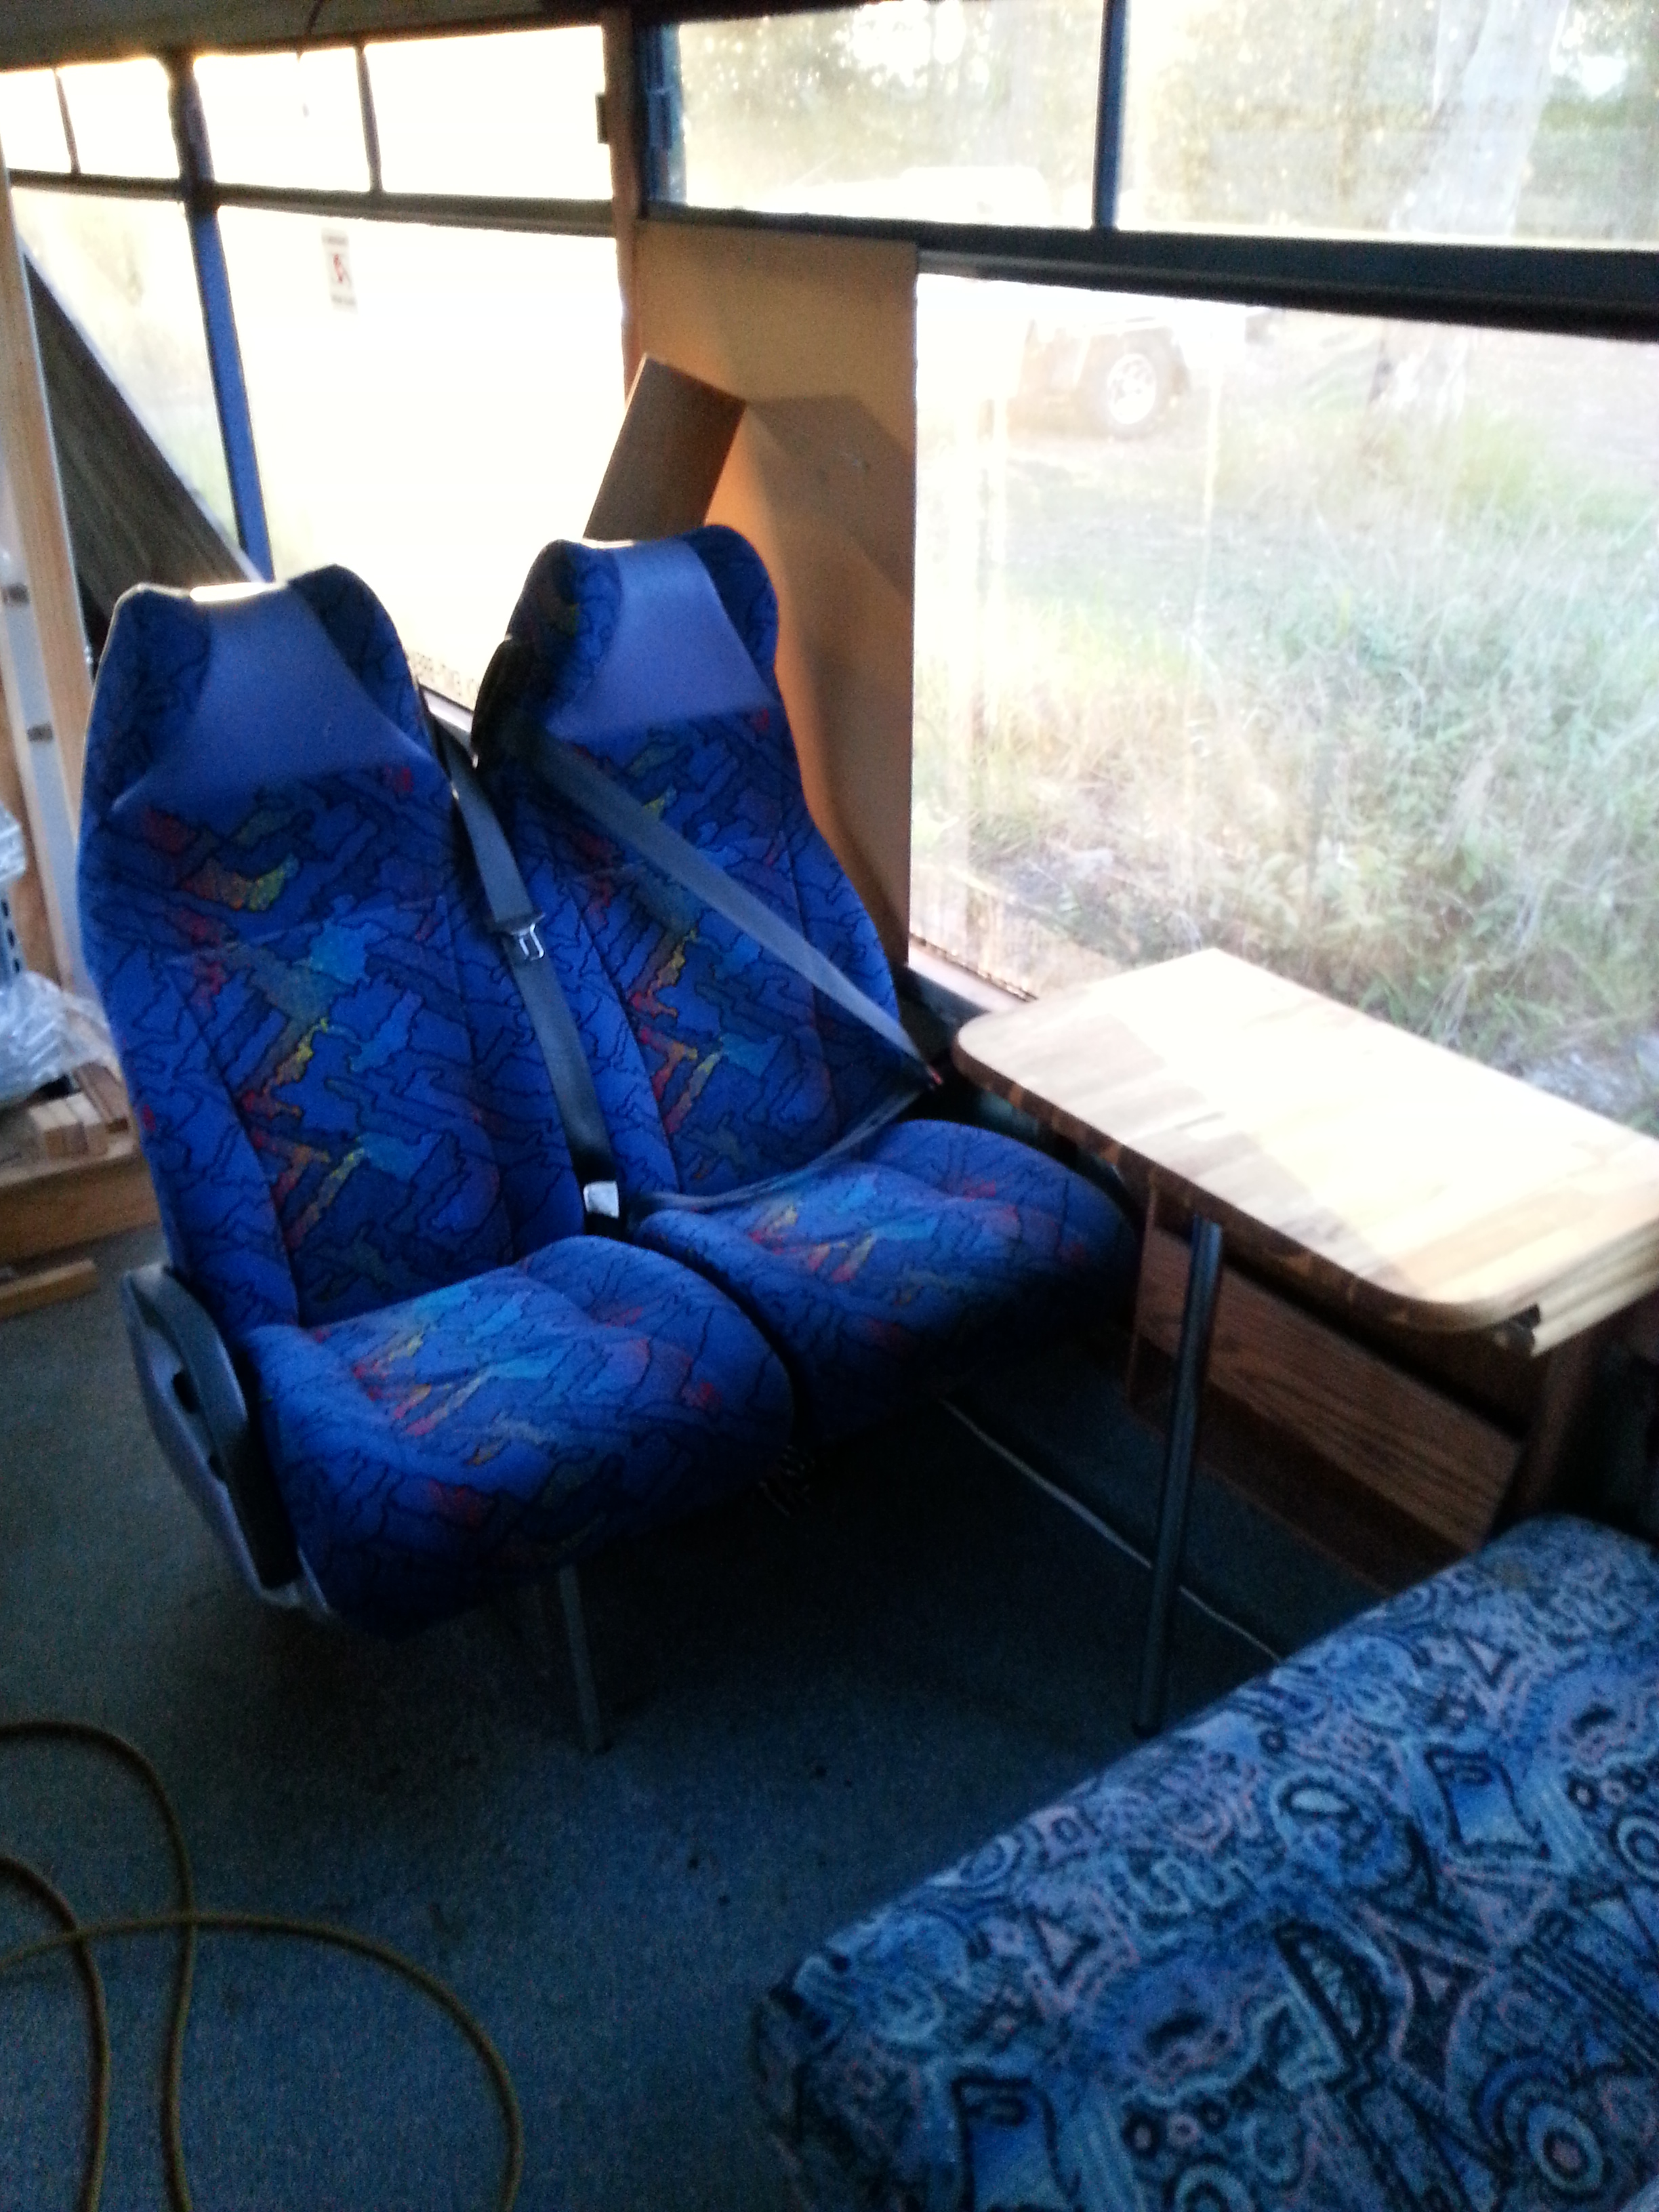
I have replaced the forward facing seats with a Coach seat, these incorporate Seat belts which meets the transit seating requirements.

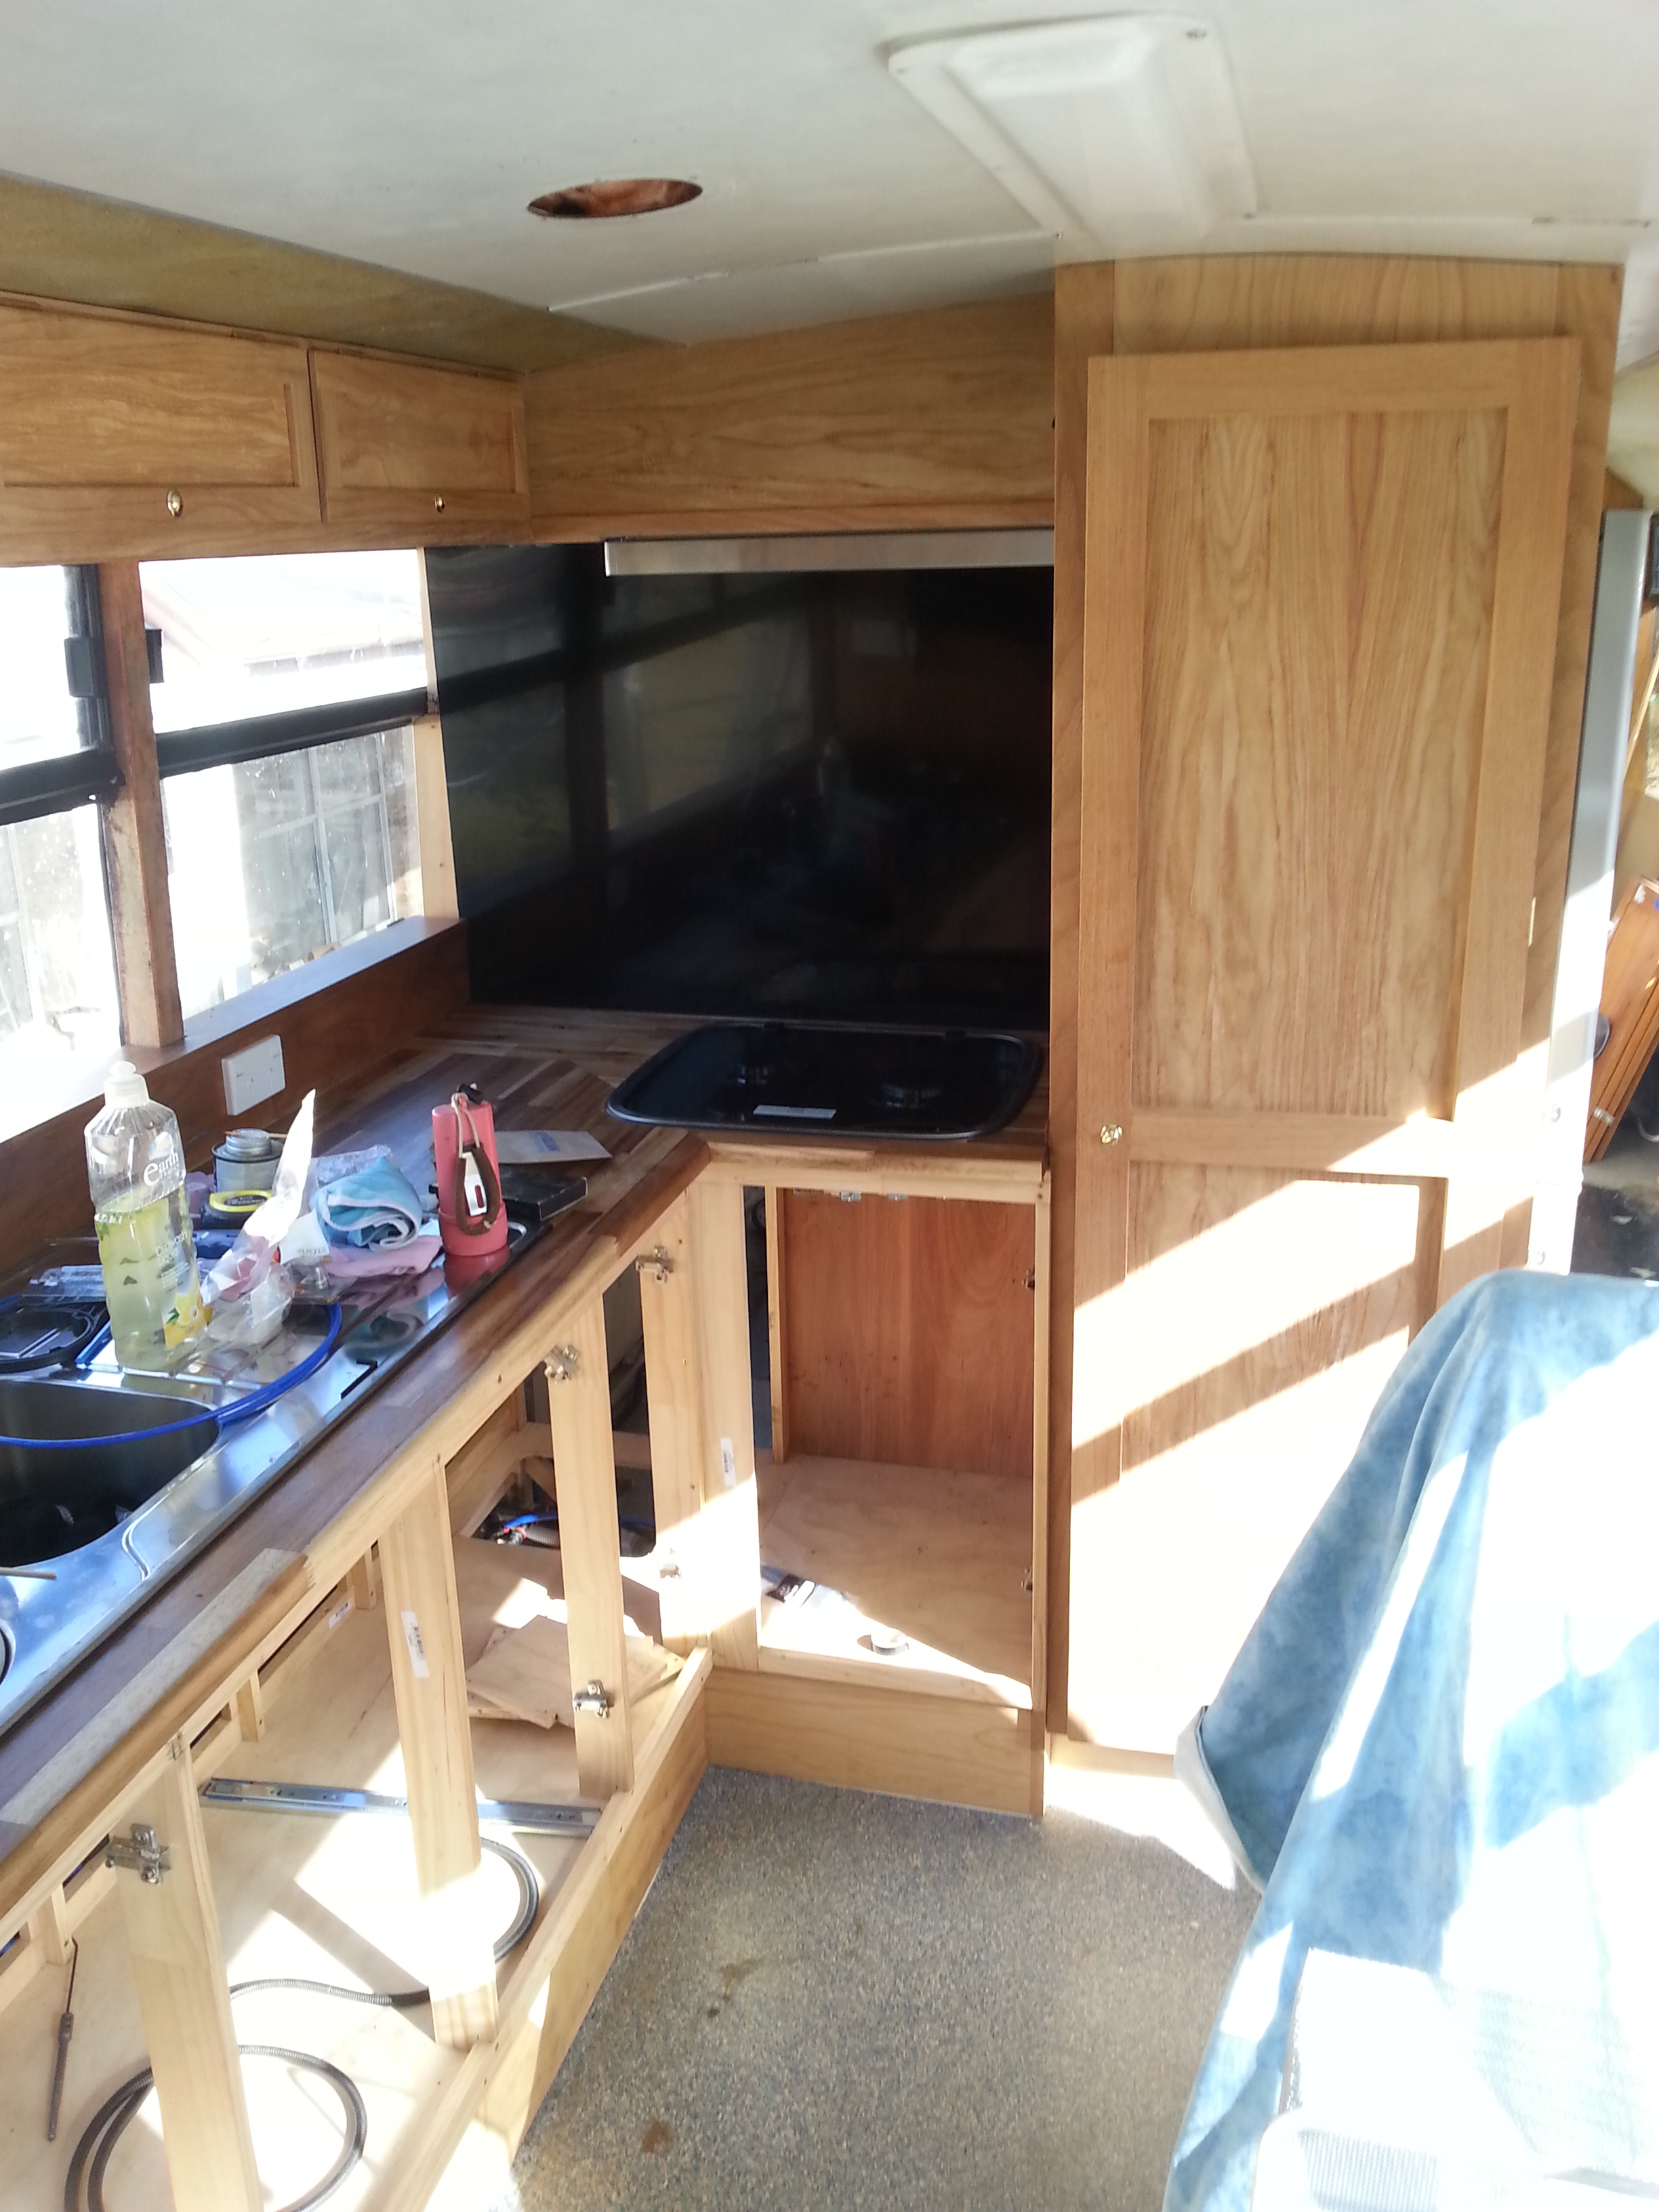
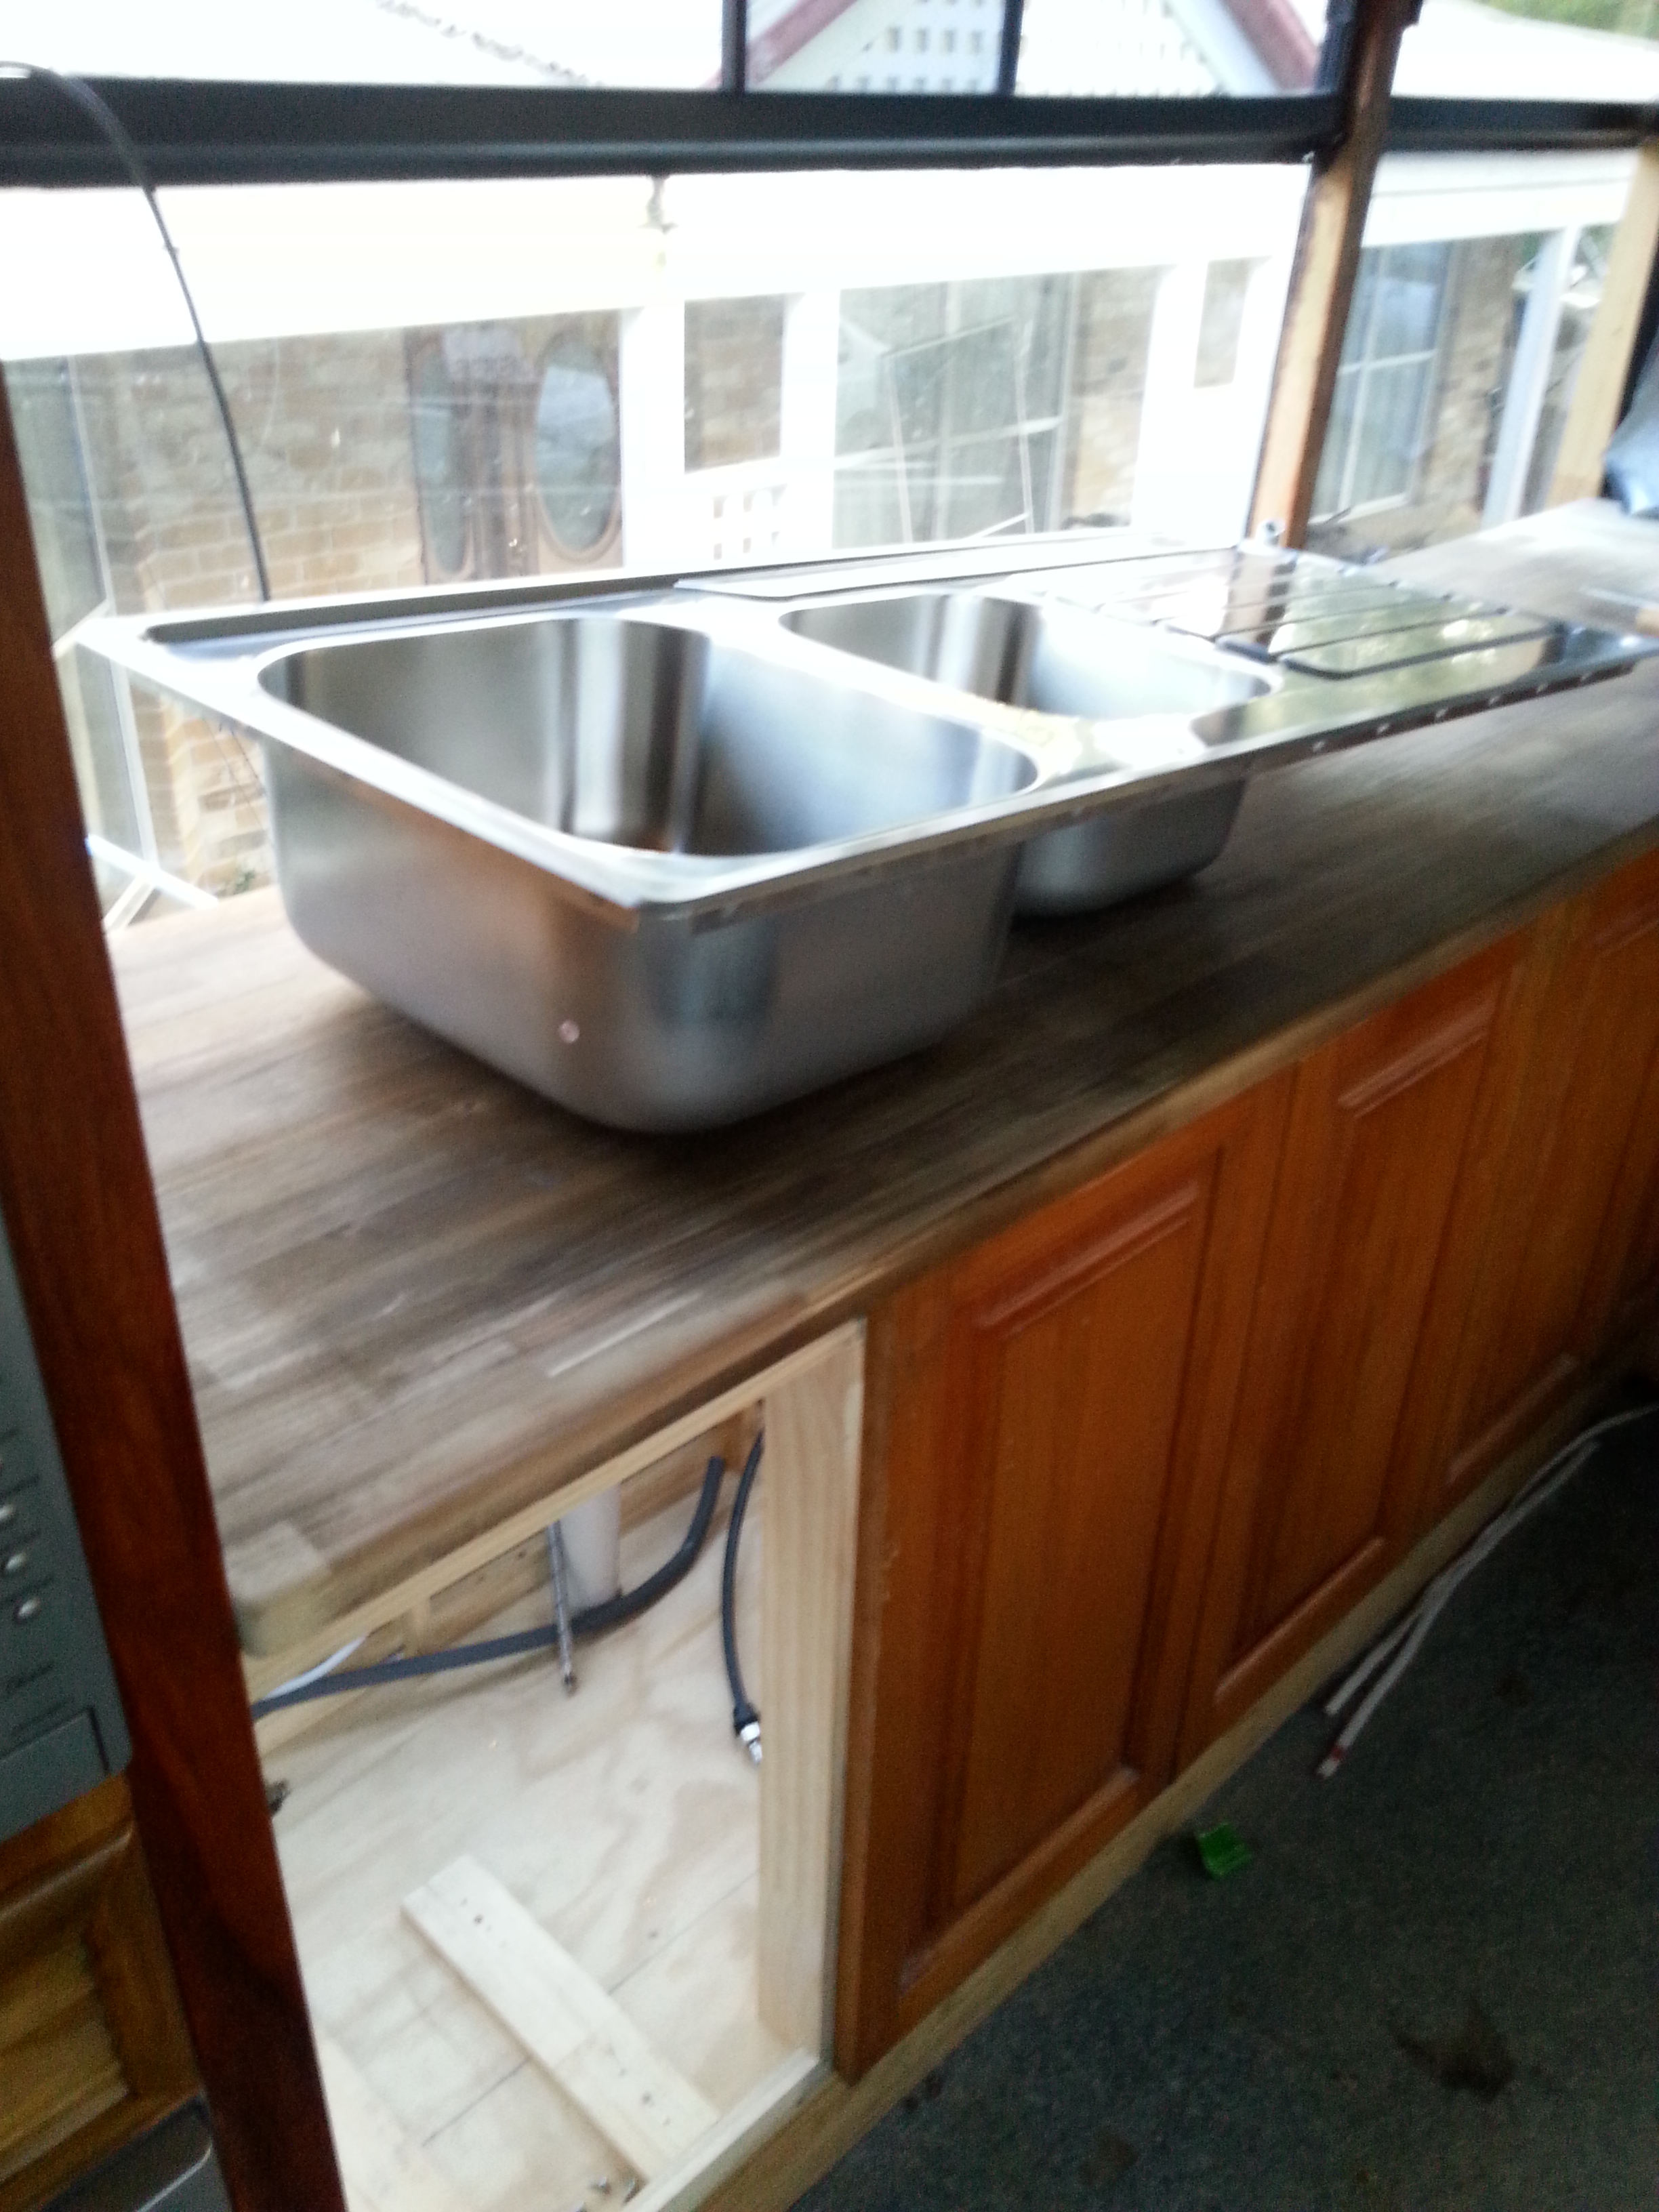
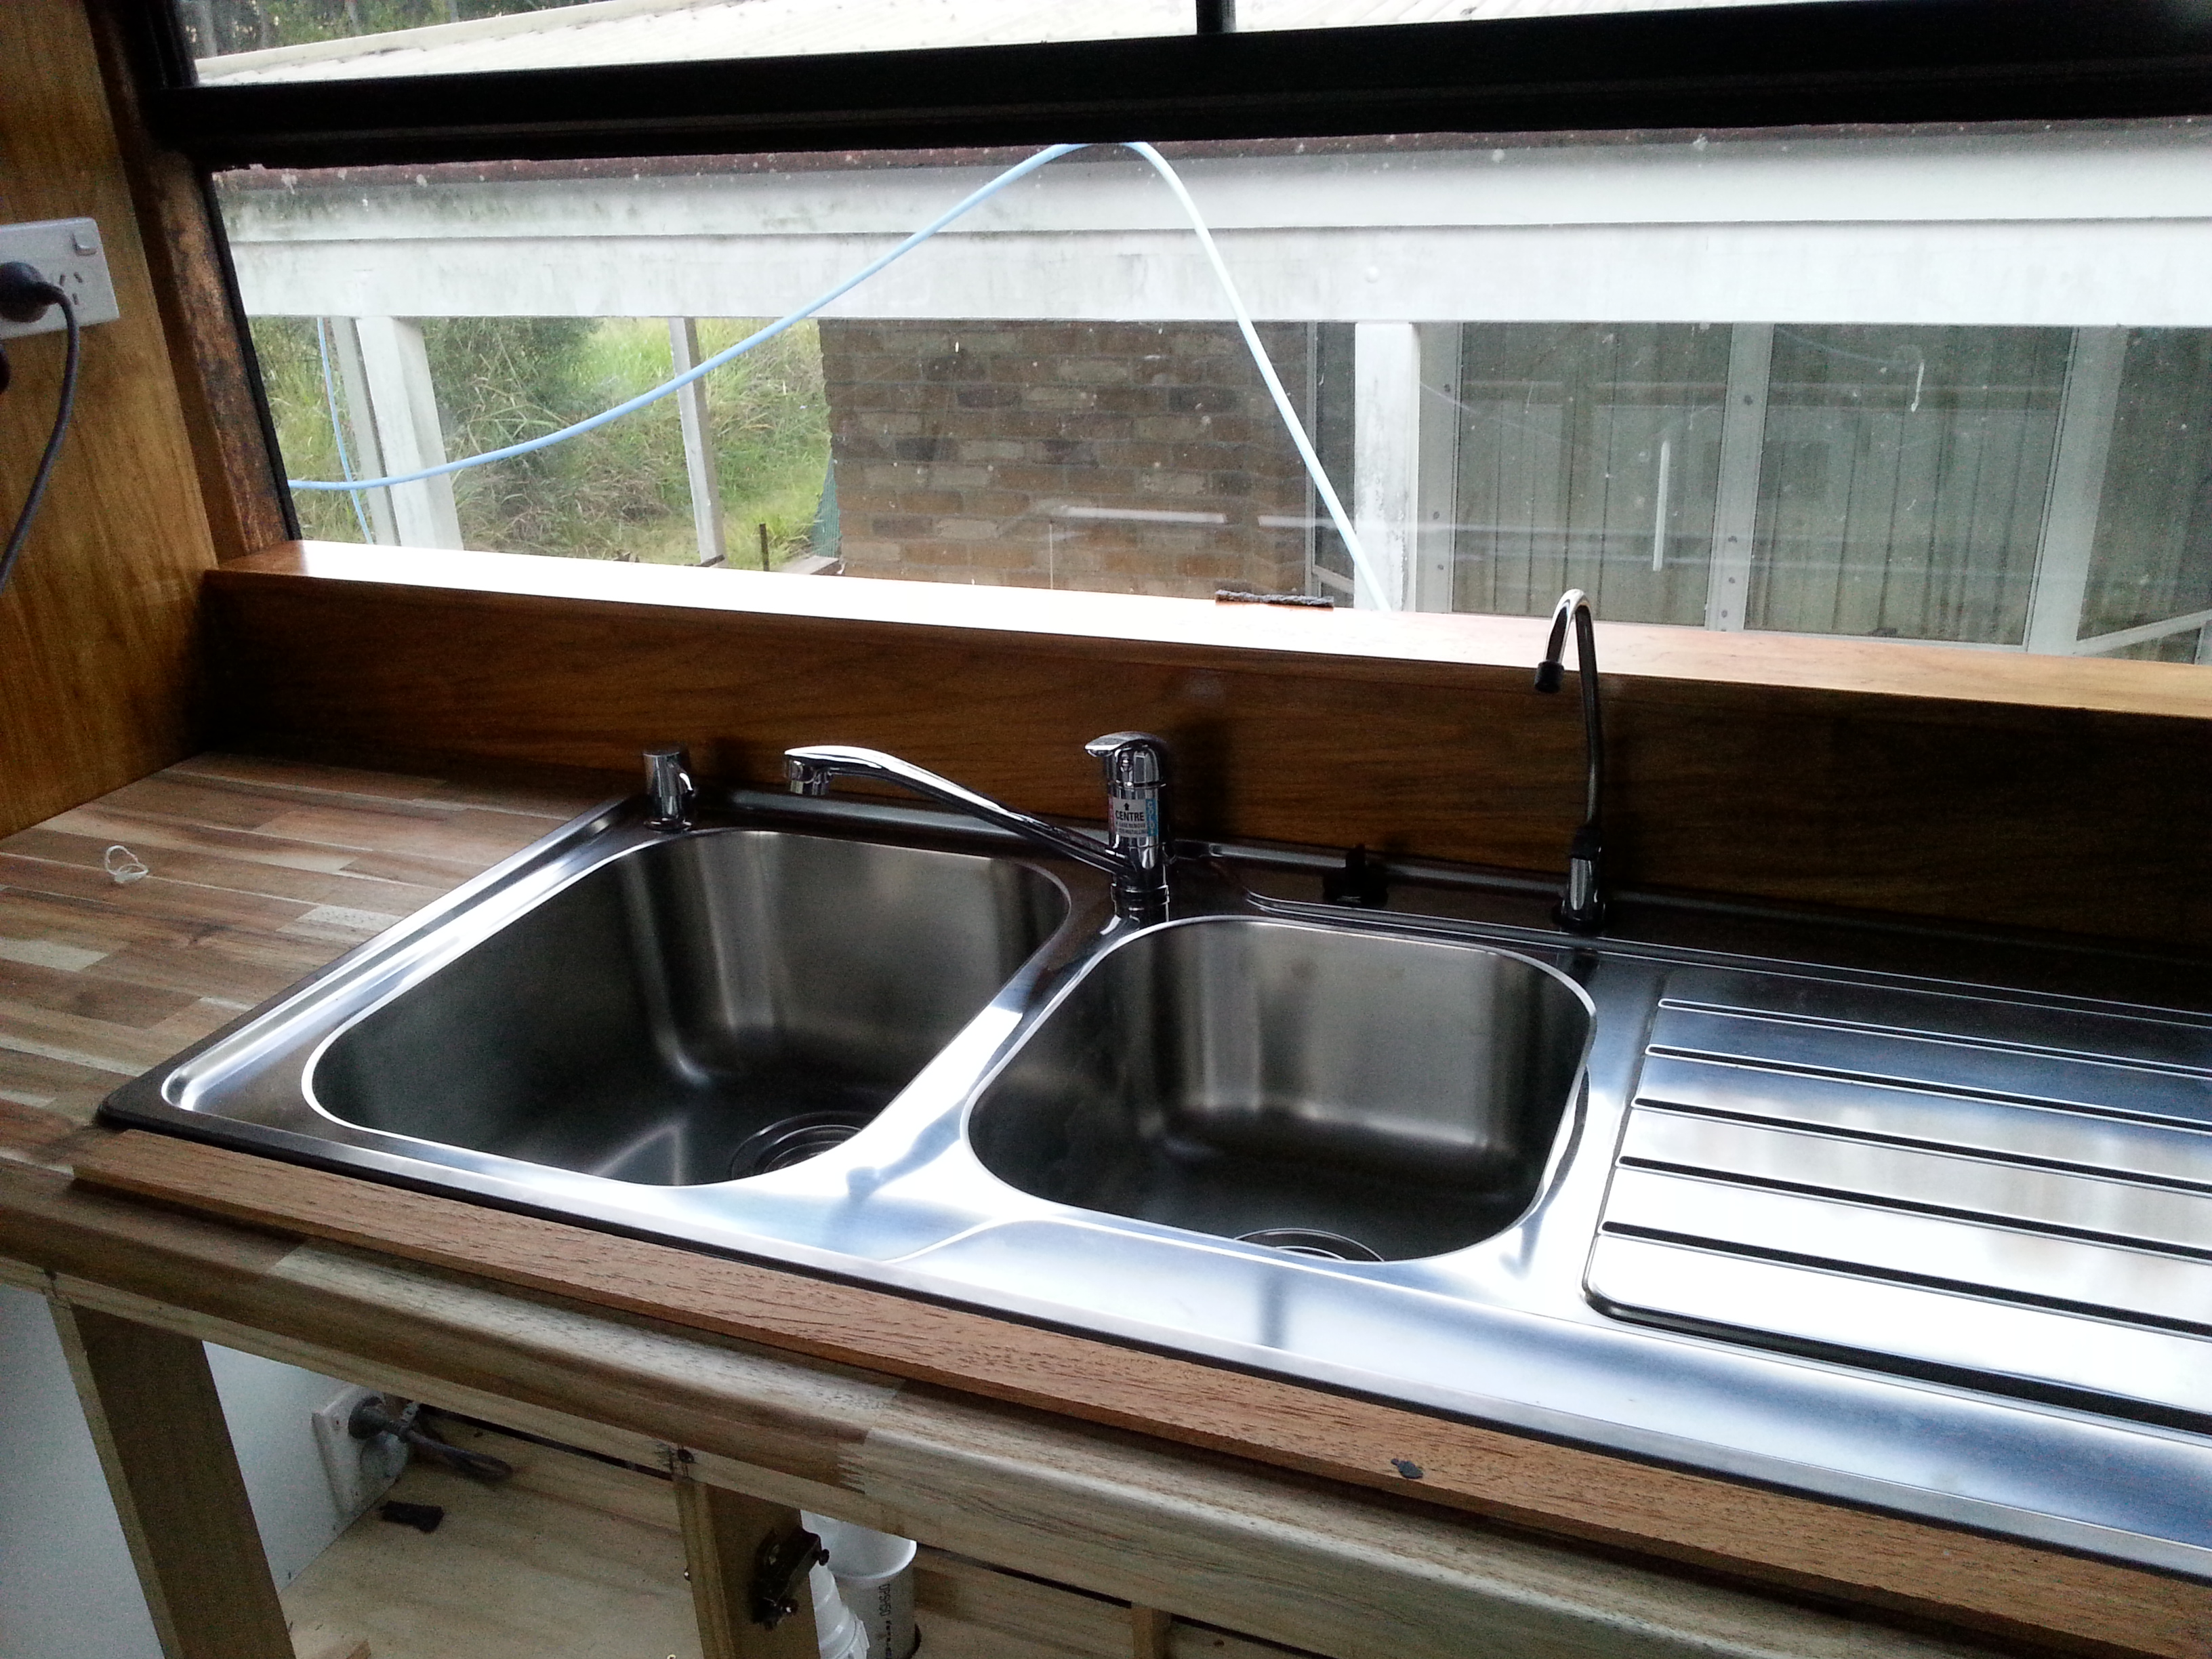
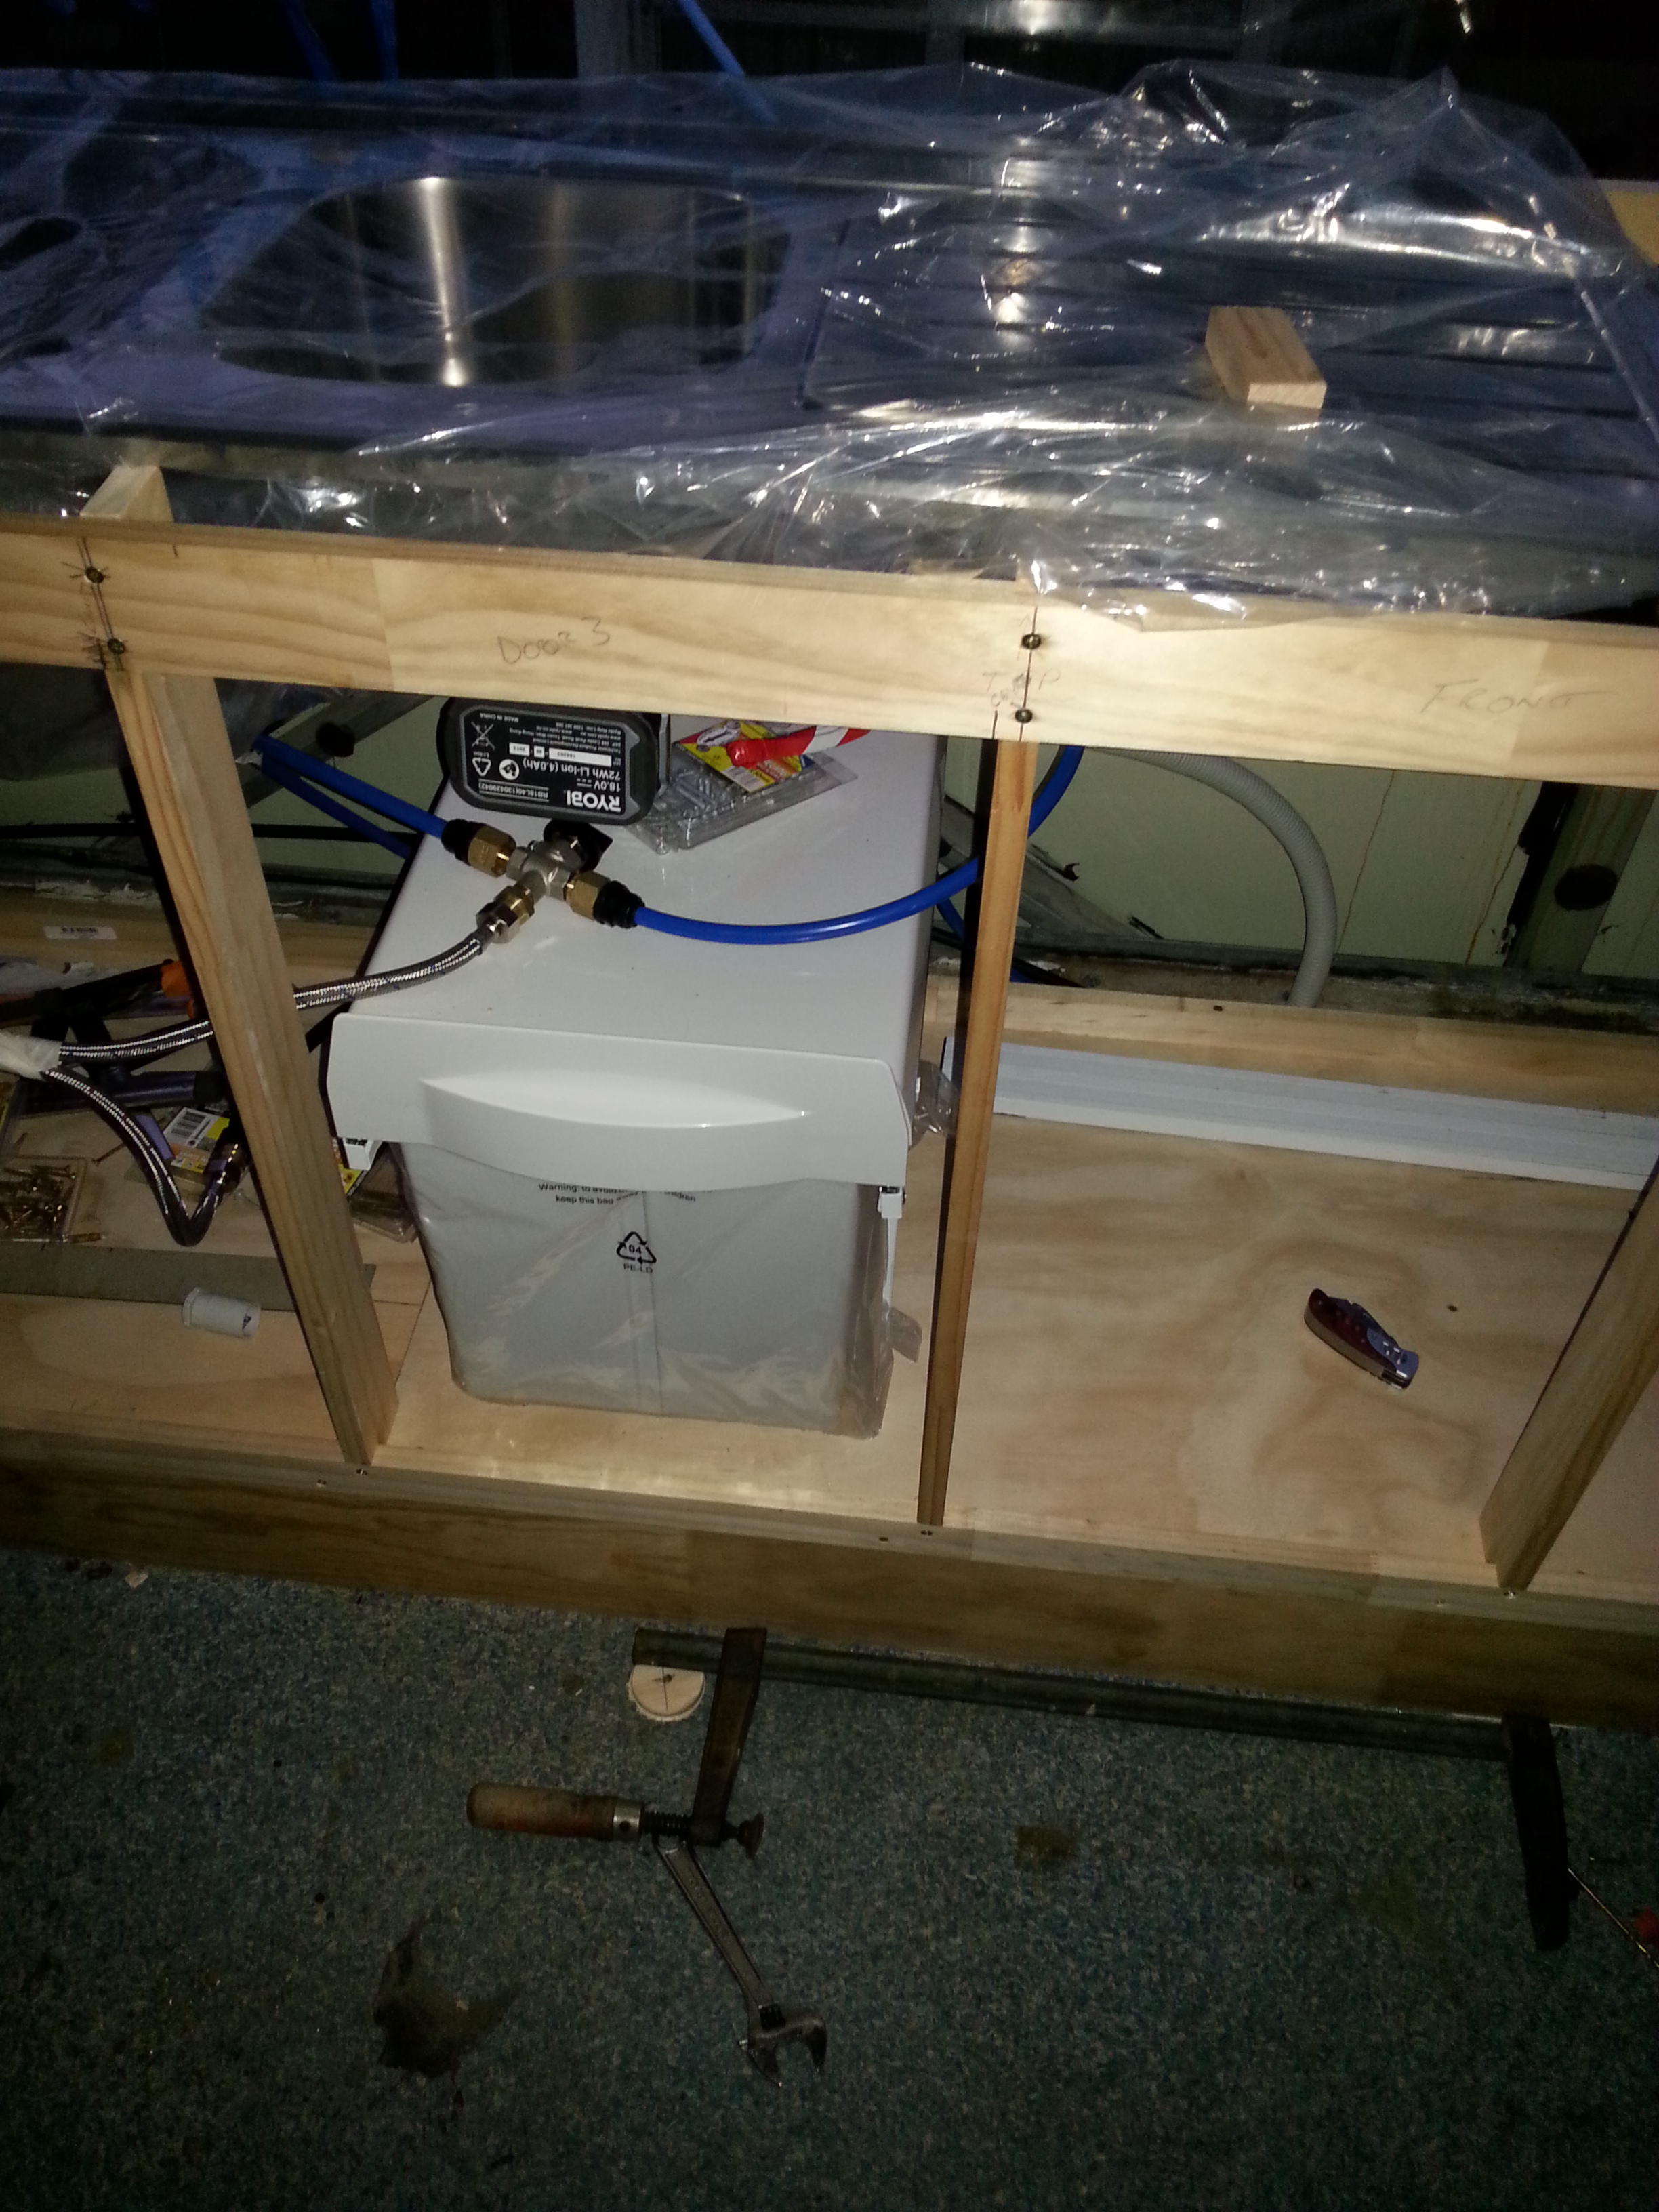
The modified position for the Dinette opposite the Kitchen Bench & Sink.
The only work remaining on the Dinette is to recover both seats in the fabric We have selected.