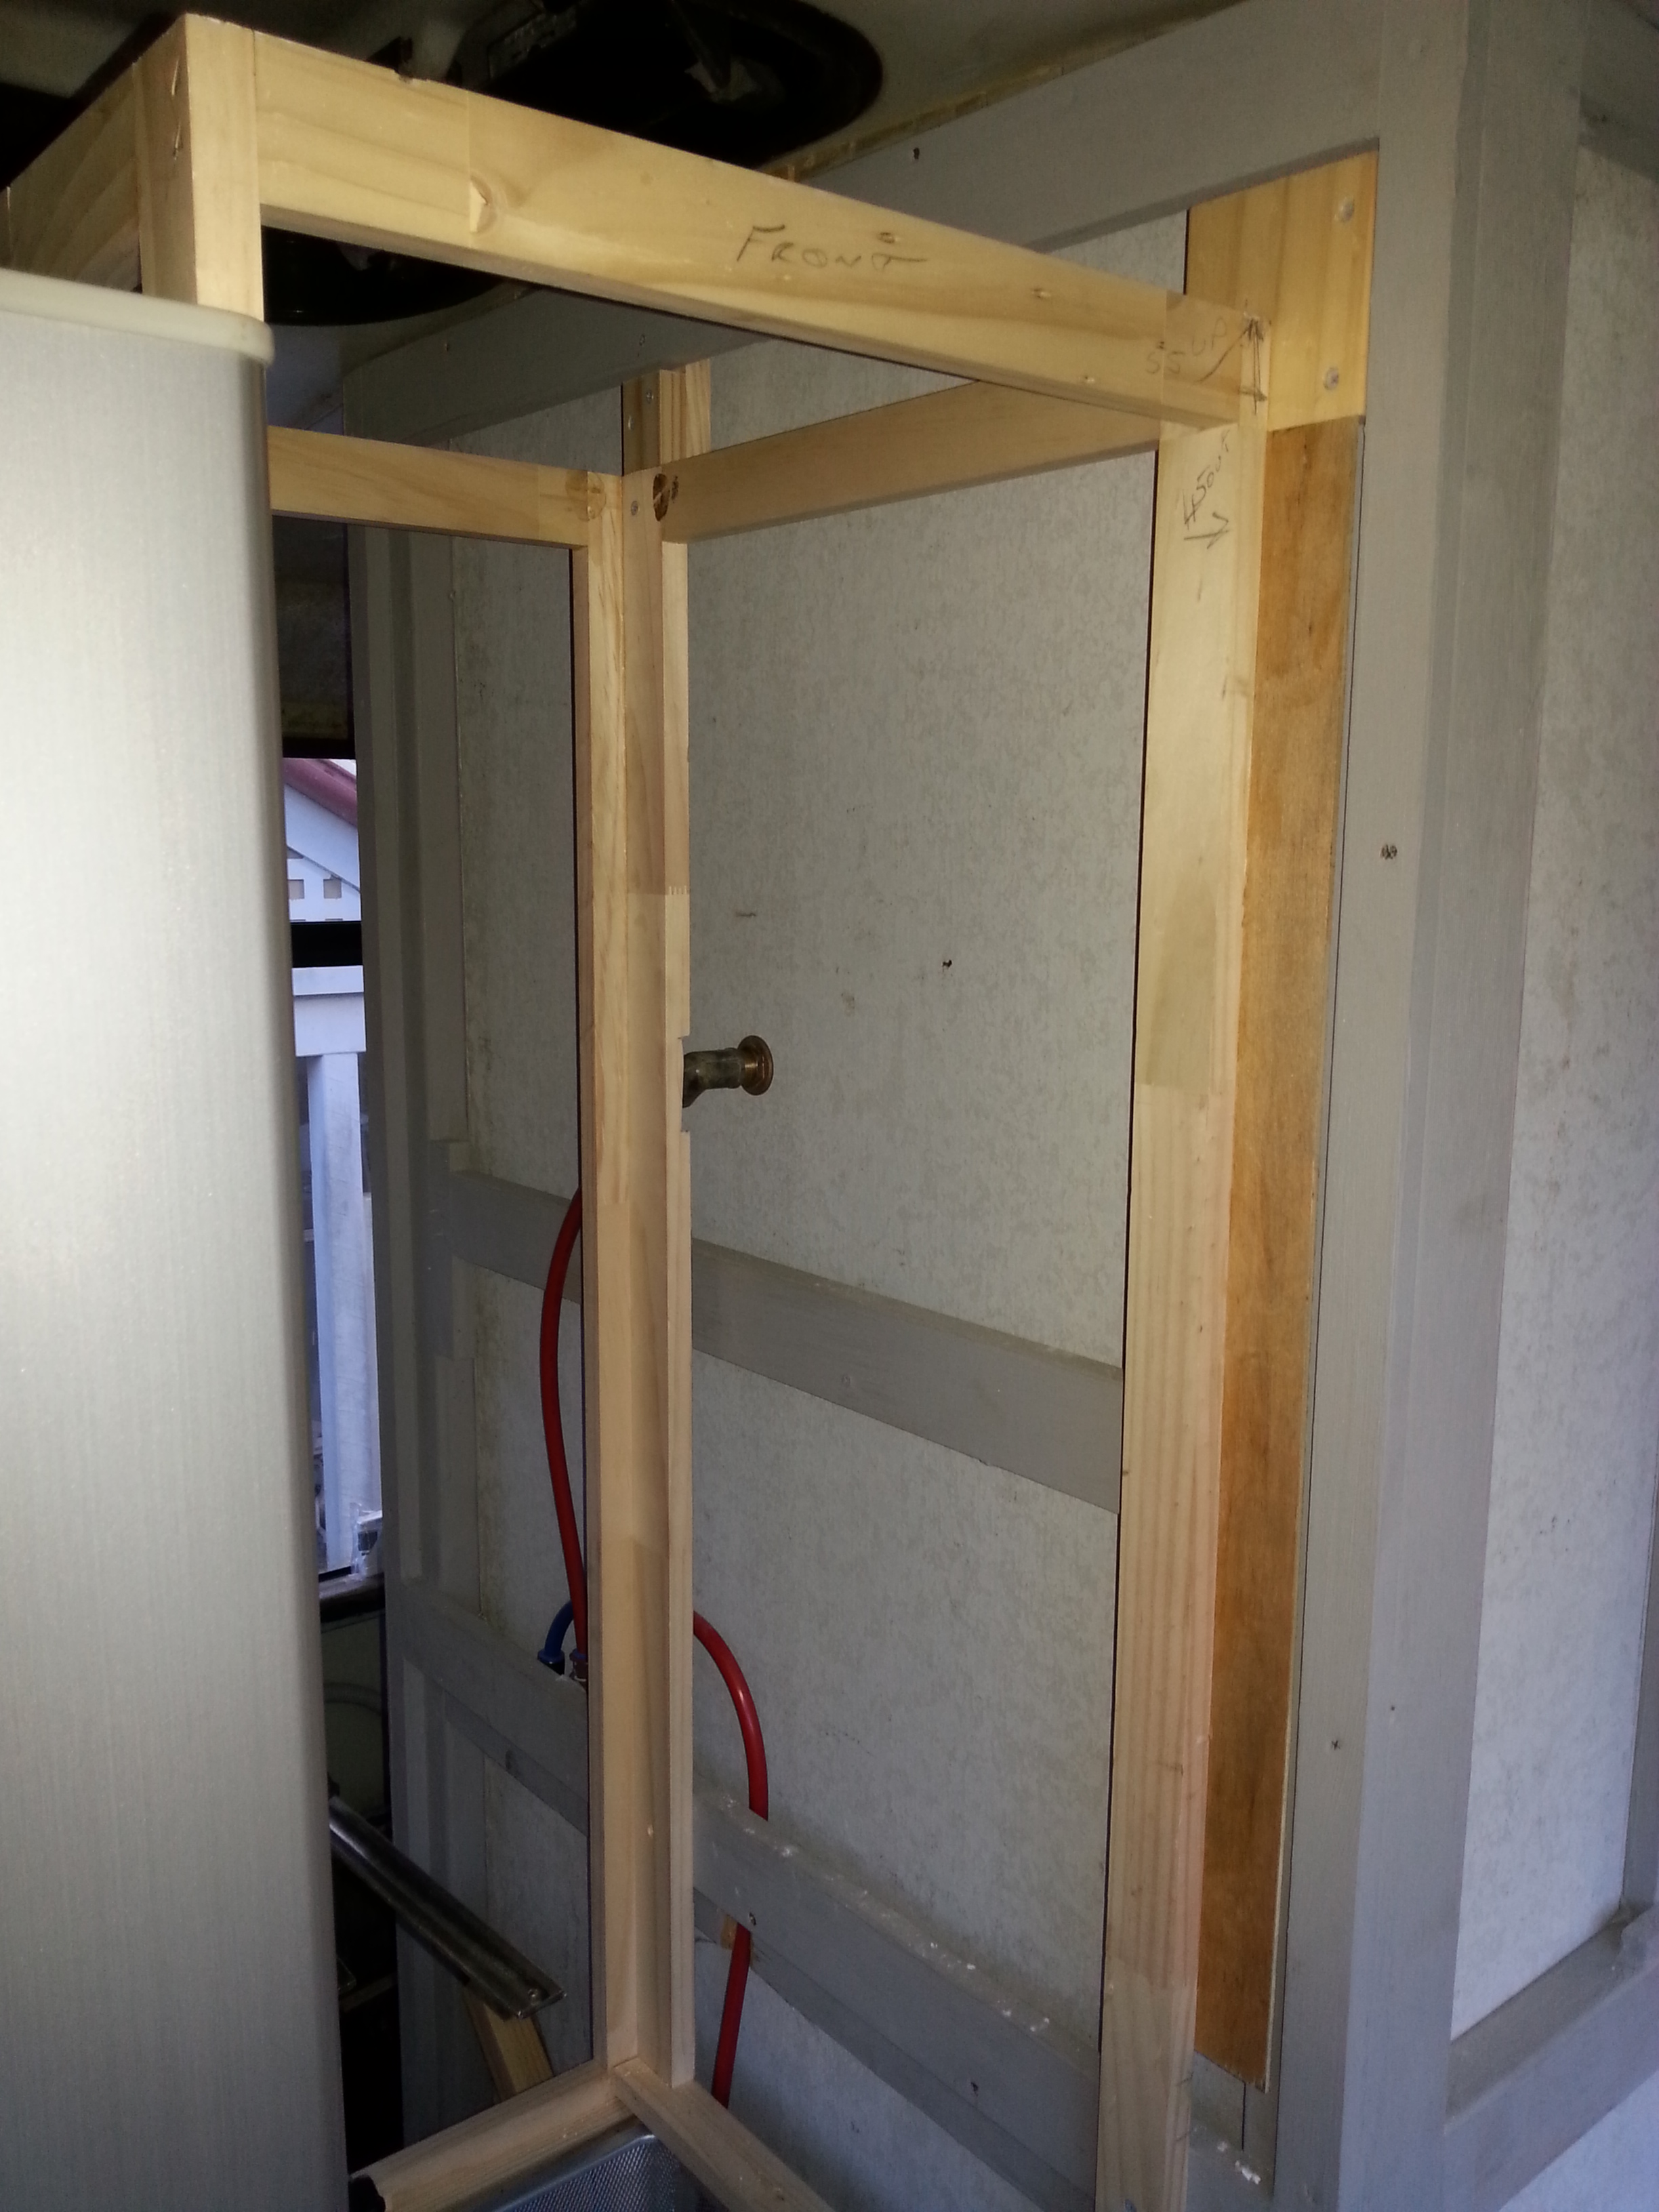
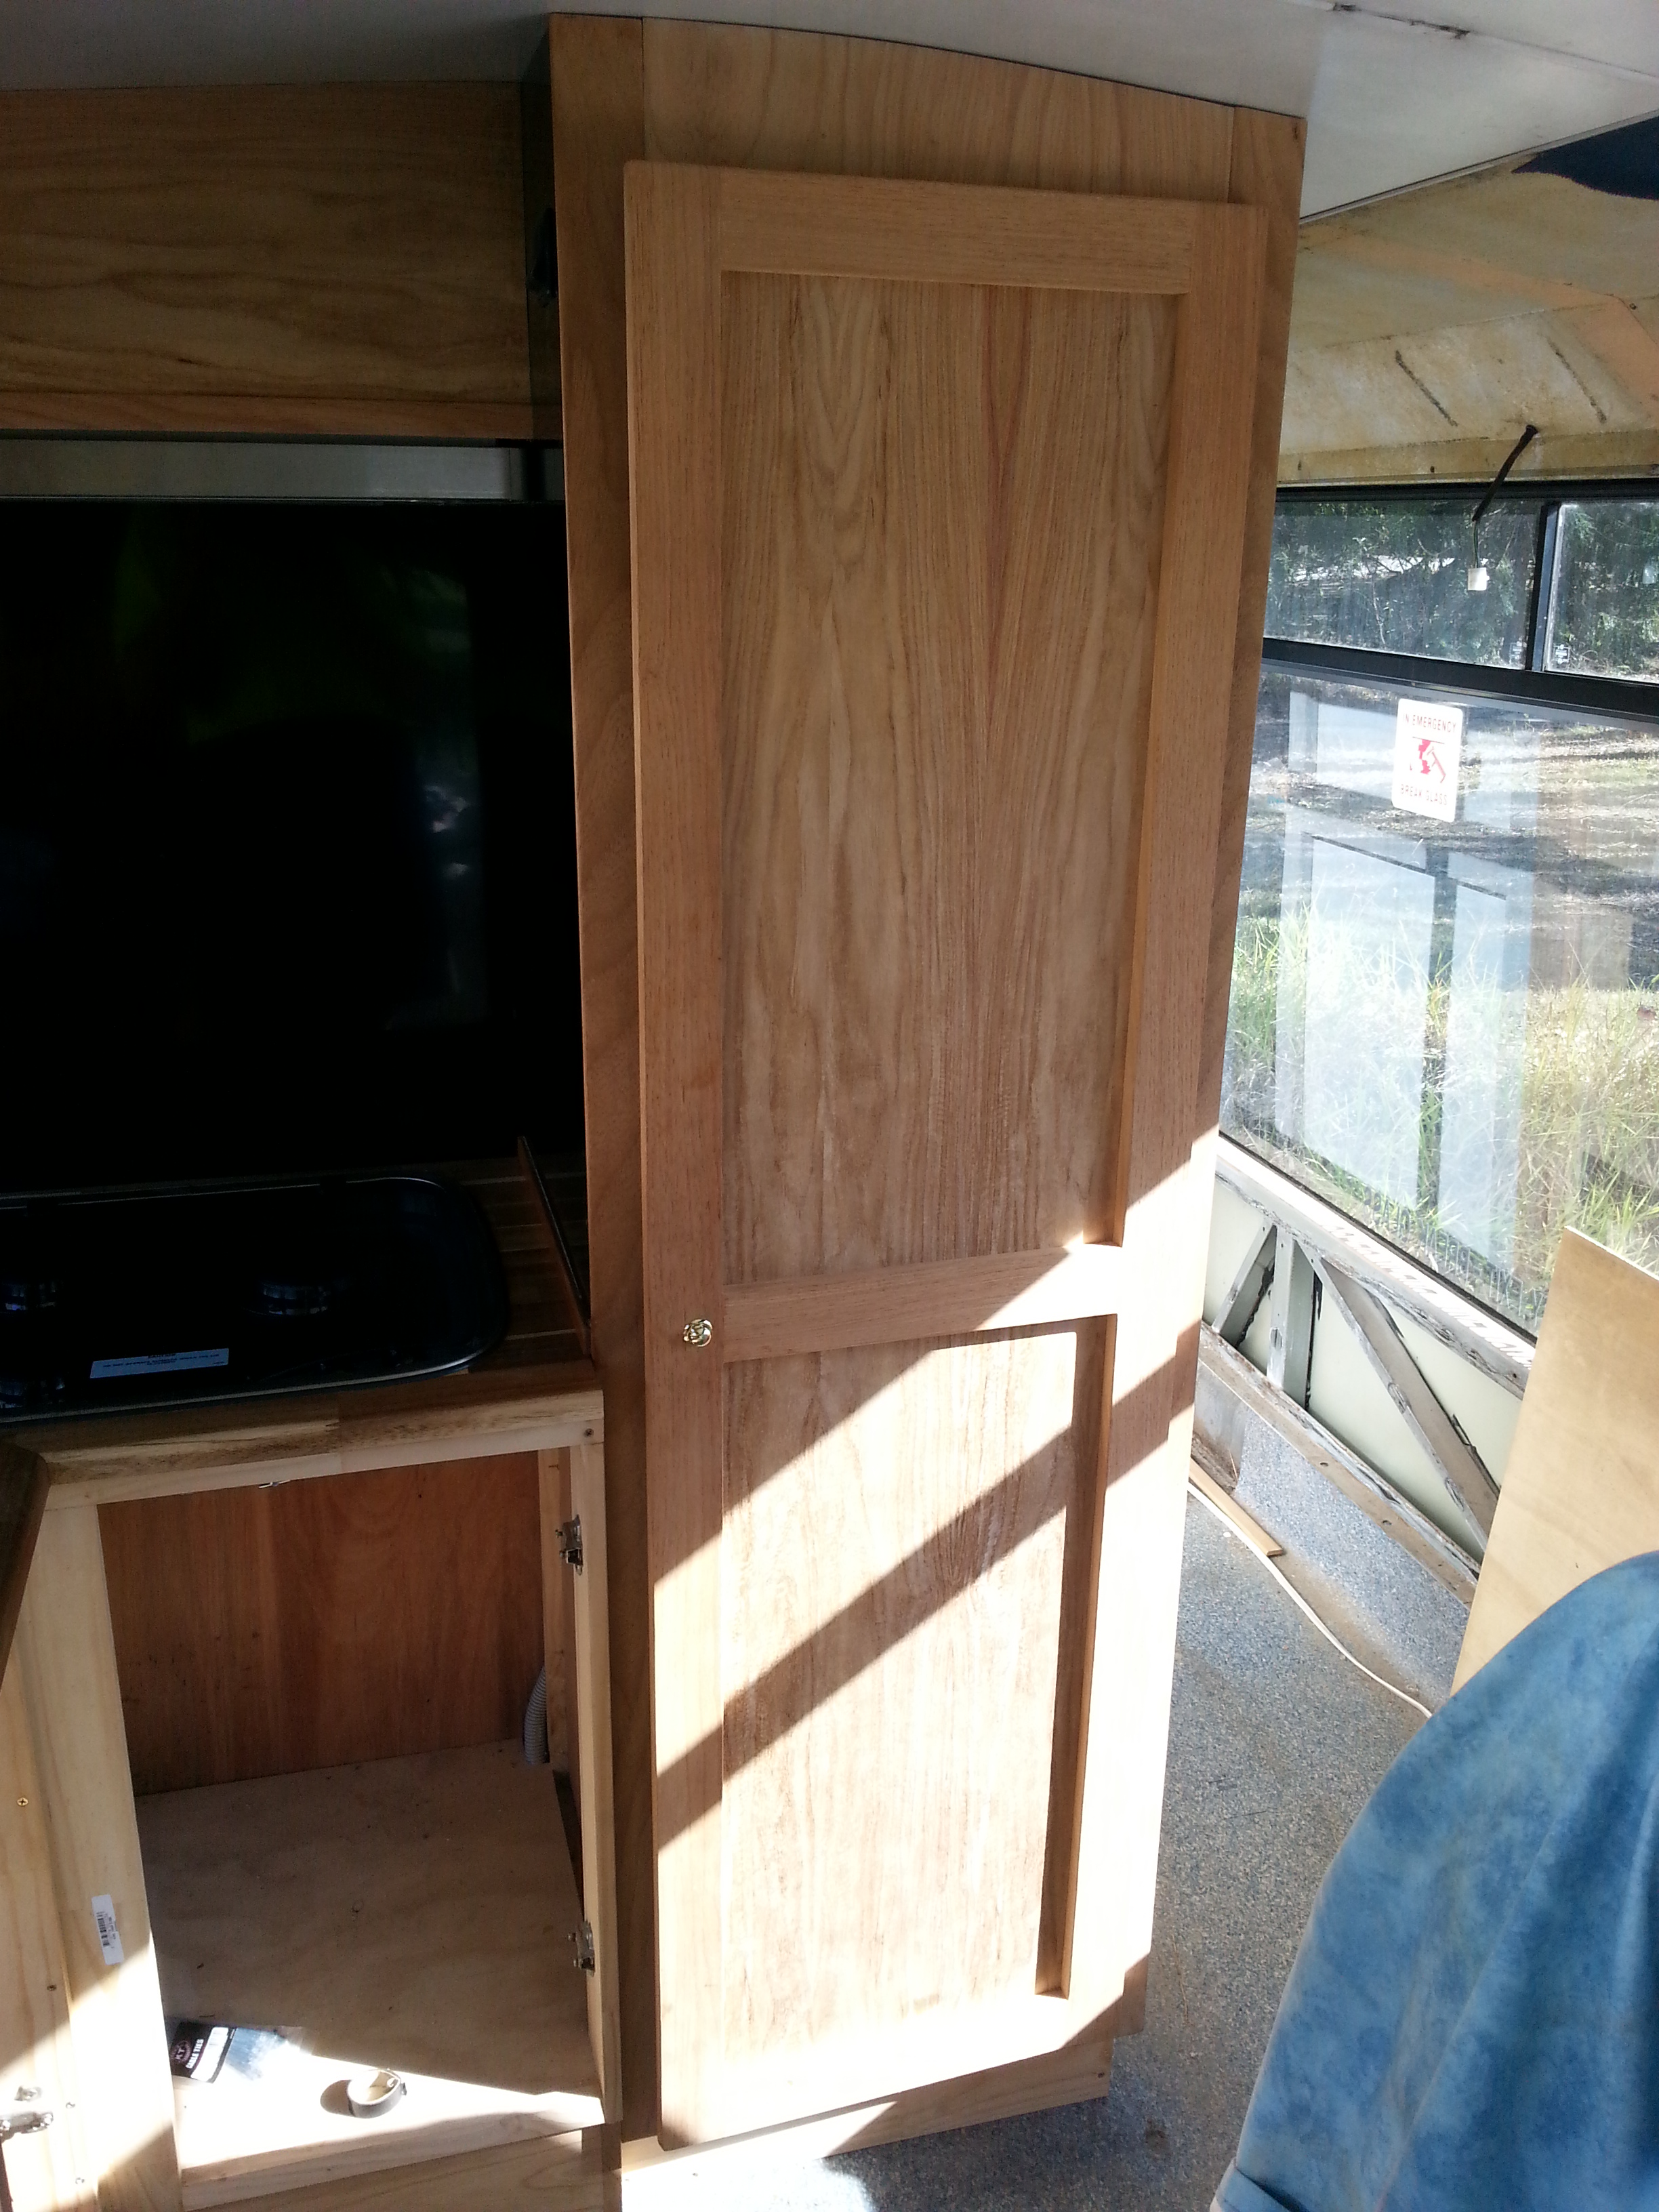
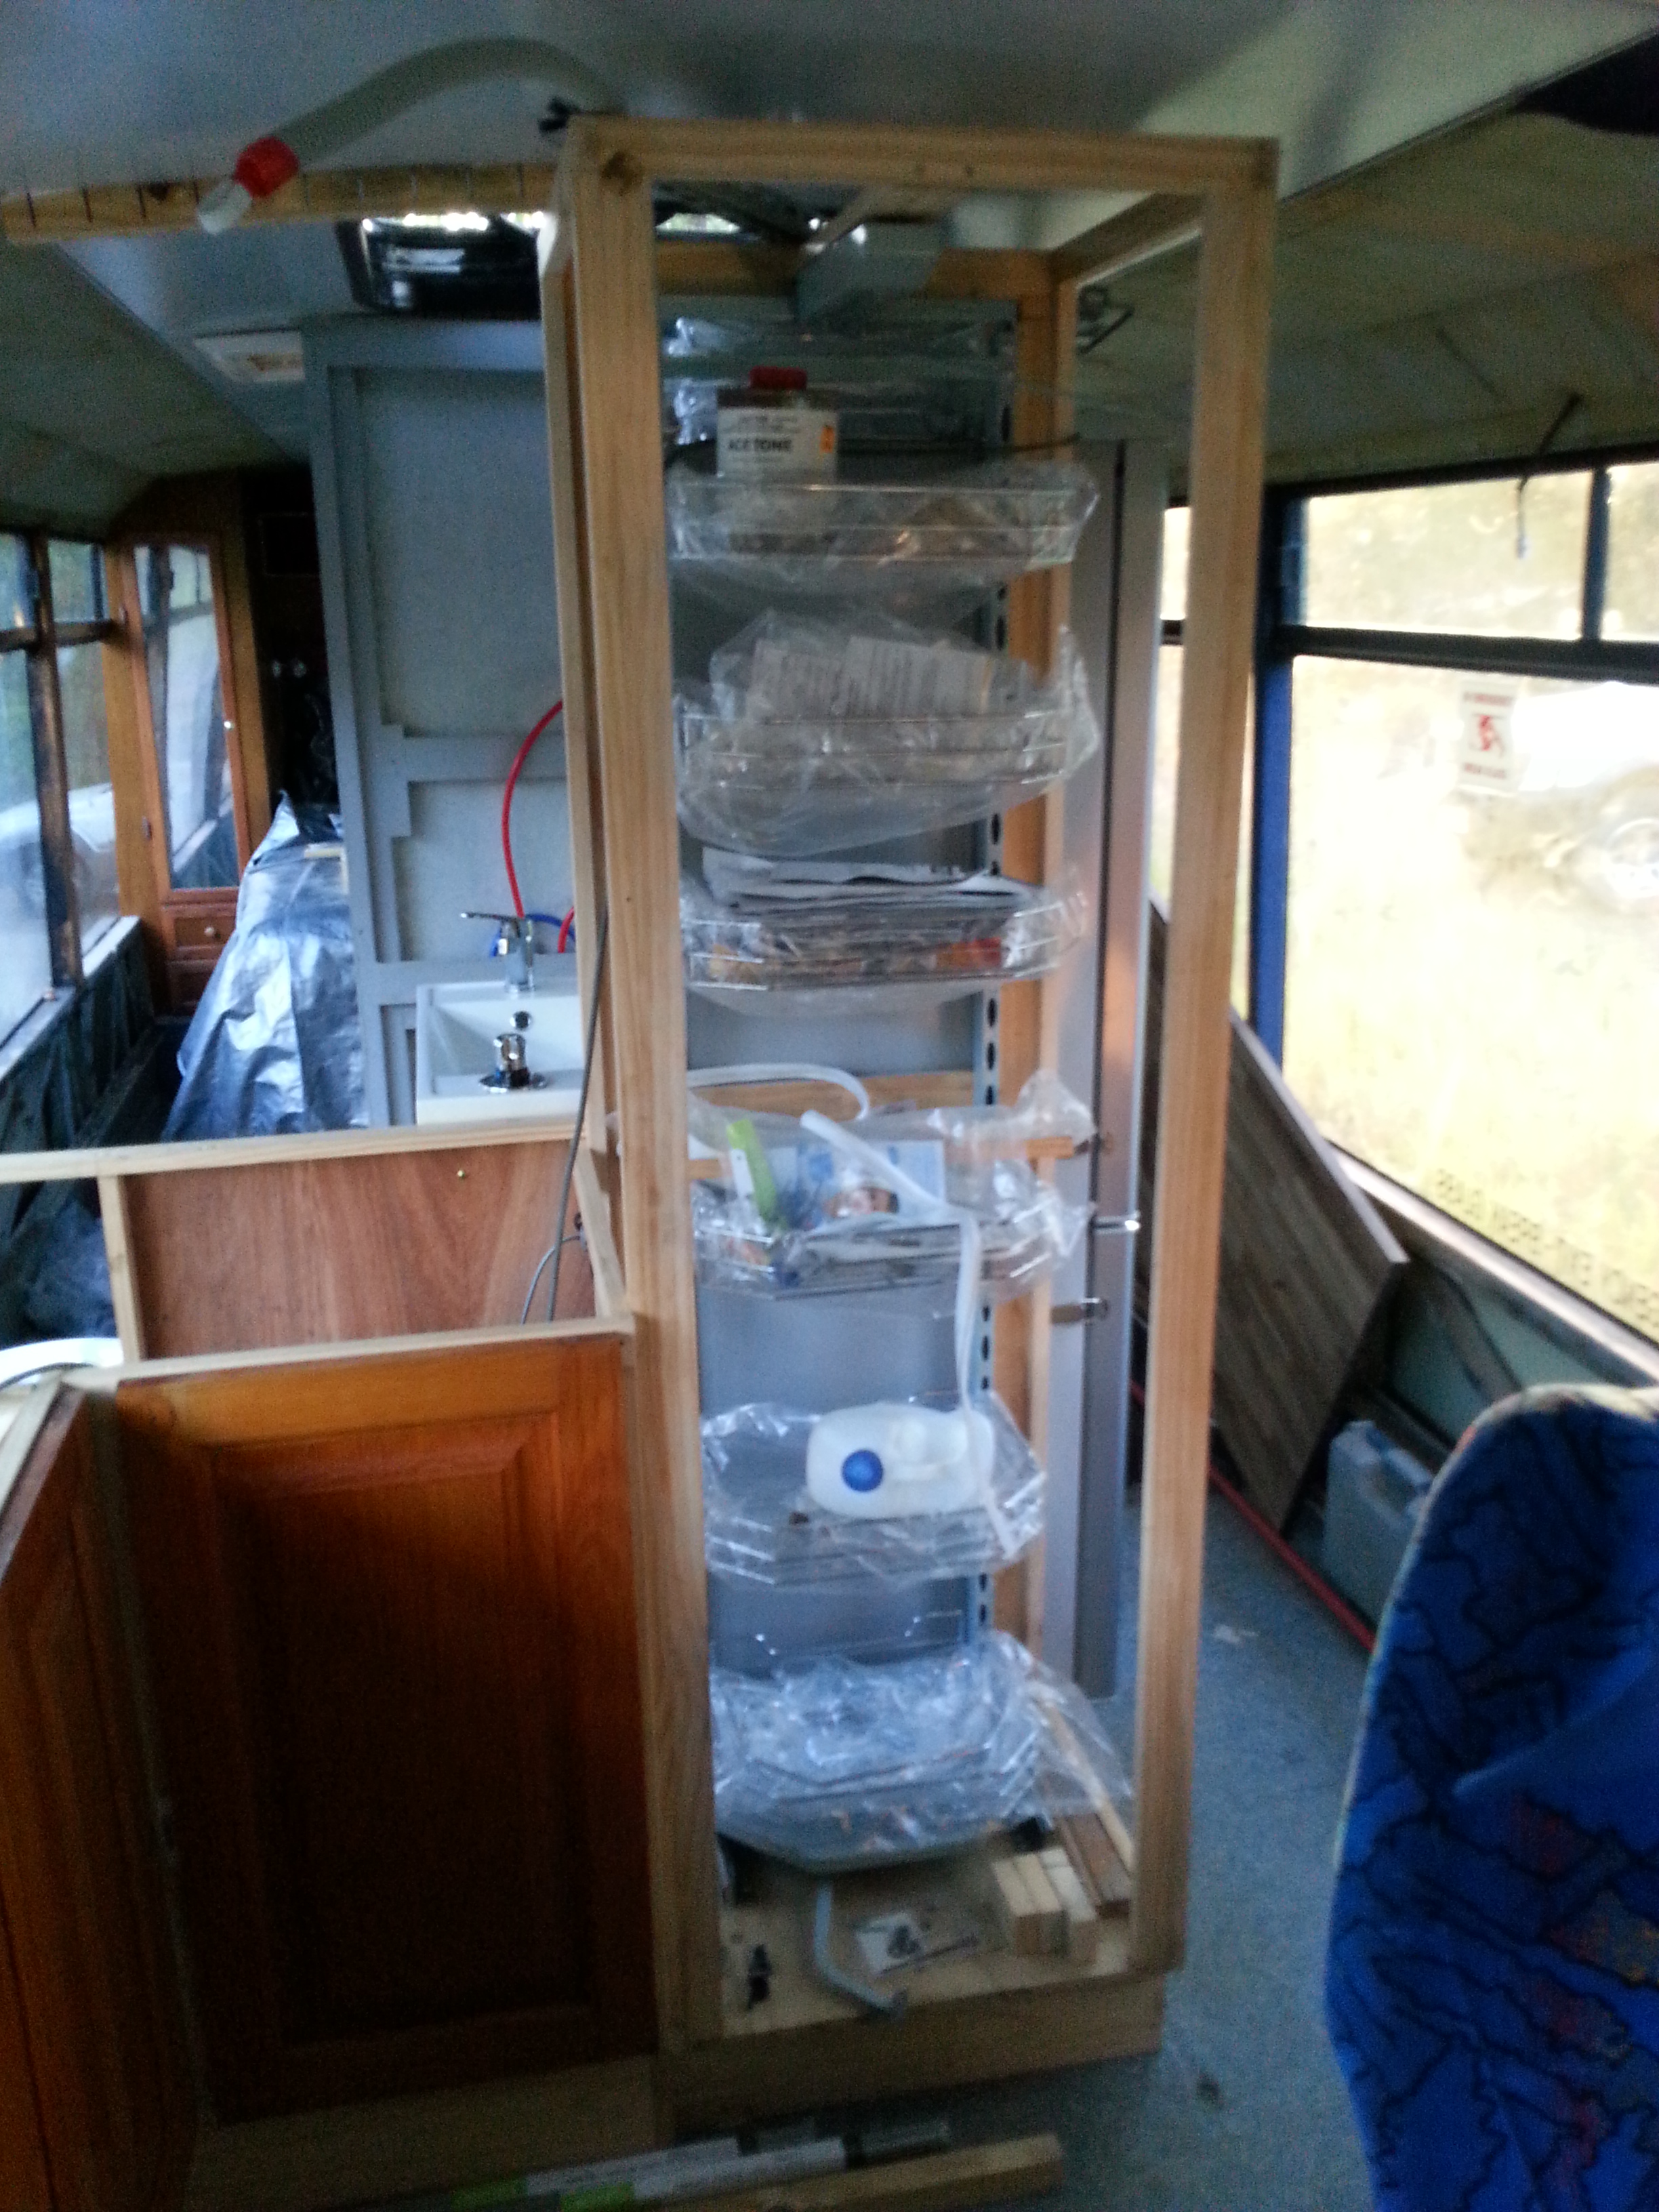
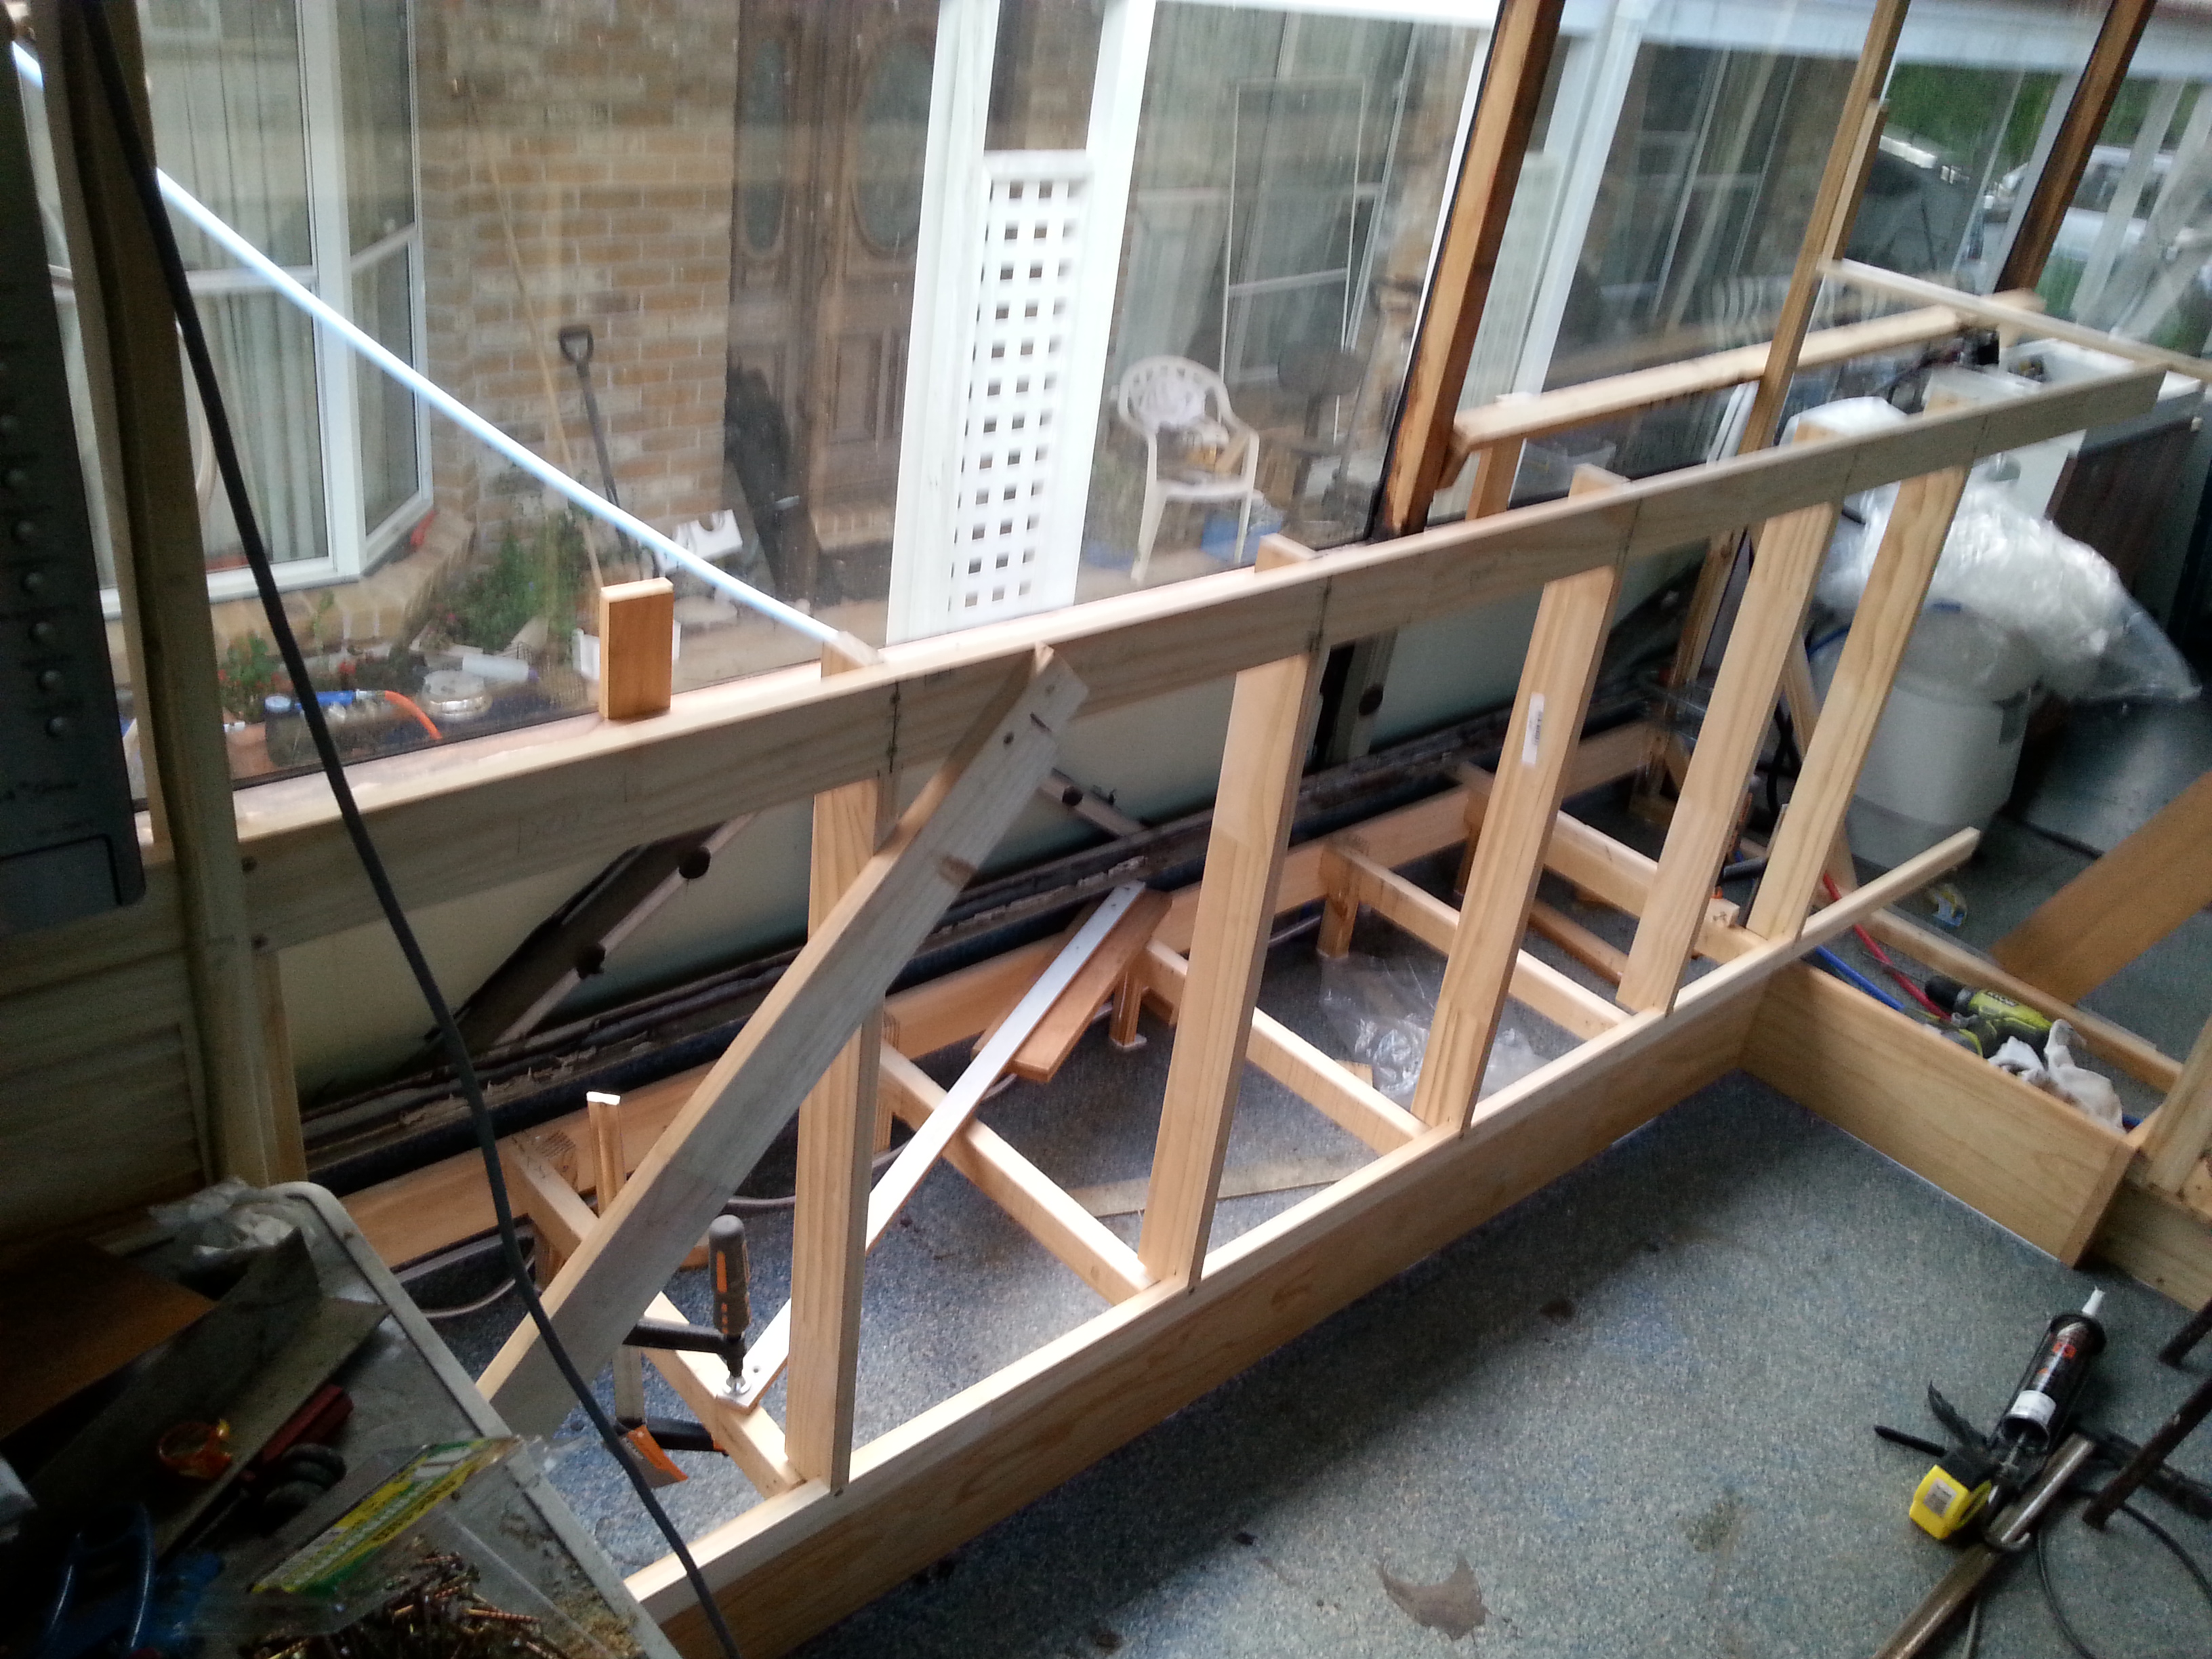
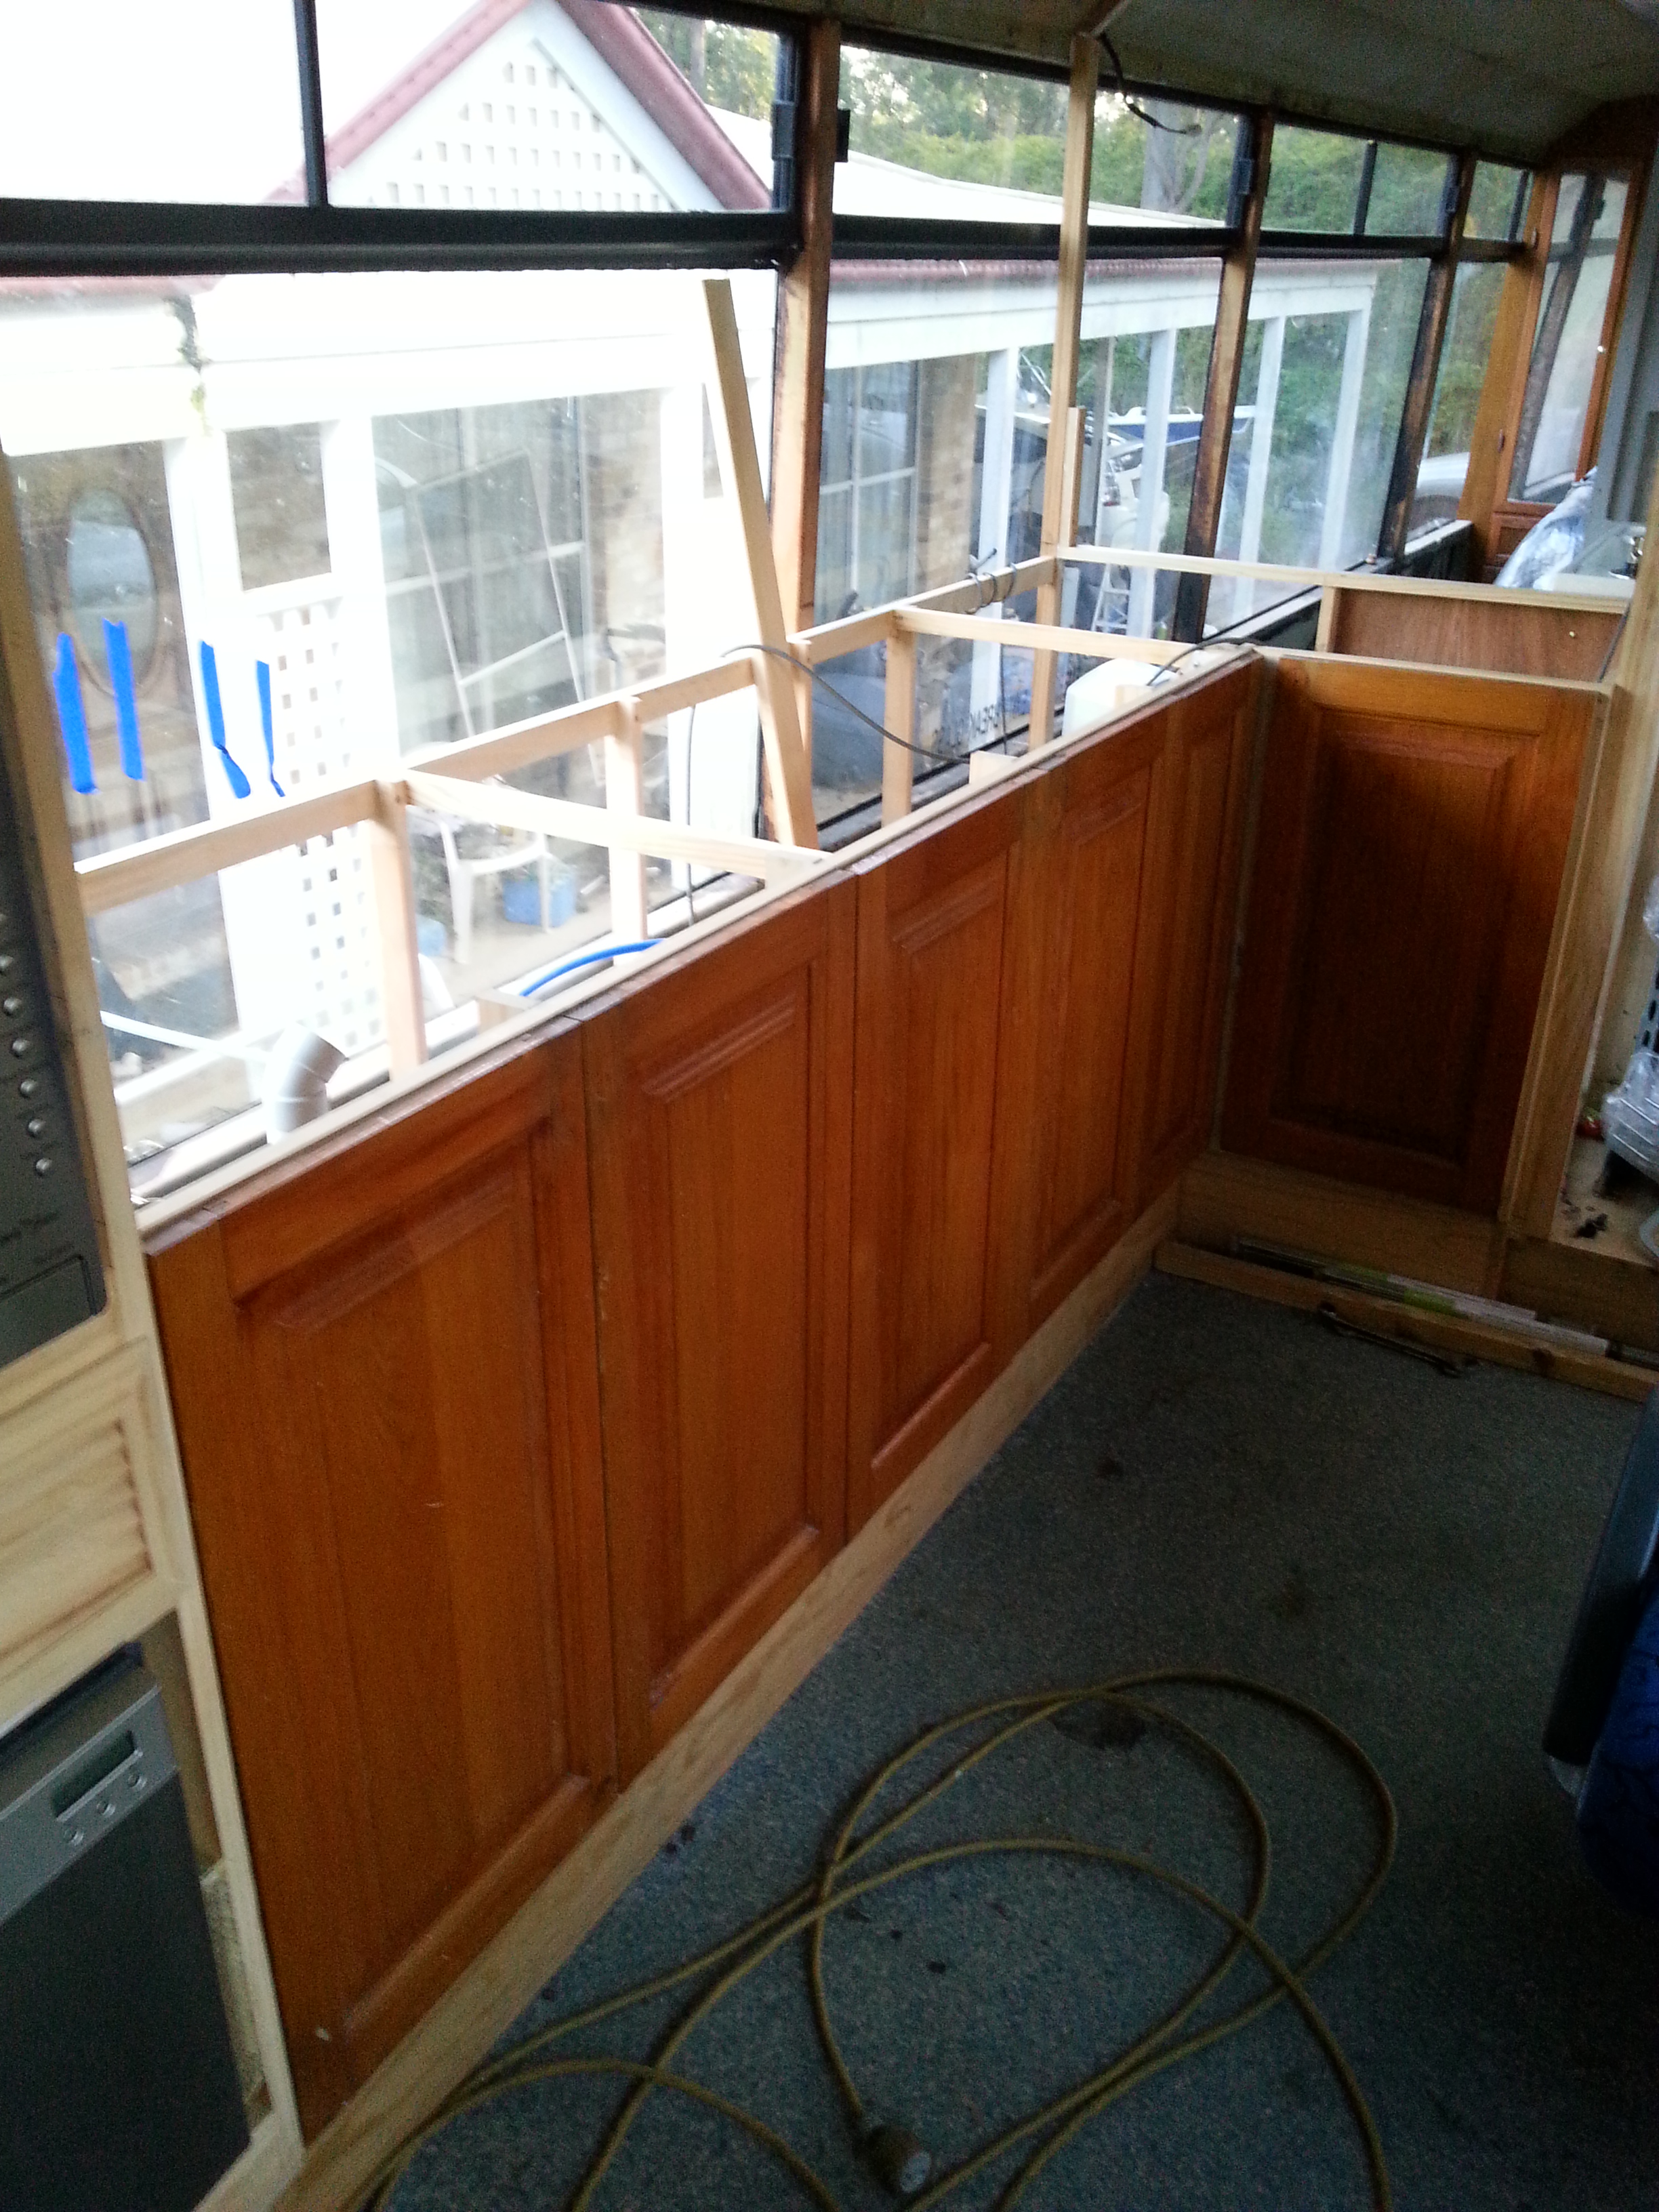
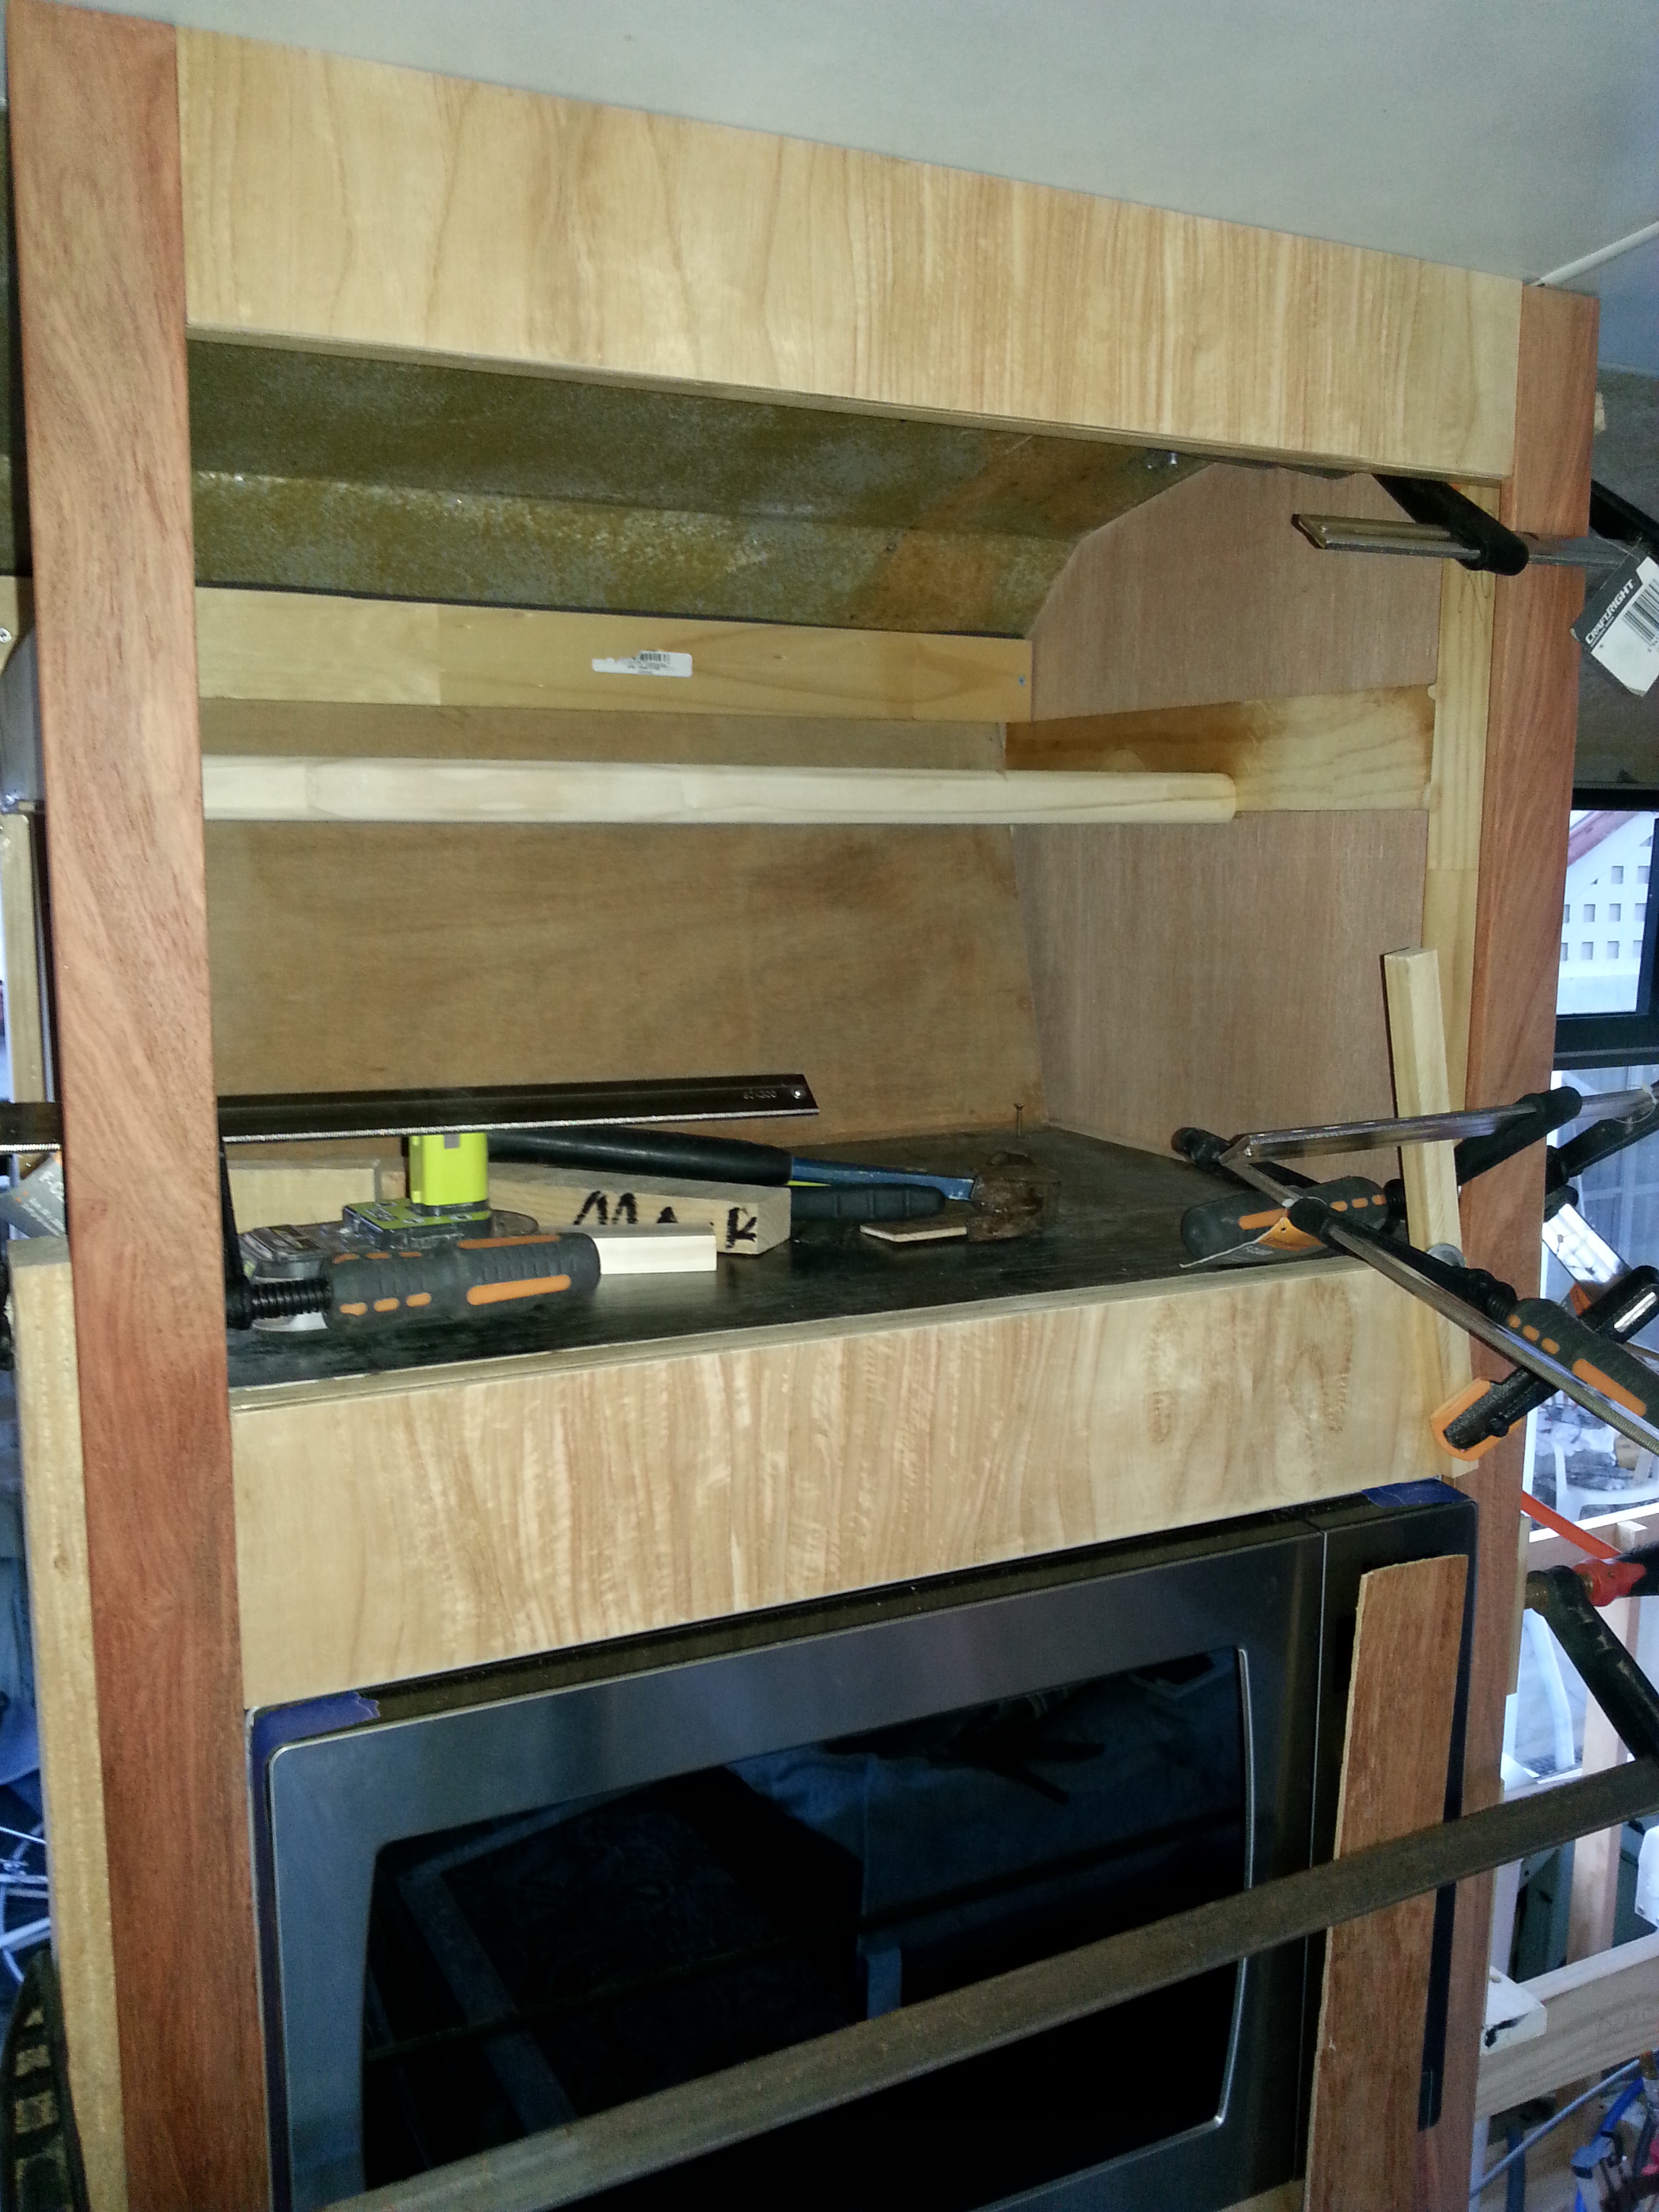
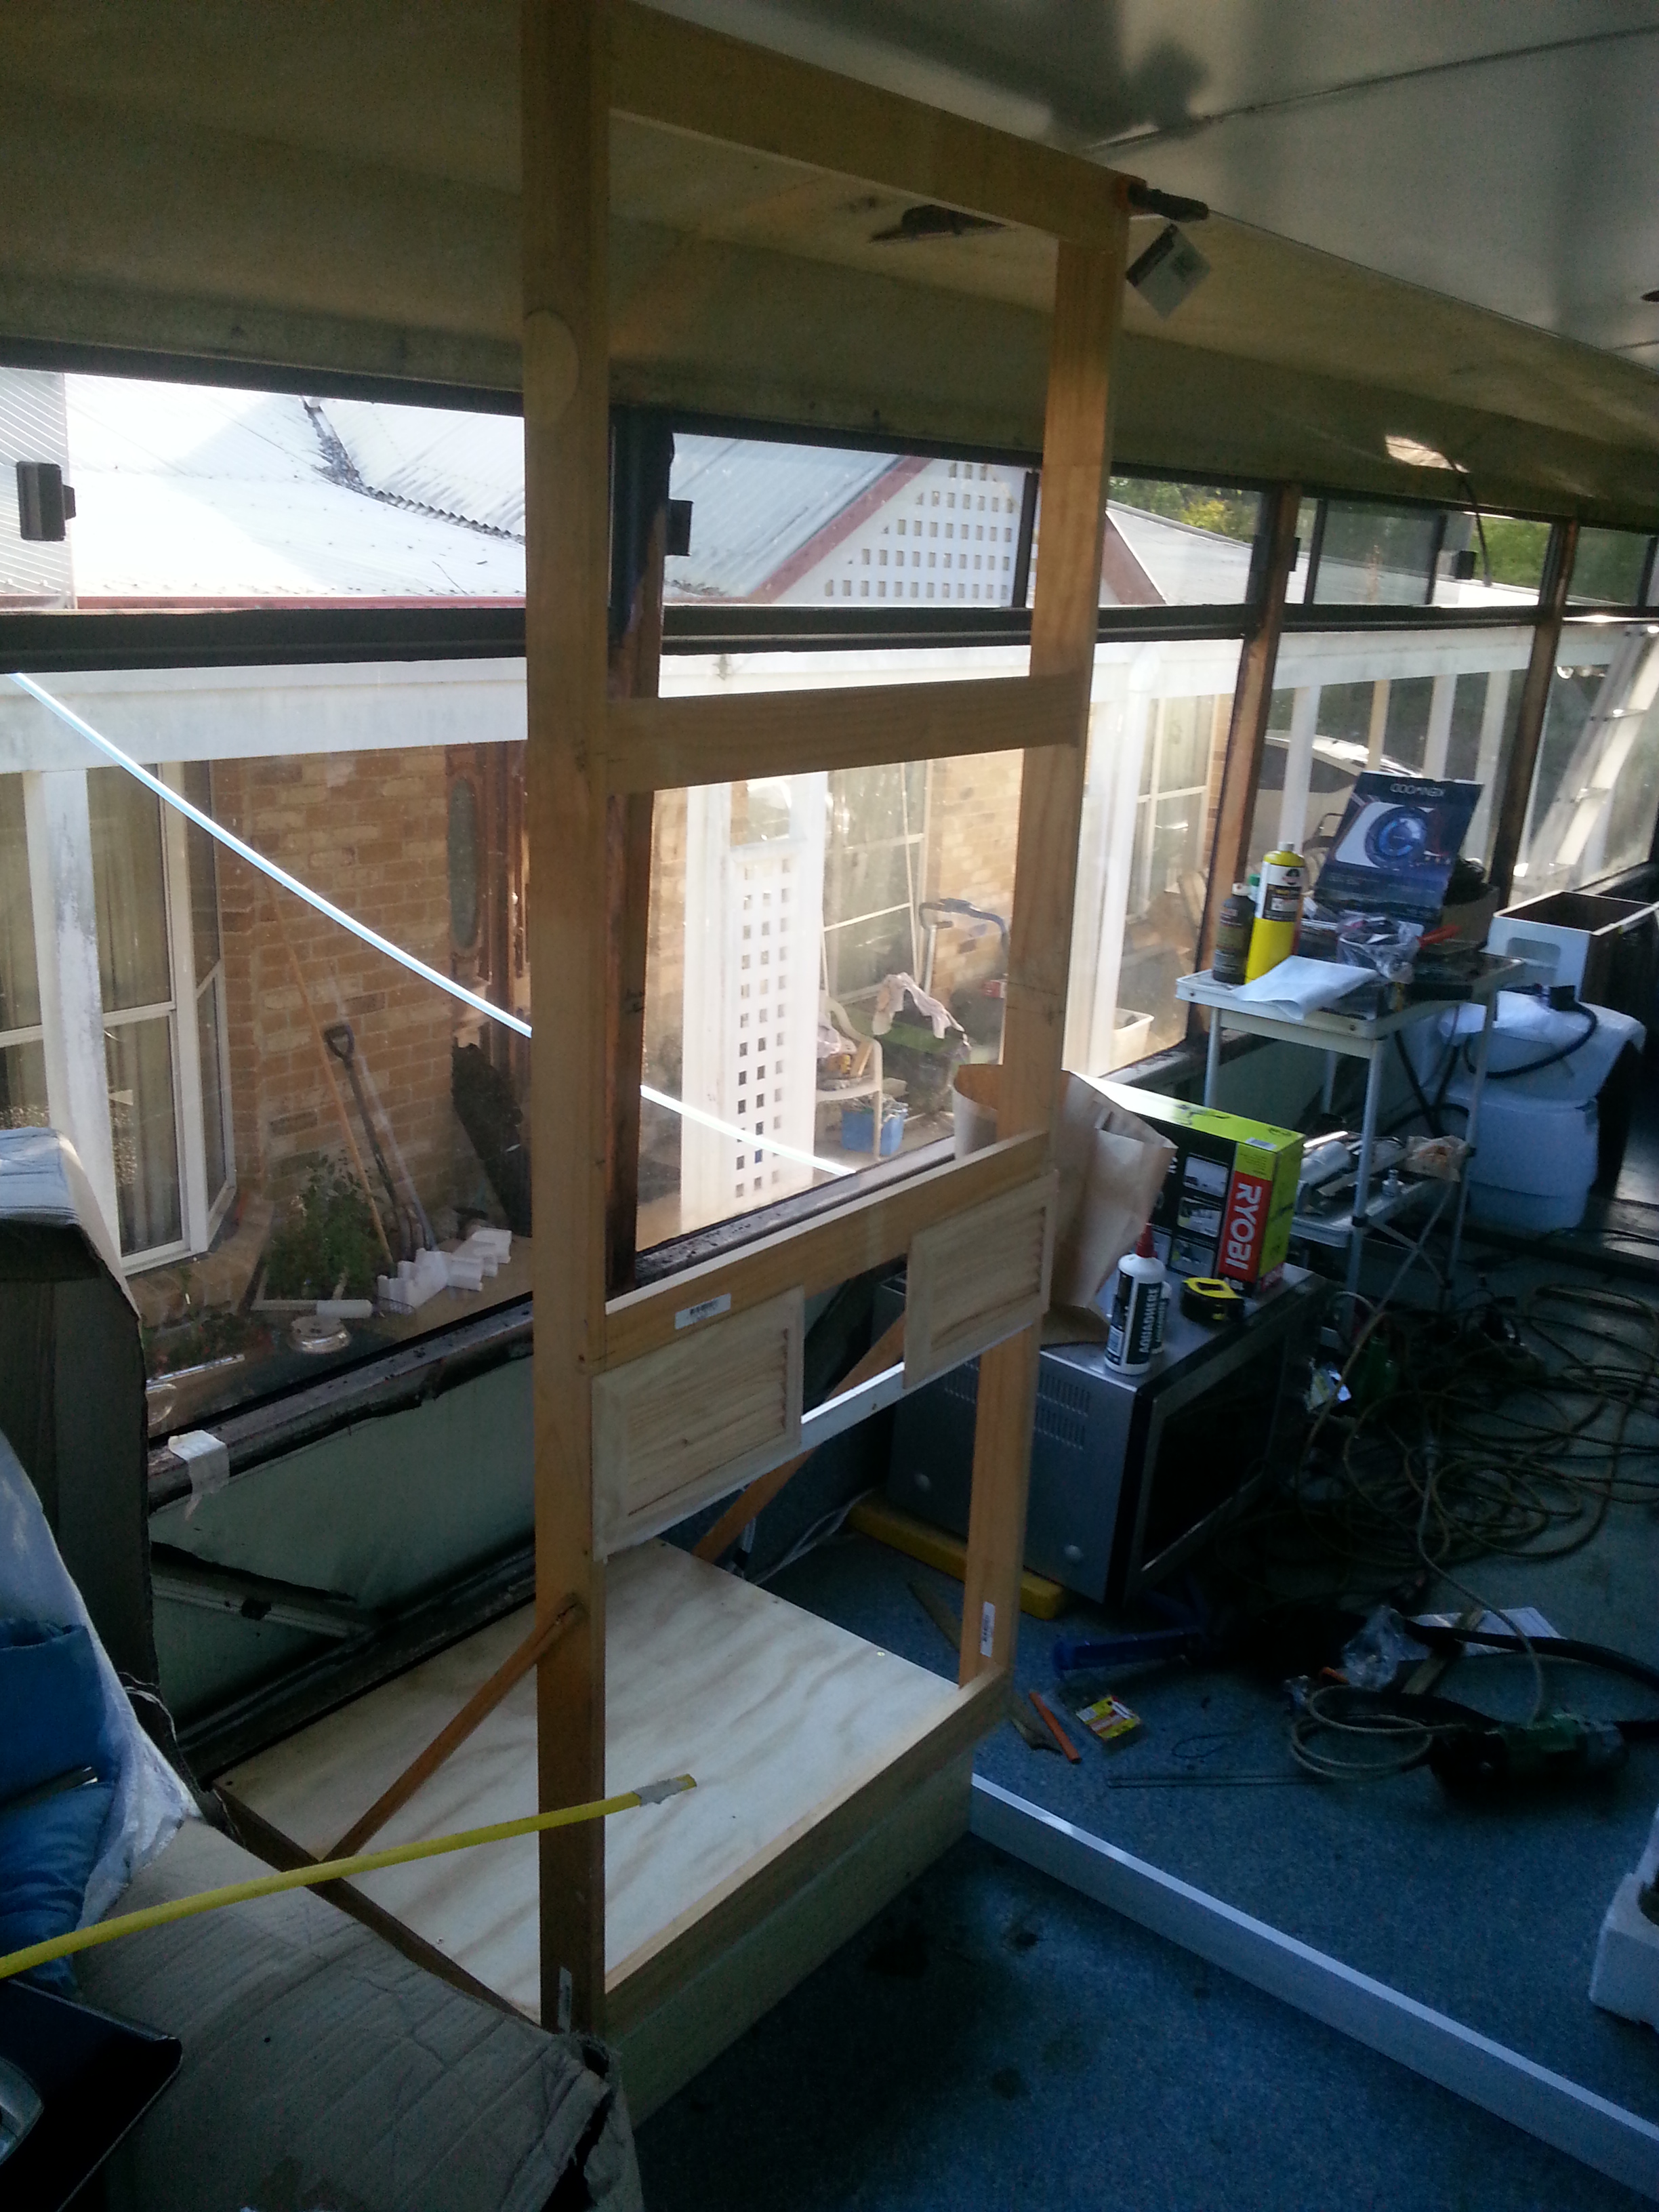
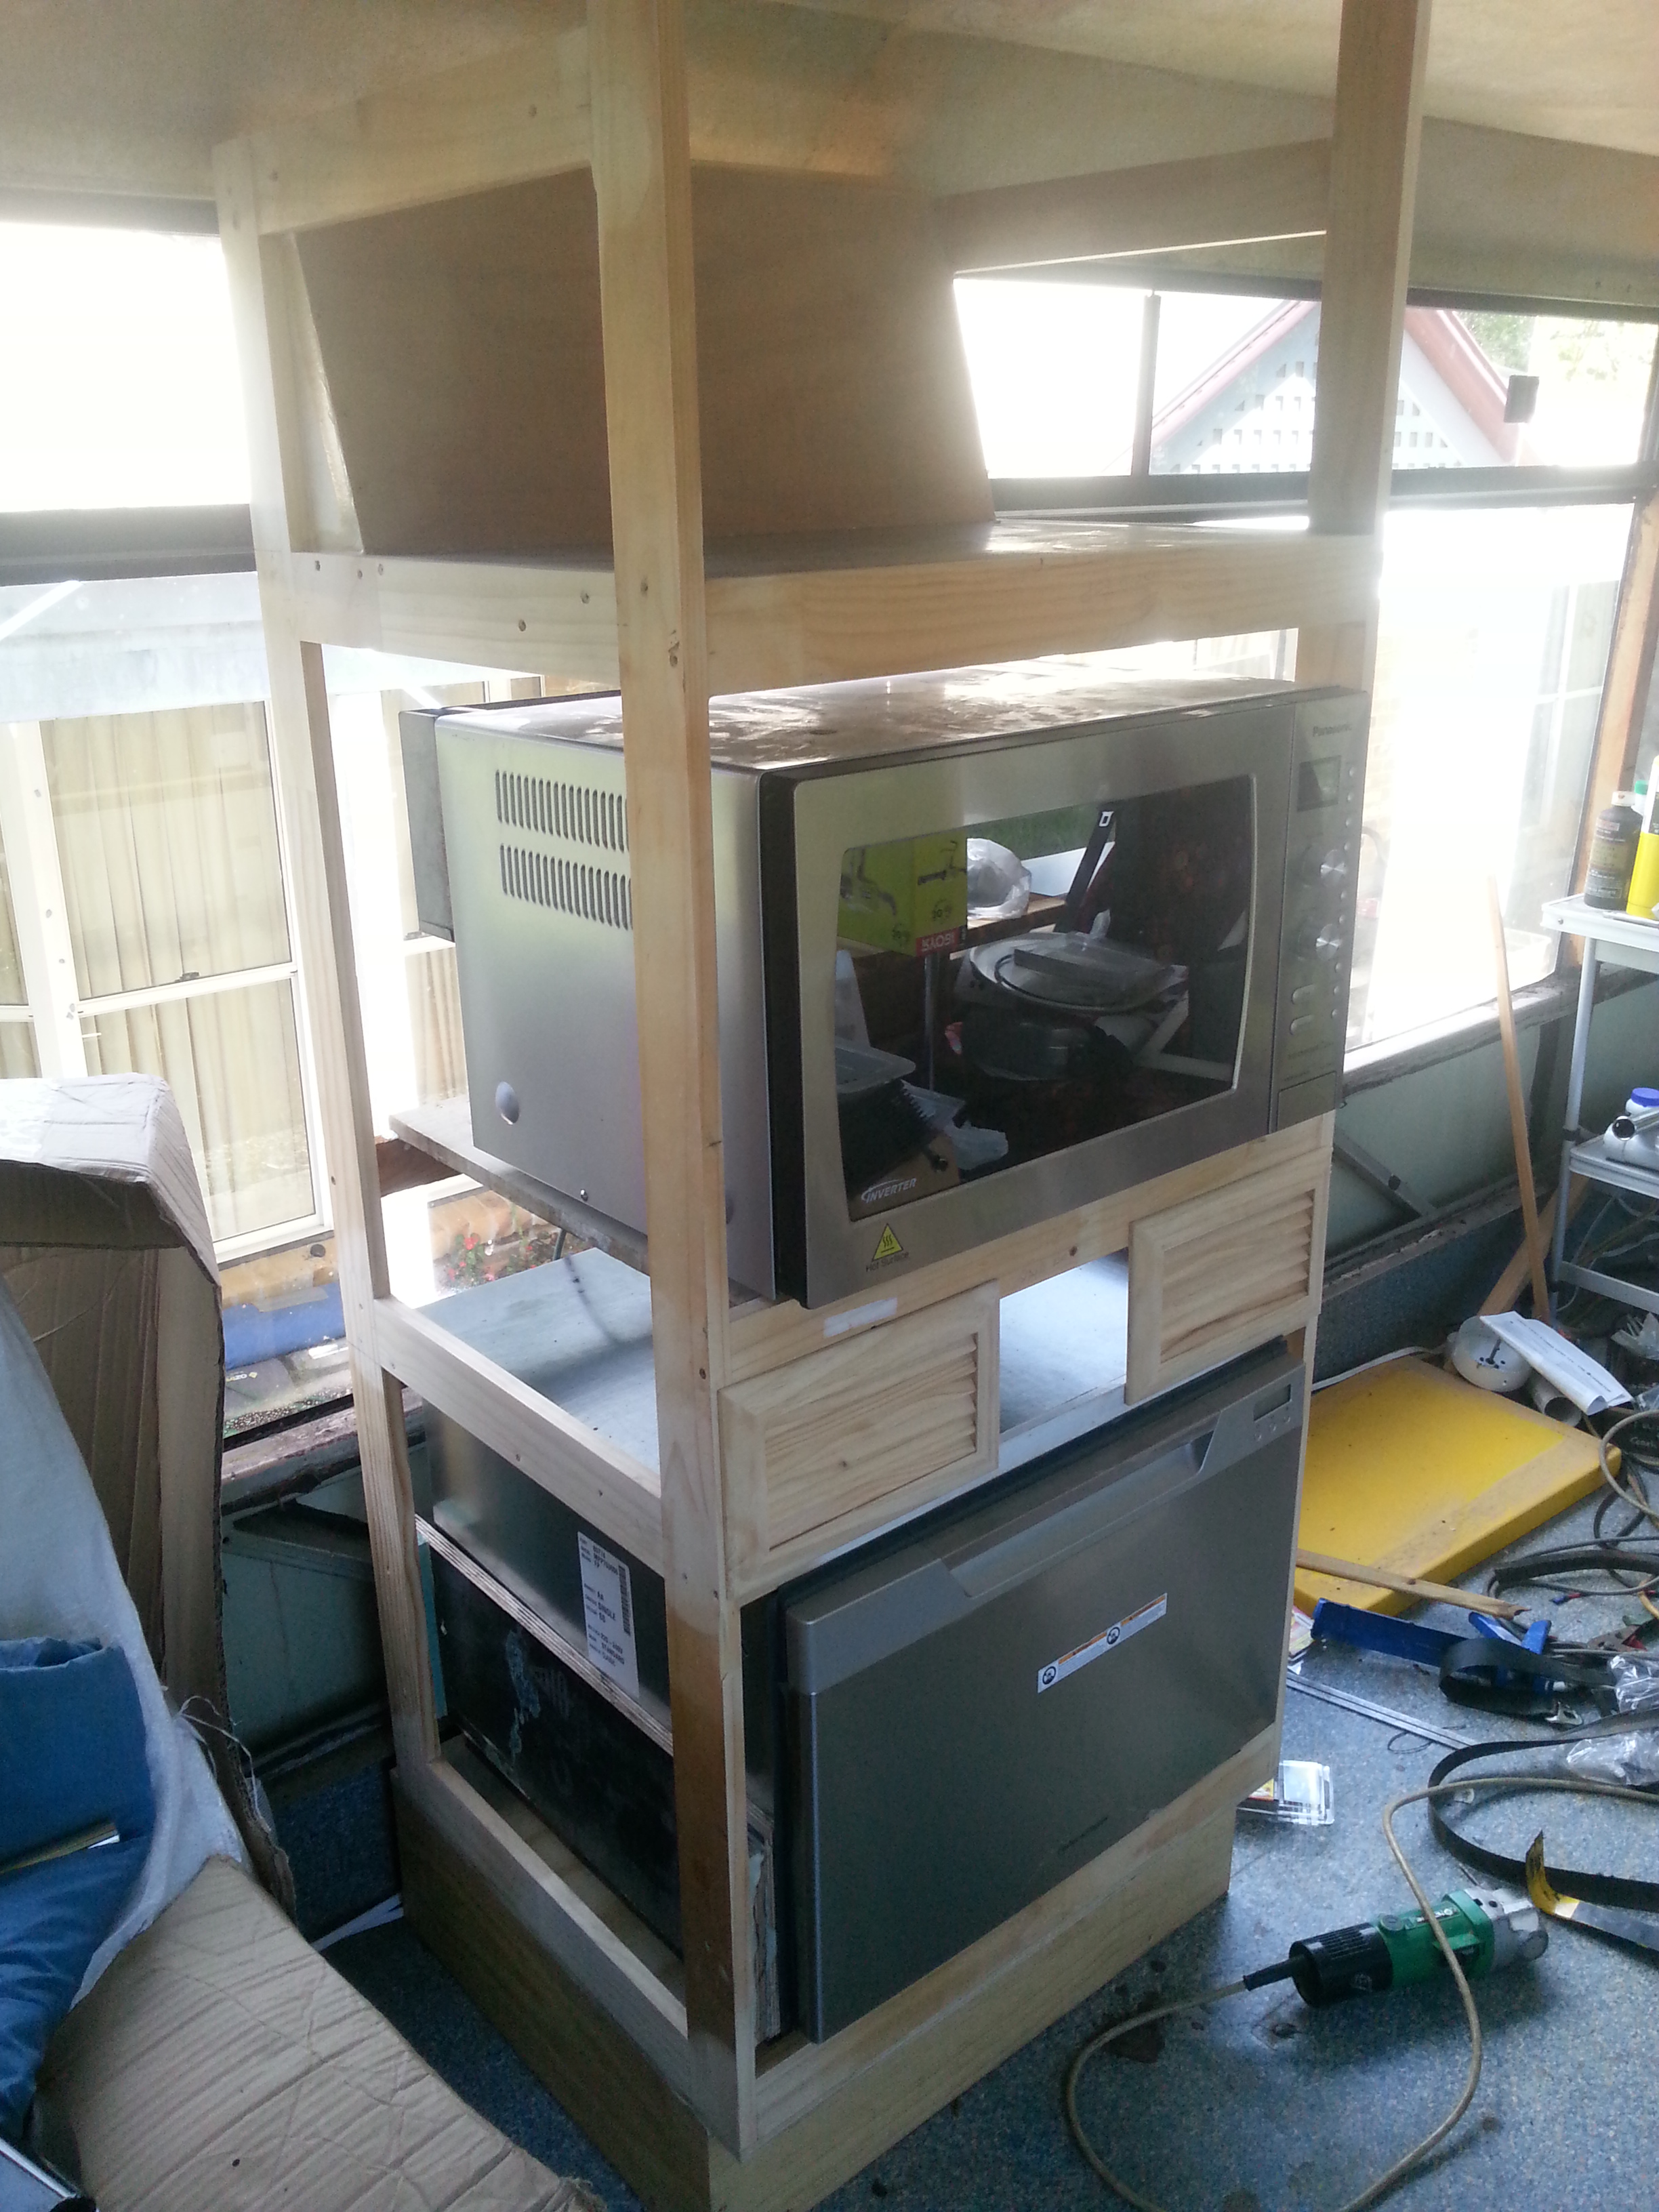
The frame work for the Main Cabinets & Bench top have been started, I have cheated a little by purchasing 2nd hand solid timber doors on Ebay. Having 14 doors to choose from I have picked the best & constructed the Cabinets to suit the door sizes I have available.
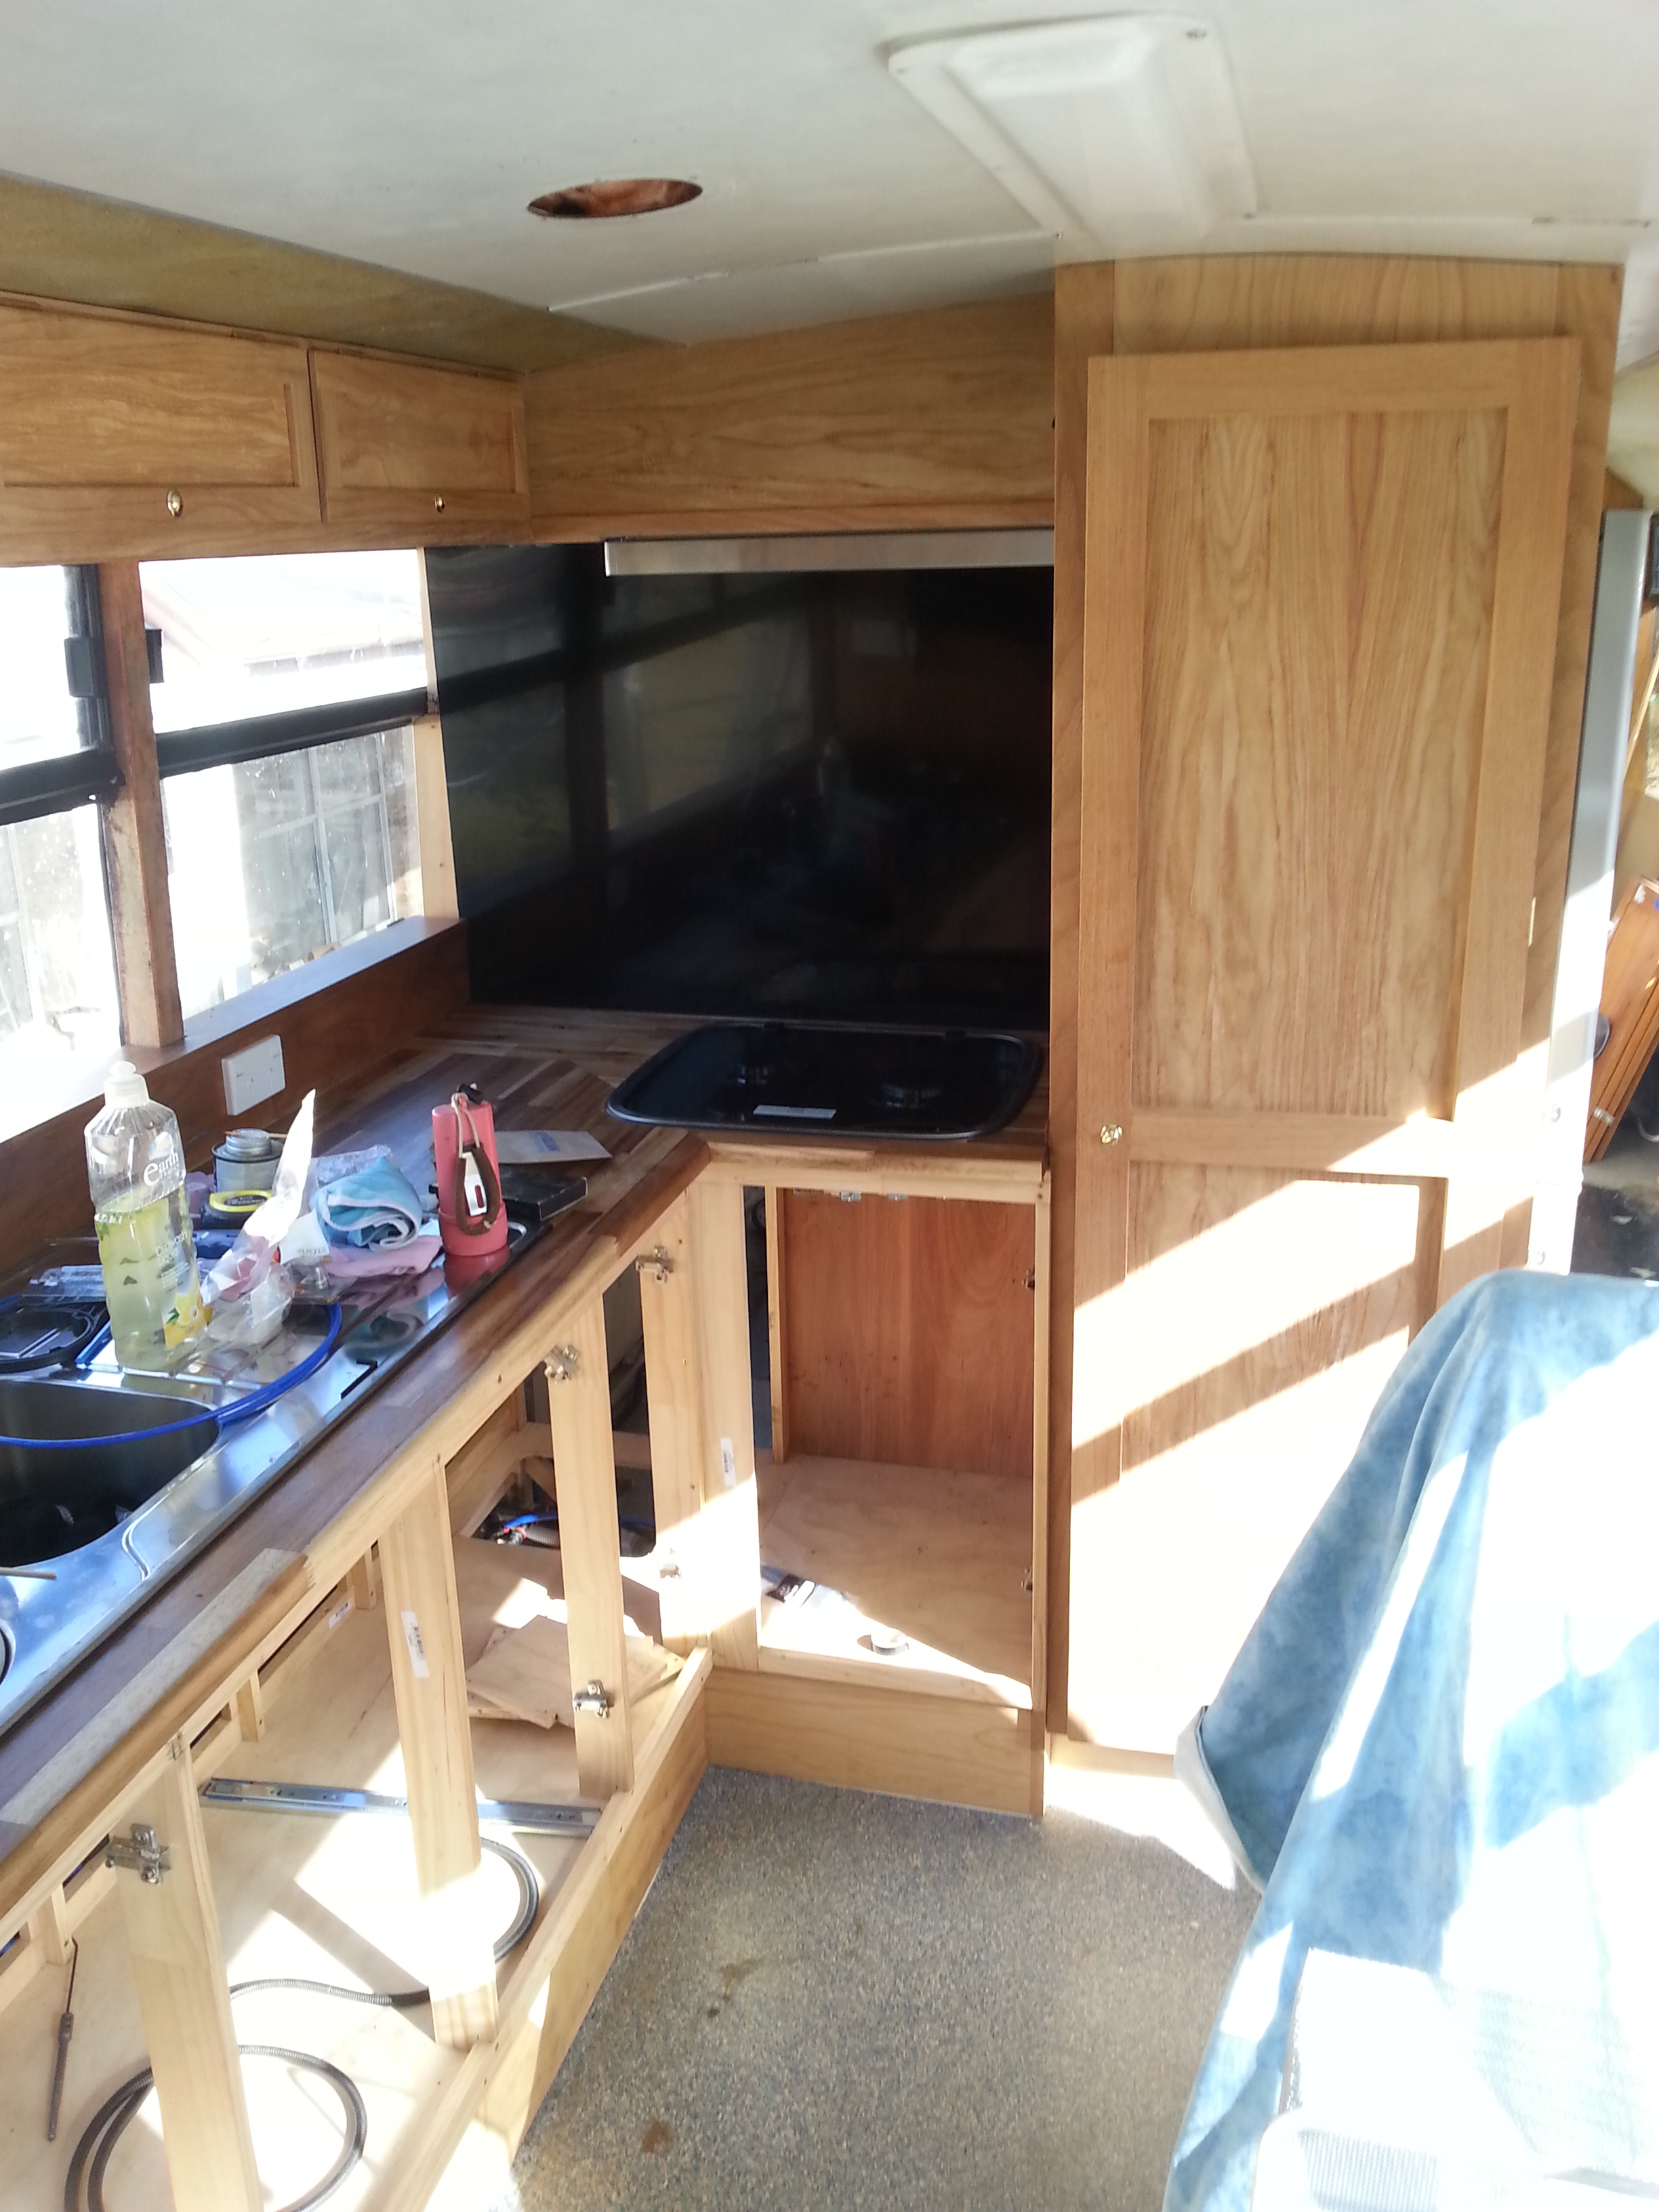
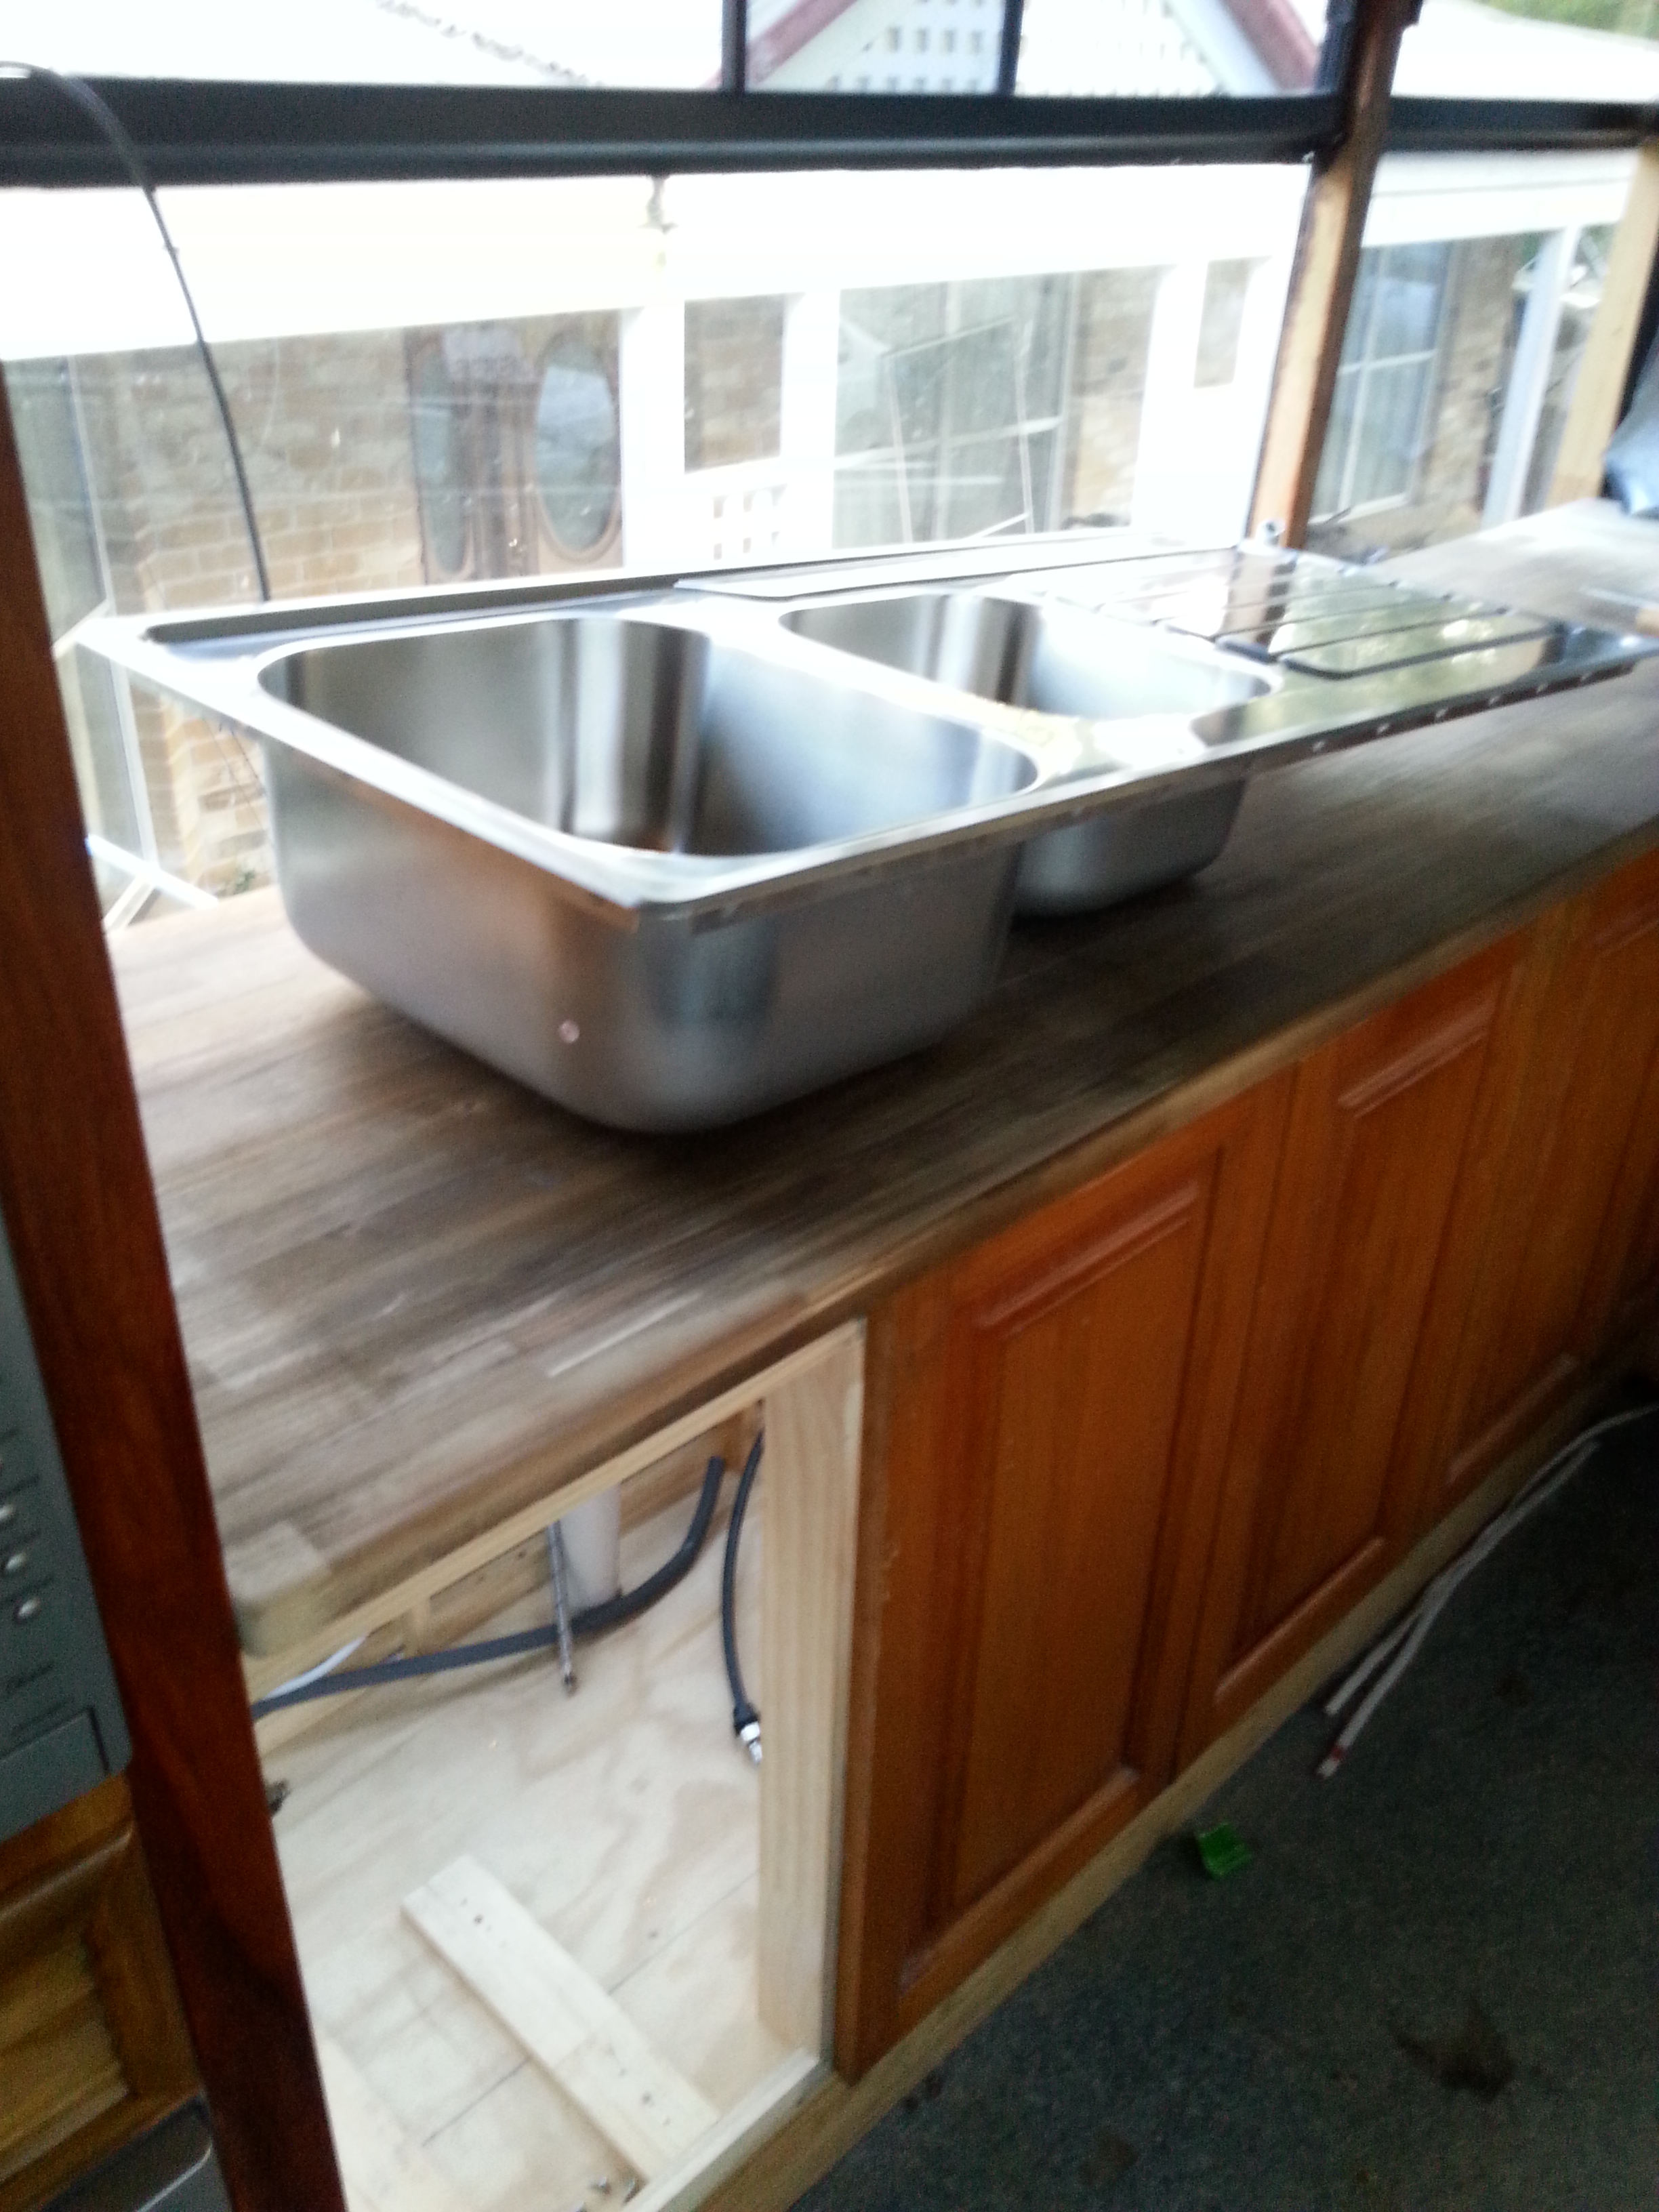
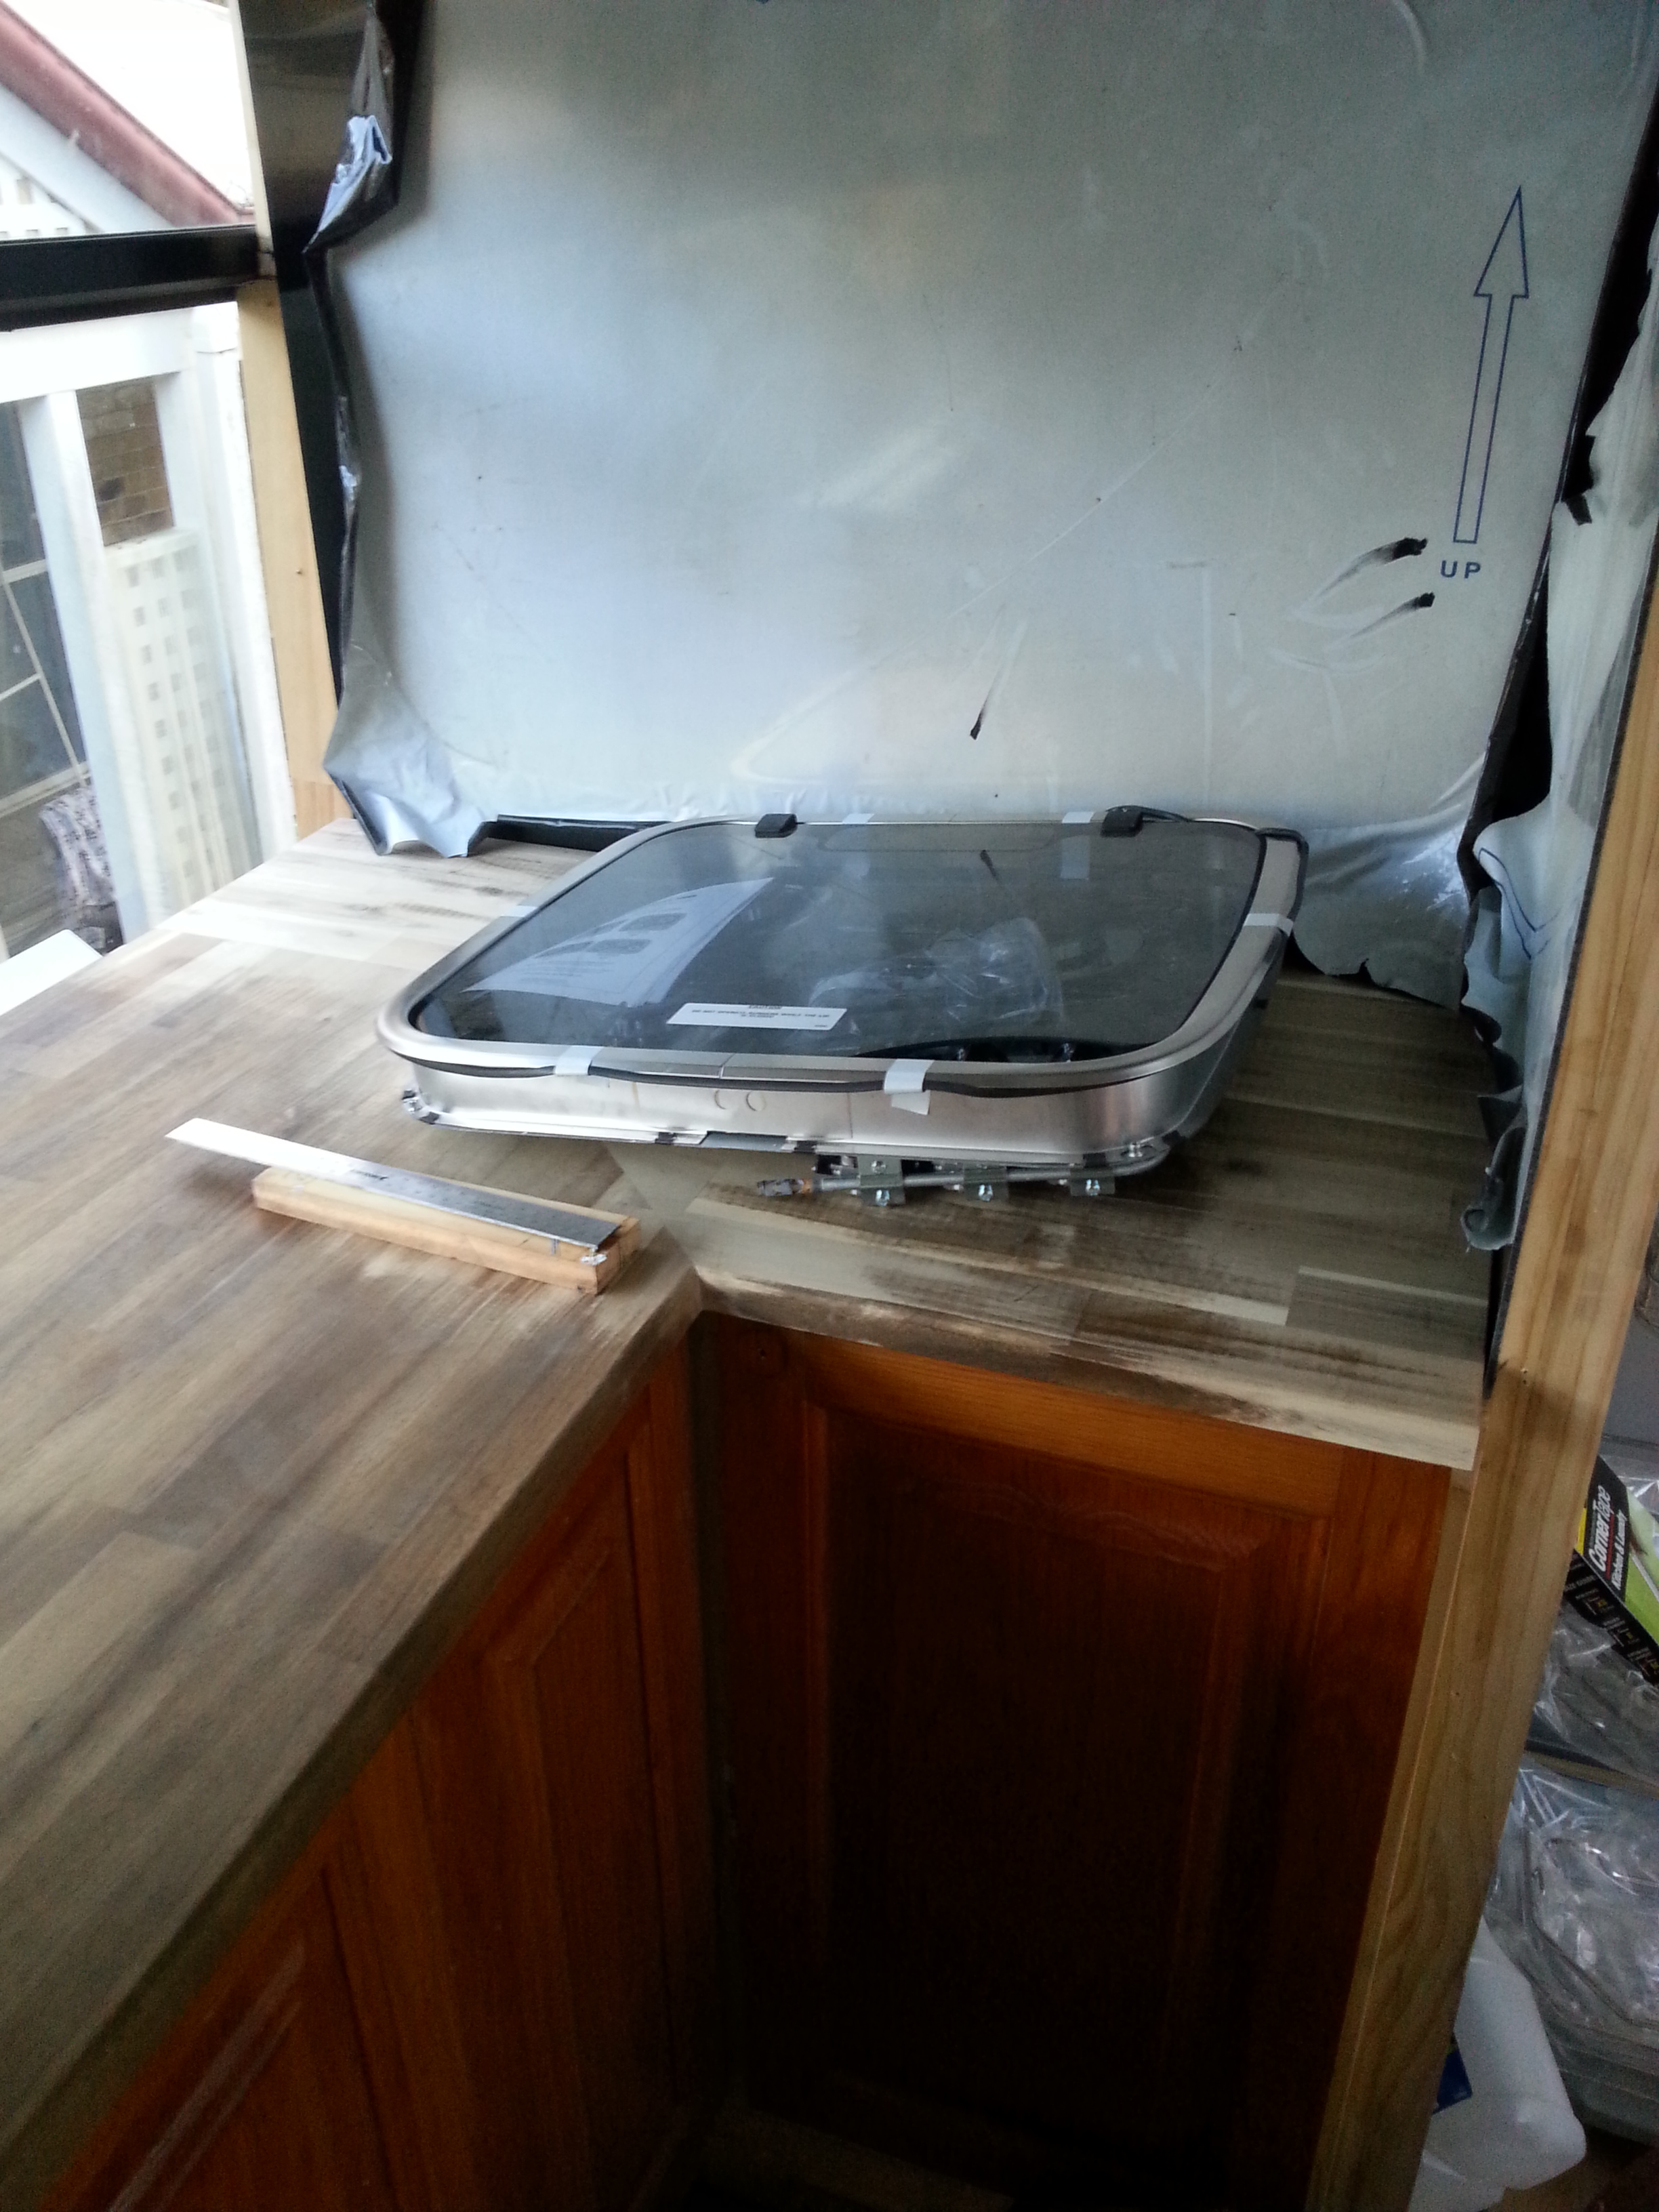
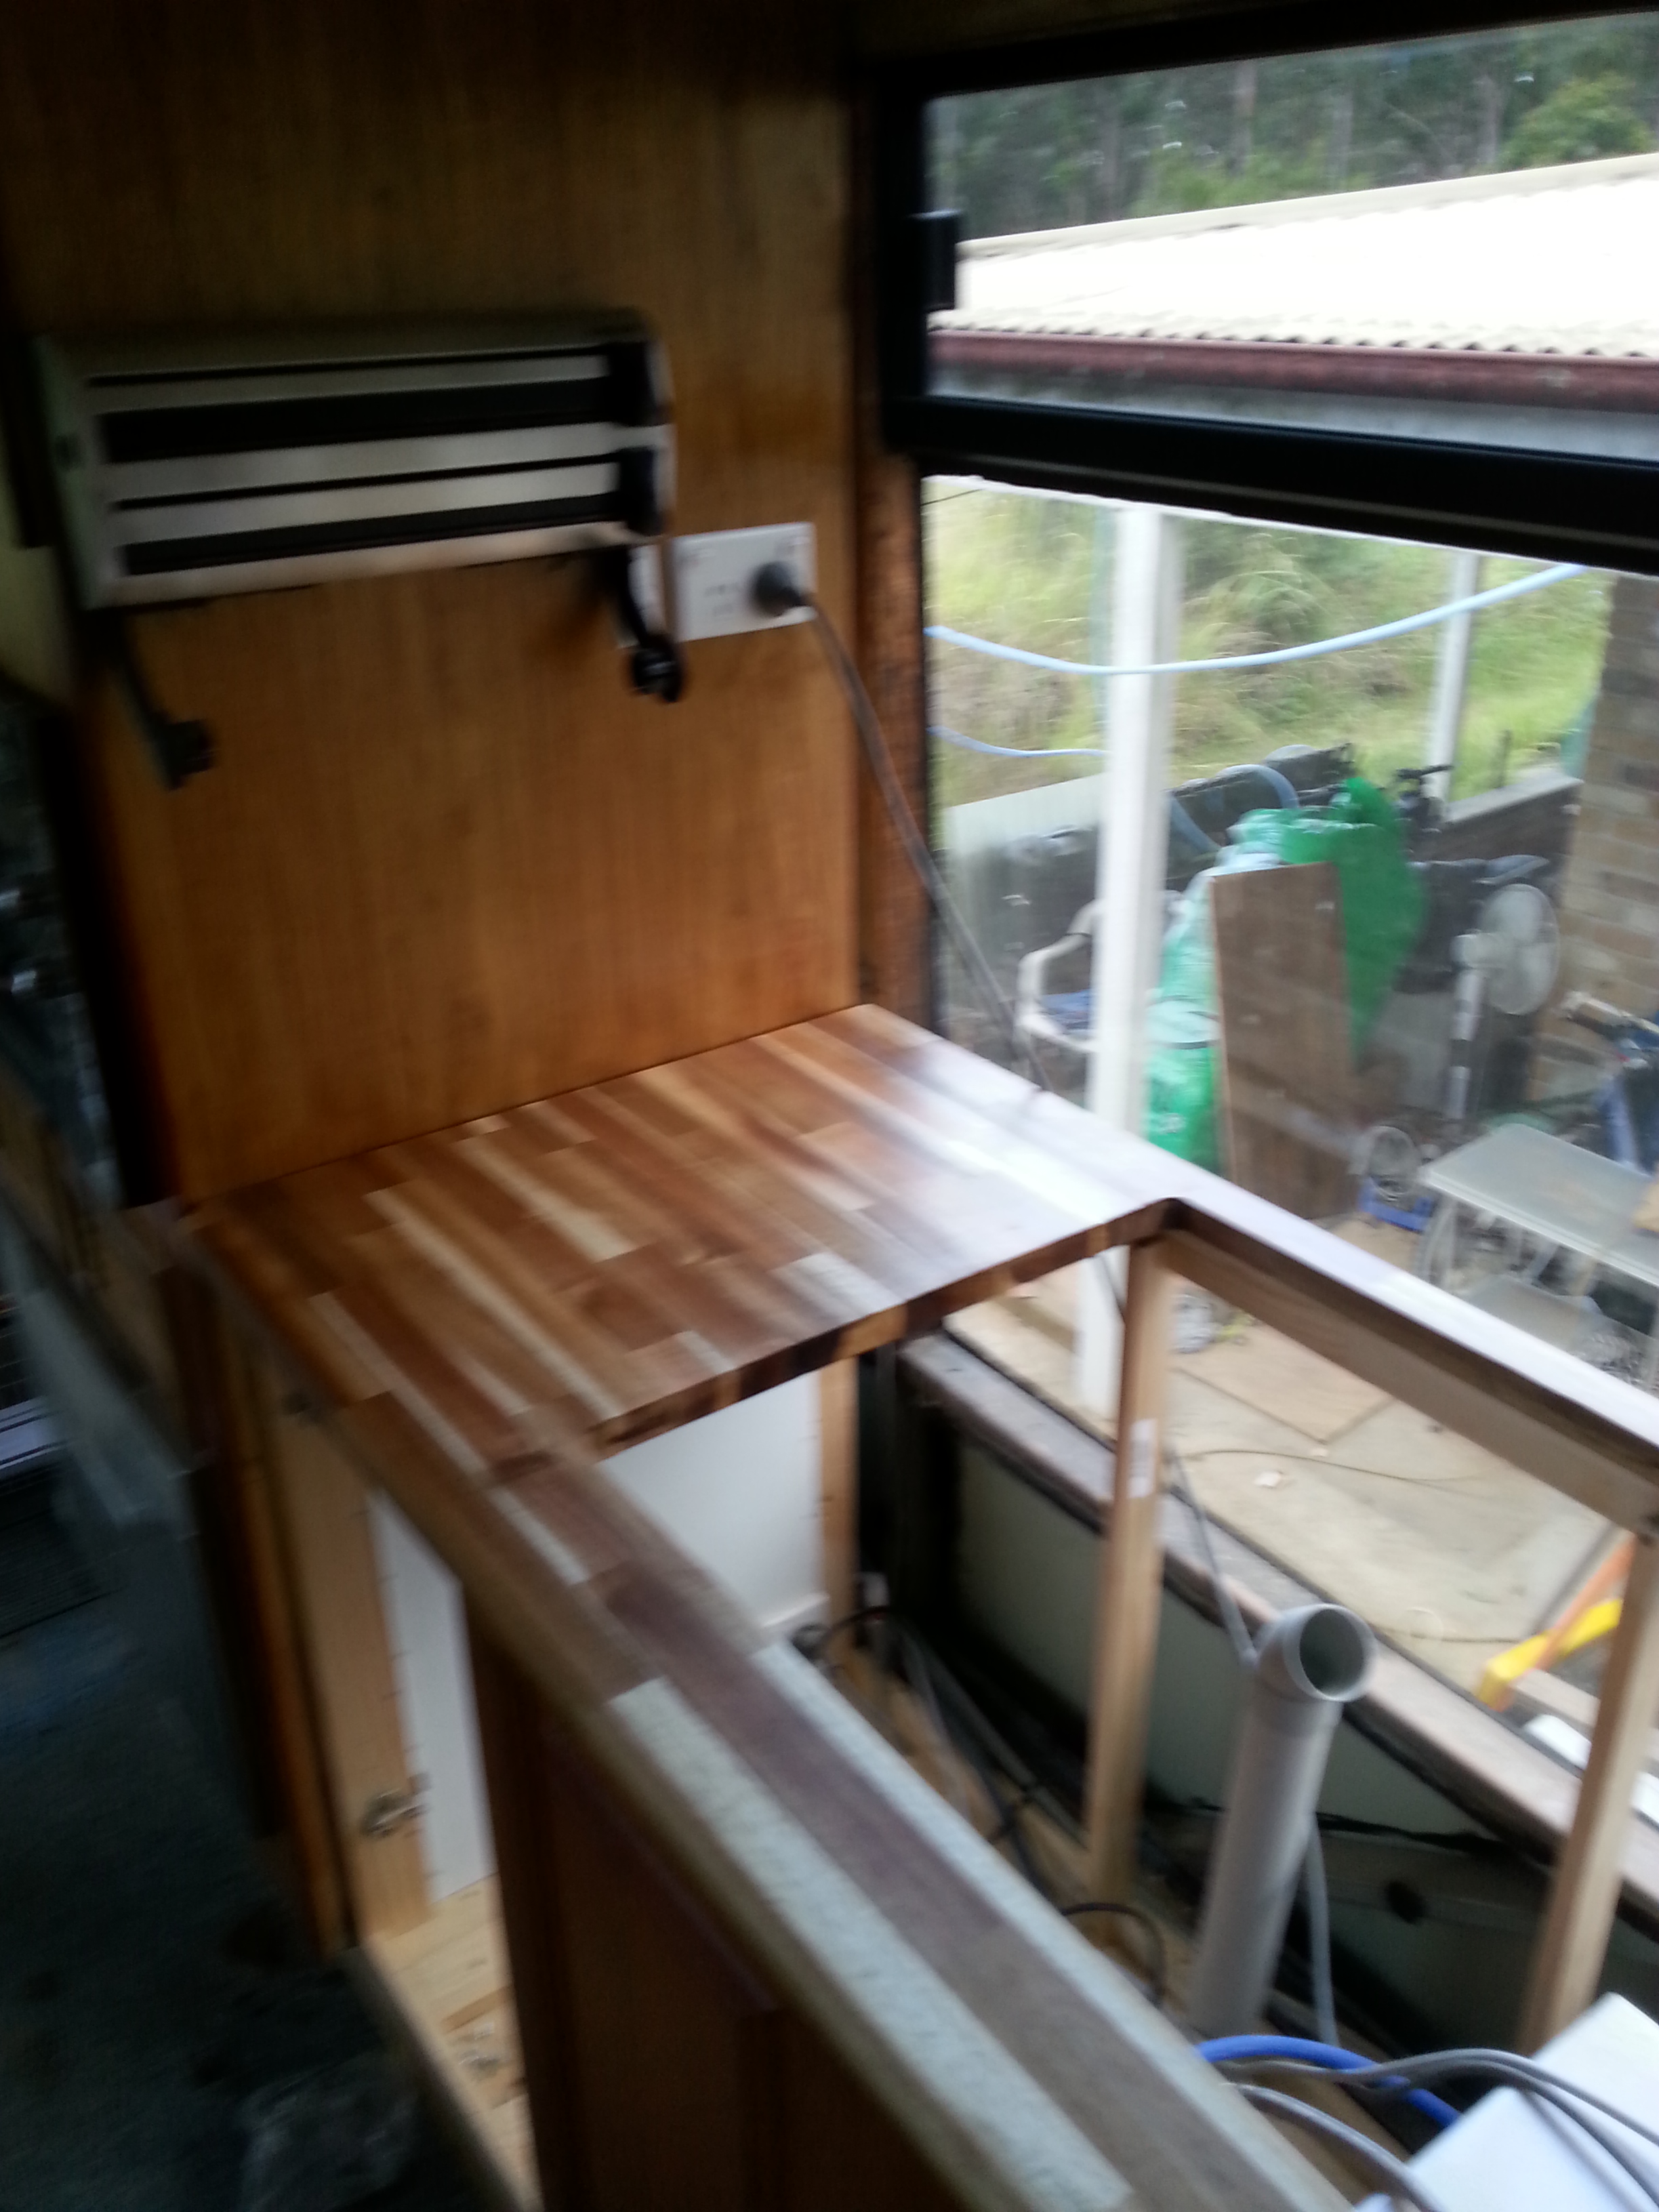
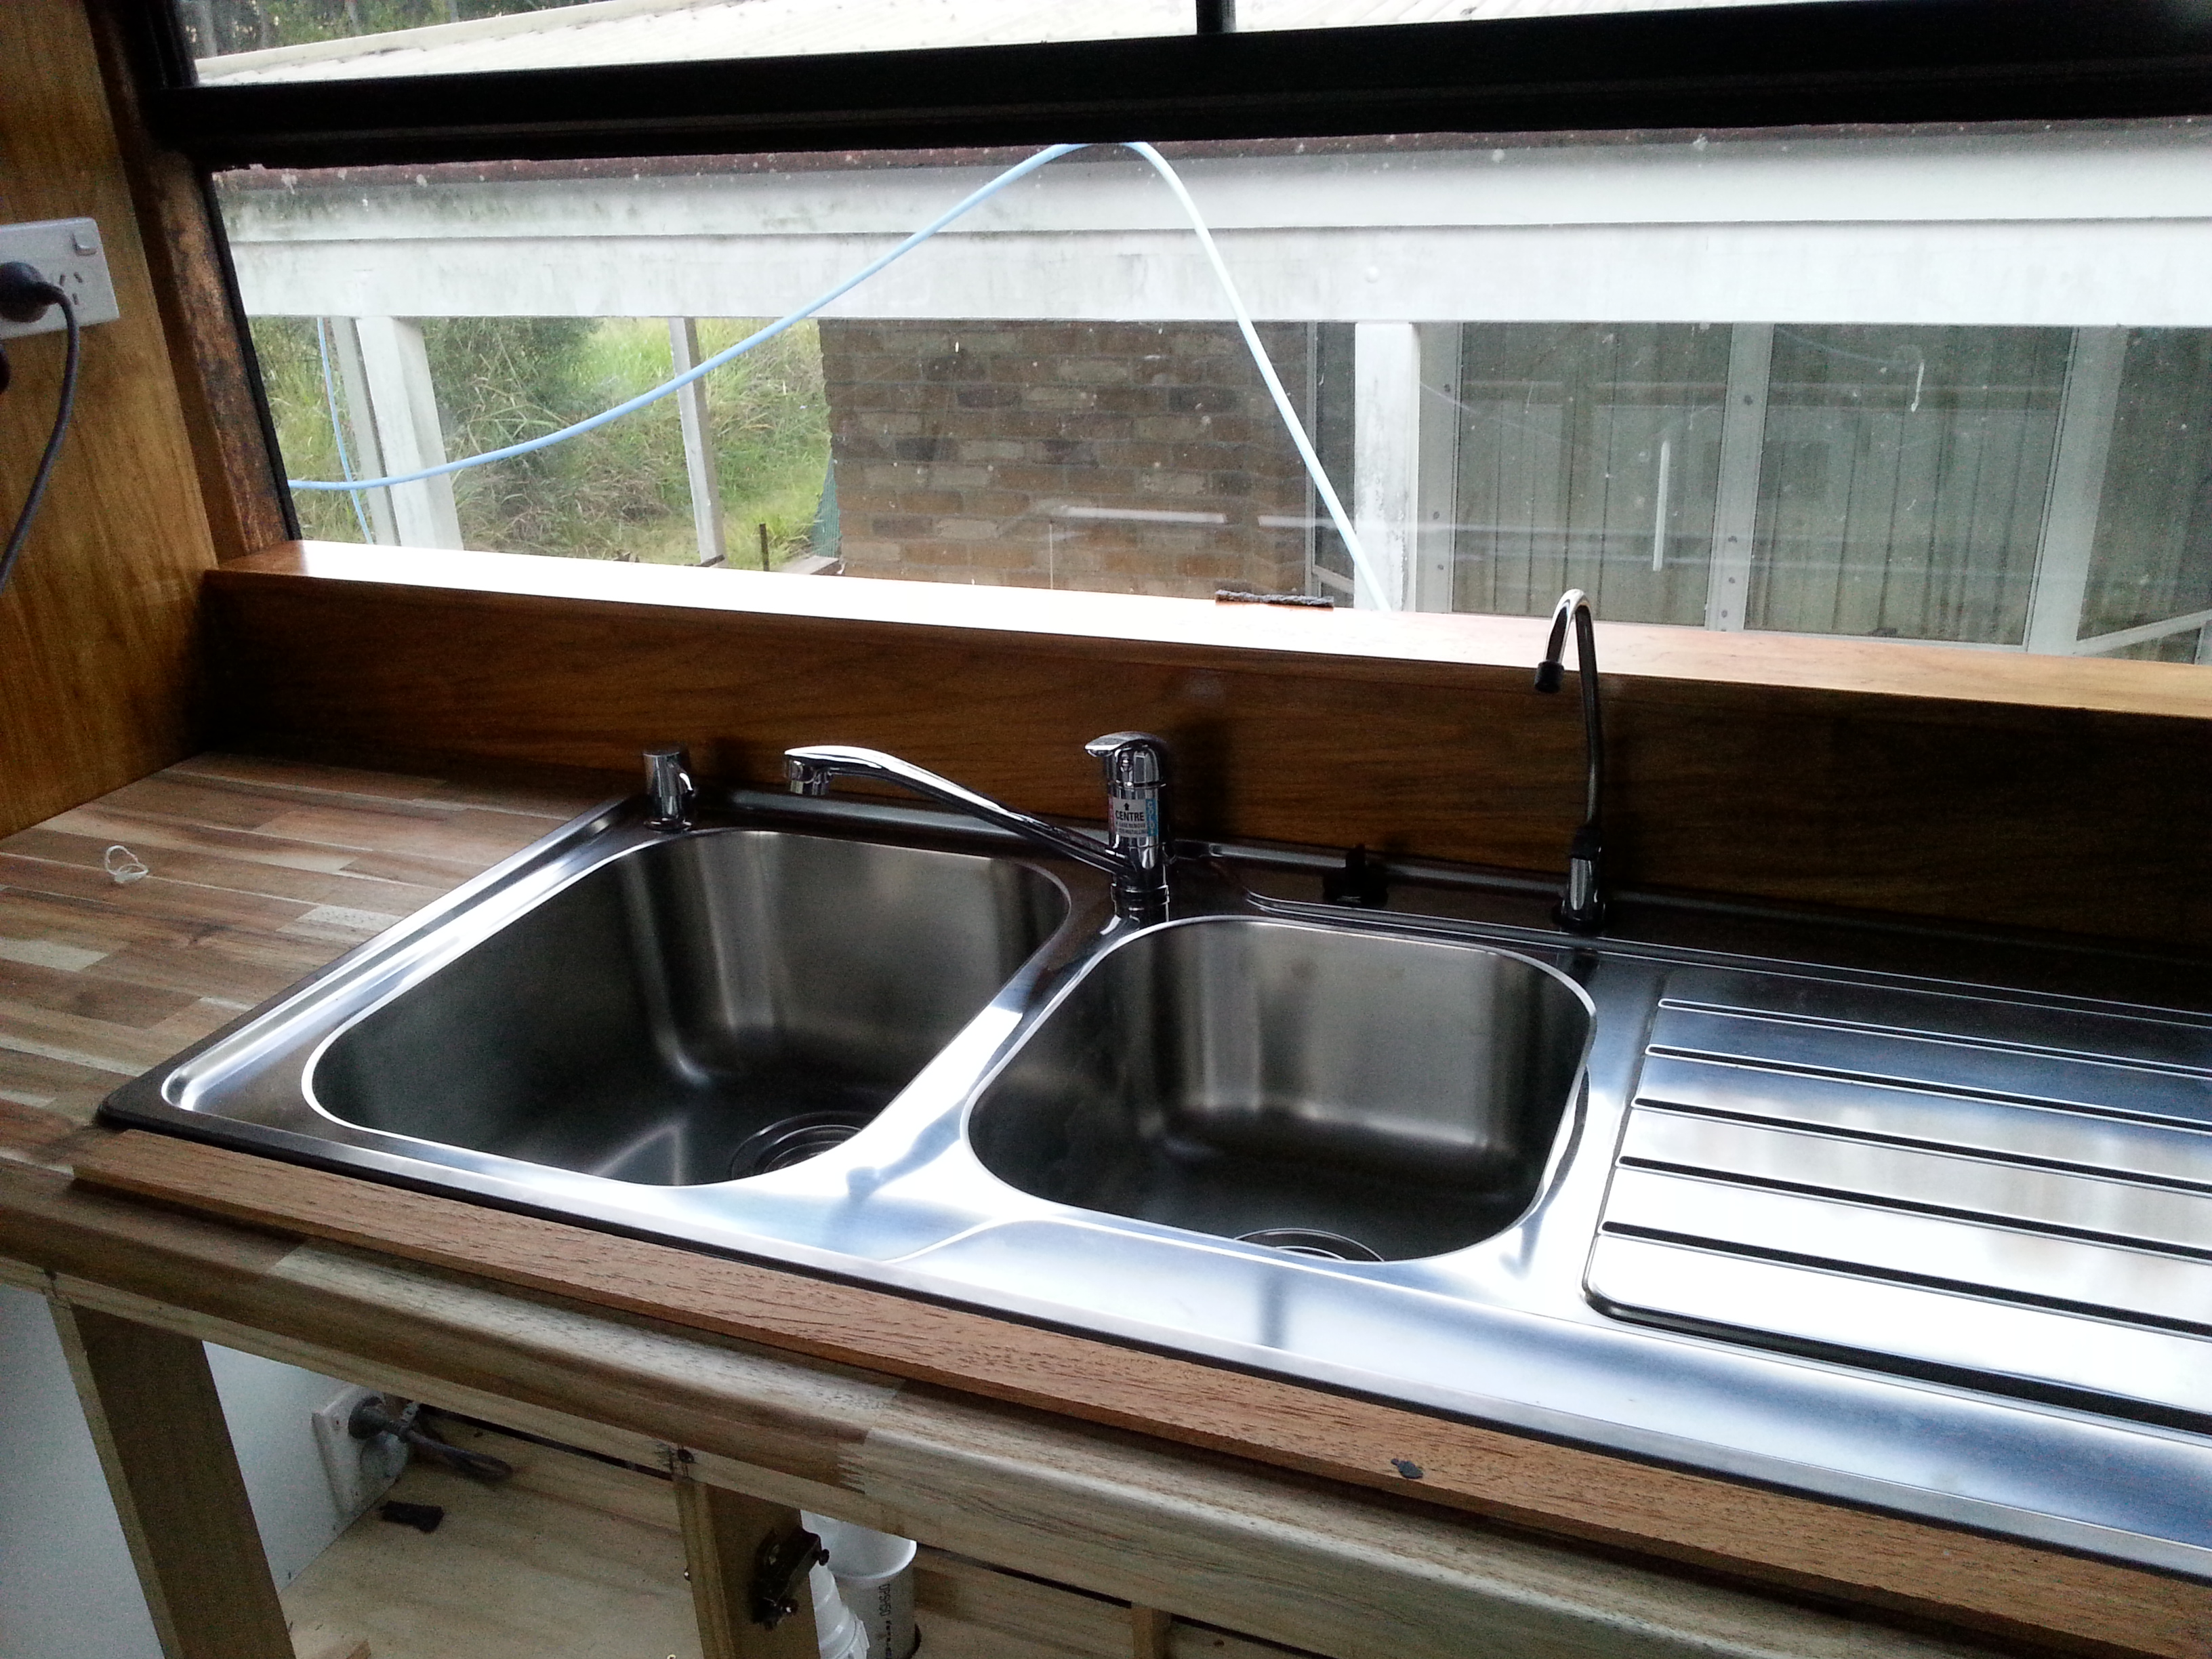
The bench tops I have chosen to use are Acasia wood panels from Bunnings I will be using this material for all of the Bench & table surfaces through out the RV, These are laminated timber panels 25mm thick. I had a local joinery create an “L” shaped top for the Kitchen to best utilize the space available. This material has a dark oiled finish which I have sanded off & replacing with a lighter Feast Watsons Kitchen oil.
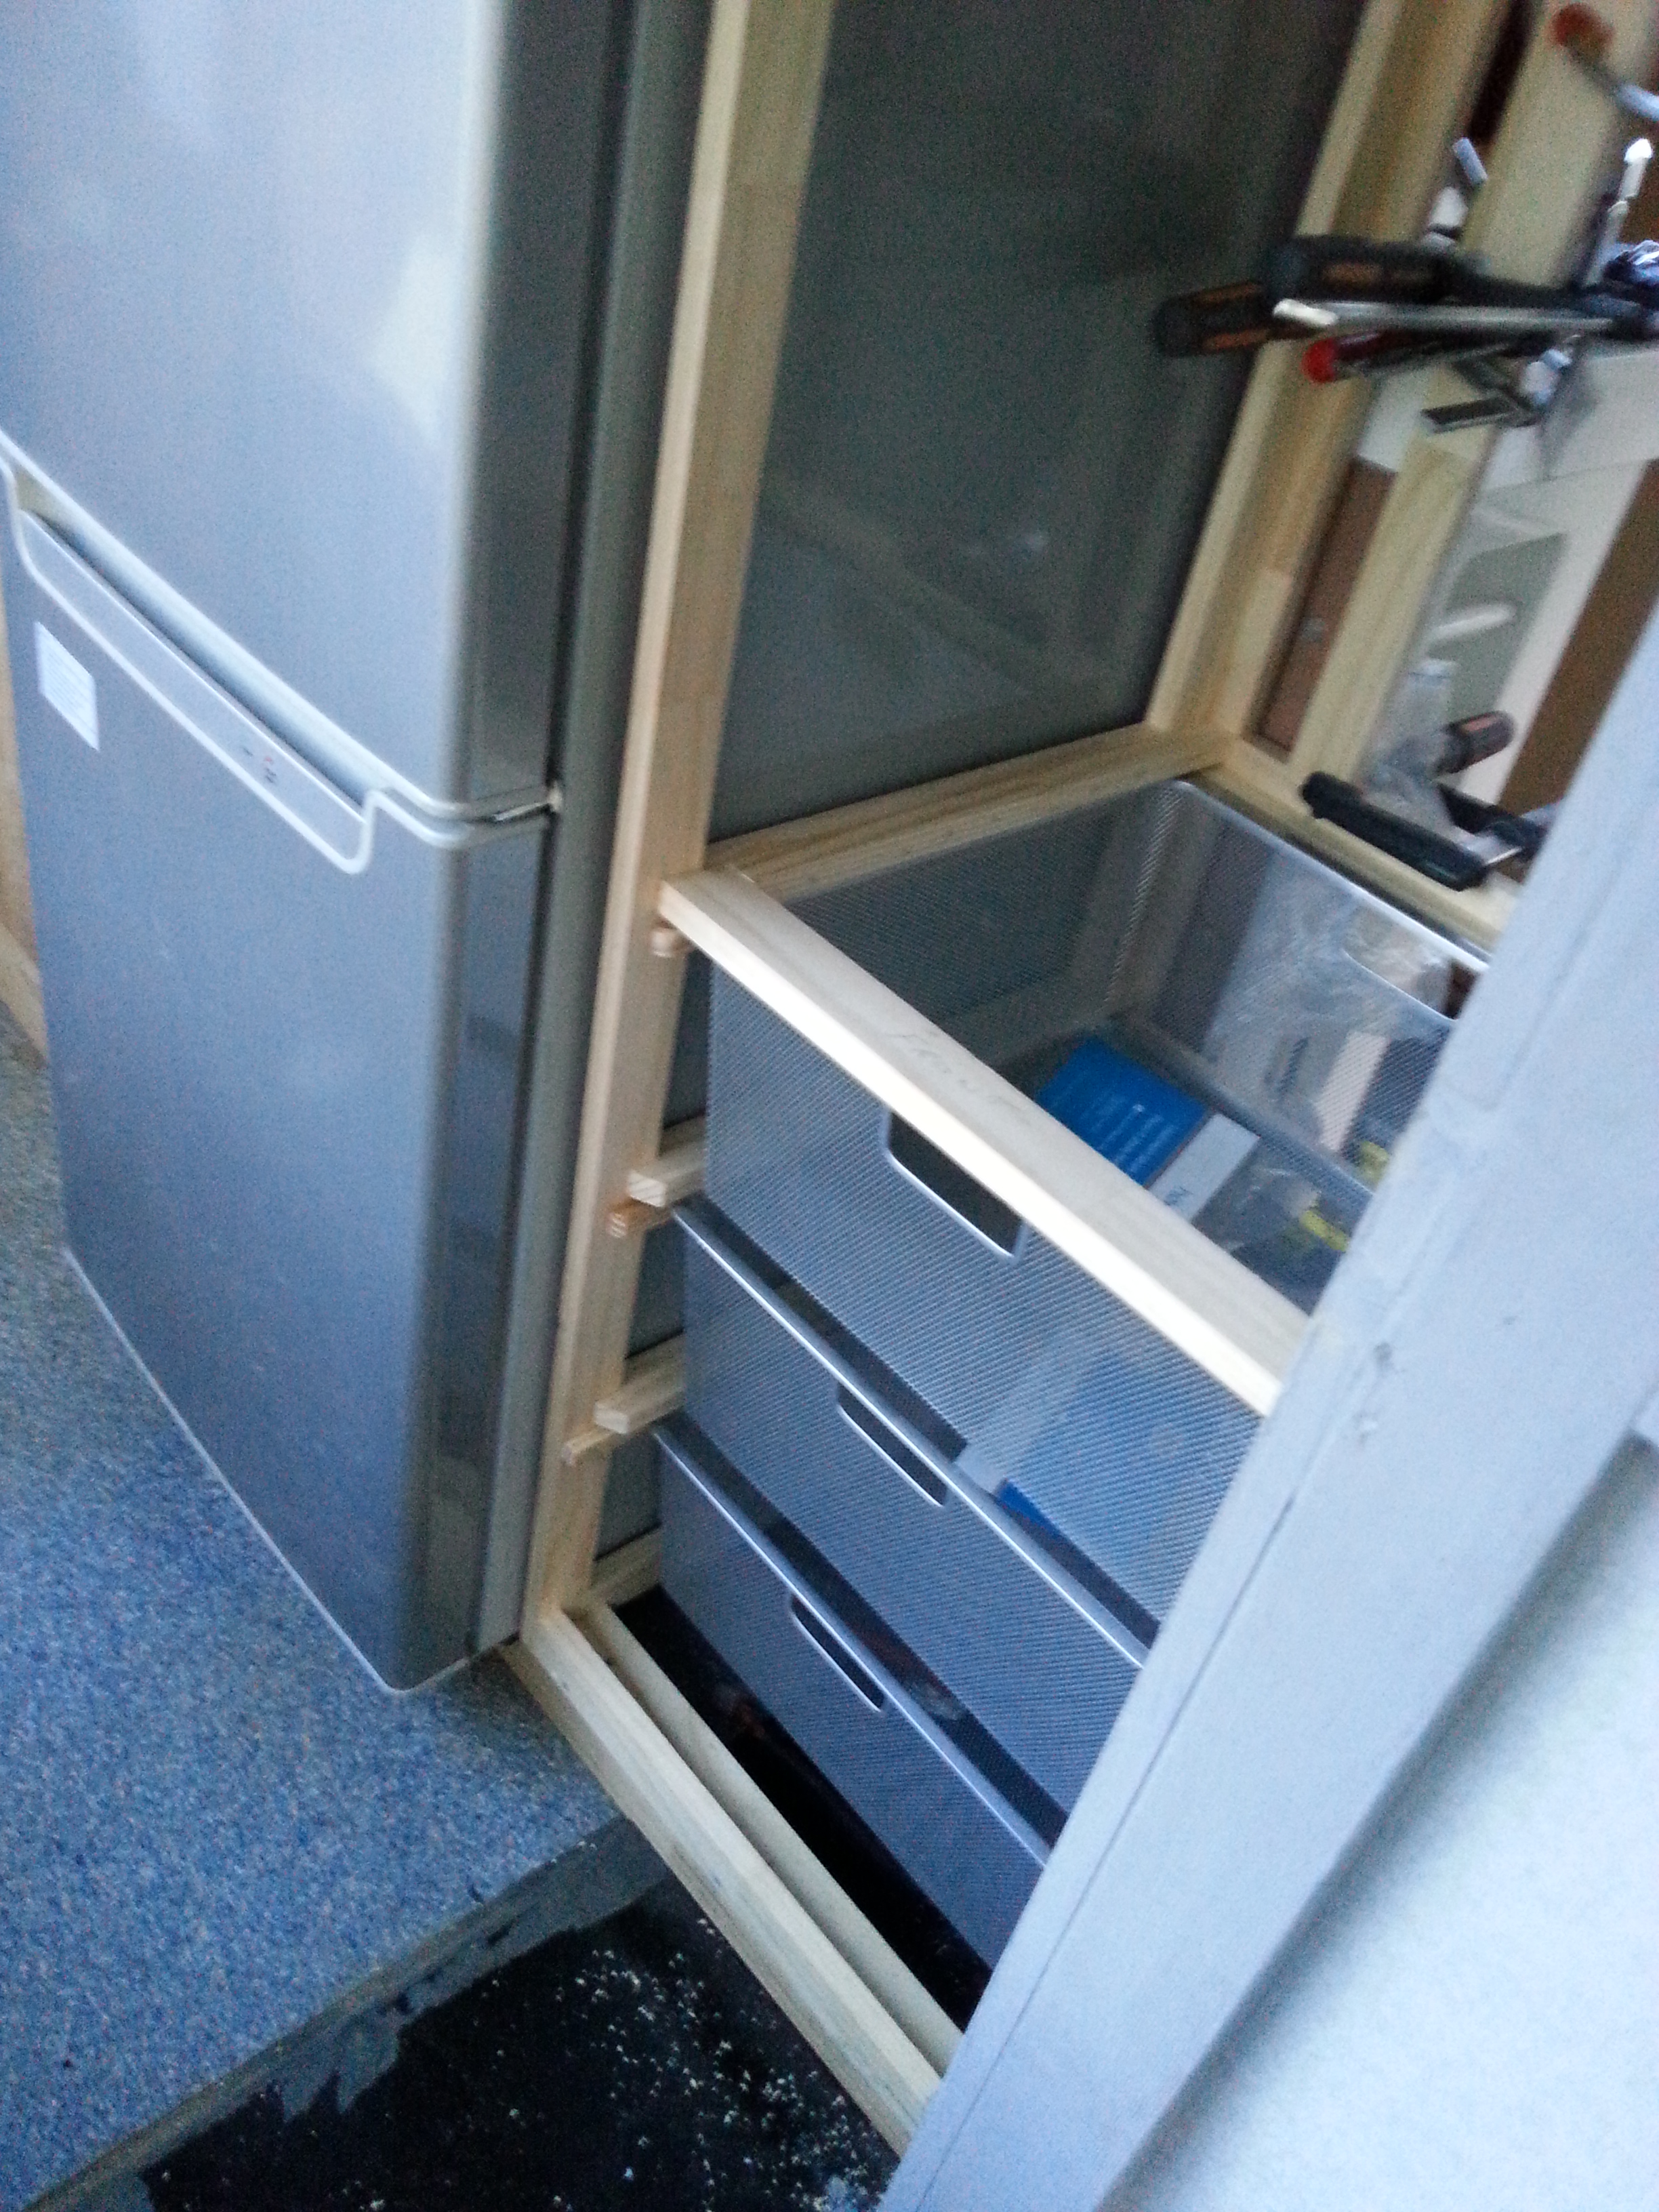
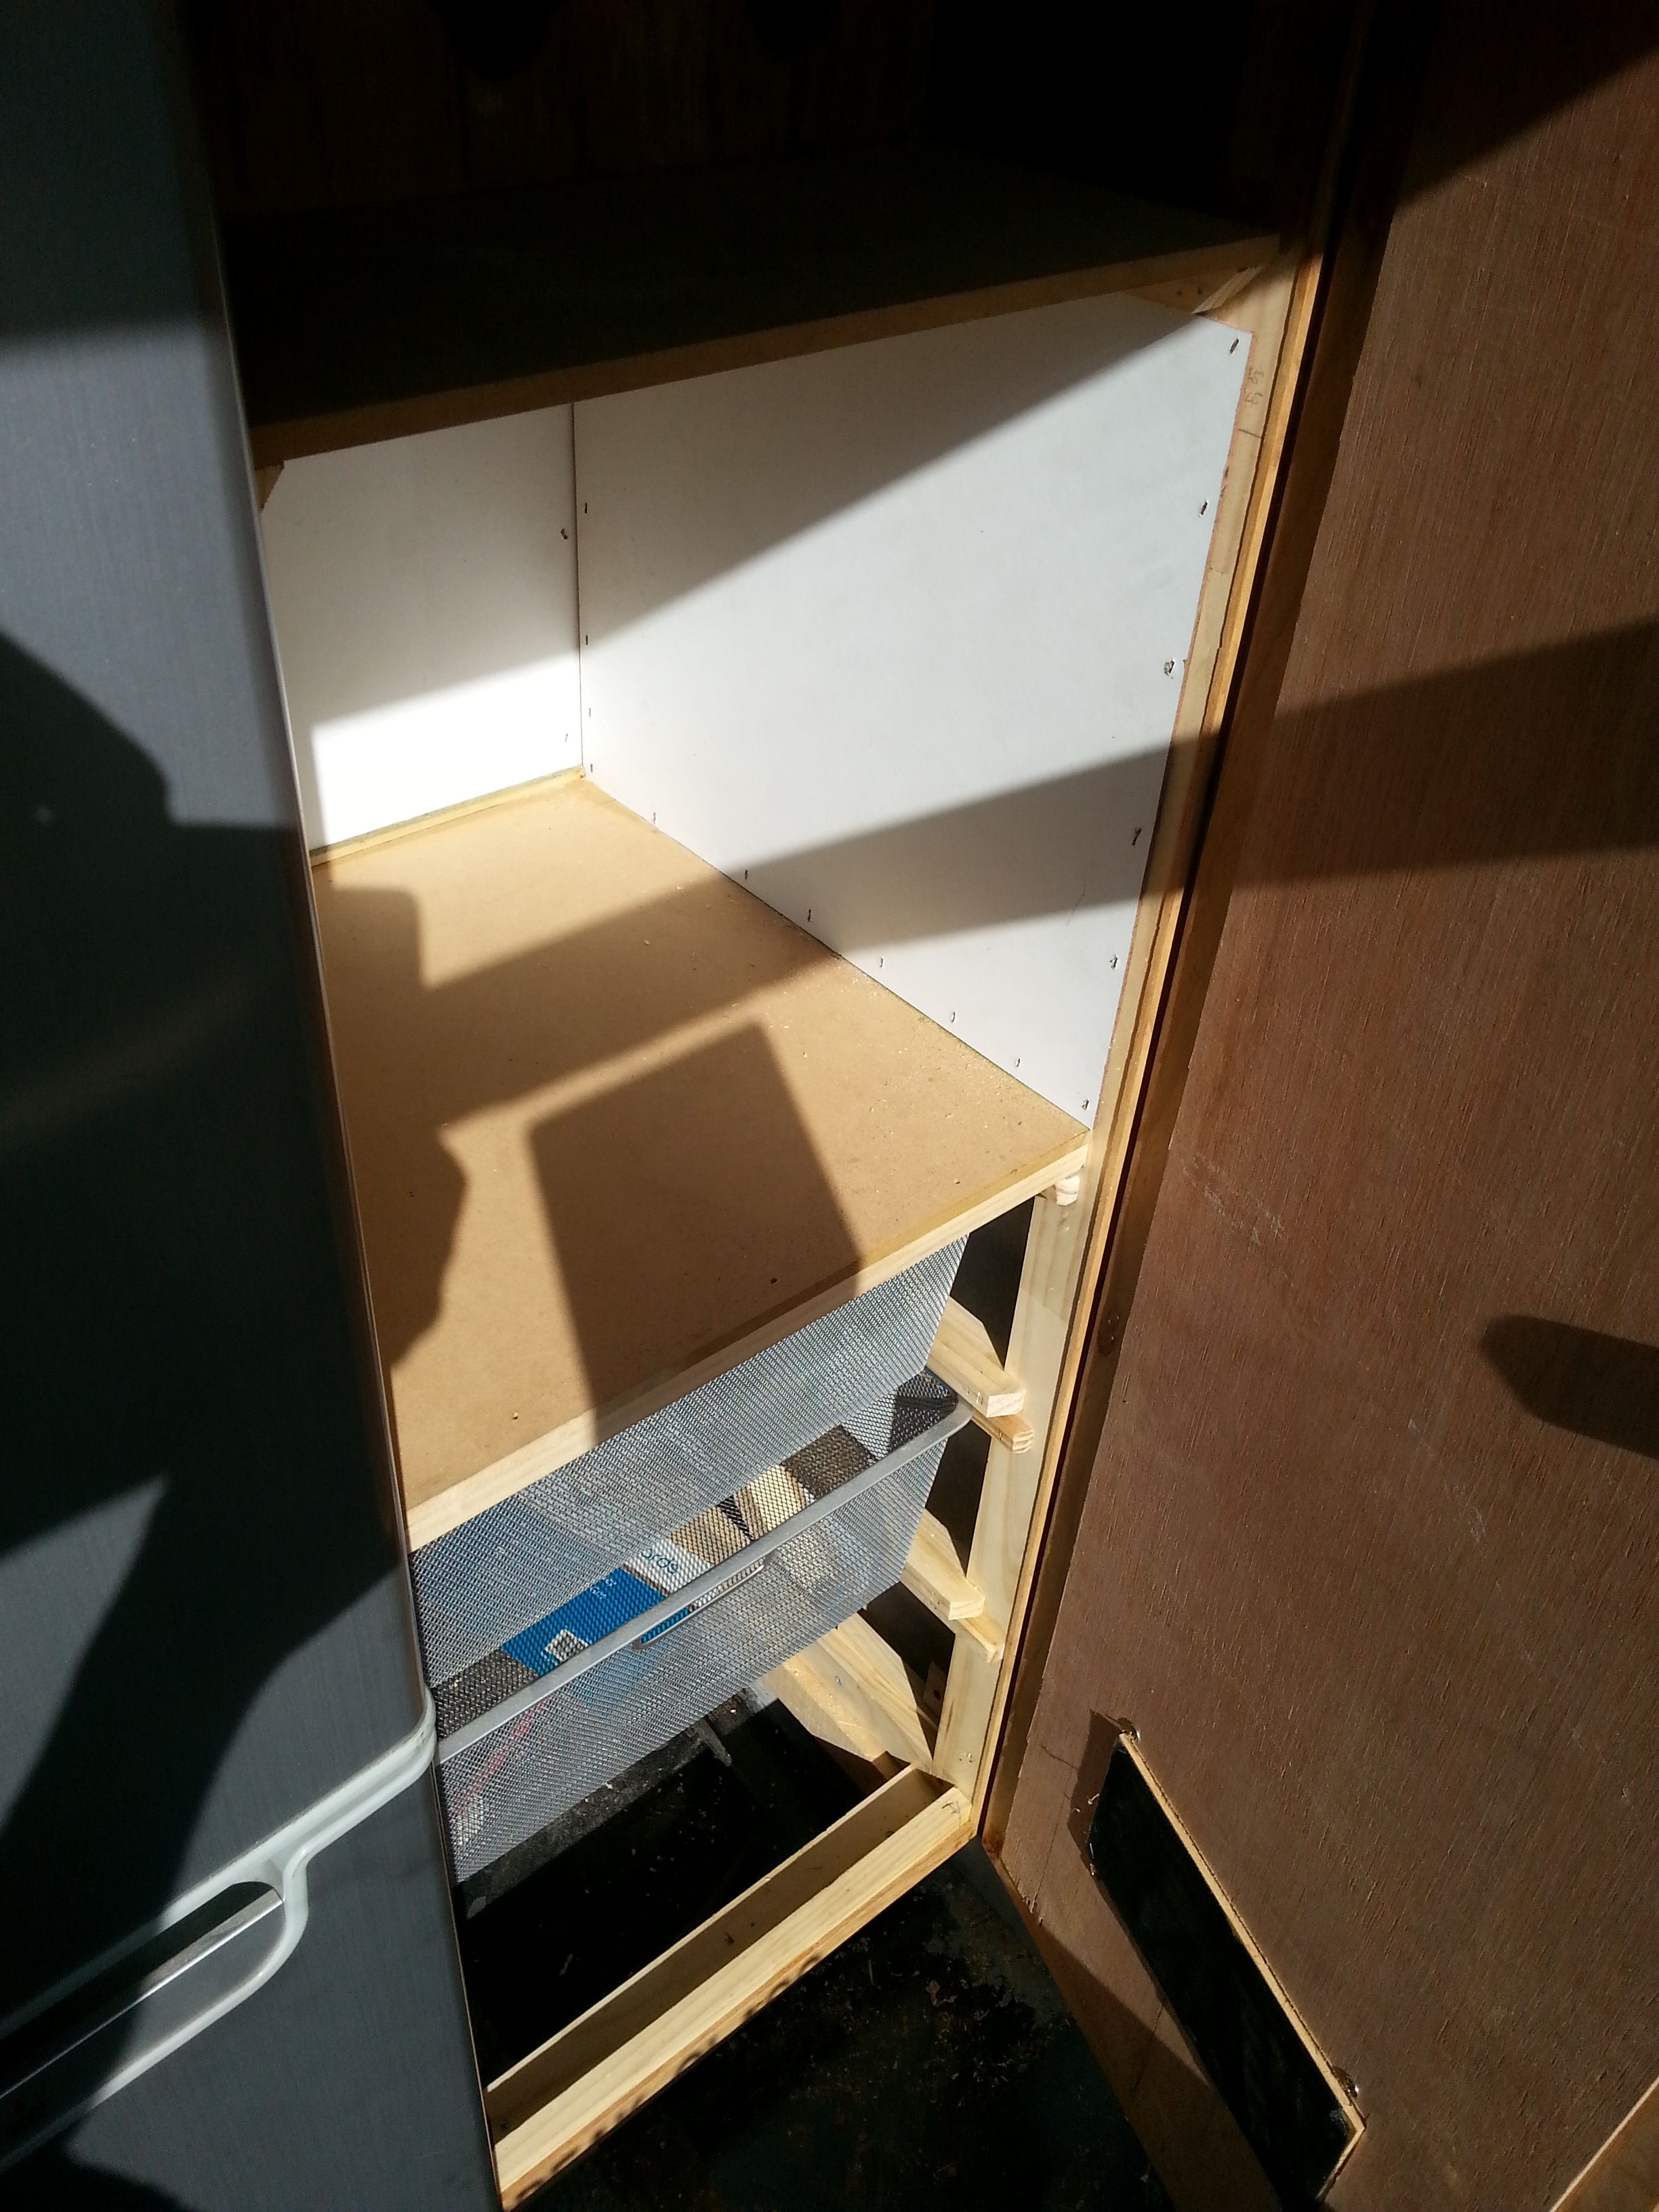
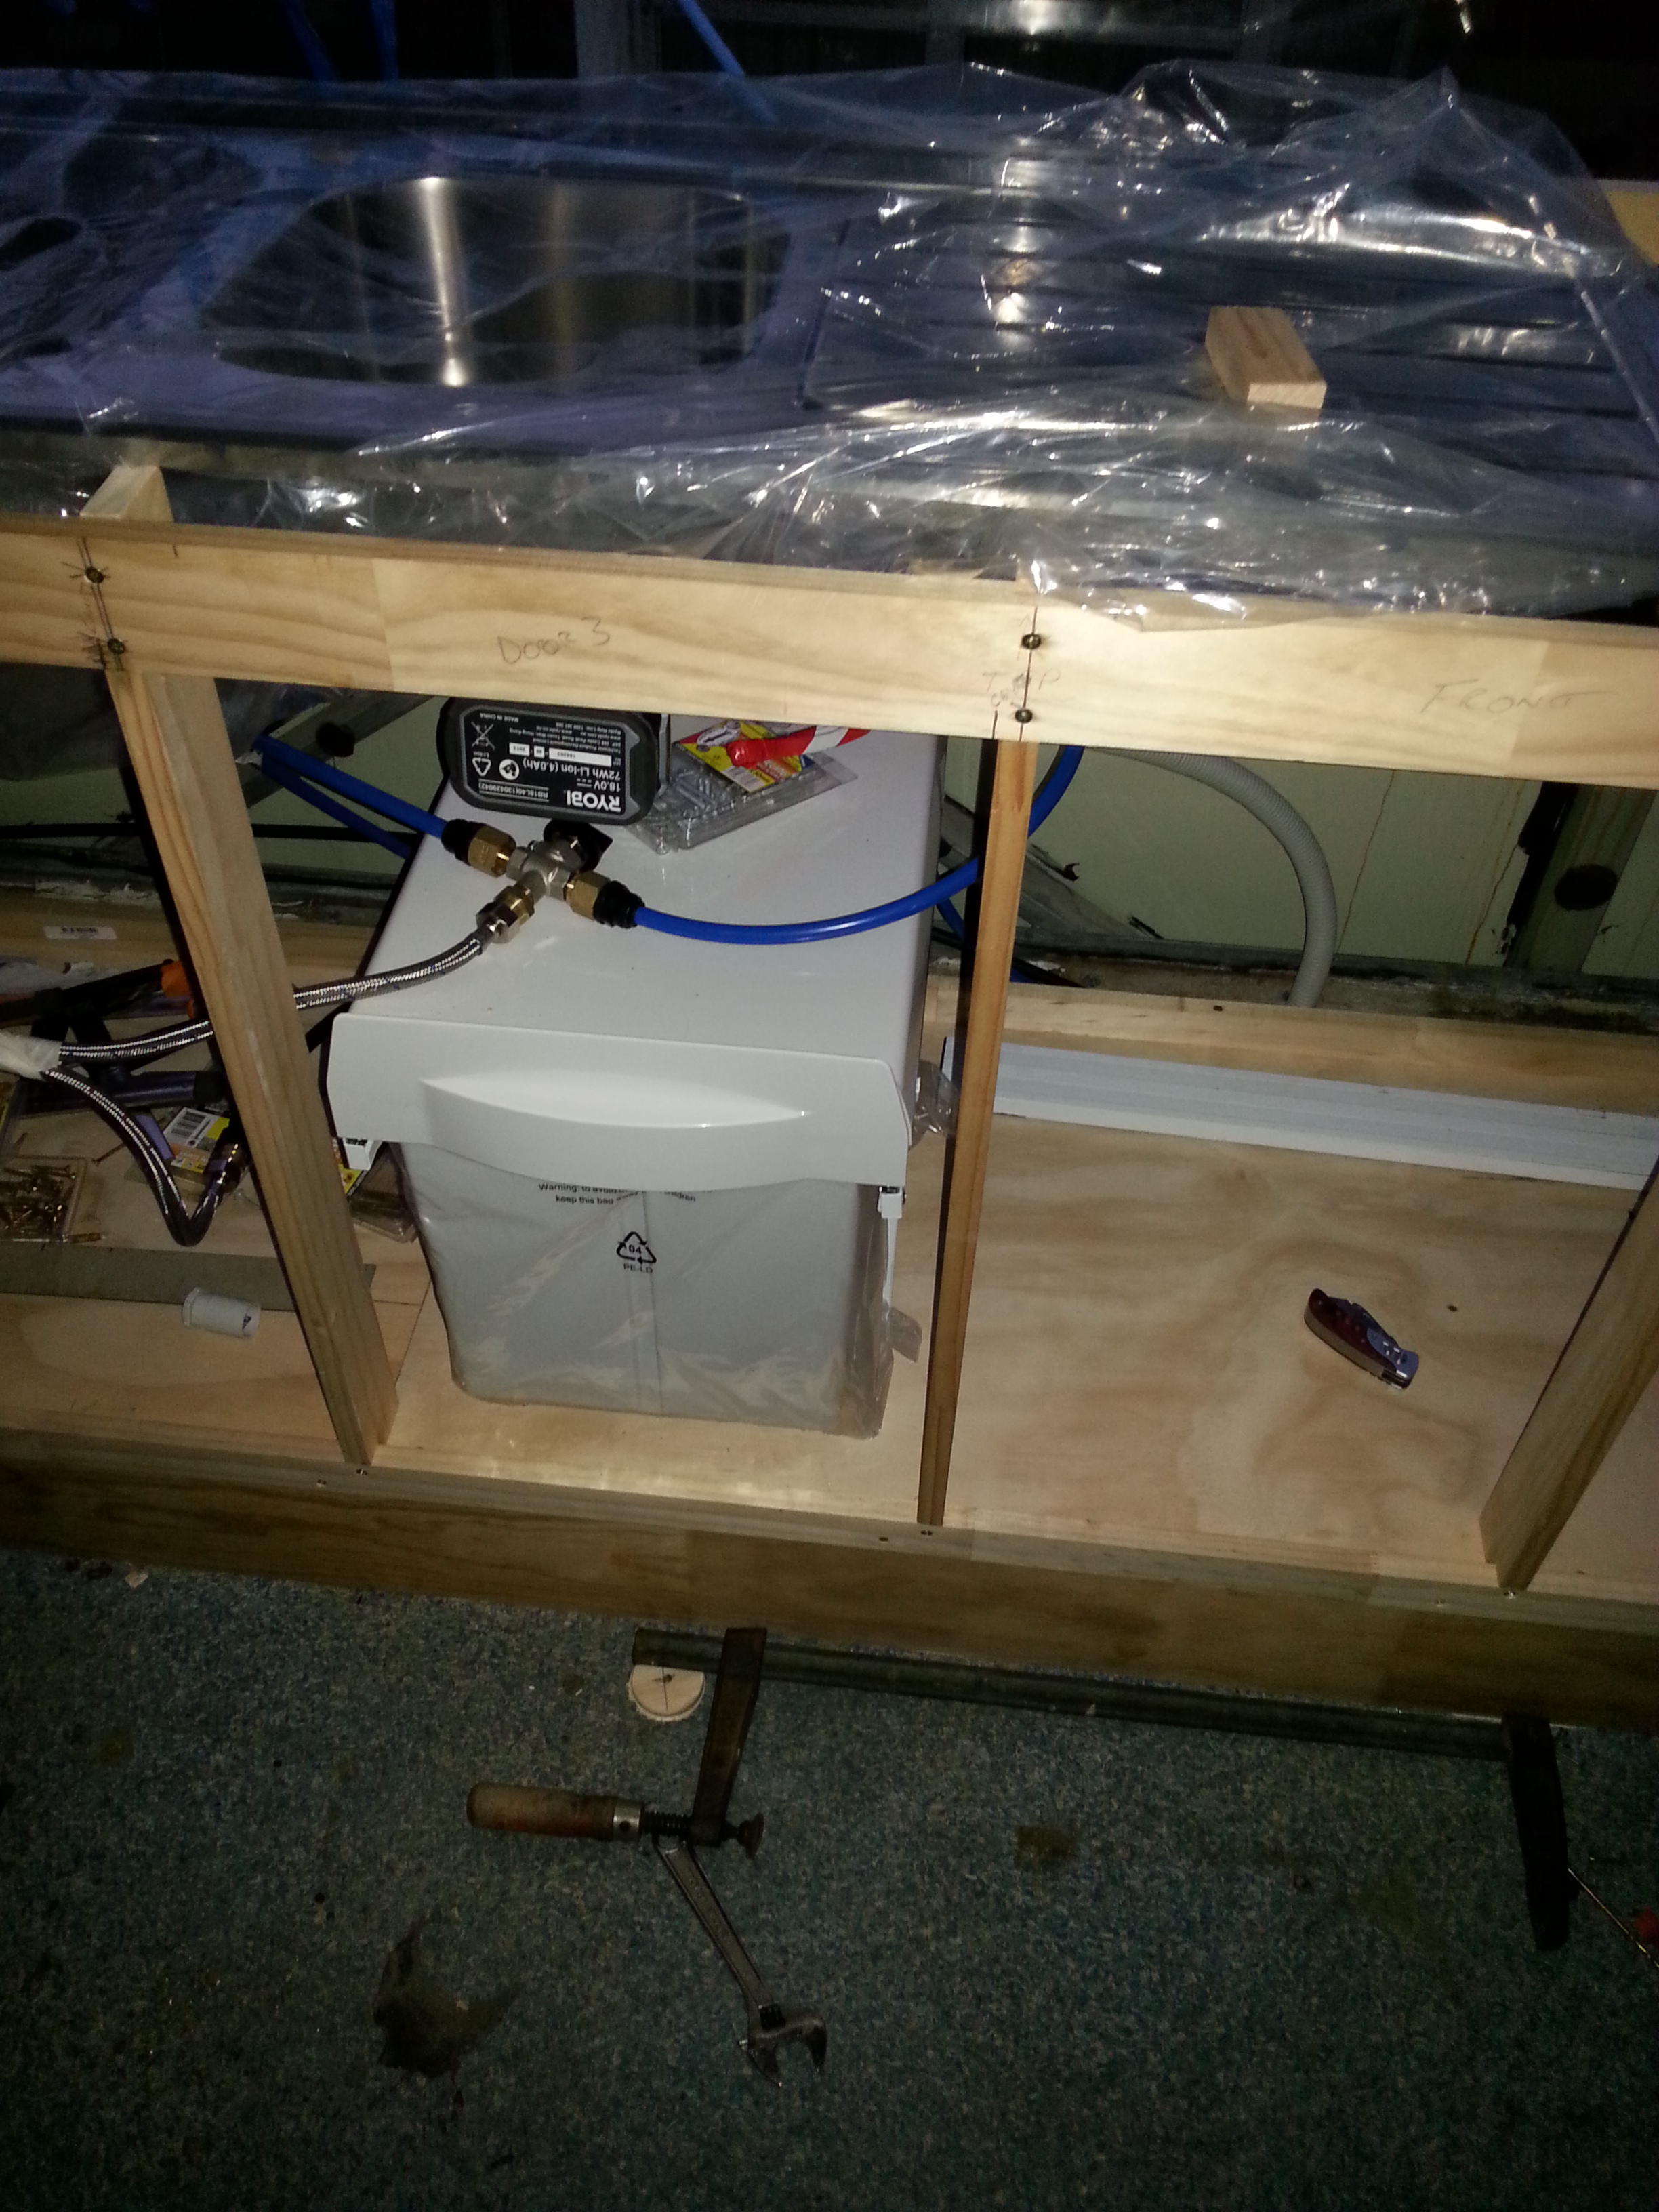
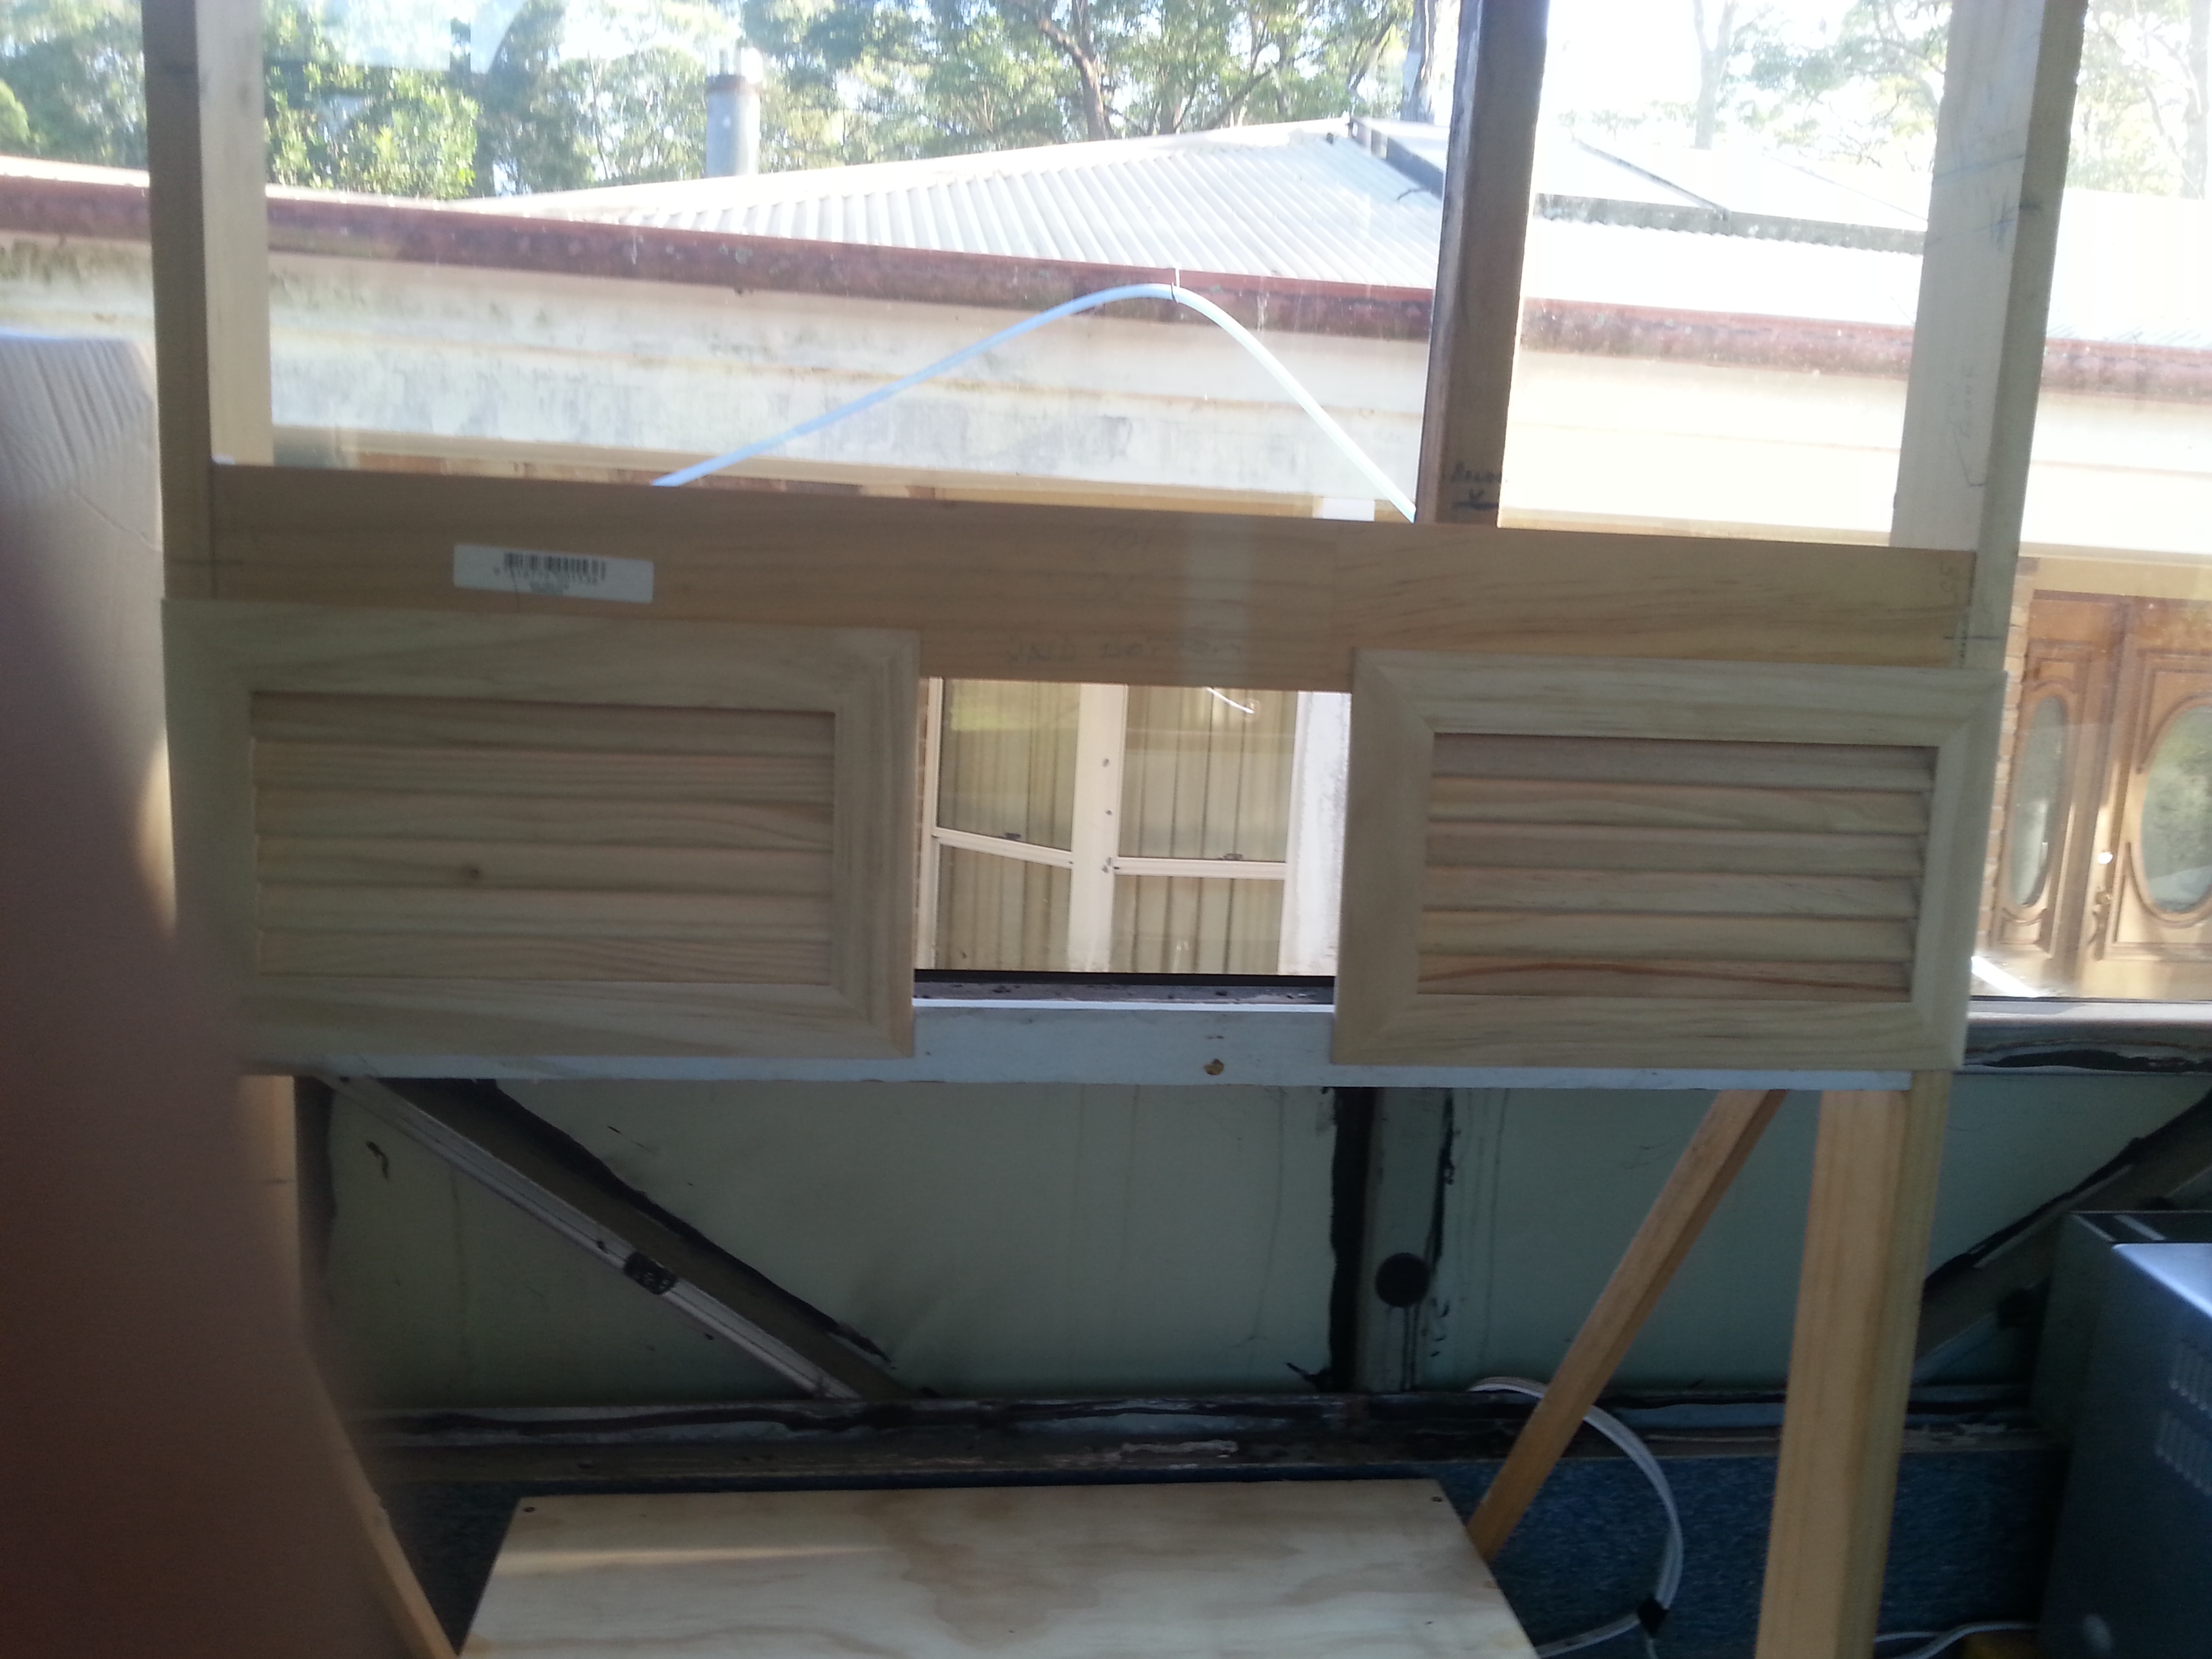
There will only be 2 drawers in the Bench set & both of these will be behind the Cabinet doors, I will be fitting under bench Waste bins & slide out shelves for the Cooking pots & utensils.

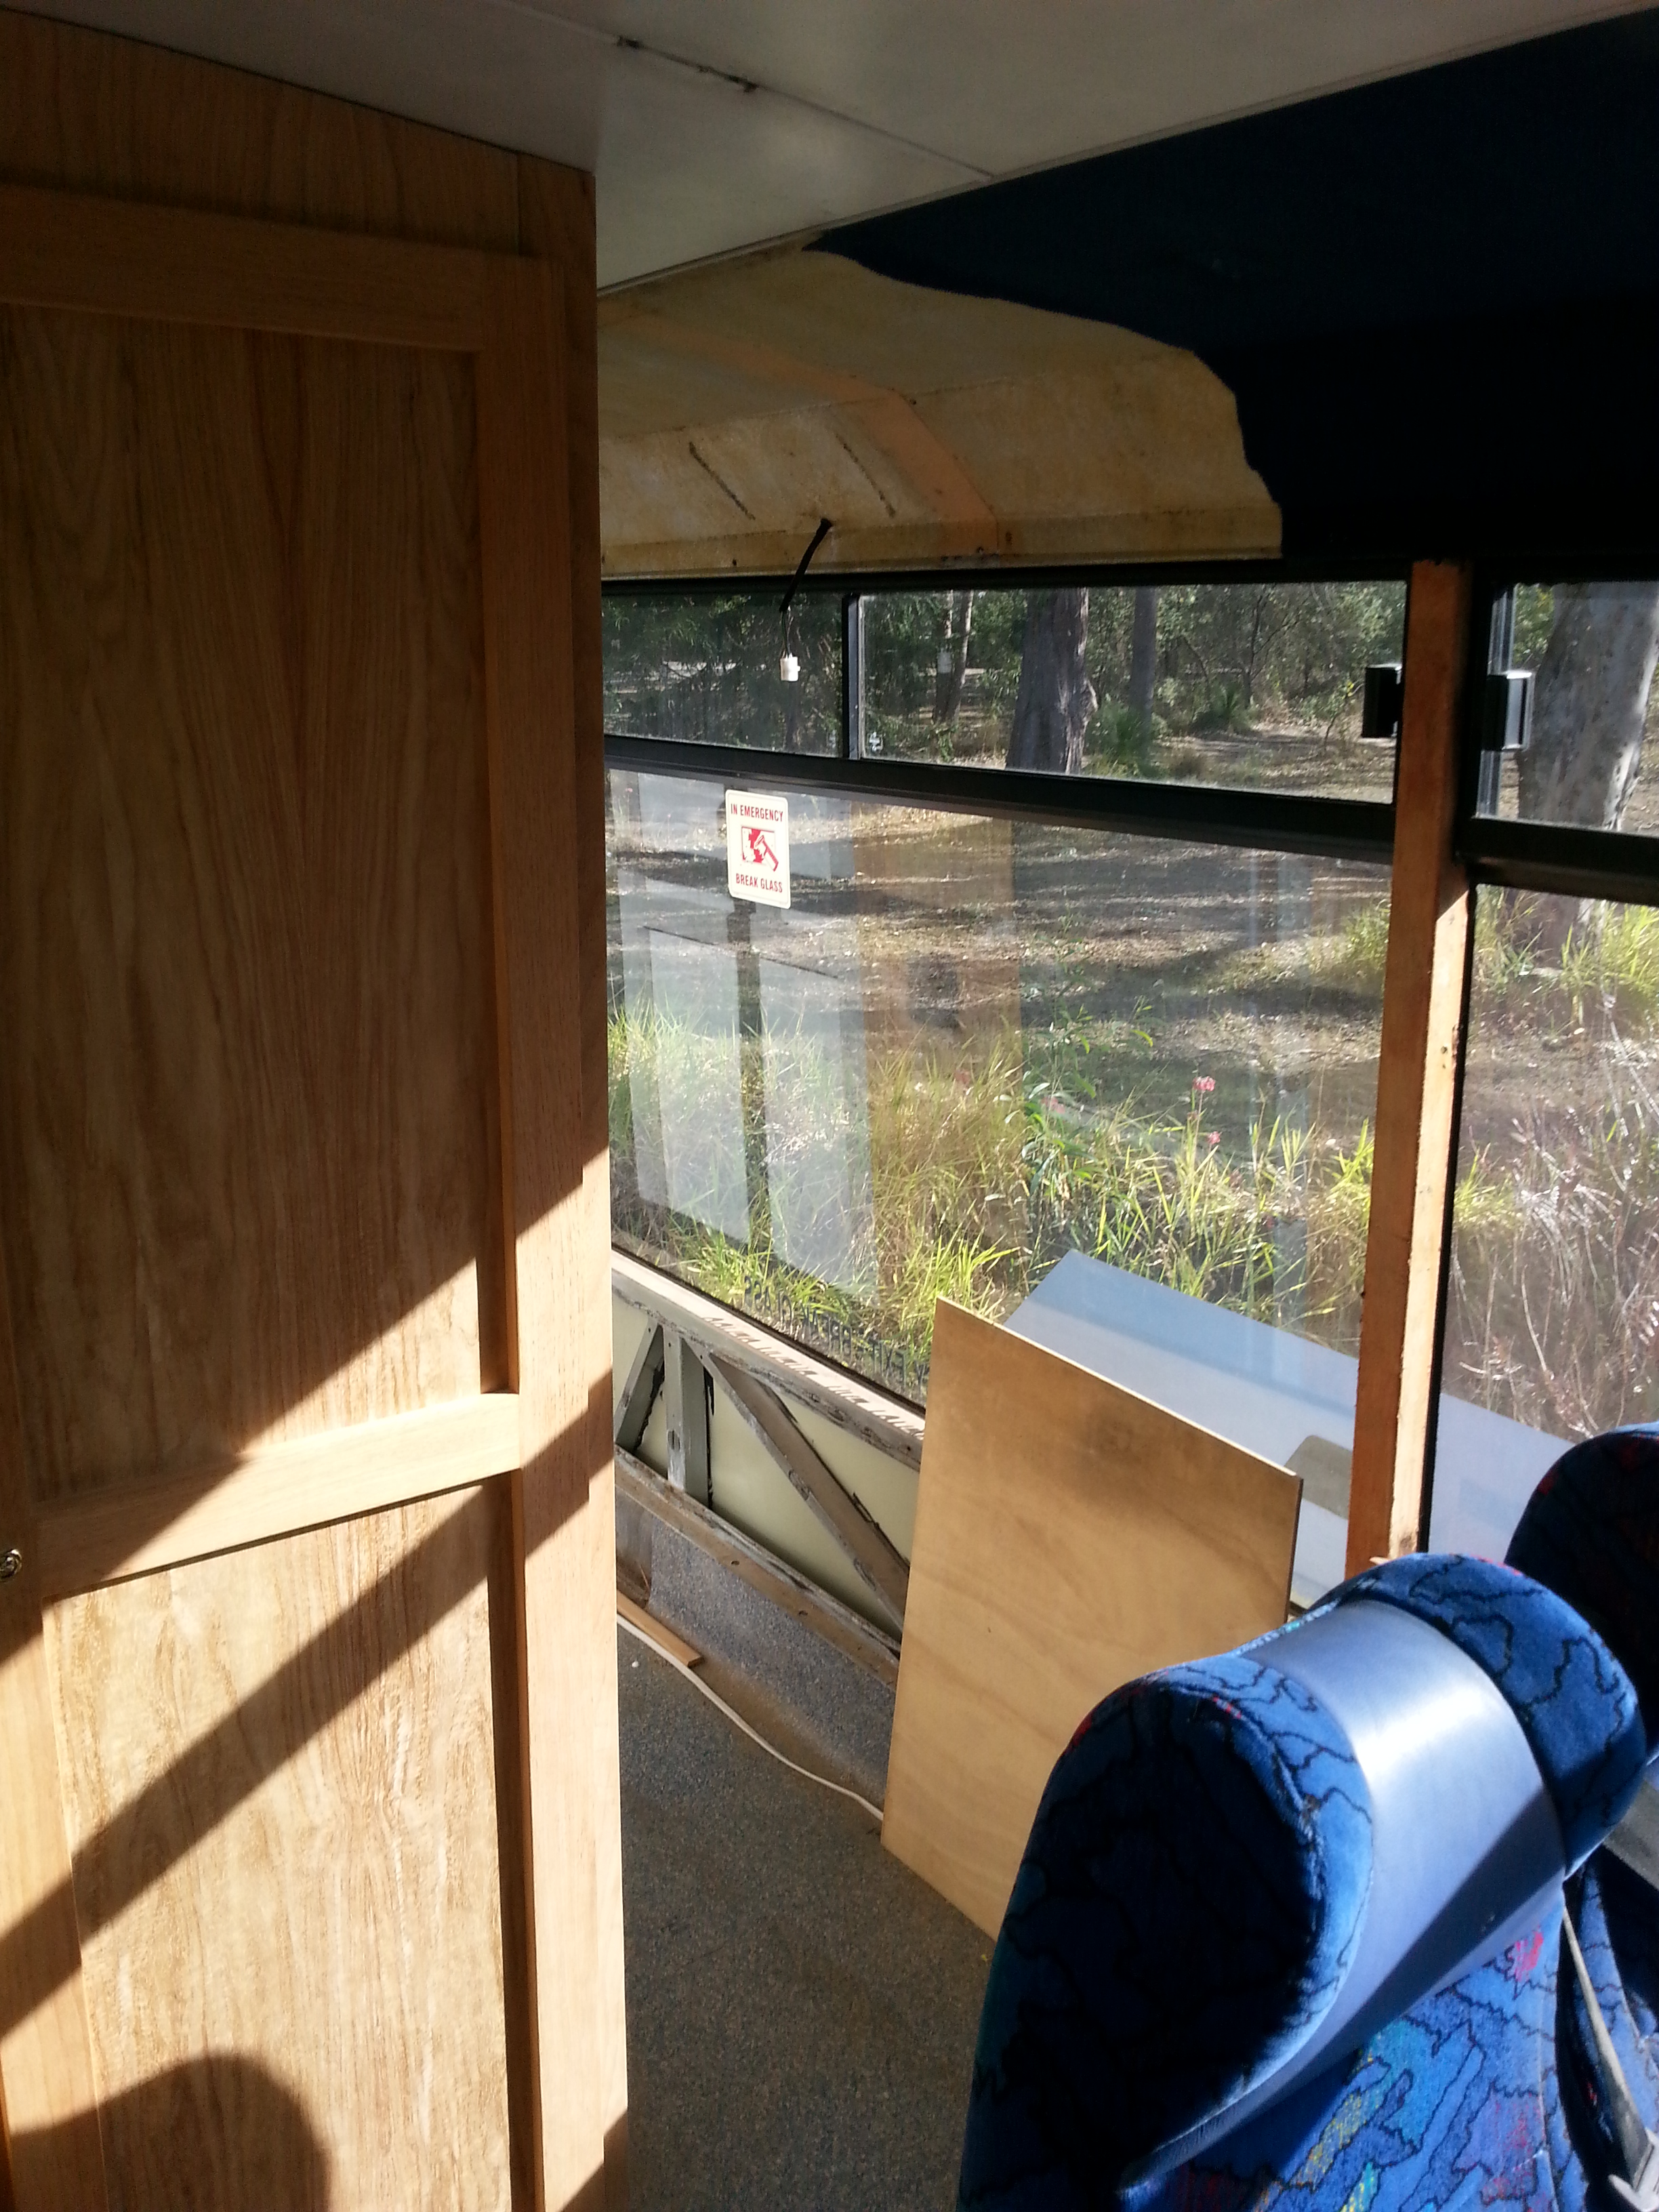
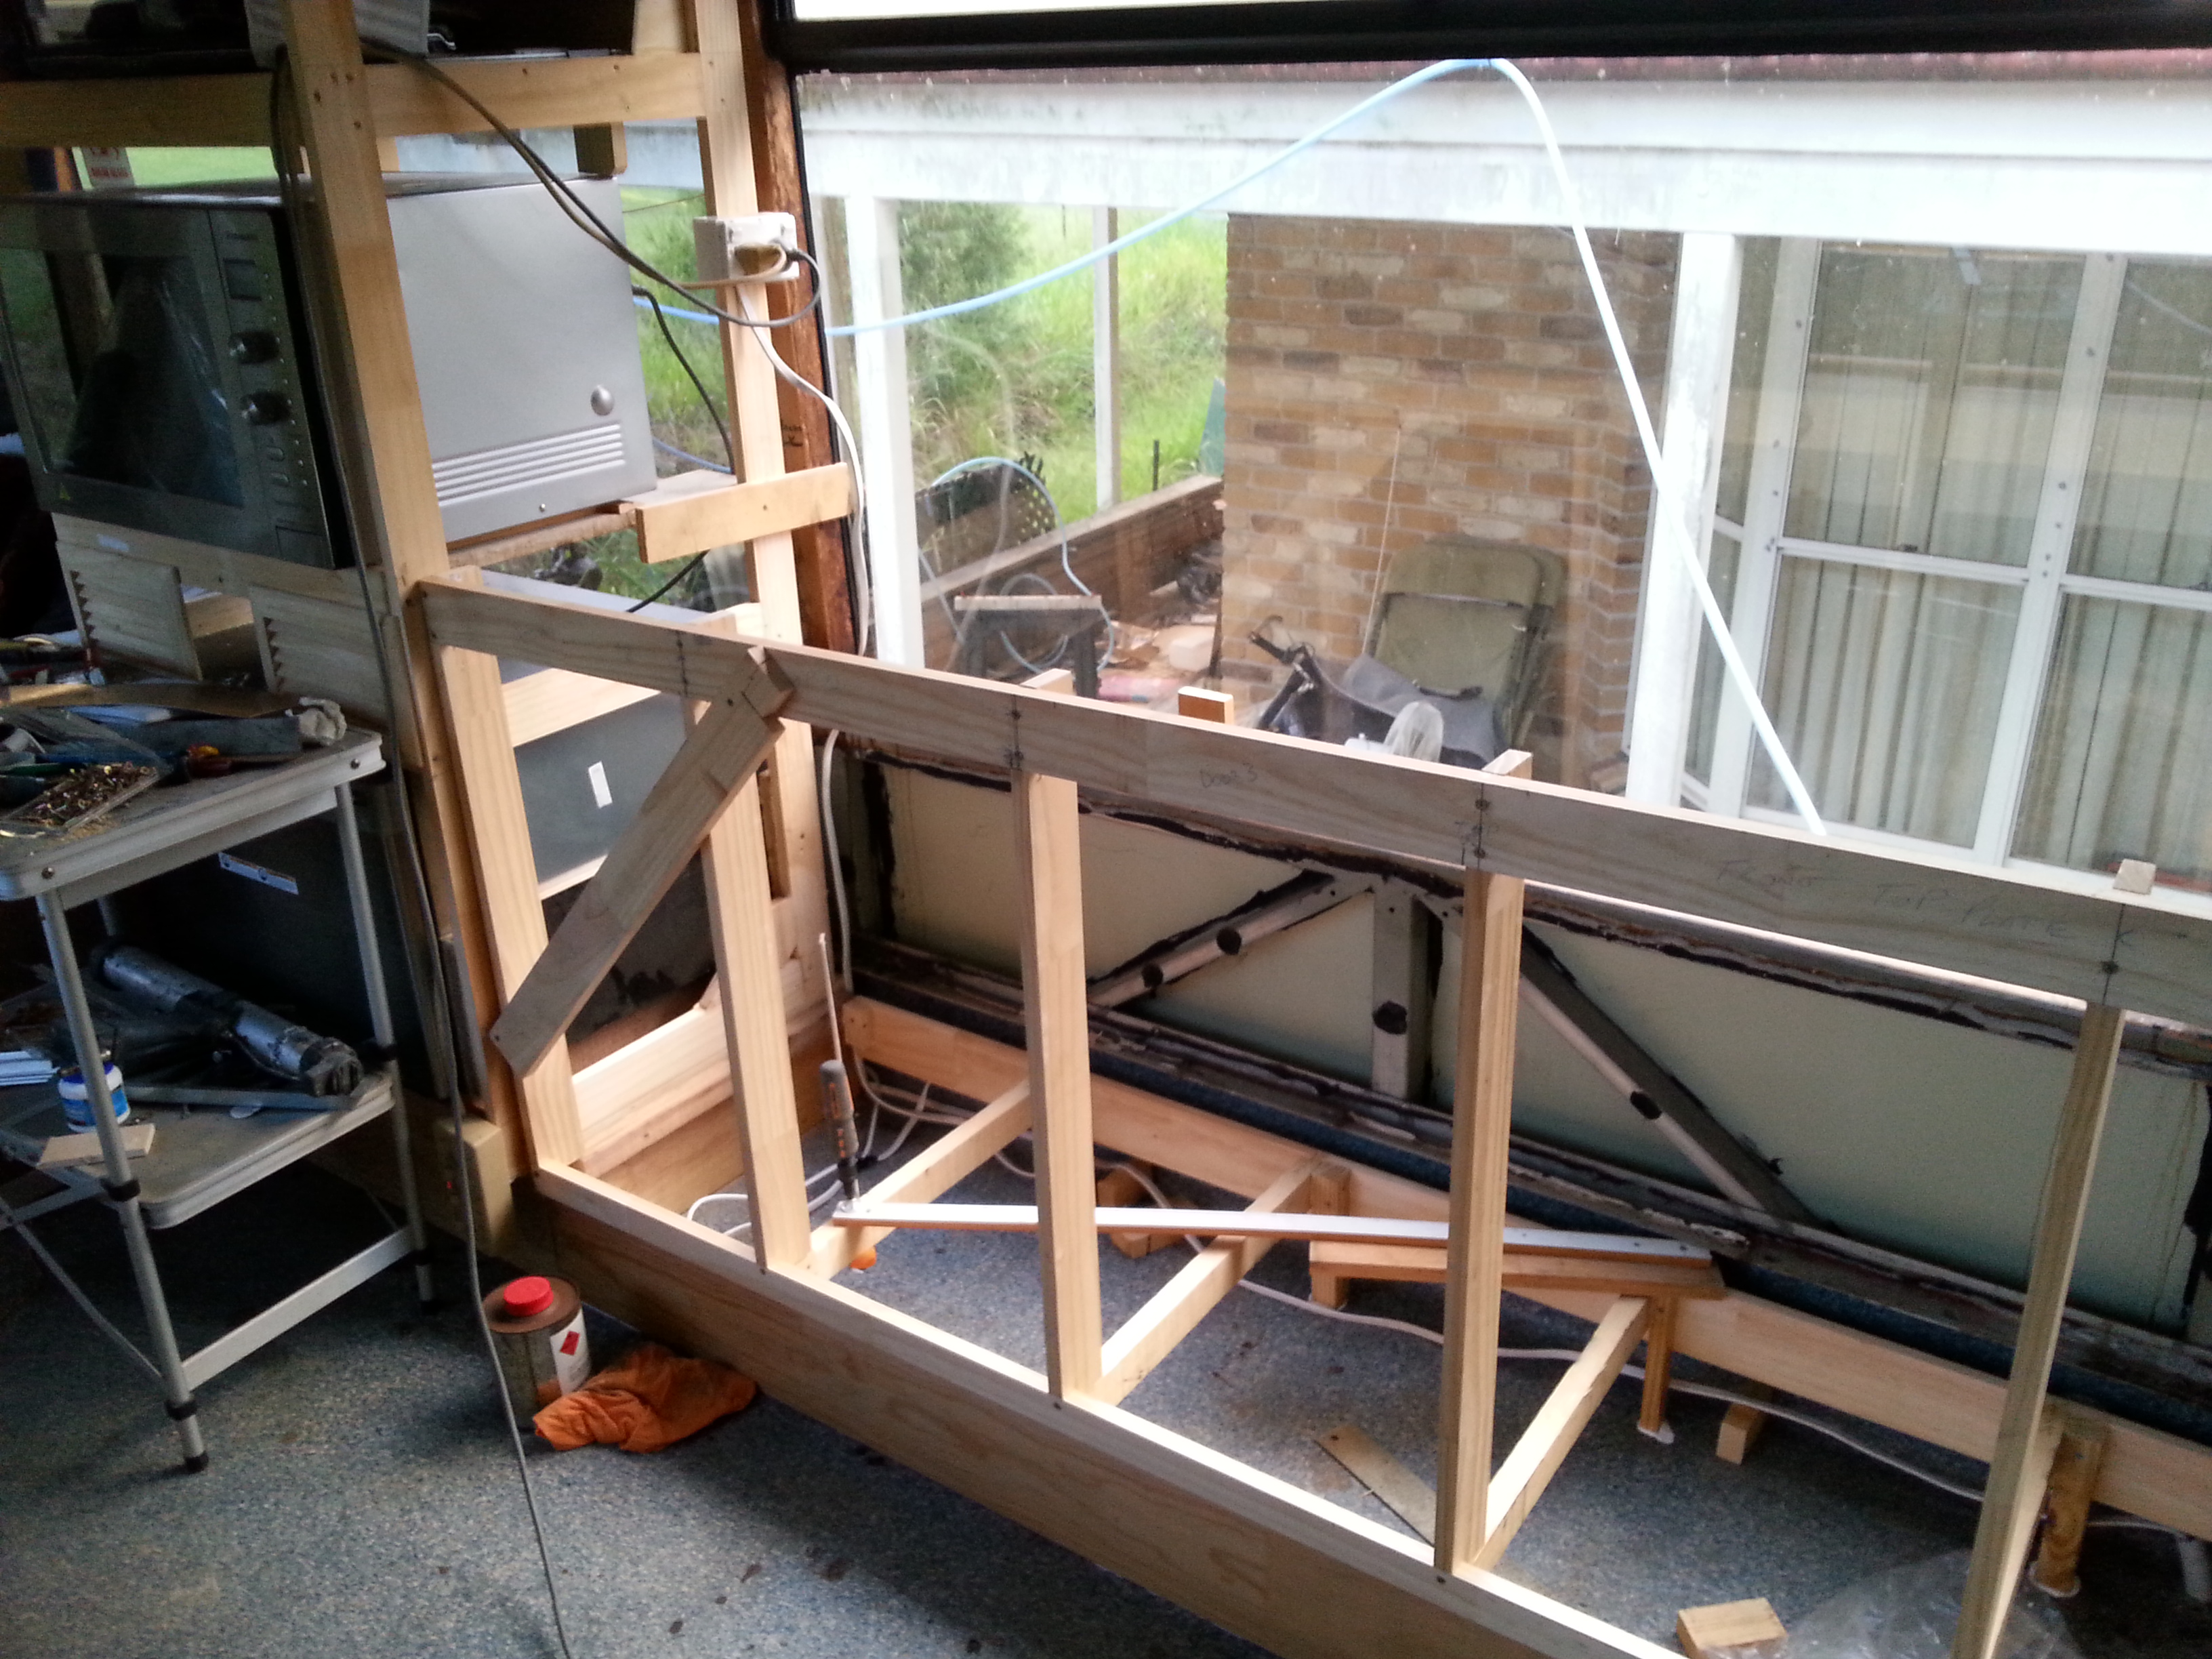
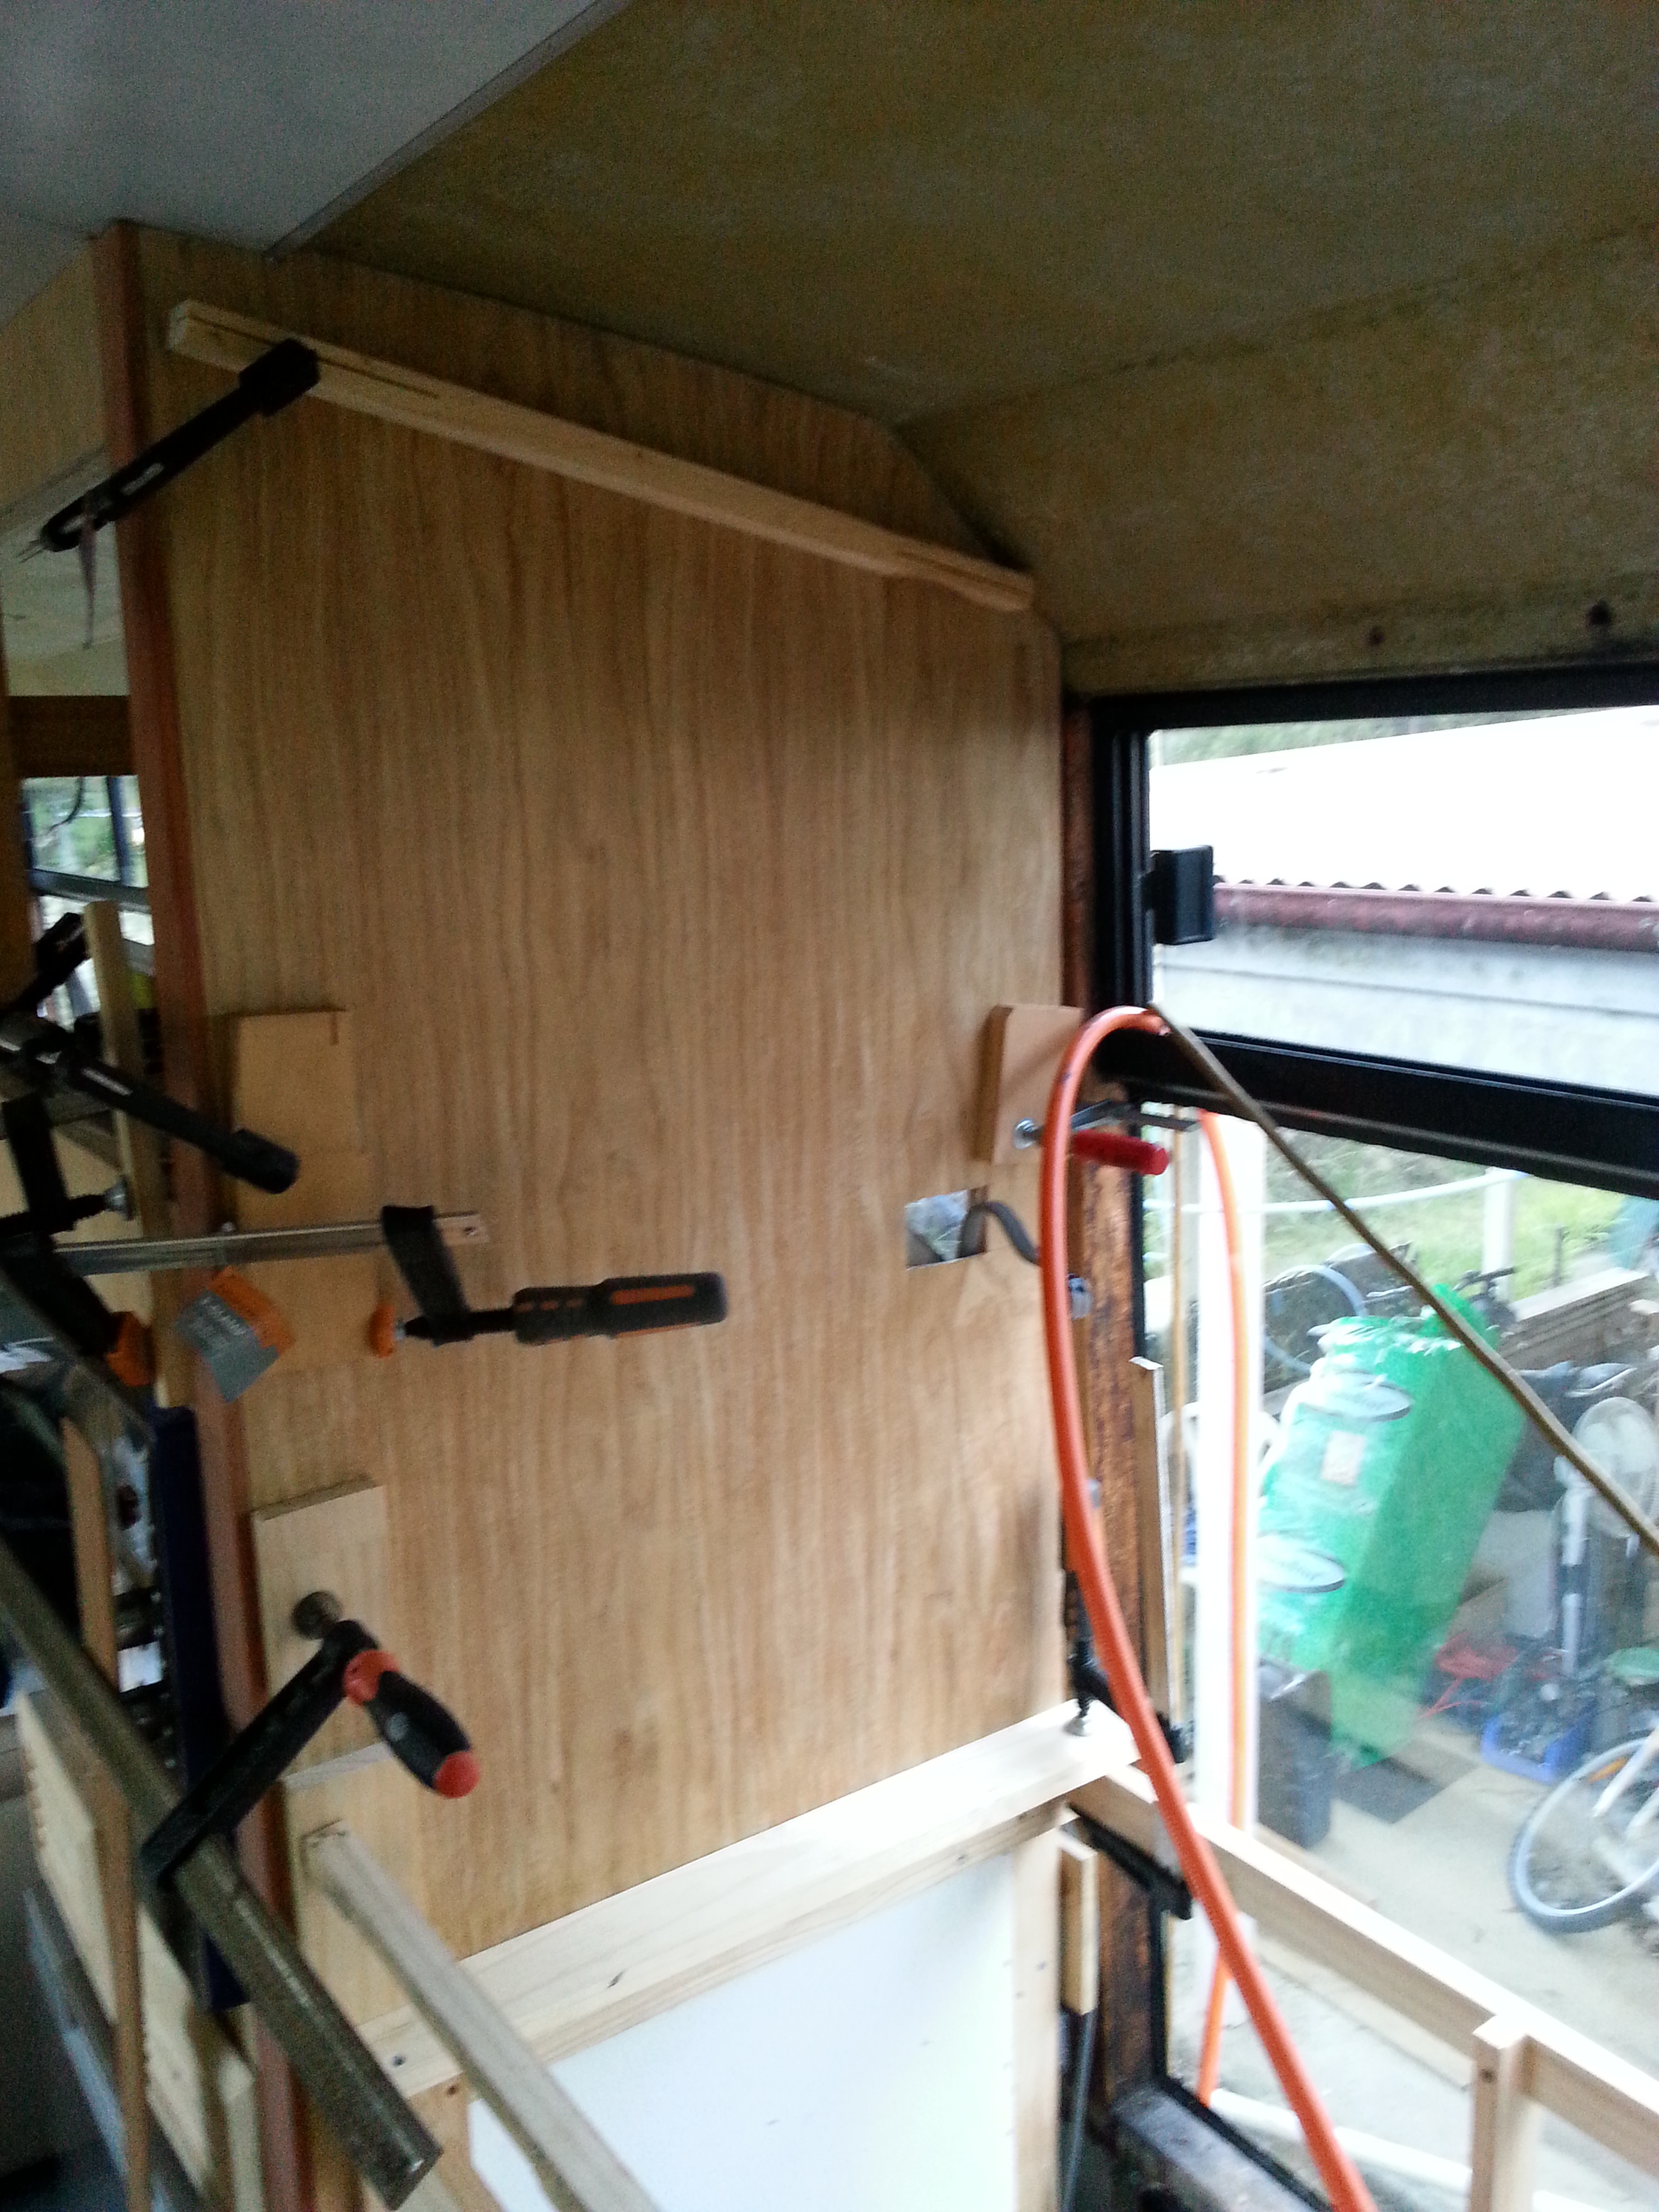
Frame work for benches under construction, Due to the height of the benches they cover the lower portion of the Windows but this area will be blanked out when I remove the windows for re-sealing.

The Bench heights are higher the standard as neither of us like the standard heights.

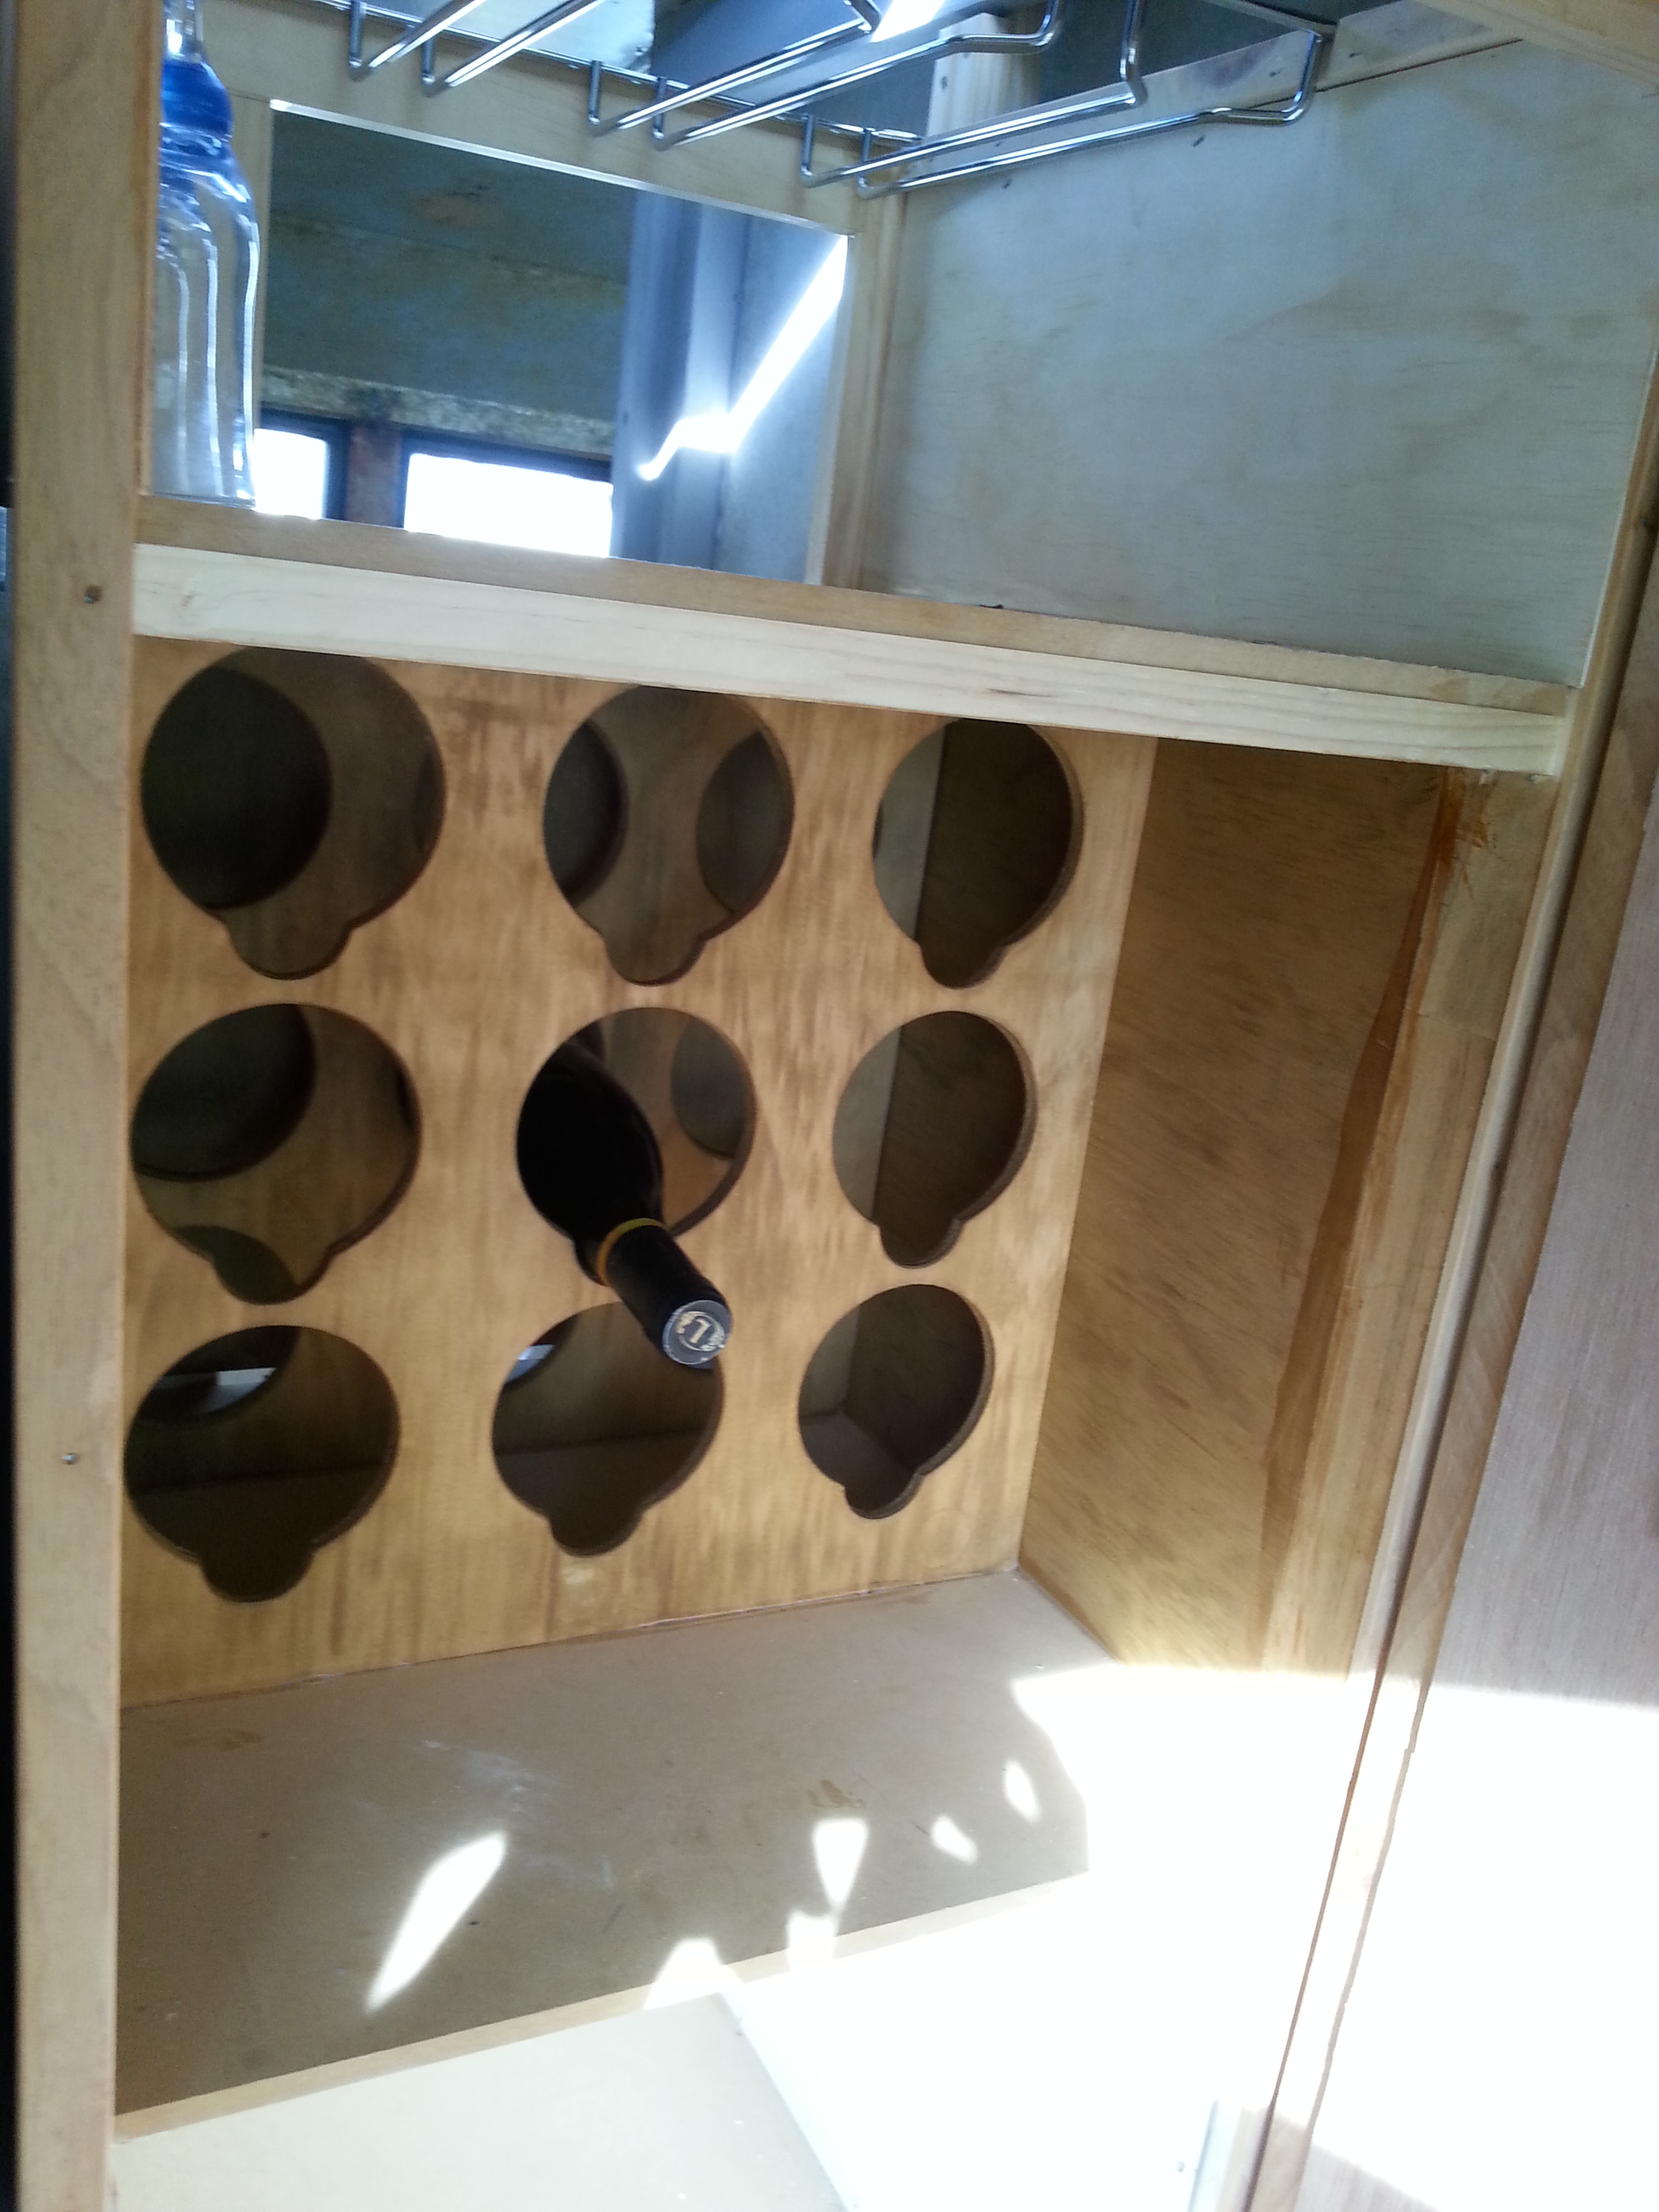
The end corner of the Cabinets will only be accessible from the Bath room area.

The under bench waste system is directly under the sink unit, the left most access will have a slide out storage rack.

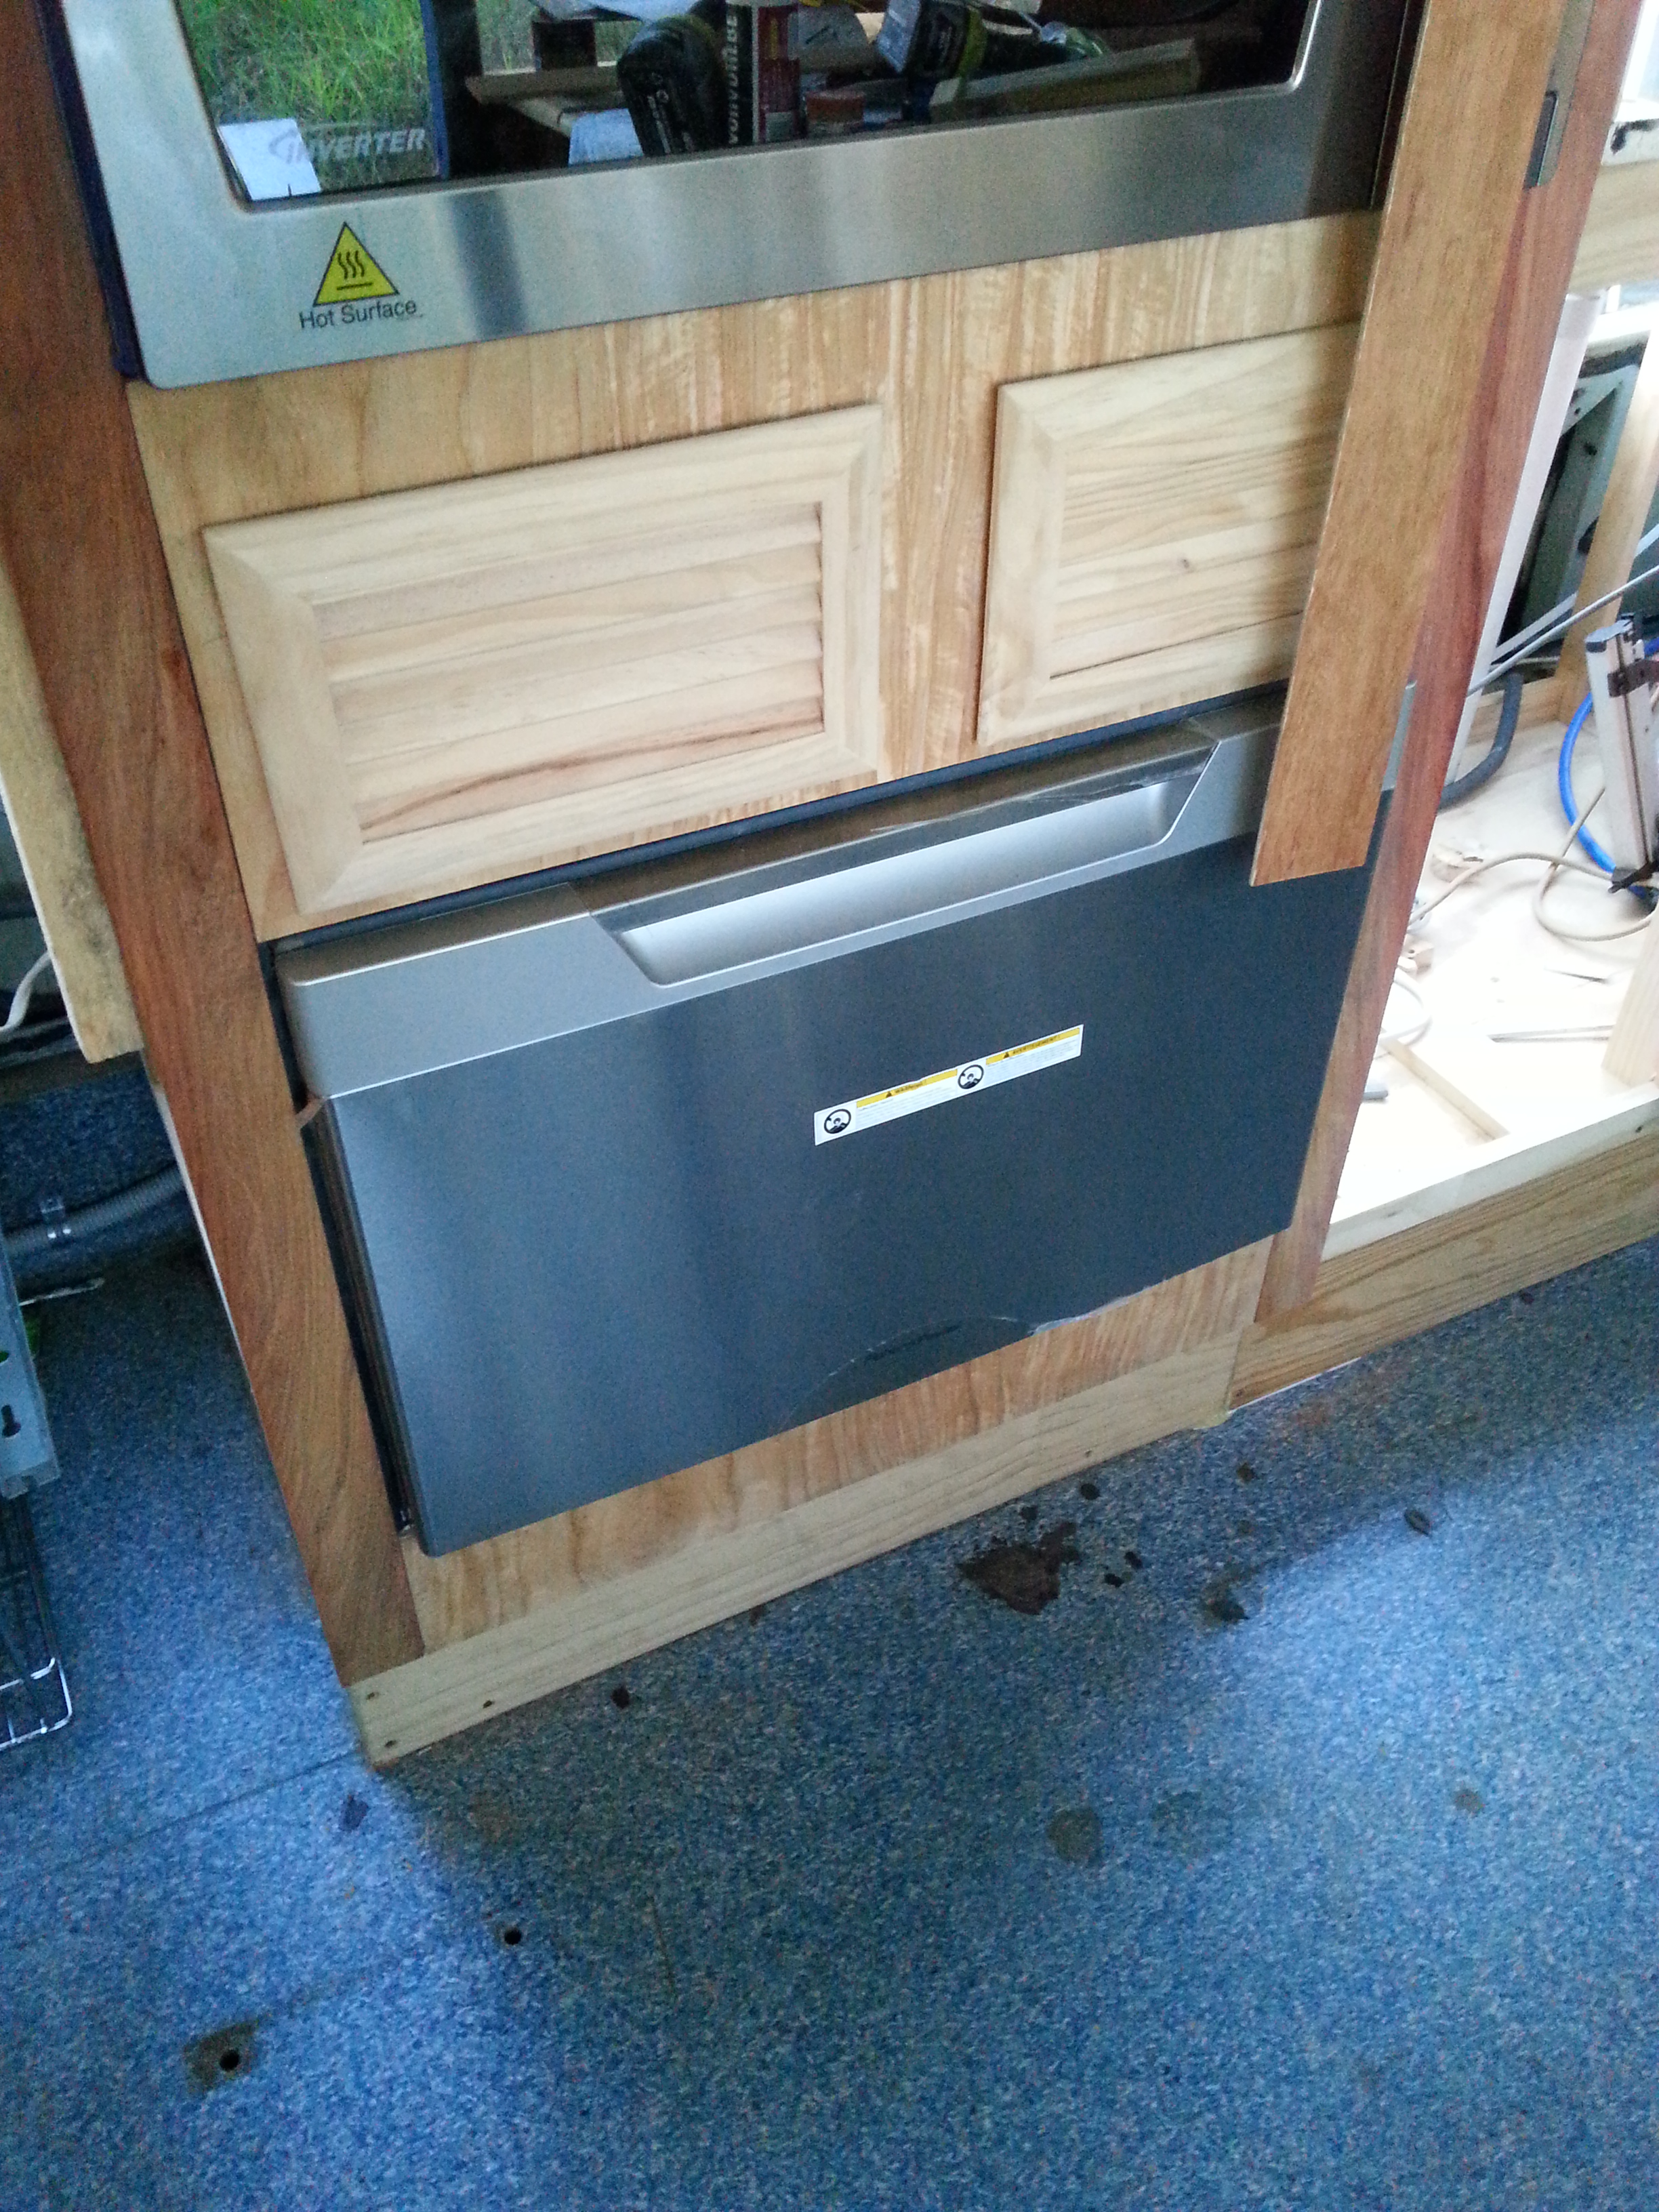
These doors are the item purchased on Ebay, they have saved us lot of money at $50.00 for the 14 doors.

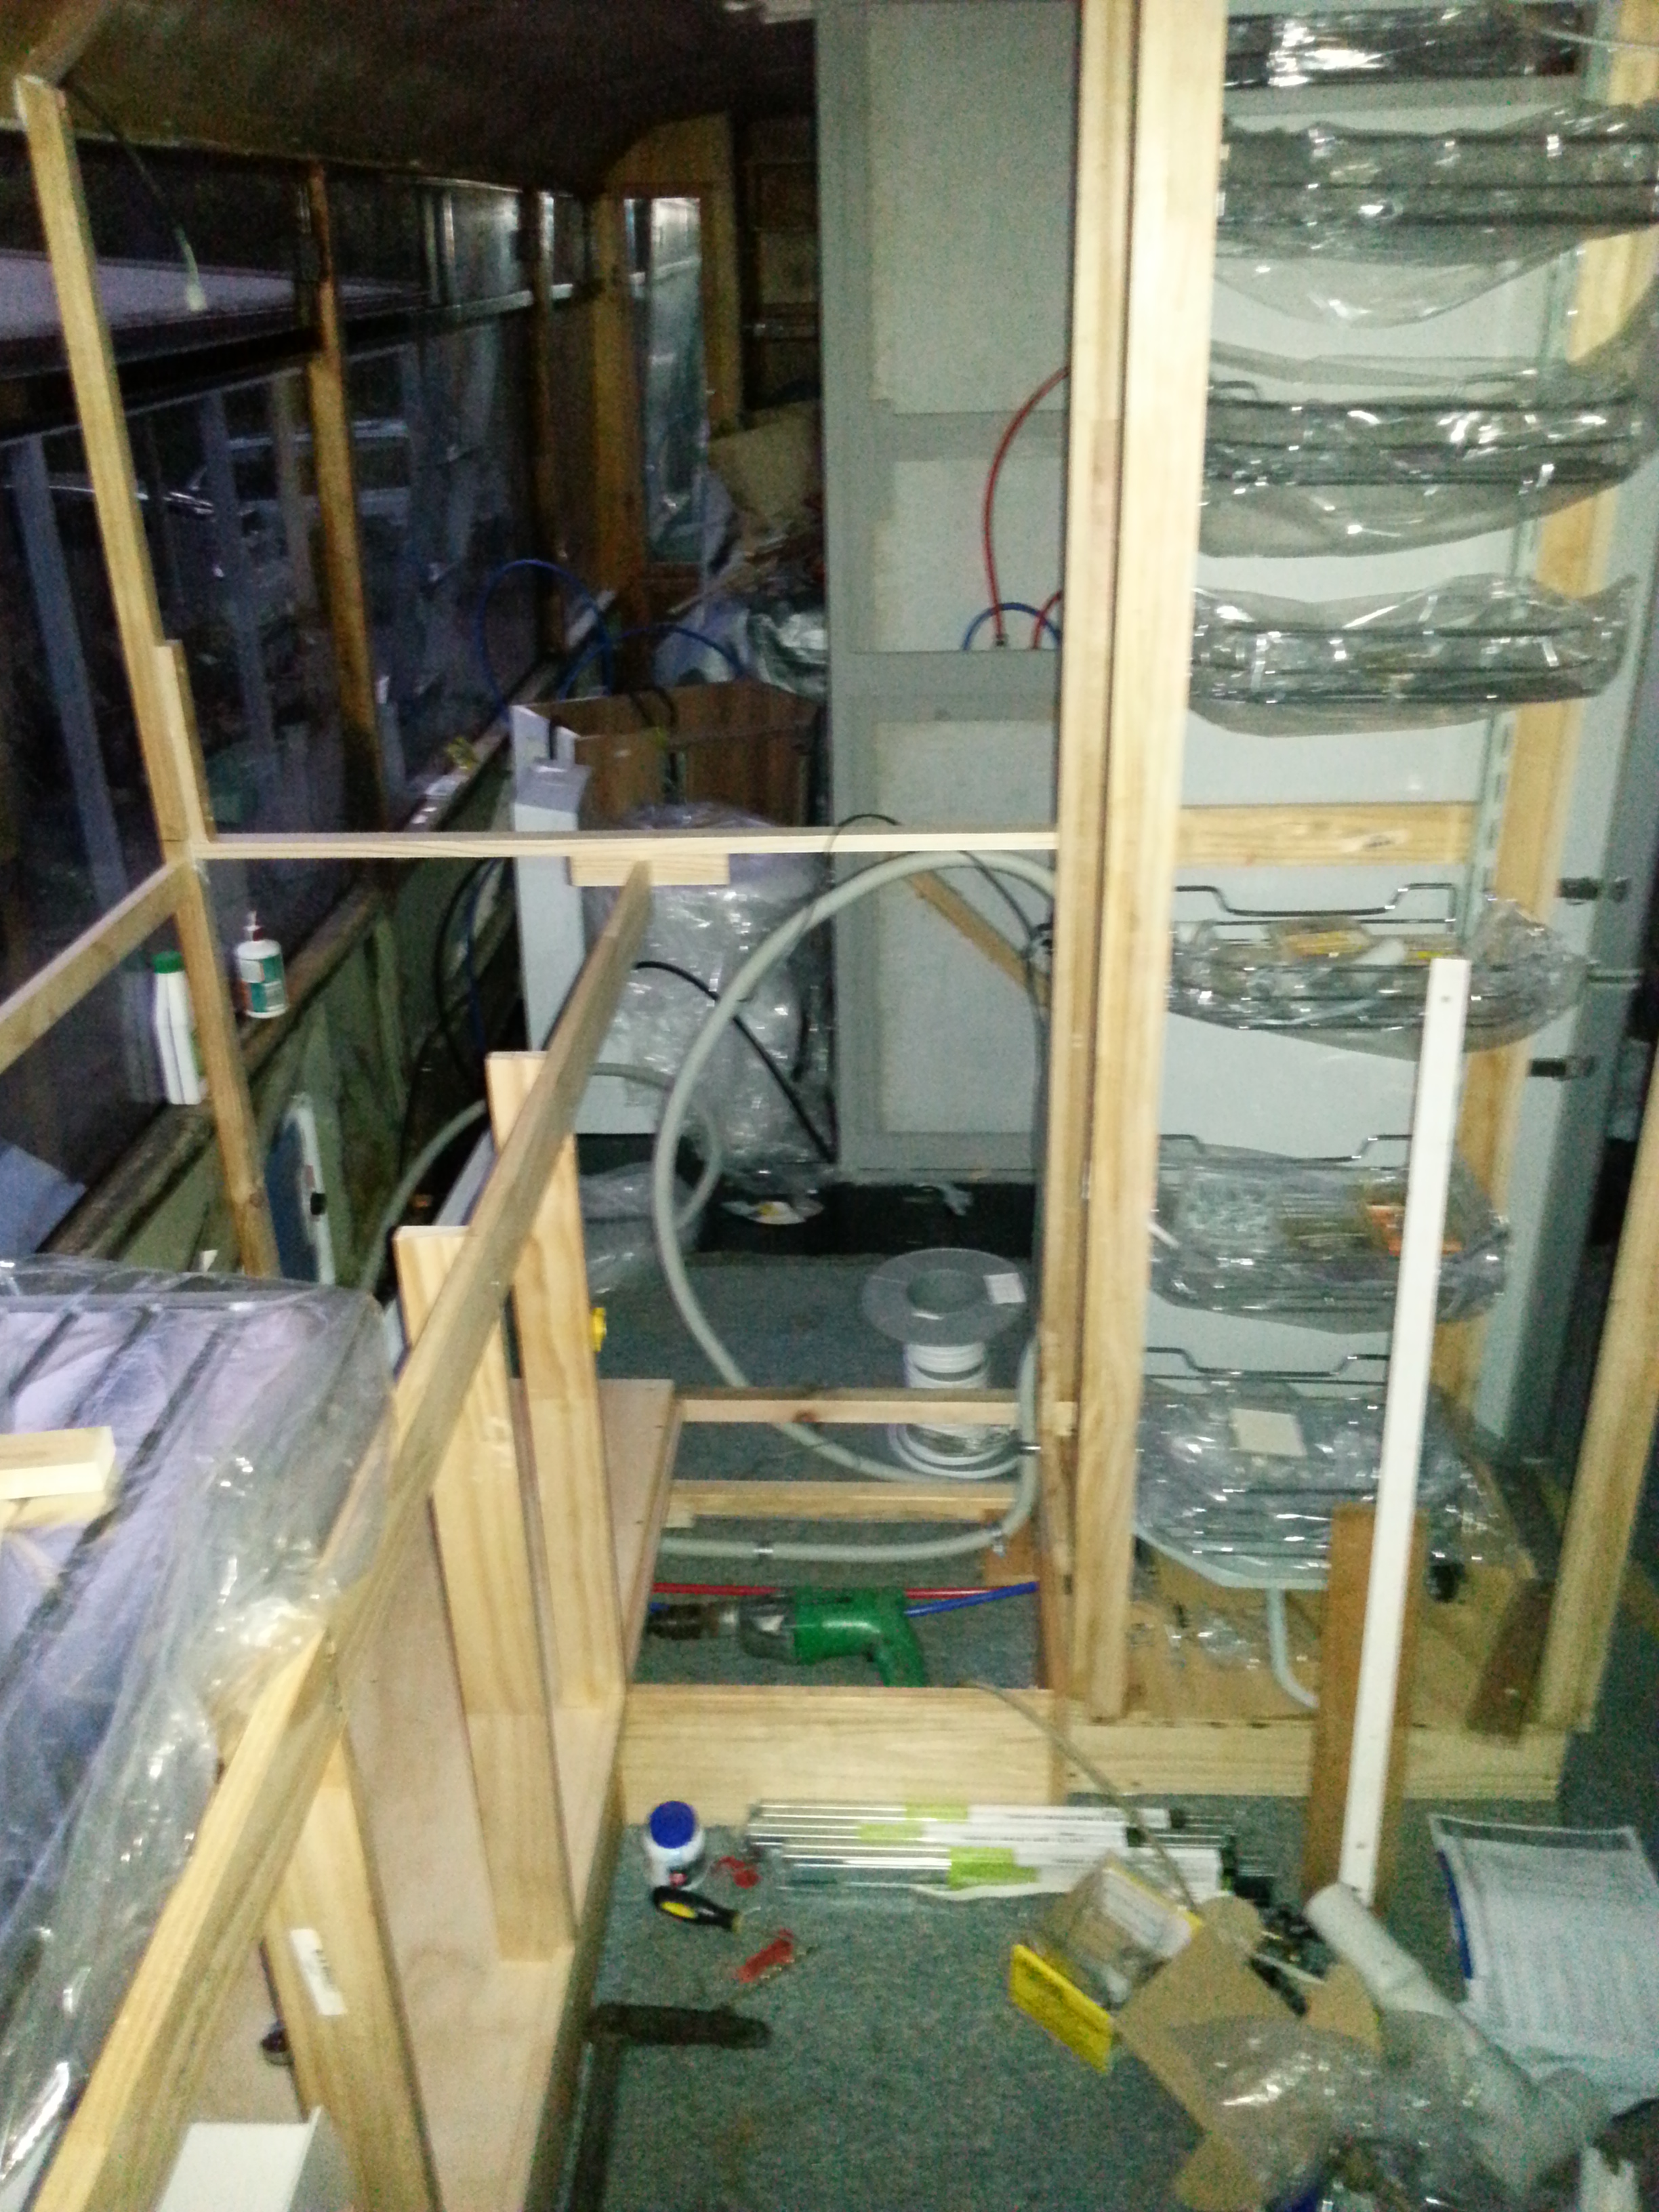
Frame work finished & all doors temporarily in place prior to fitting the Bench & refinishing the doors.