
The interior build has been started with the Bedroom in the rear of the Bus as this allows the dimensions of each area to be updated as I work my way forward & decide how much room I wish to allocate to the individual uses.
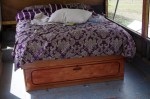
I have started & almost completed the Queen size Bed, it has a full width Draw 500mm long & 350mm deep under the foot end, there is another storage area 1500mm wide x 950mm long x 450mm depth which can be accessed through a lift up hatch under the mattress.


The Bed has now been completed & is now ready to be used, however there has been a lot of frustration & lessons learned on which Stains & varnishes to use or avoid!

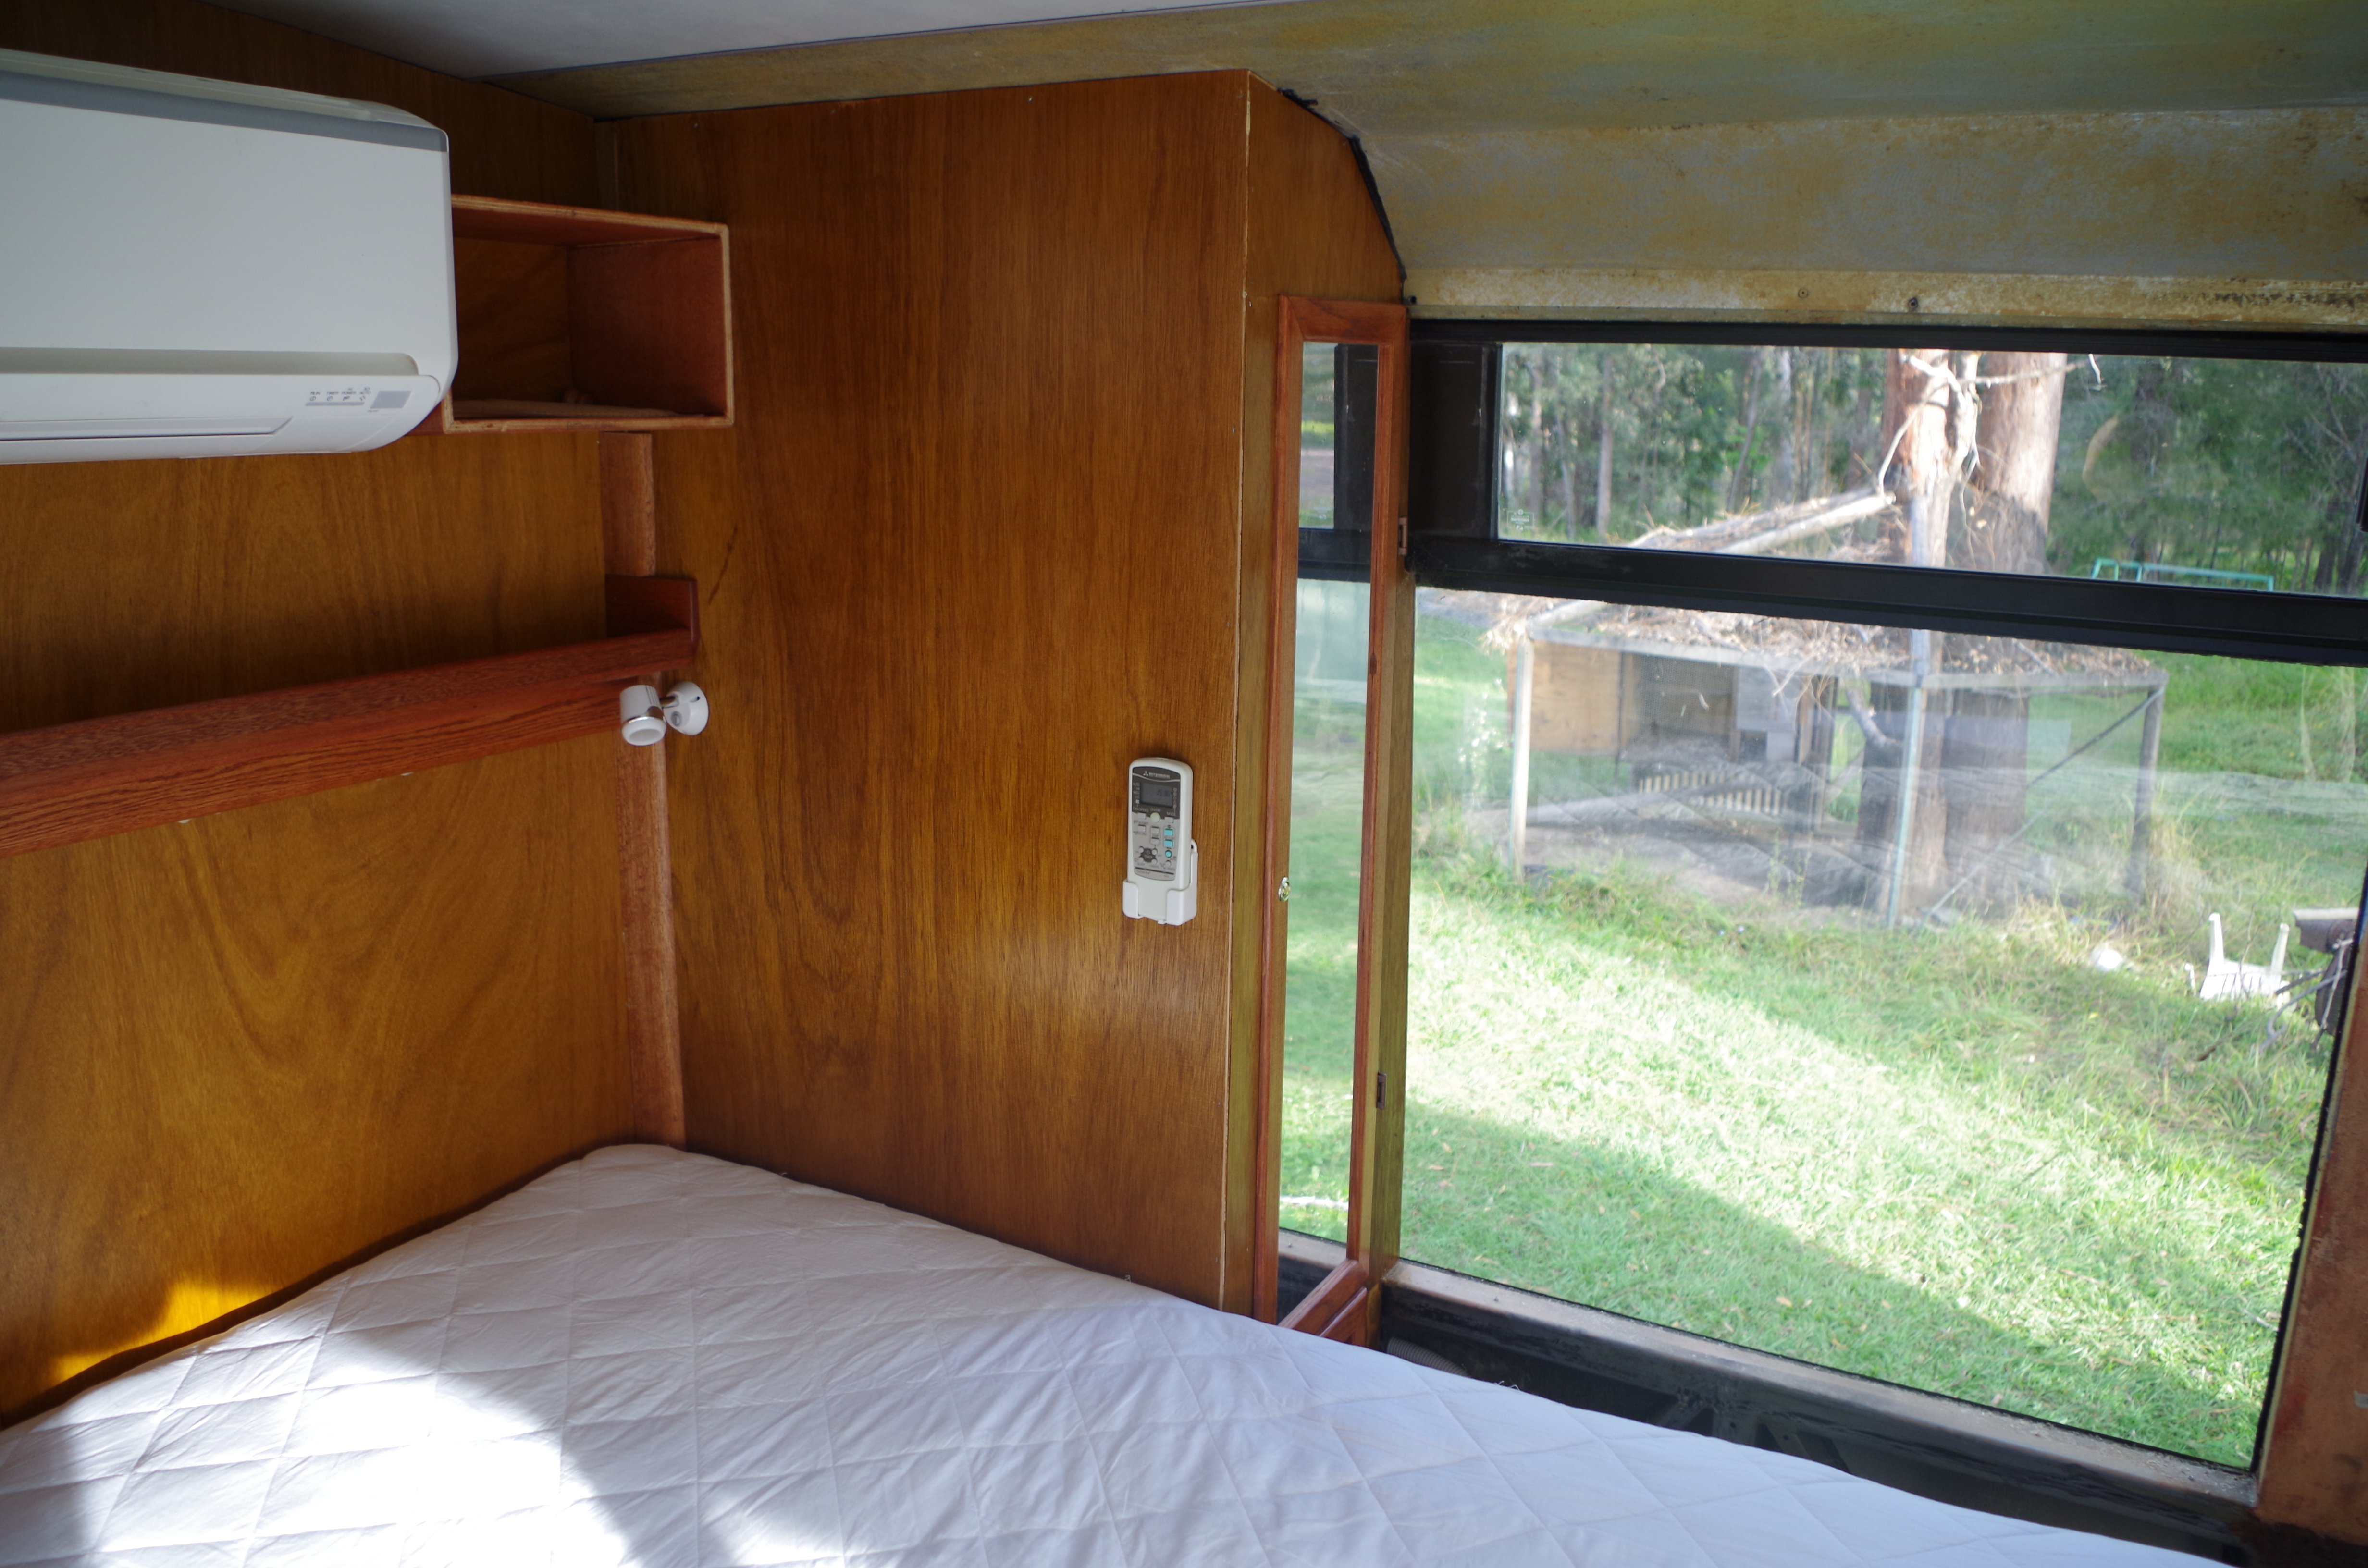
I will be building hanging closets with a single draw in the bottom on each side of the head of the bed these will be 400mm wide x 750mm deep x 1100mm in height from the top of the draws. The Copper tubing for the Air Conditioning unit which is mounted above the head of the bed will be installed prior to the Driver side Closet being fitted.
Once the Air Conditioning unit has been installed, the Power & Lighting circuits for the bedroom are completed the Feature Panel at the head of the bed can be fitted & the build can move onto the Shower area.
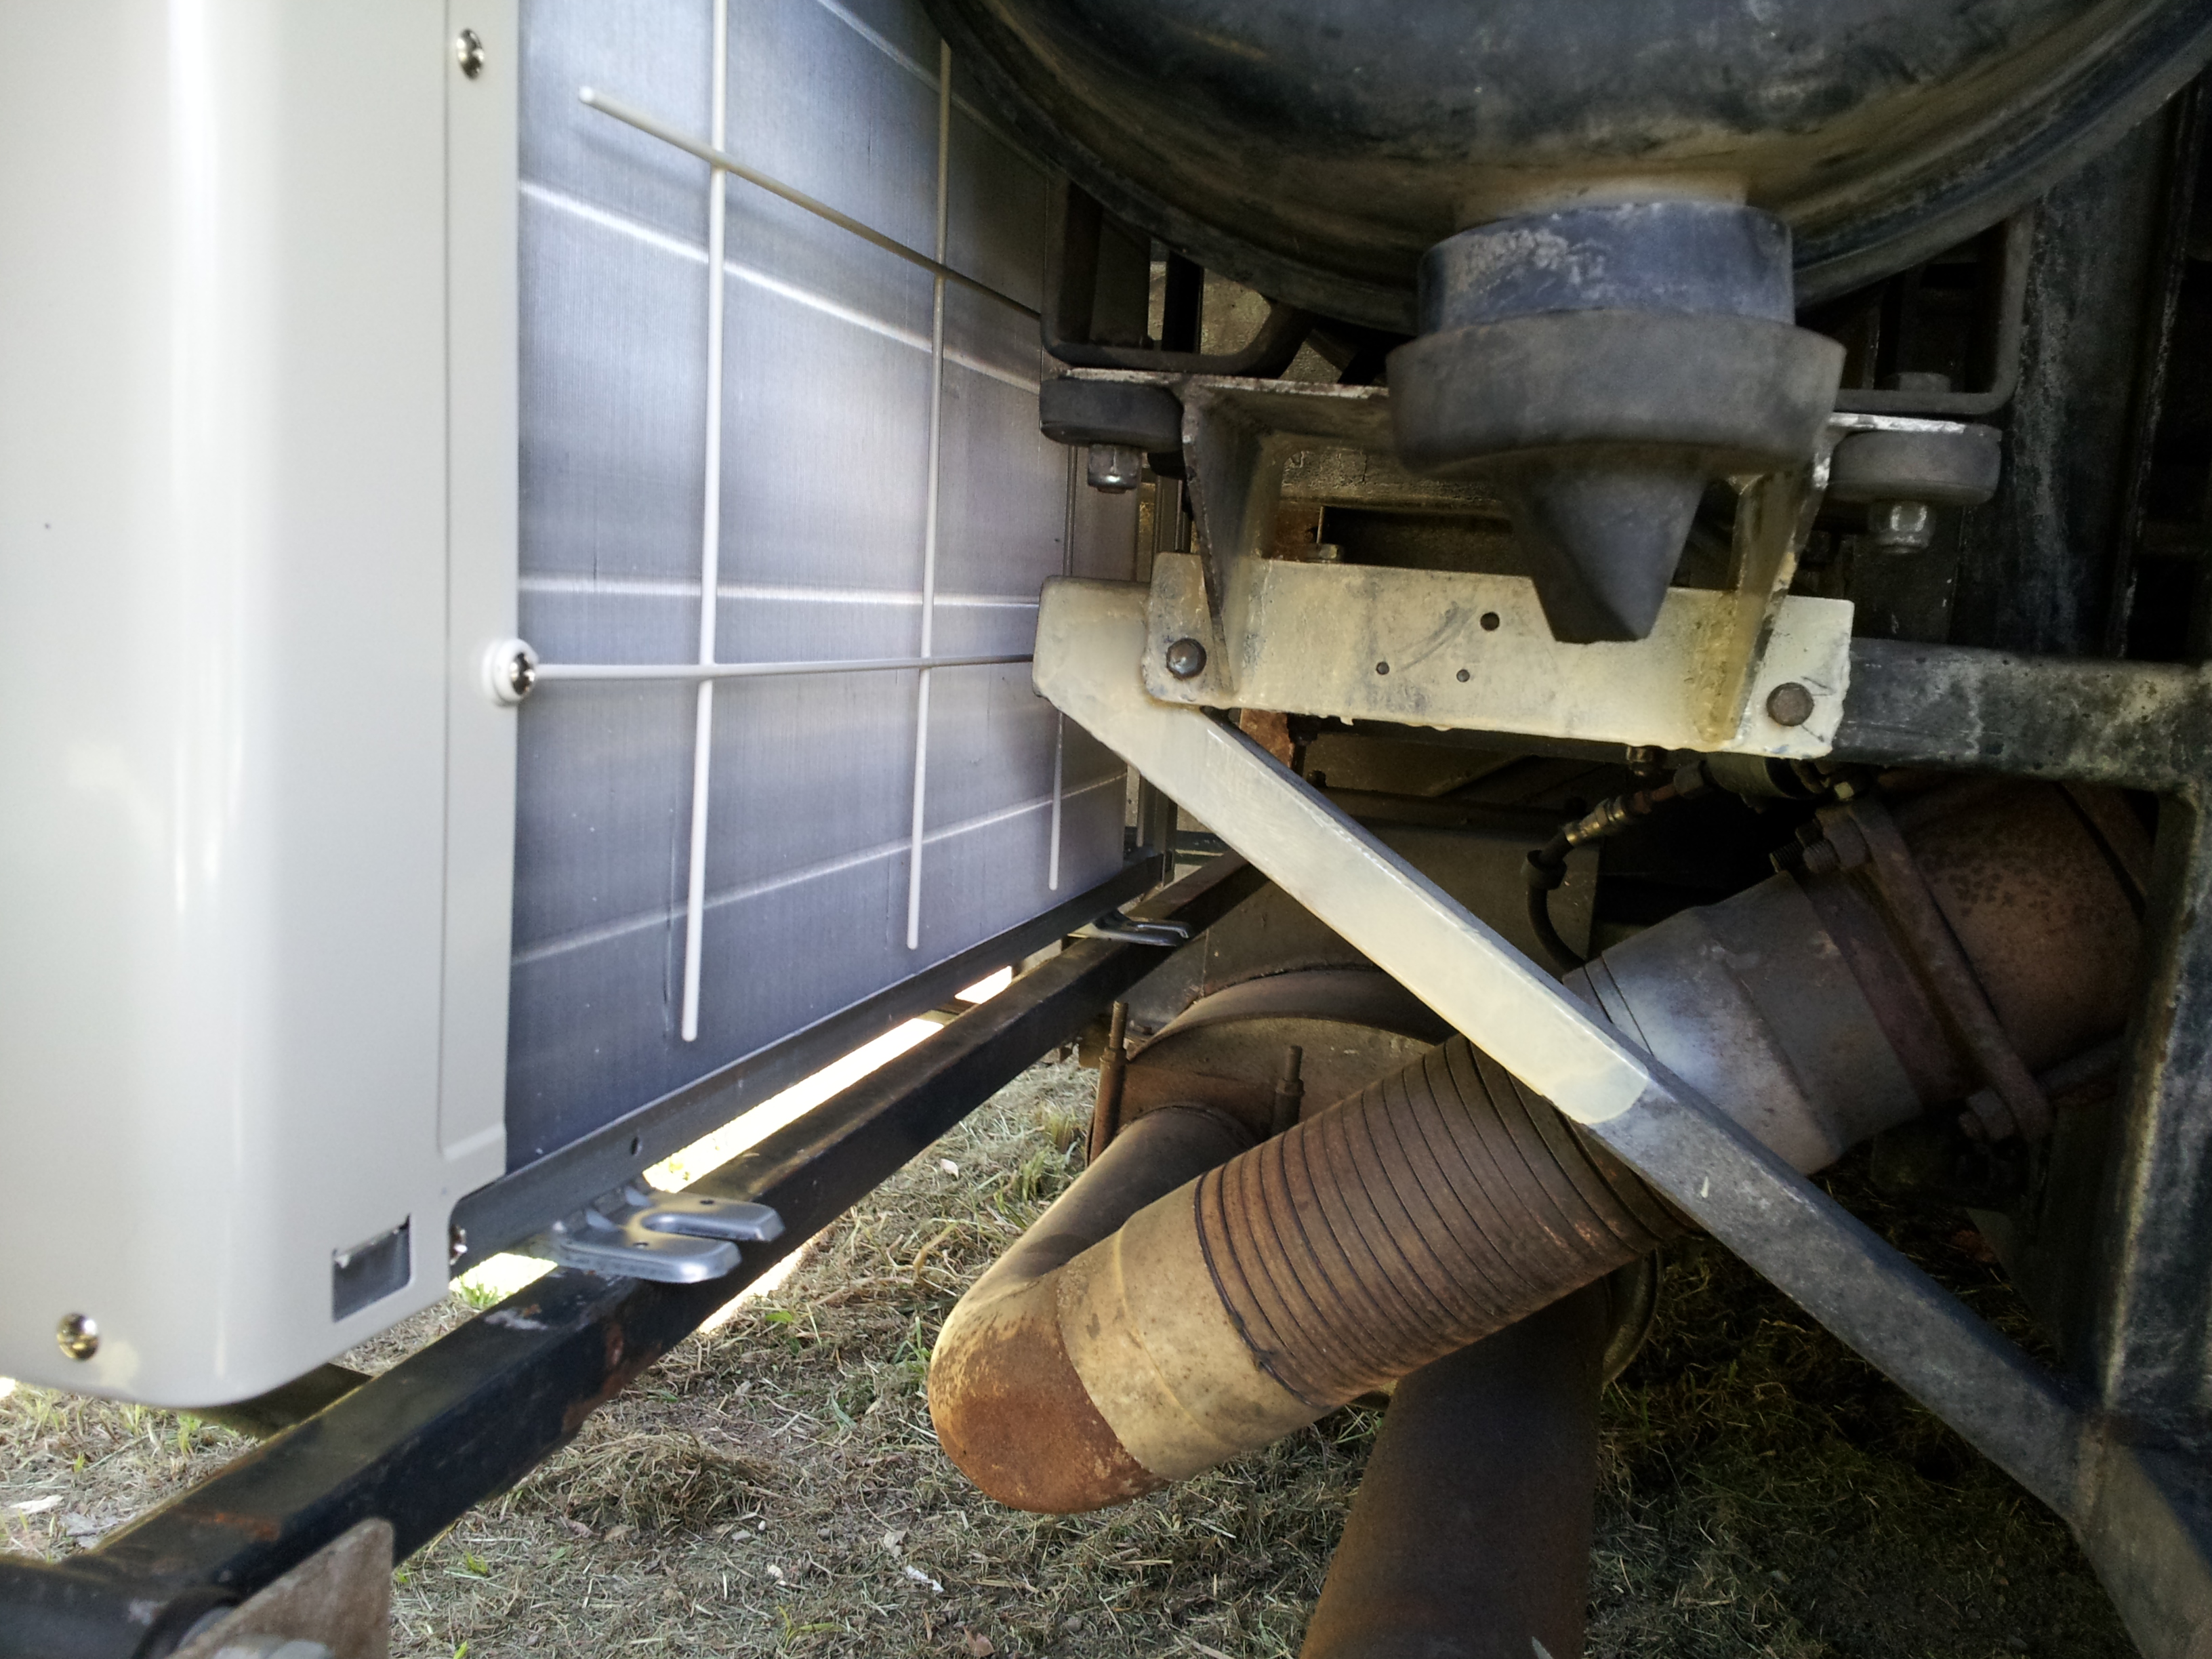
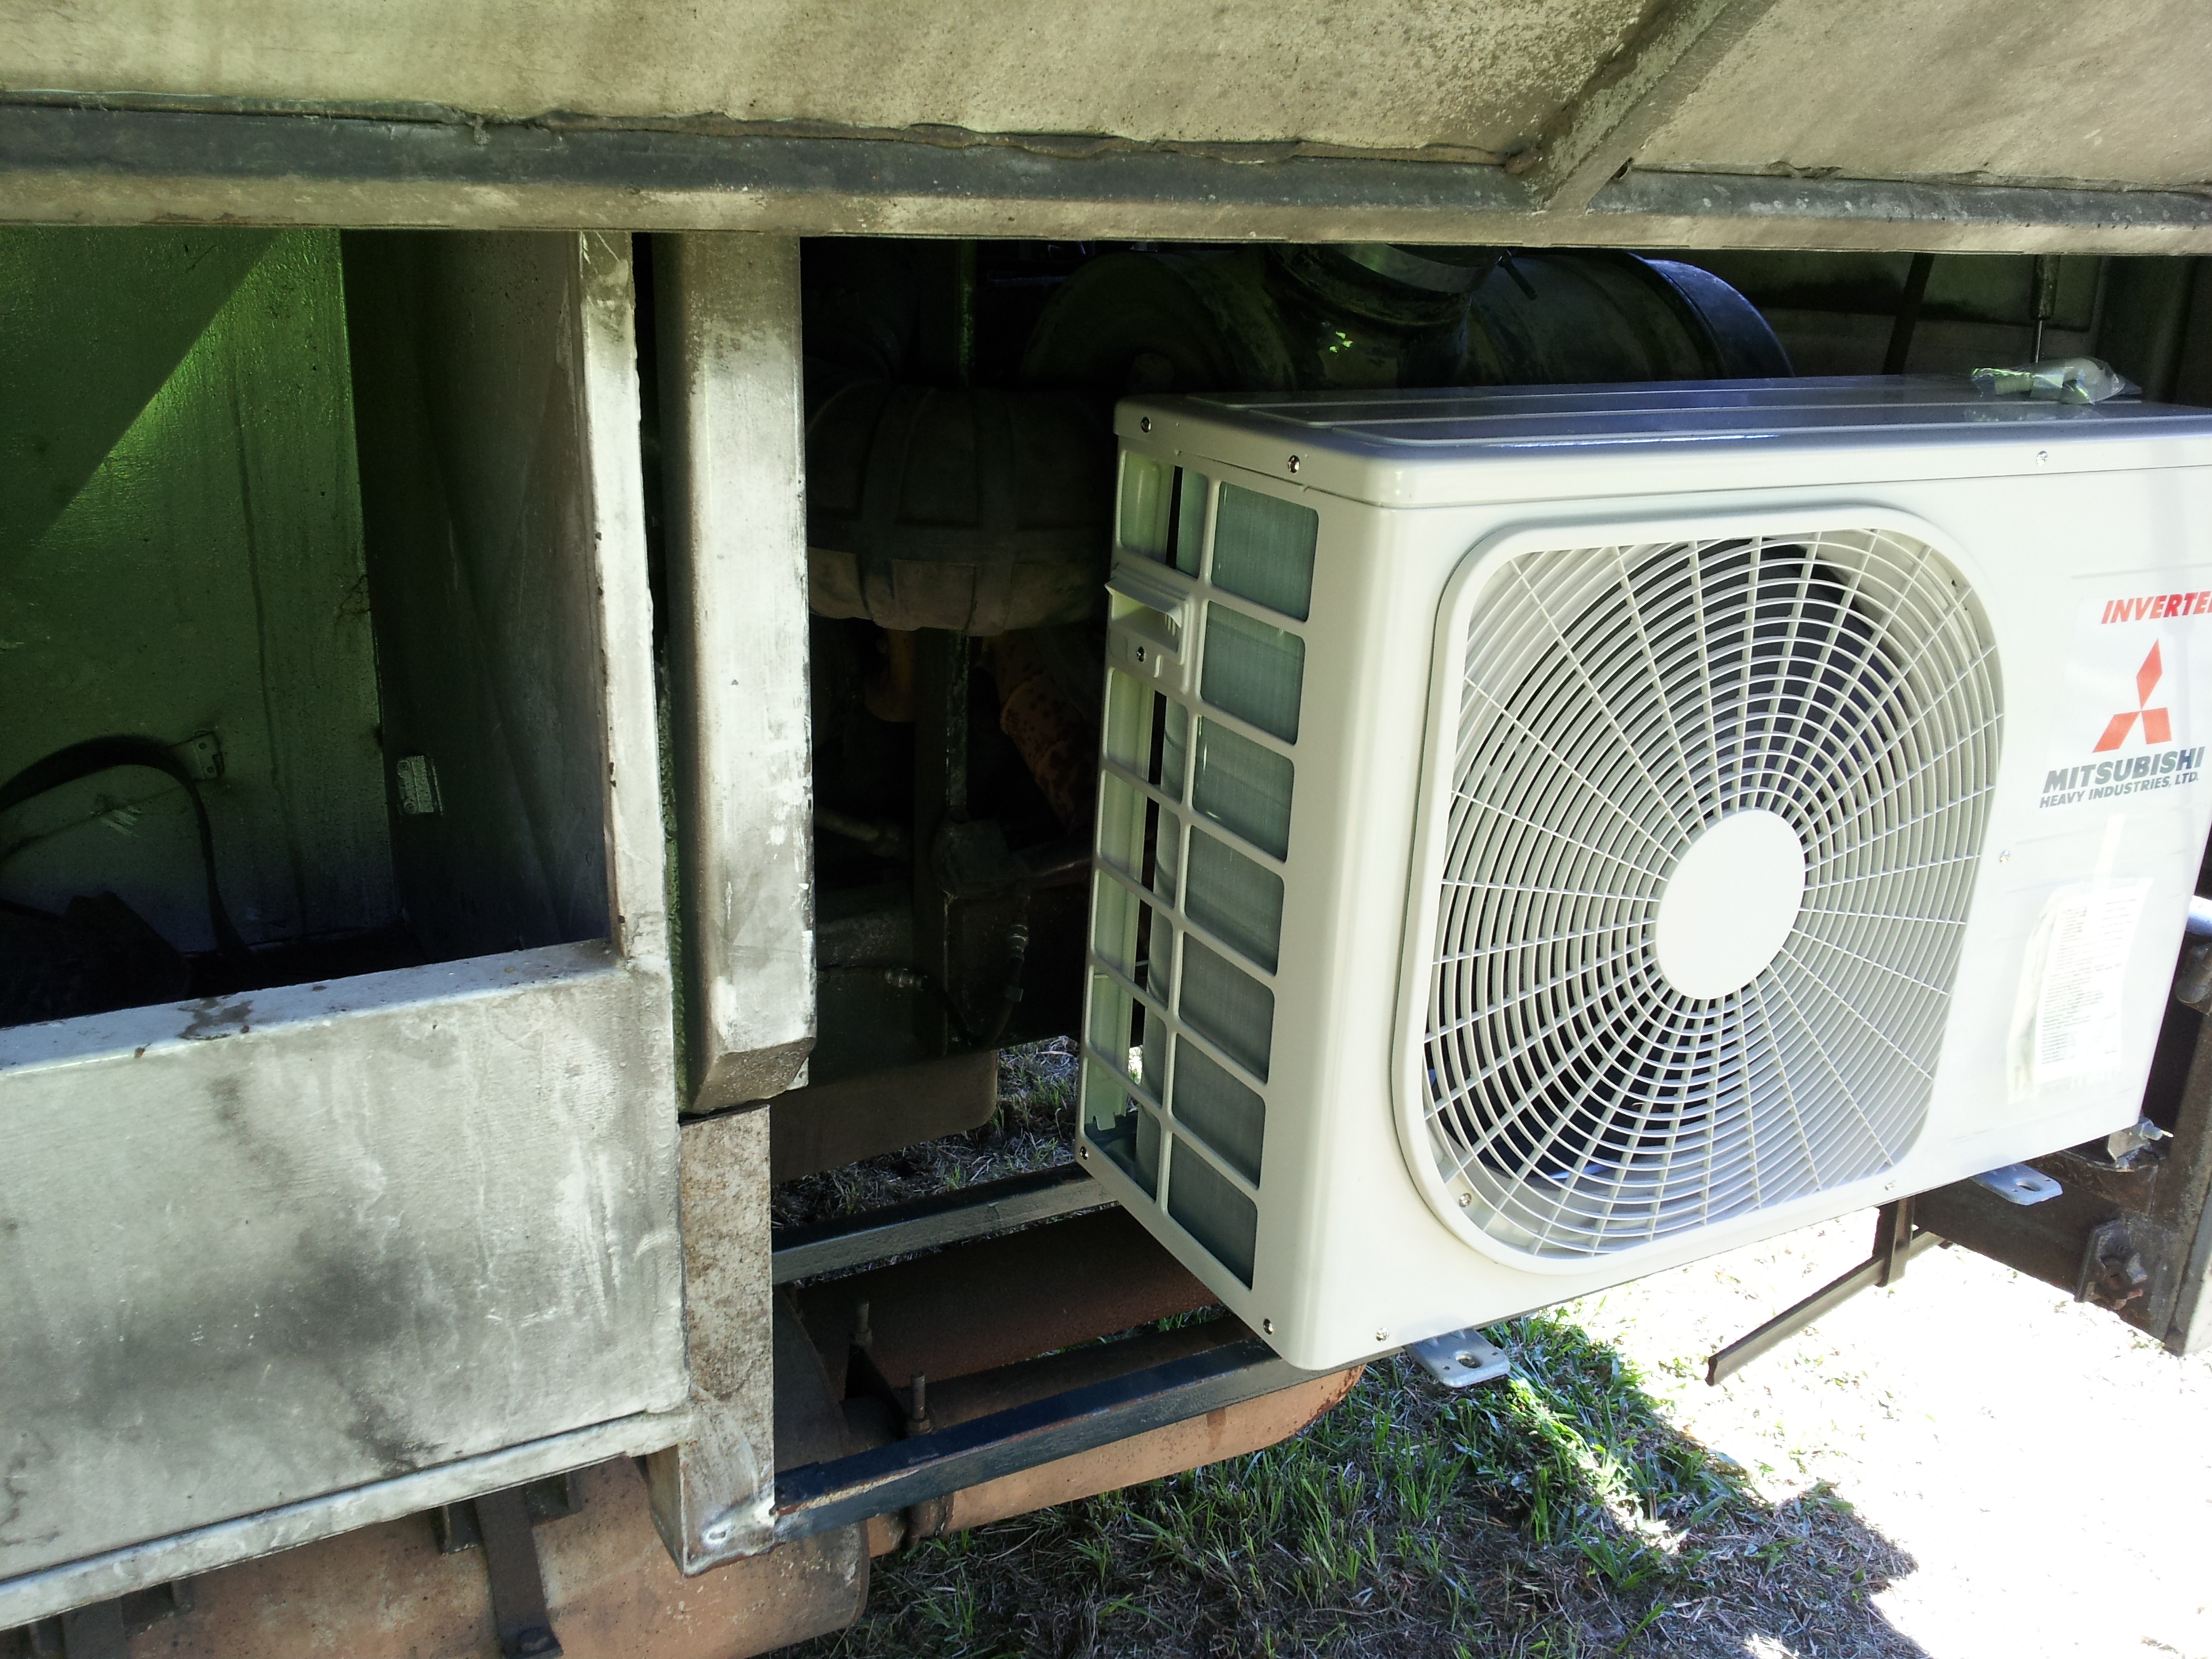
The Air conditioning installation has begun, the external unit has been fitted into the Engine bay behind the Left Hand access door. This necessitated moving the Air Cleaner closer to the Engine & lifting it approximately 50mm, once this was completed a mounting bracket which runs from the rear of the internal tool box to the cross member running across the rear left hand corner of the body.
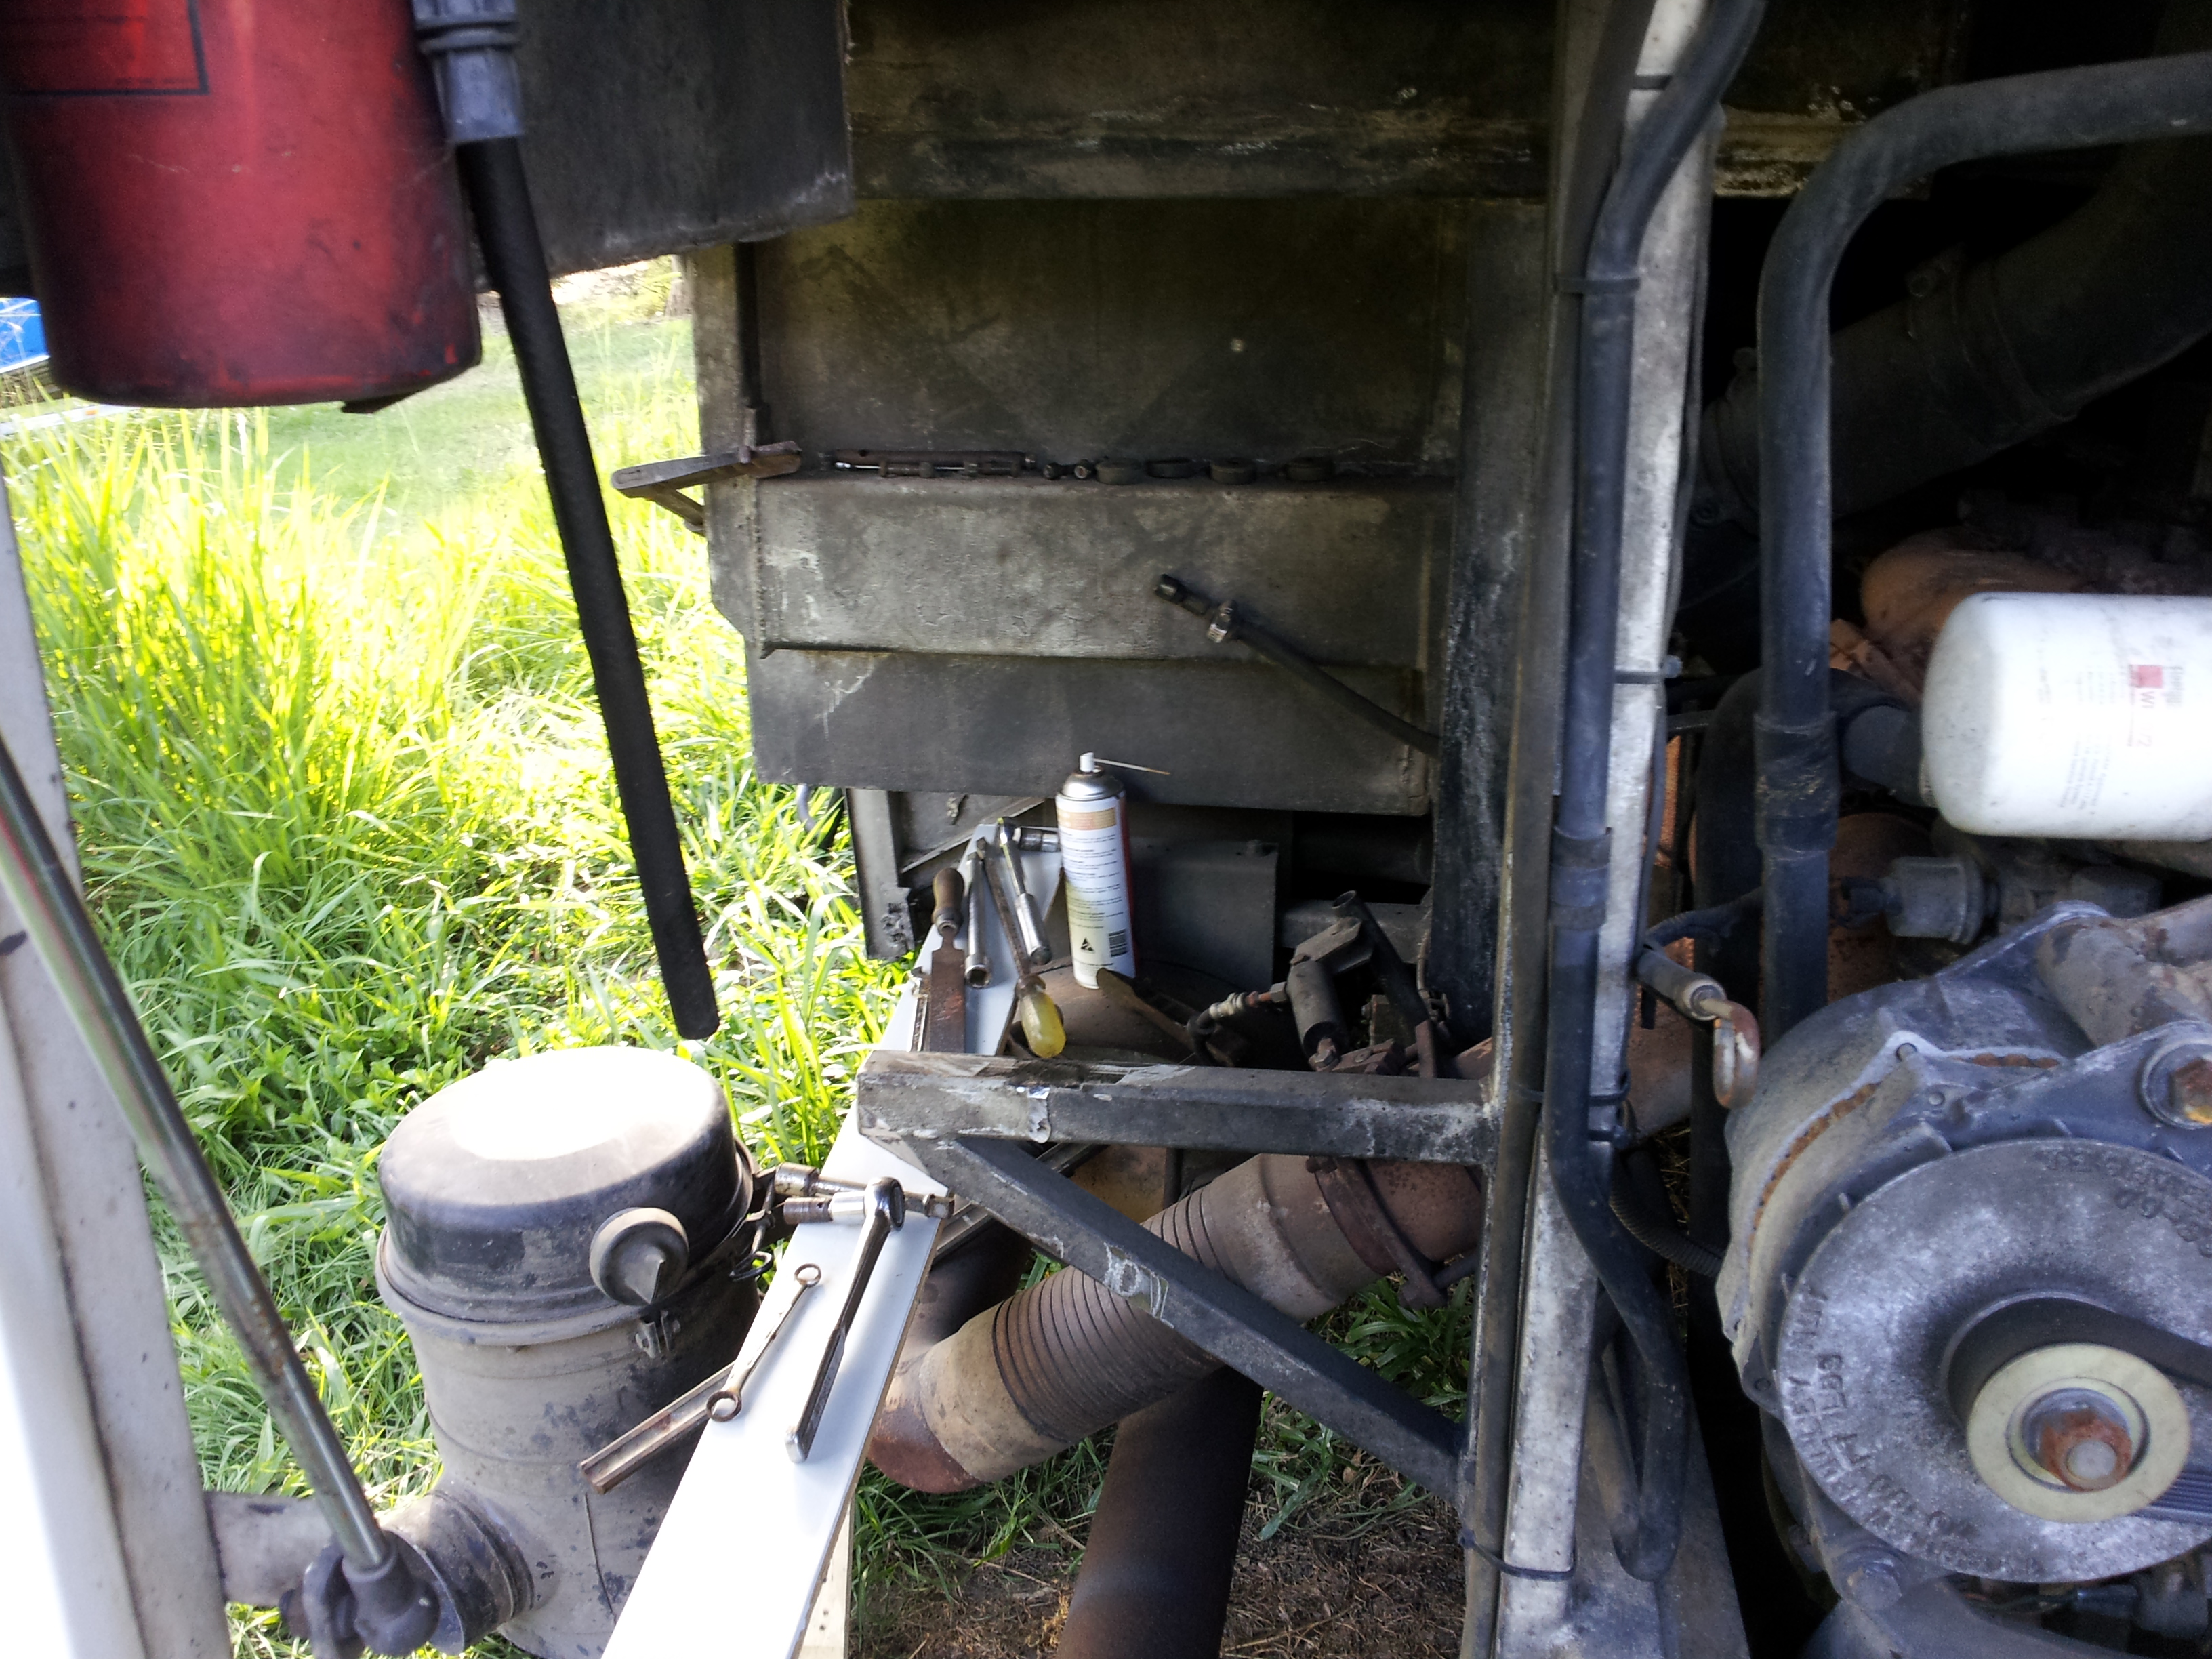
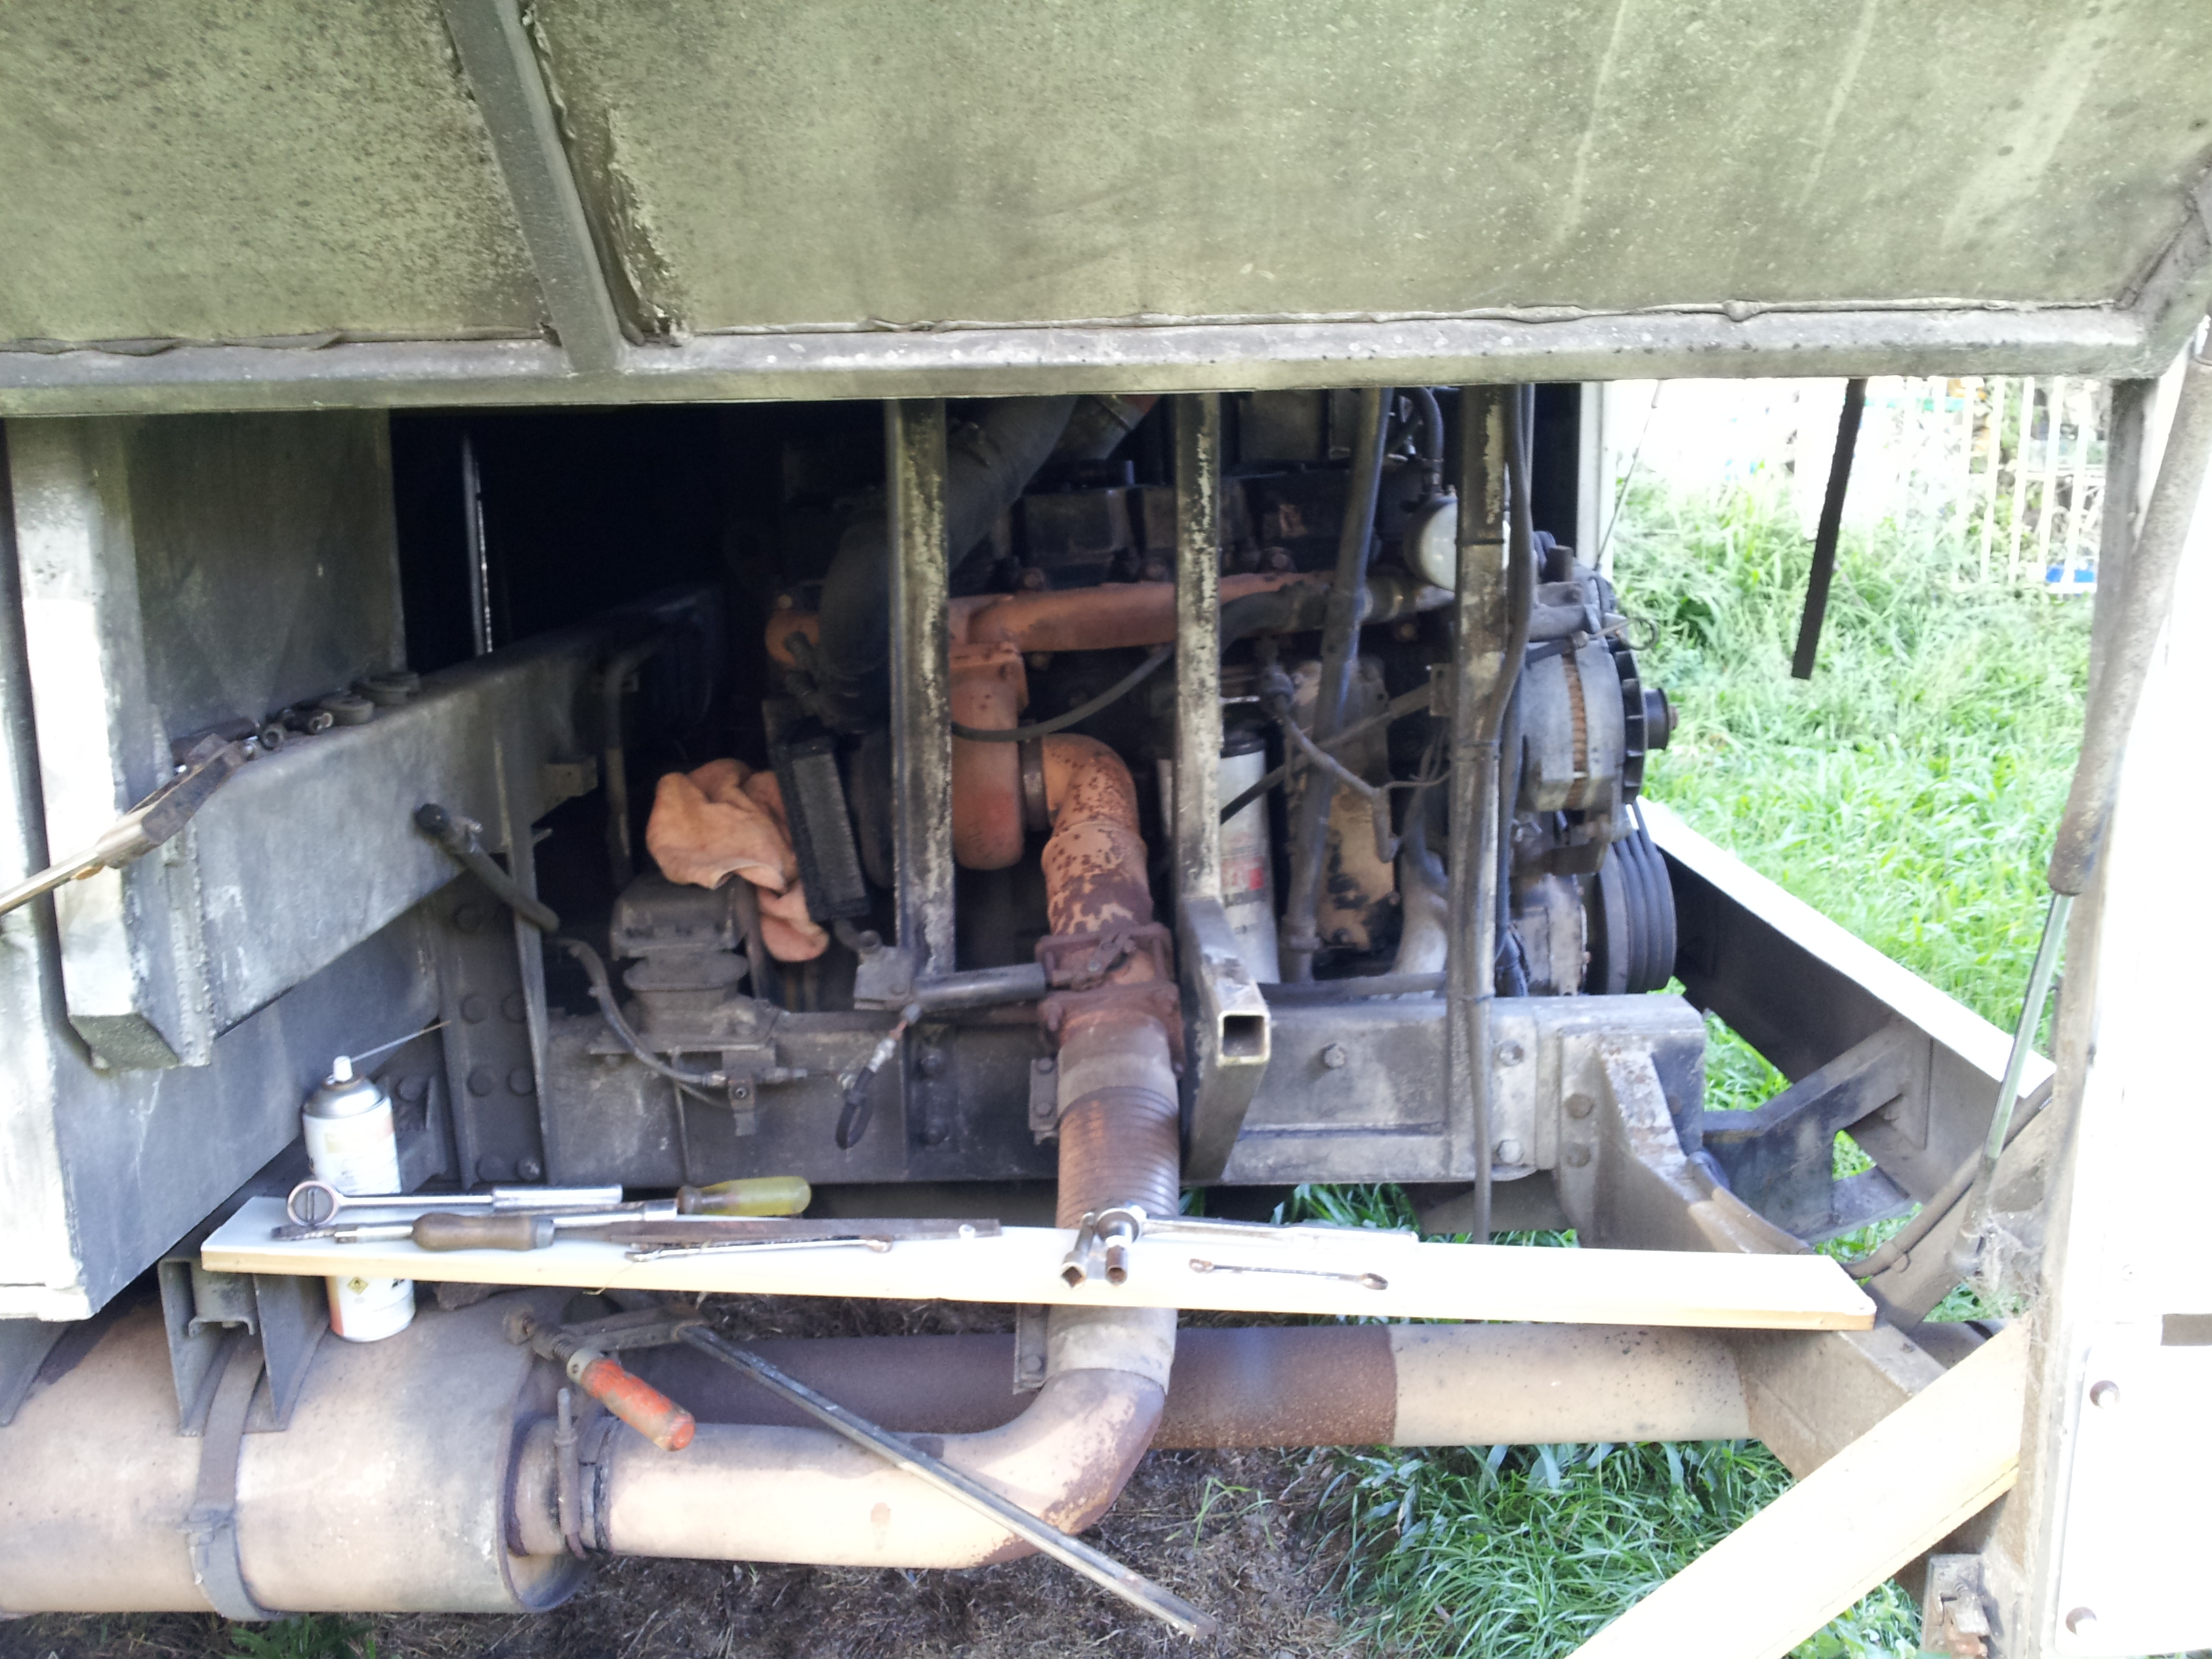
This bracket has been solid mounted to the tool box & rubber mounted to the cross member to allow for any flexing.
Now that the mount has been completed & the external compressor unit fitted this only leaves the Heat shielding from the Exhaust under the unit to be completed prior to connecting the interior & external units with power & gas tubes.

Bedroom Air installation


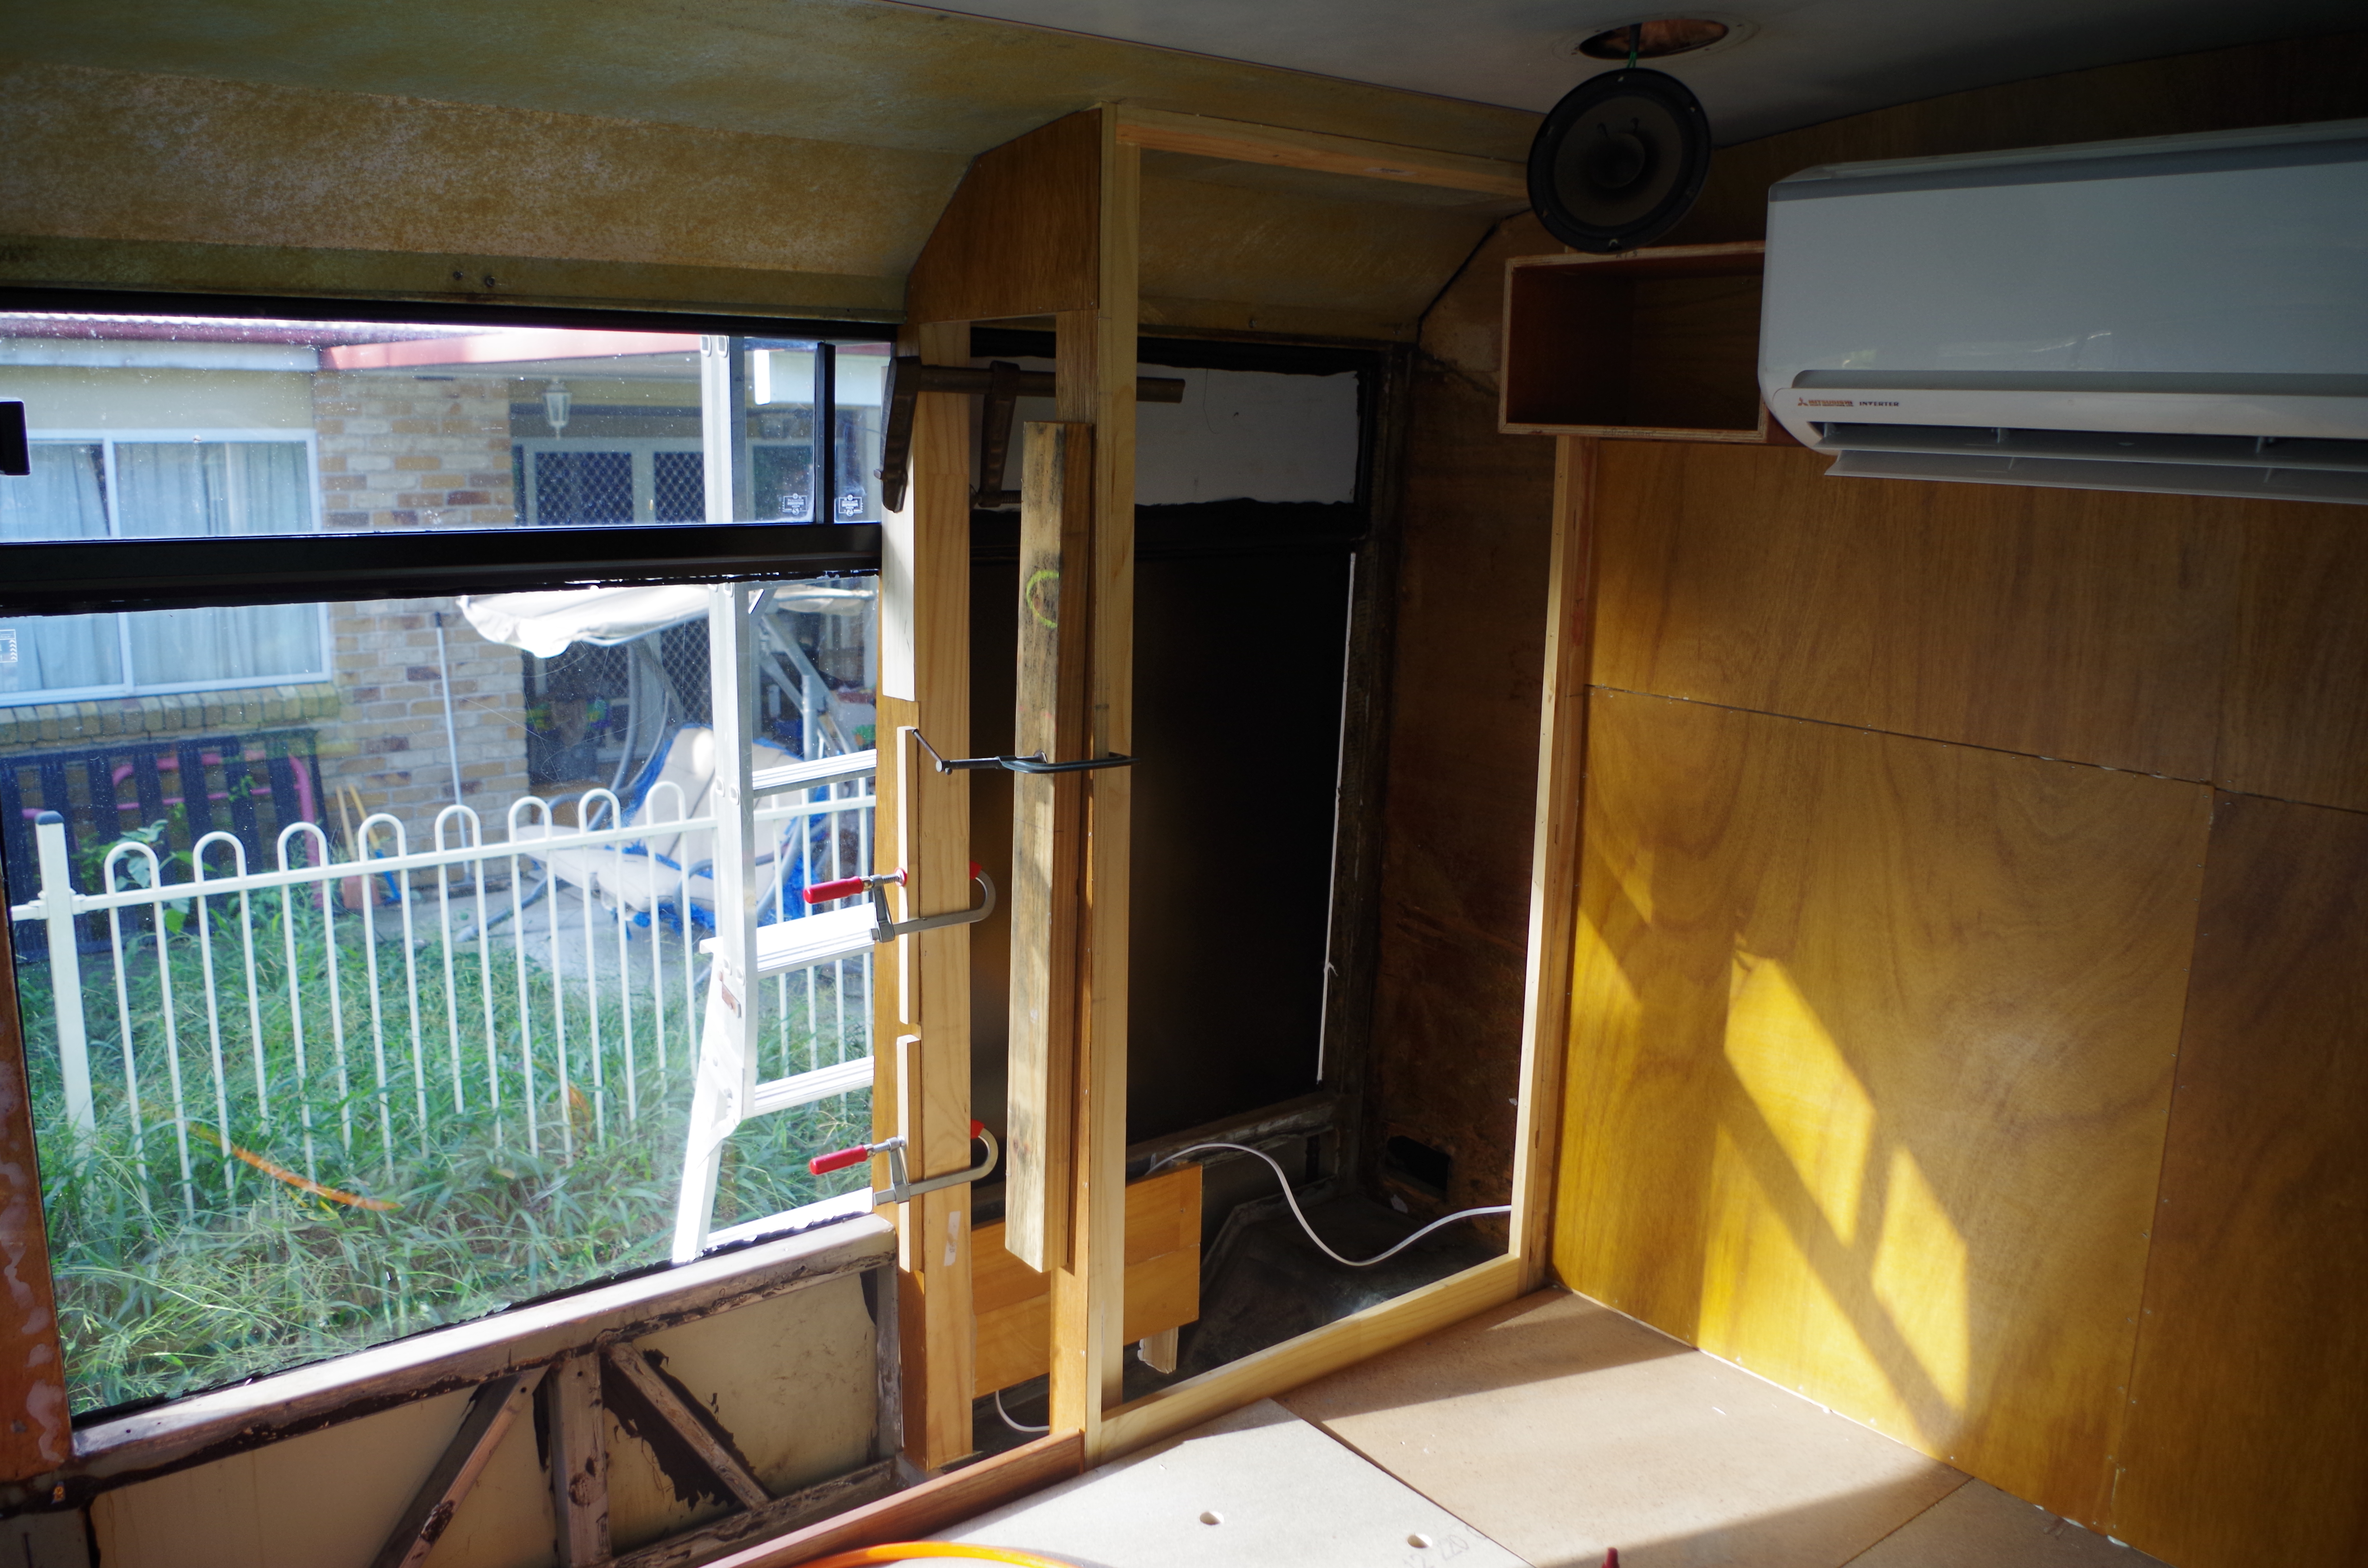
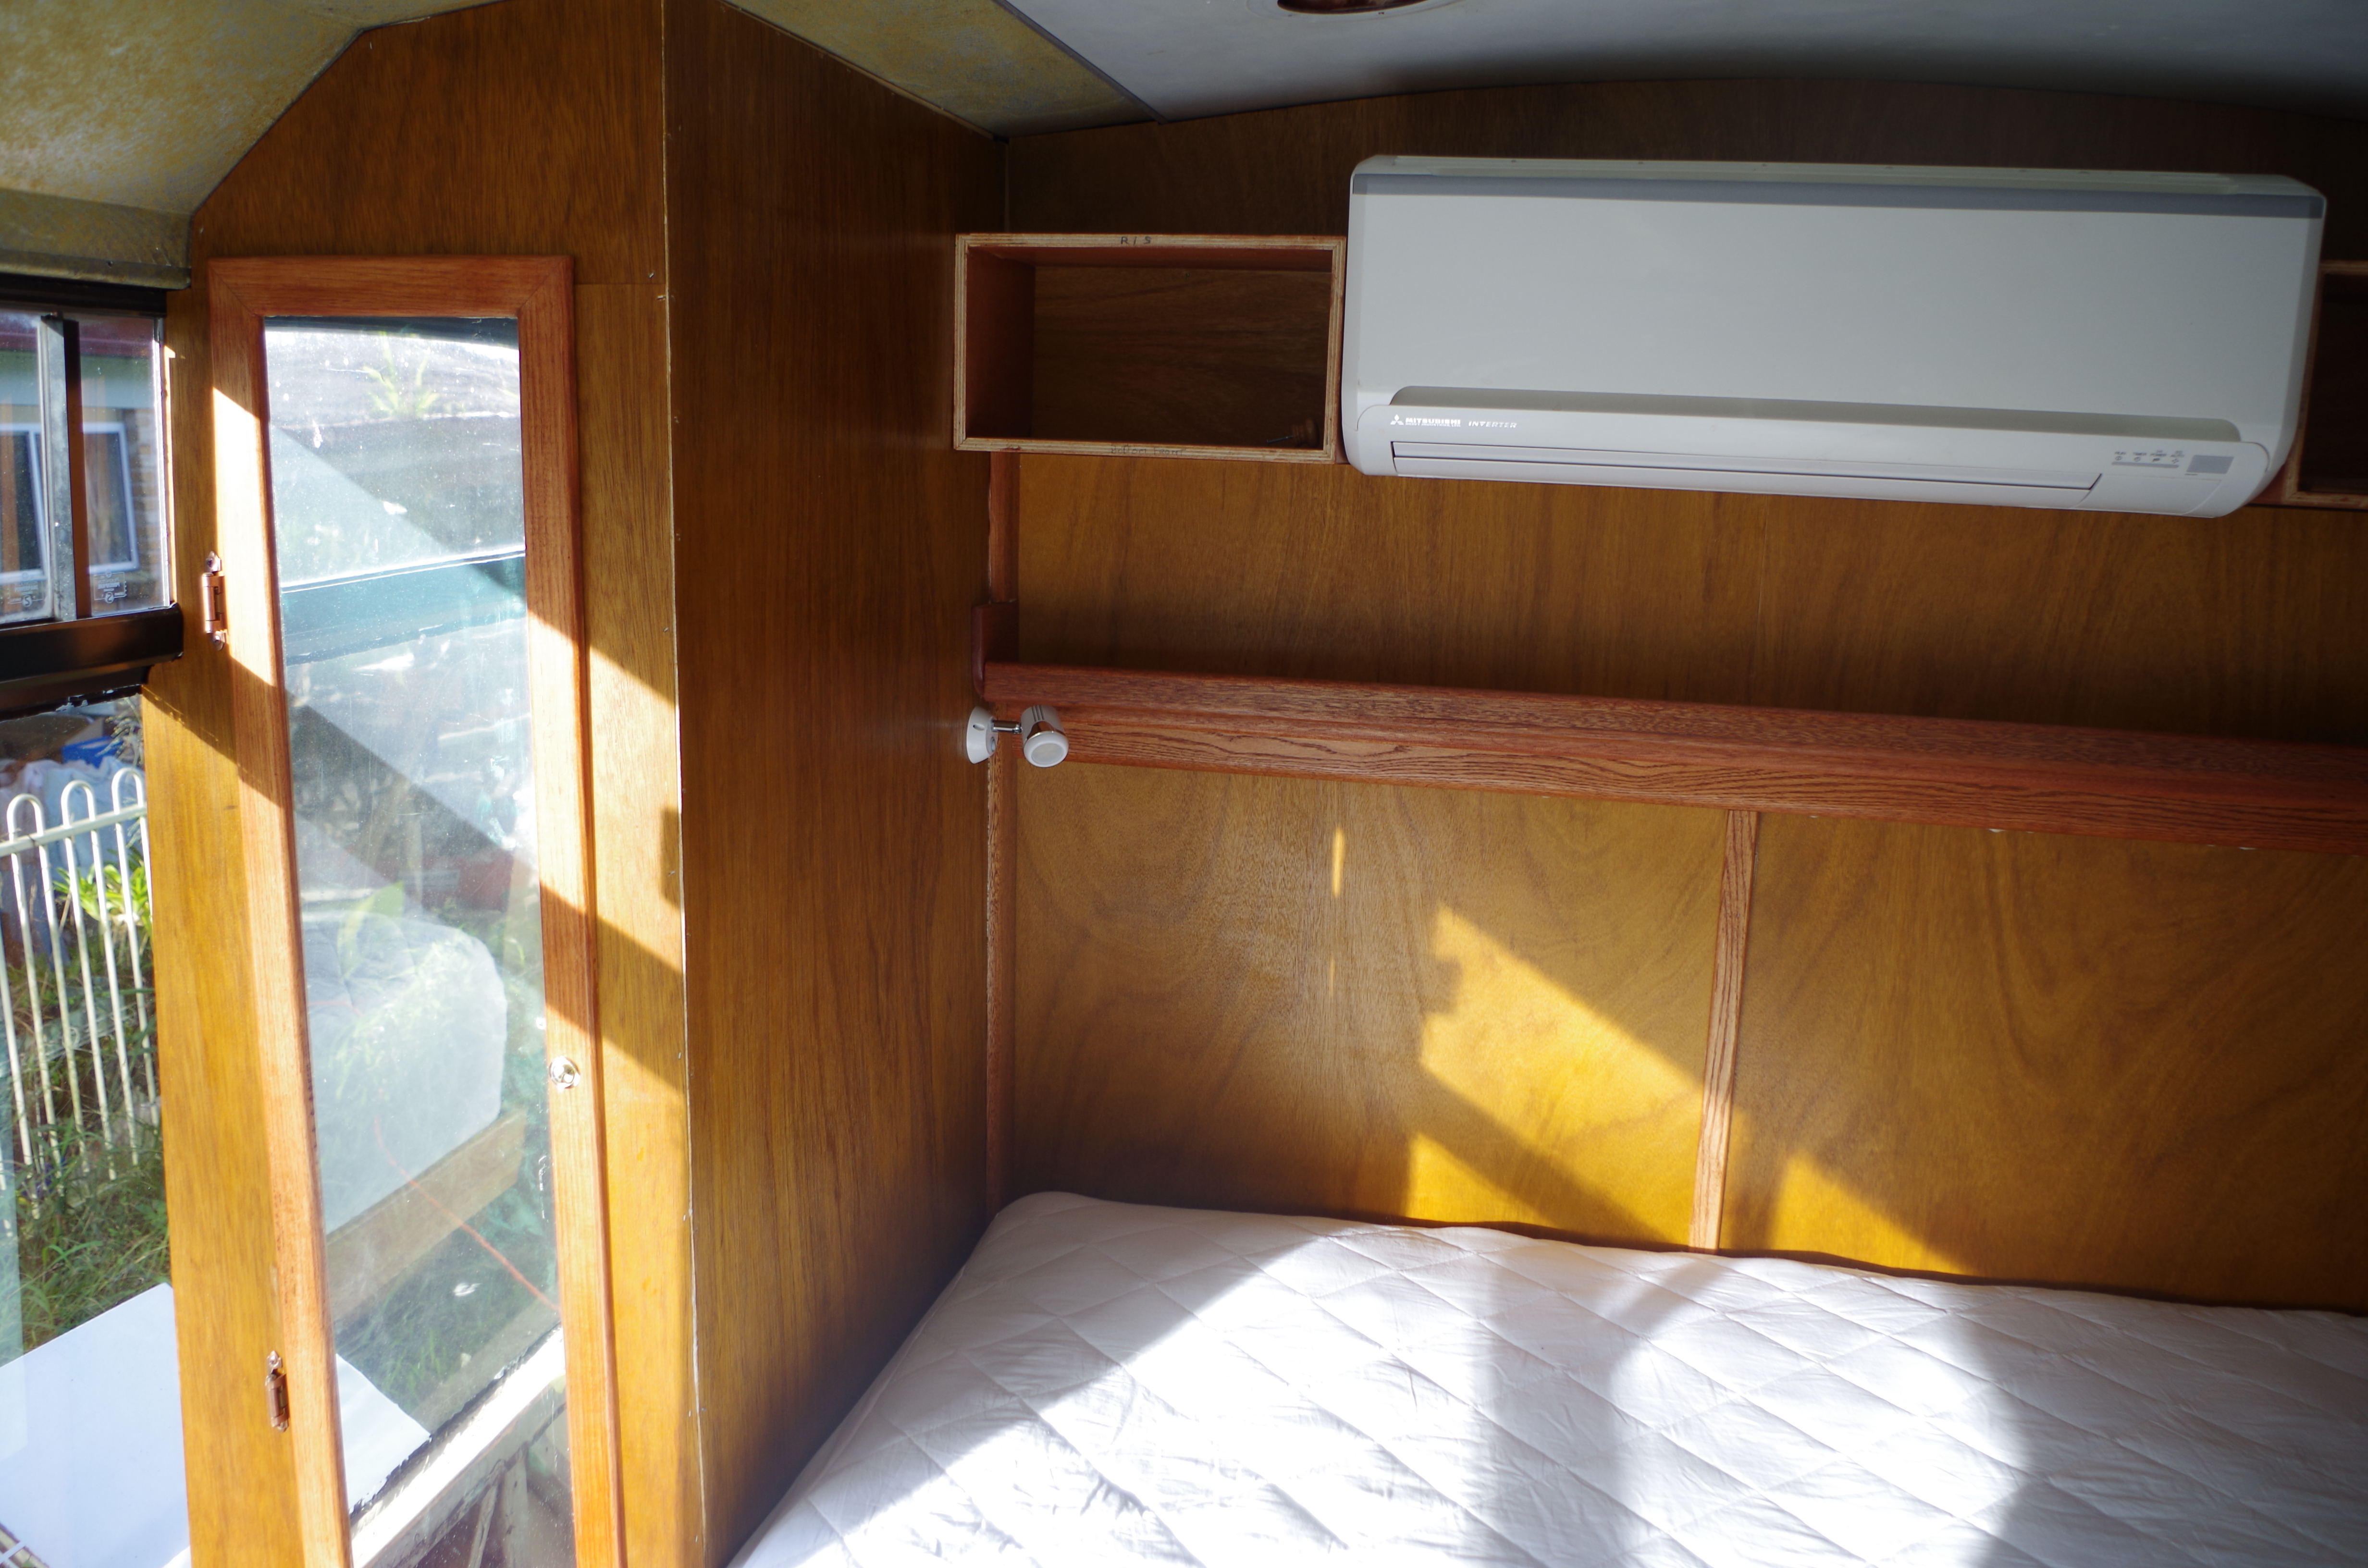
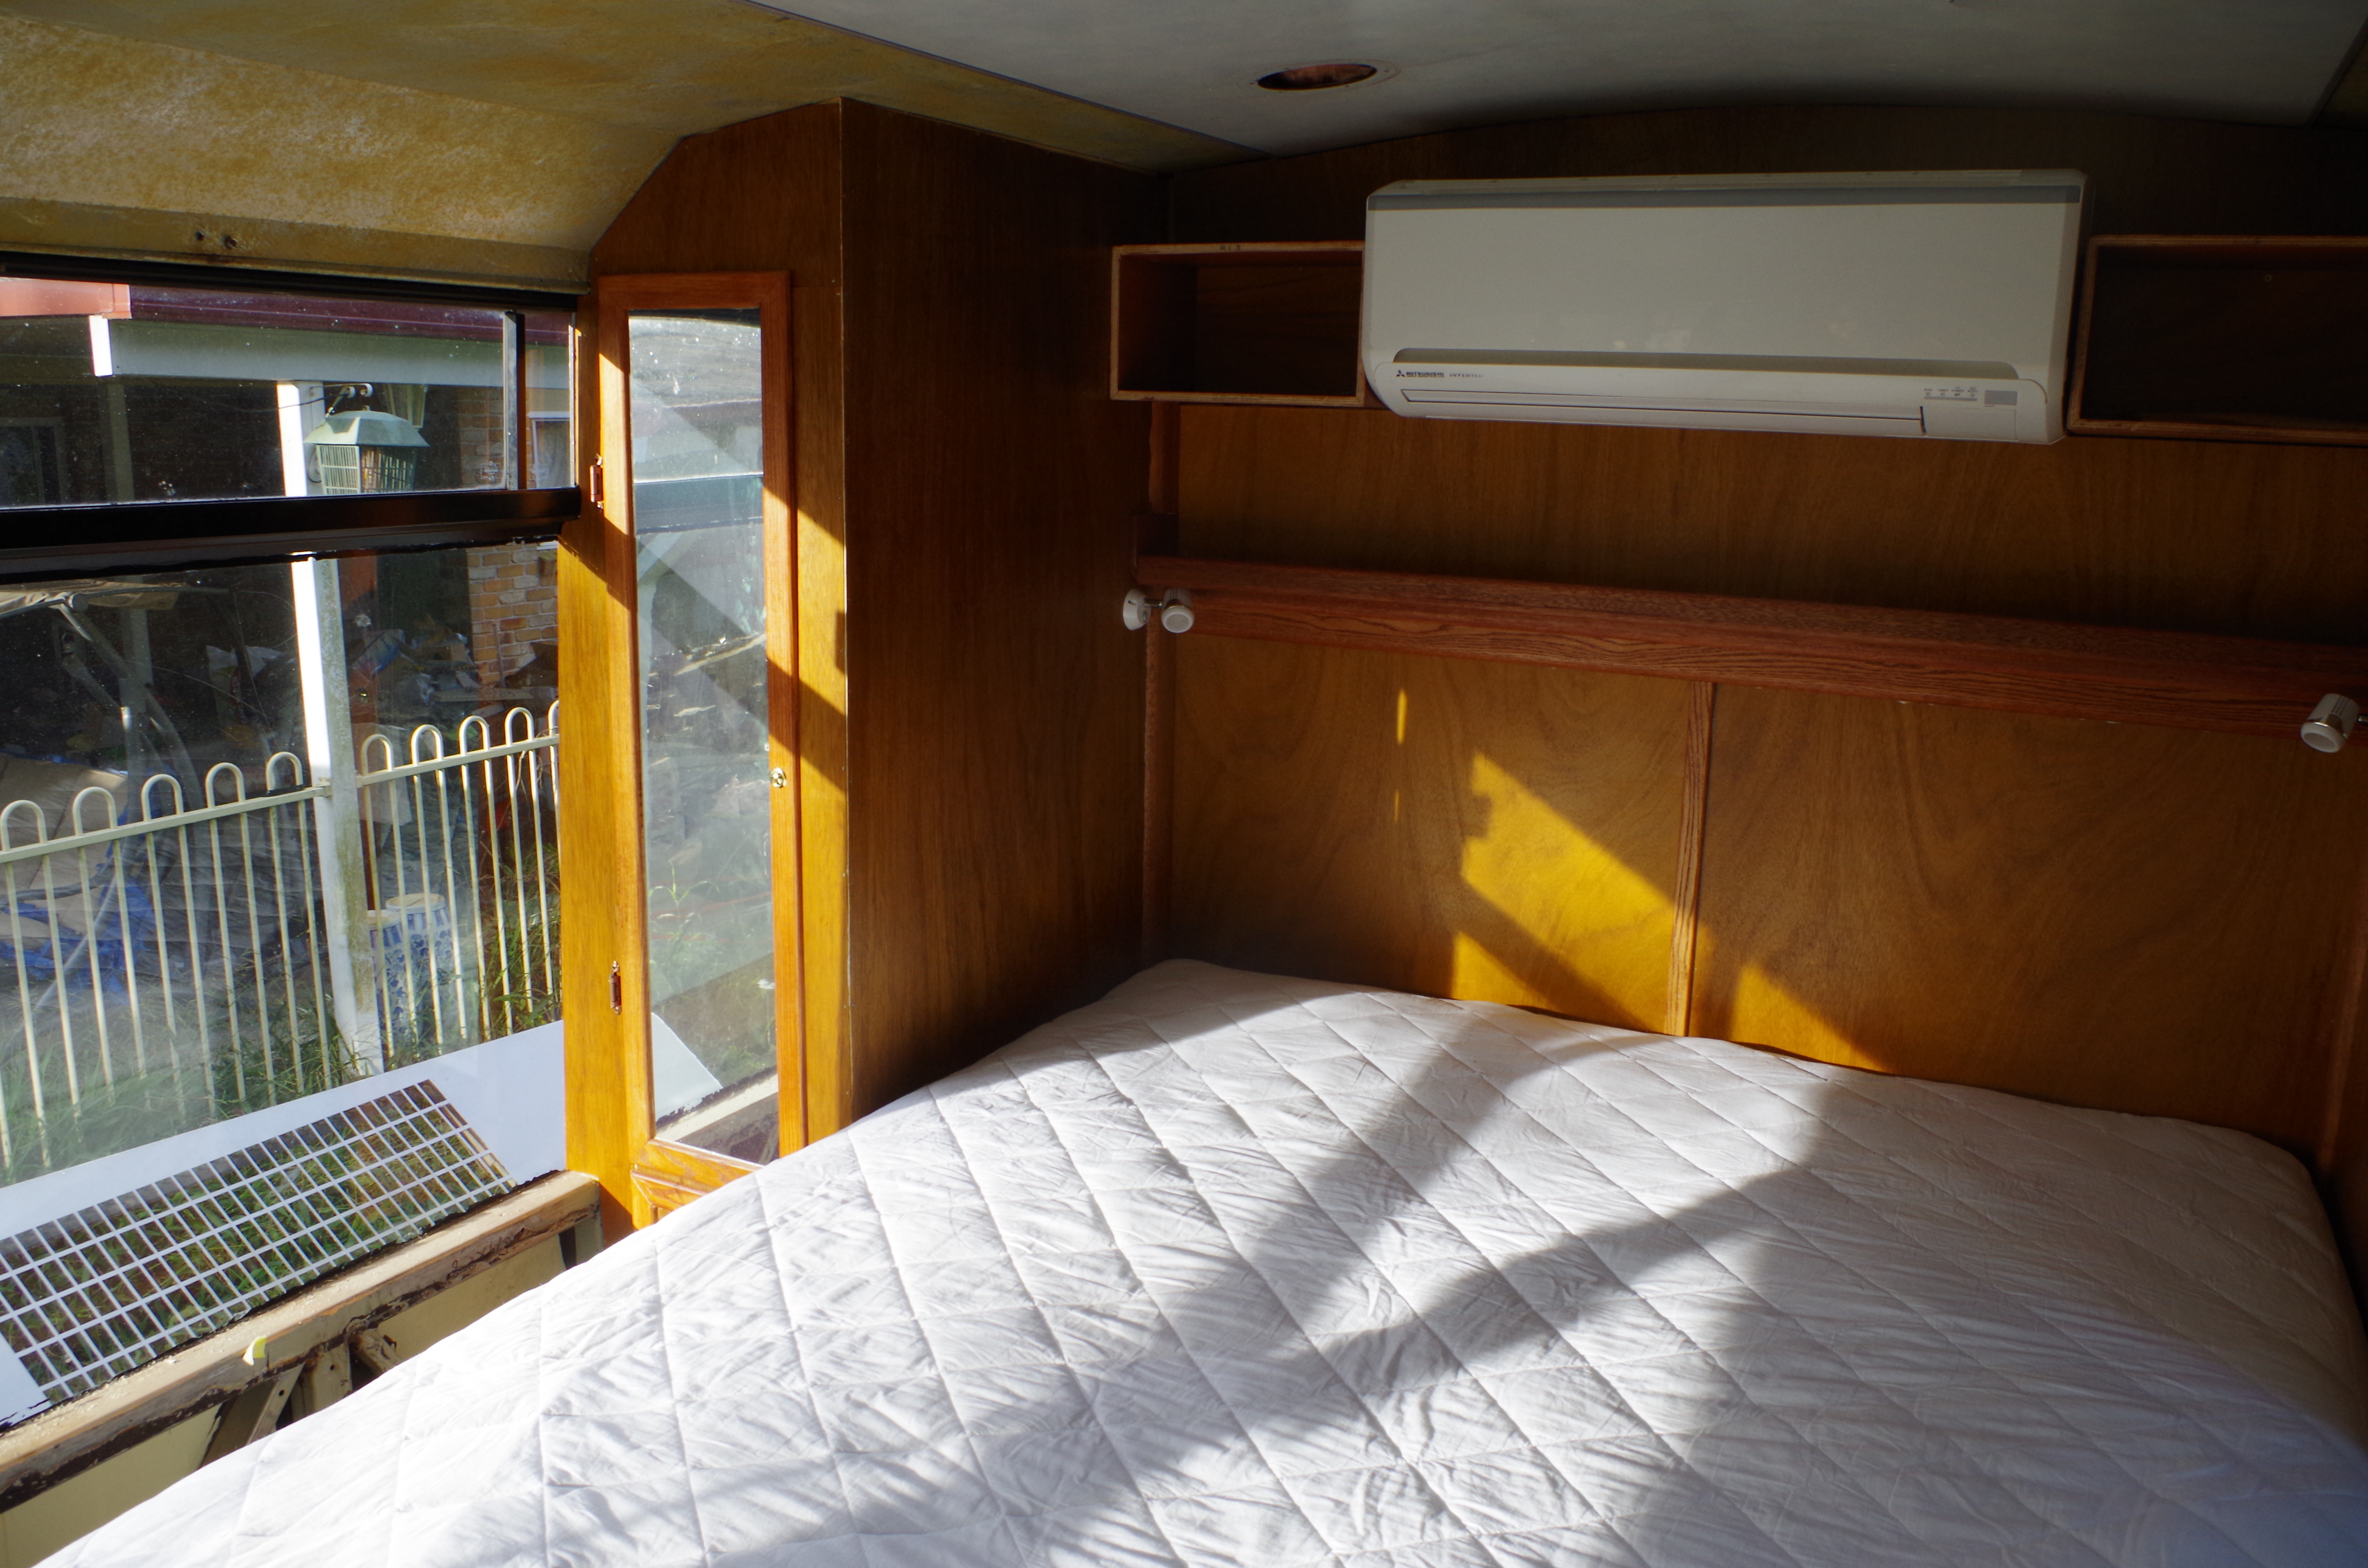
The evaporator has been mounted on the back wall above the bed. A second drain tube has been purchased to be fitted to allow for any instance where the vehicle may be slightly off-level thereby ensuring no internal leaks.
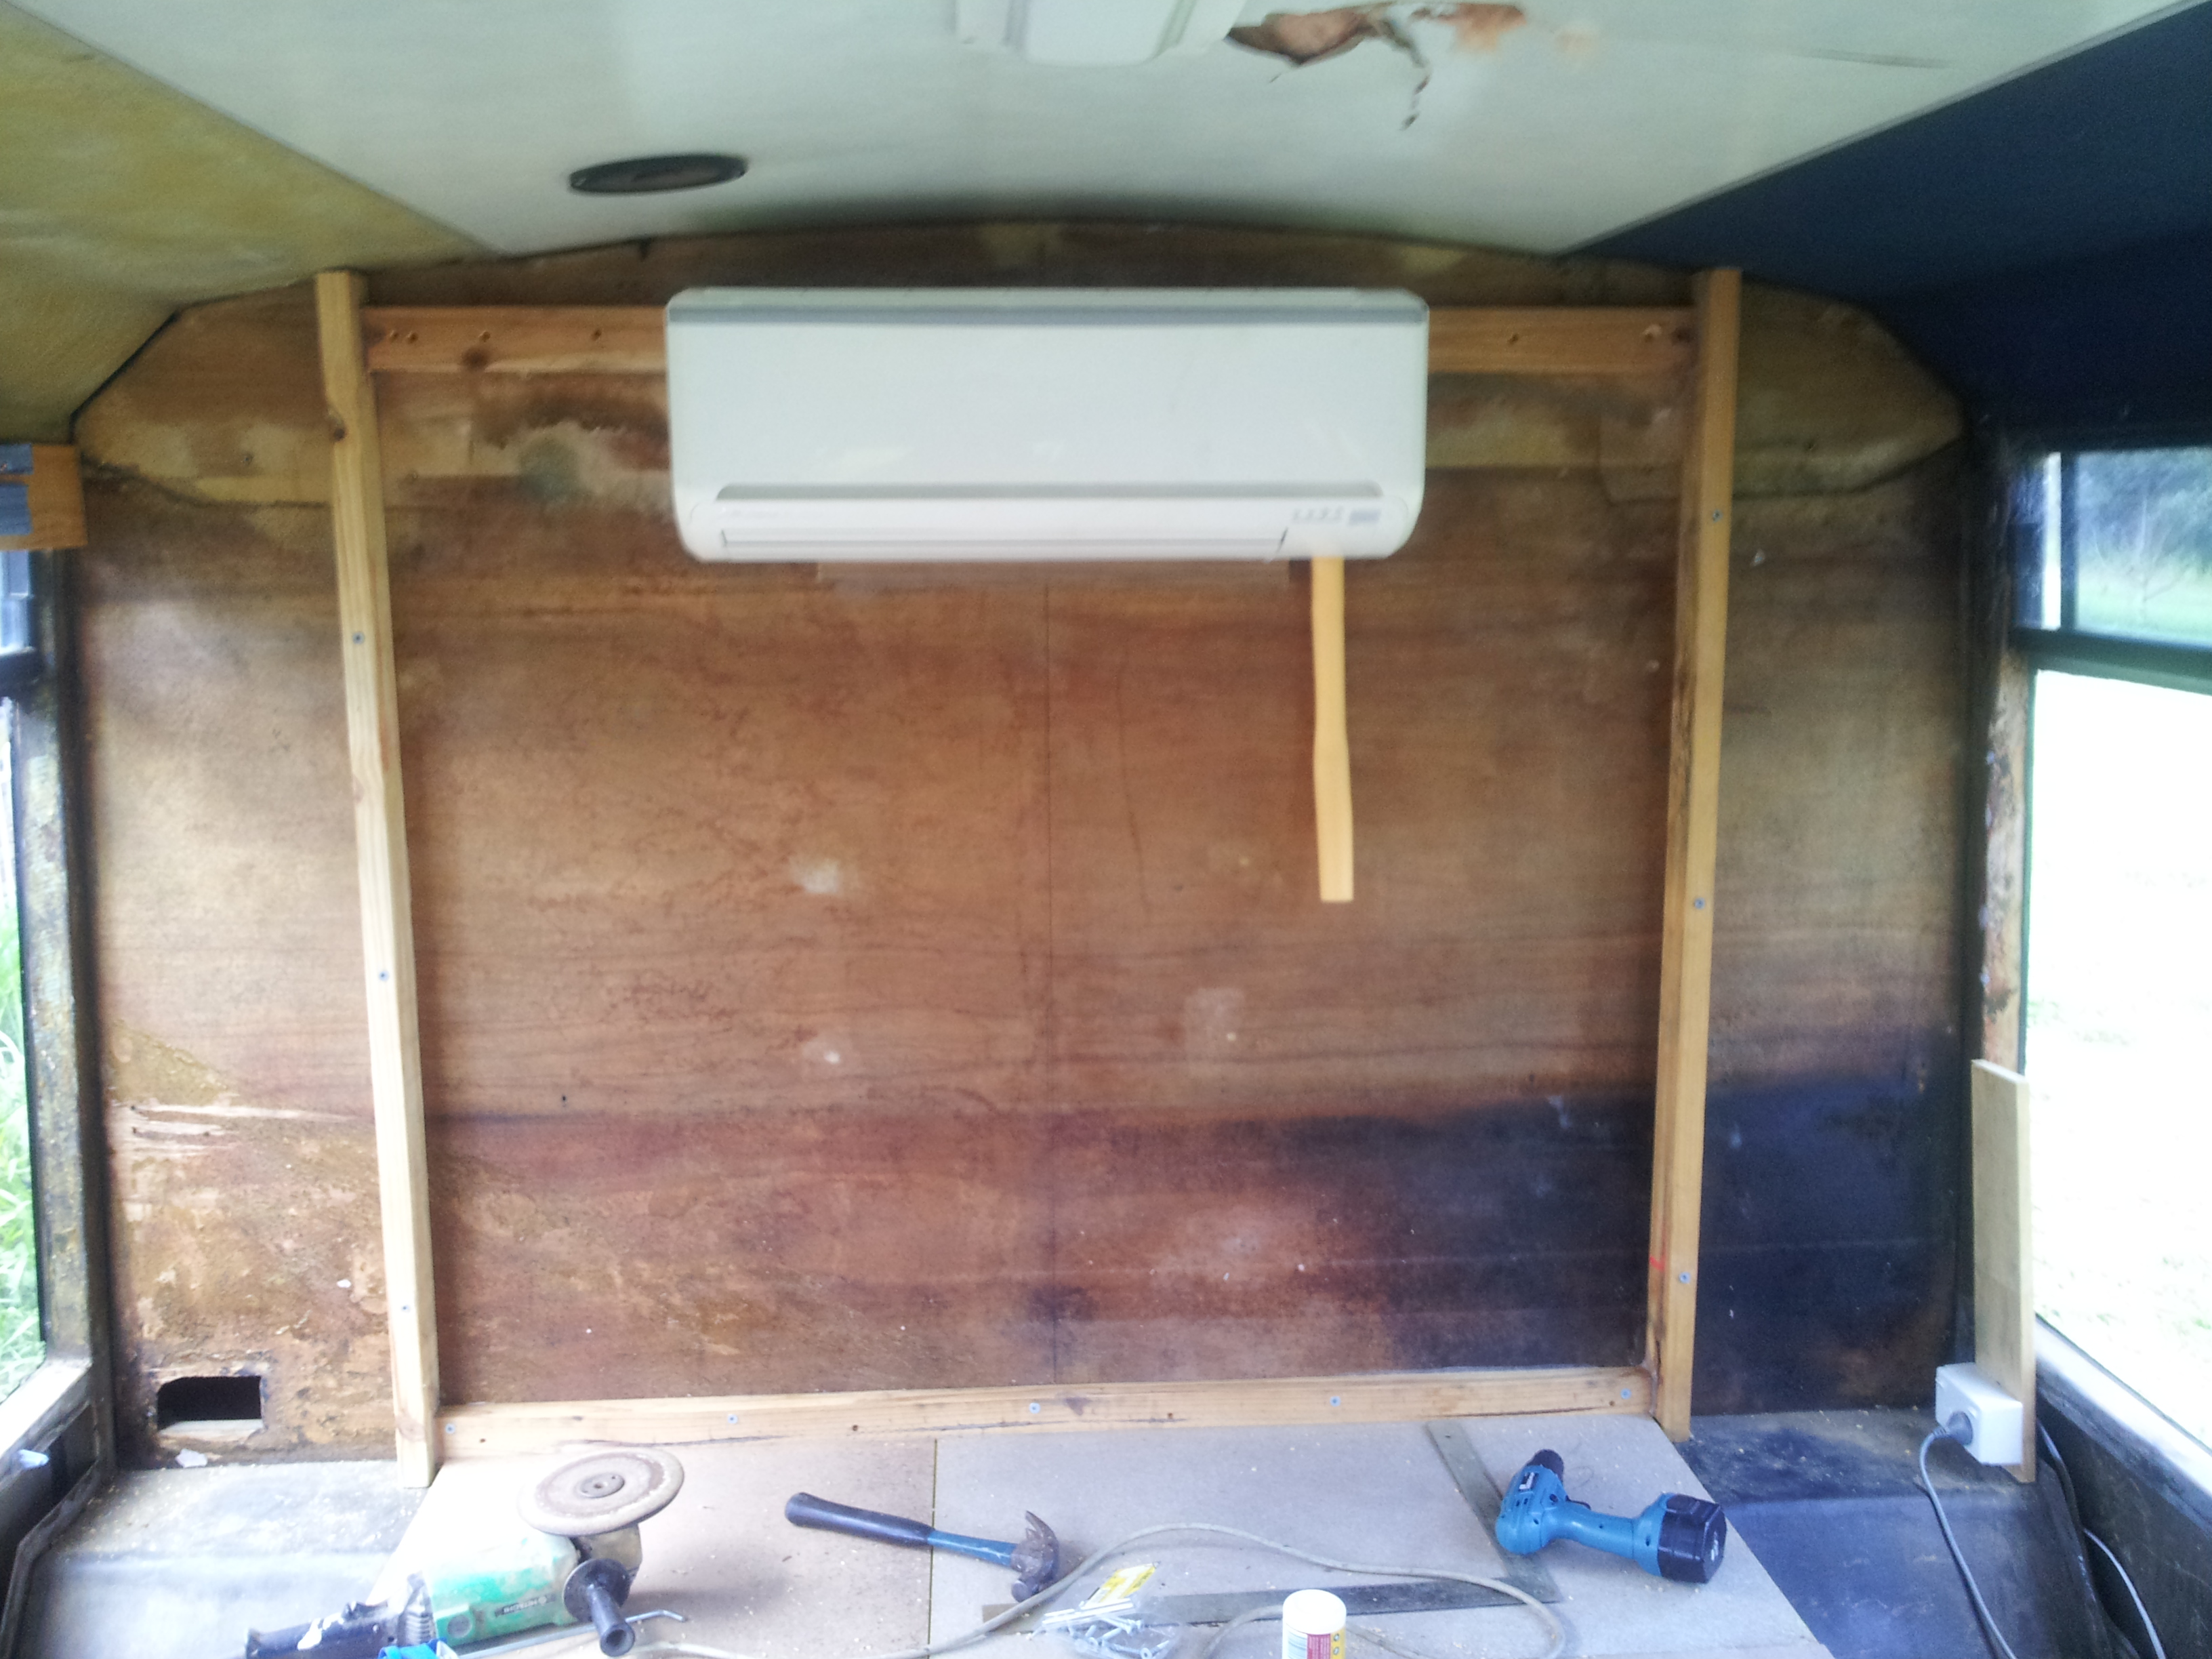
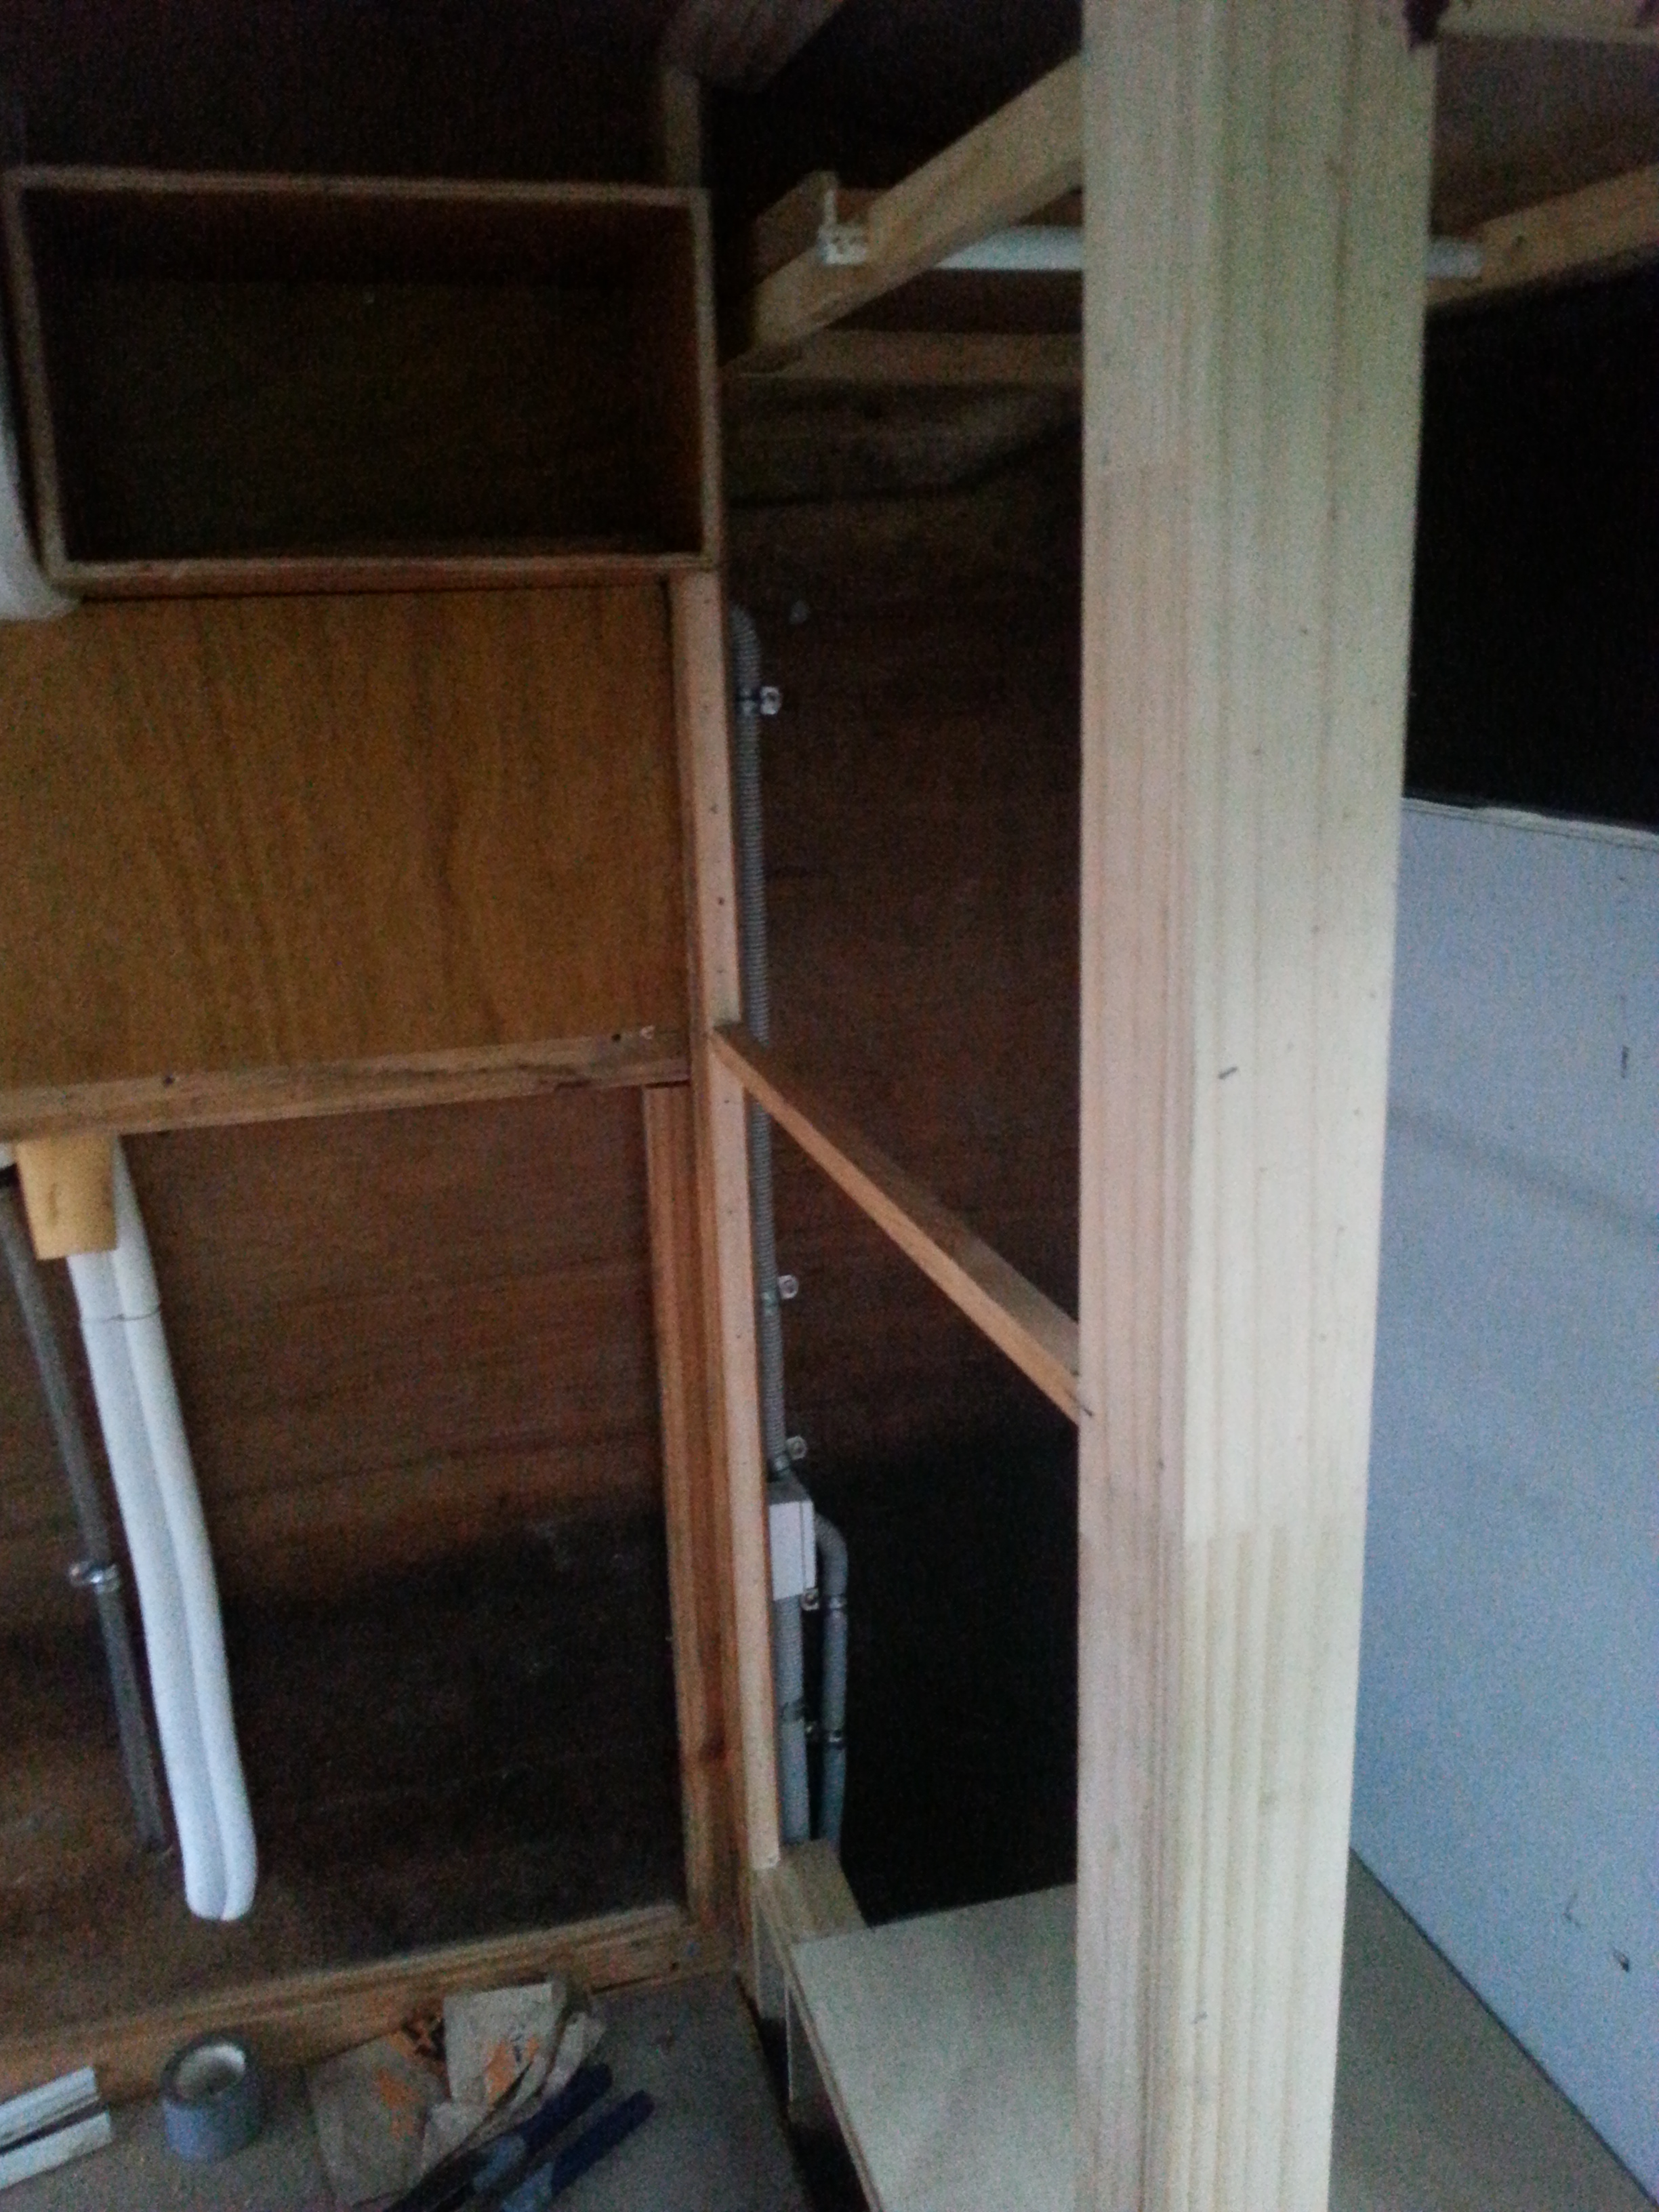
Framing has started to go in for the bedside wardrobes and once the sheeting has been fitted to the rear wall above the airconditioning unit, connection of the power and gas tubes can be completed.
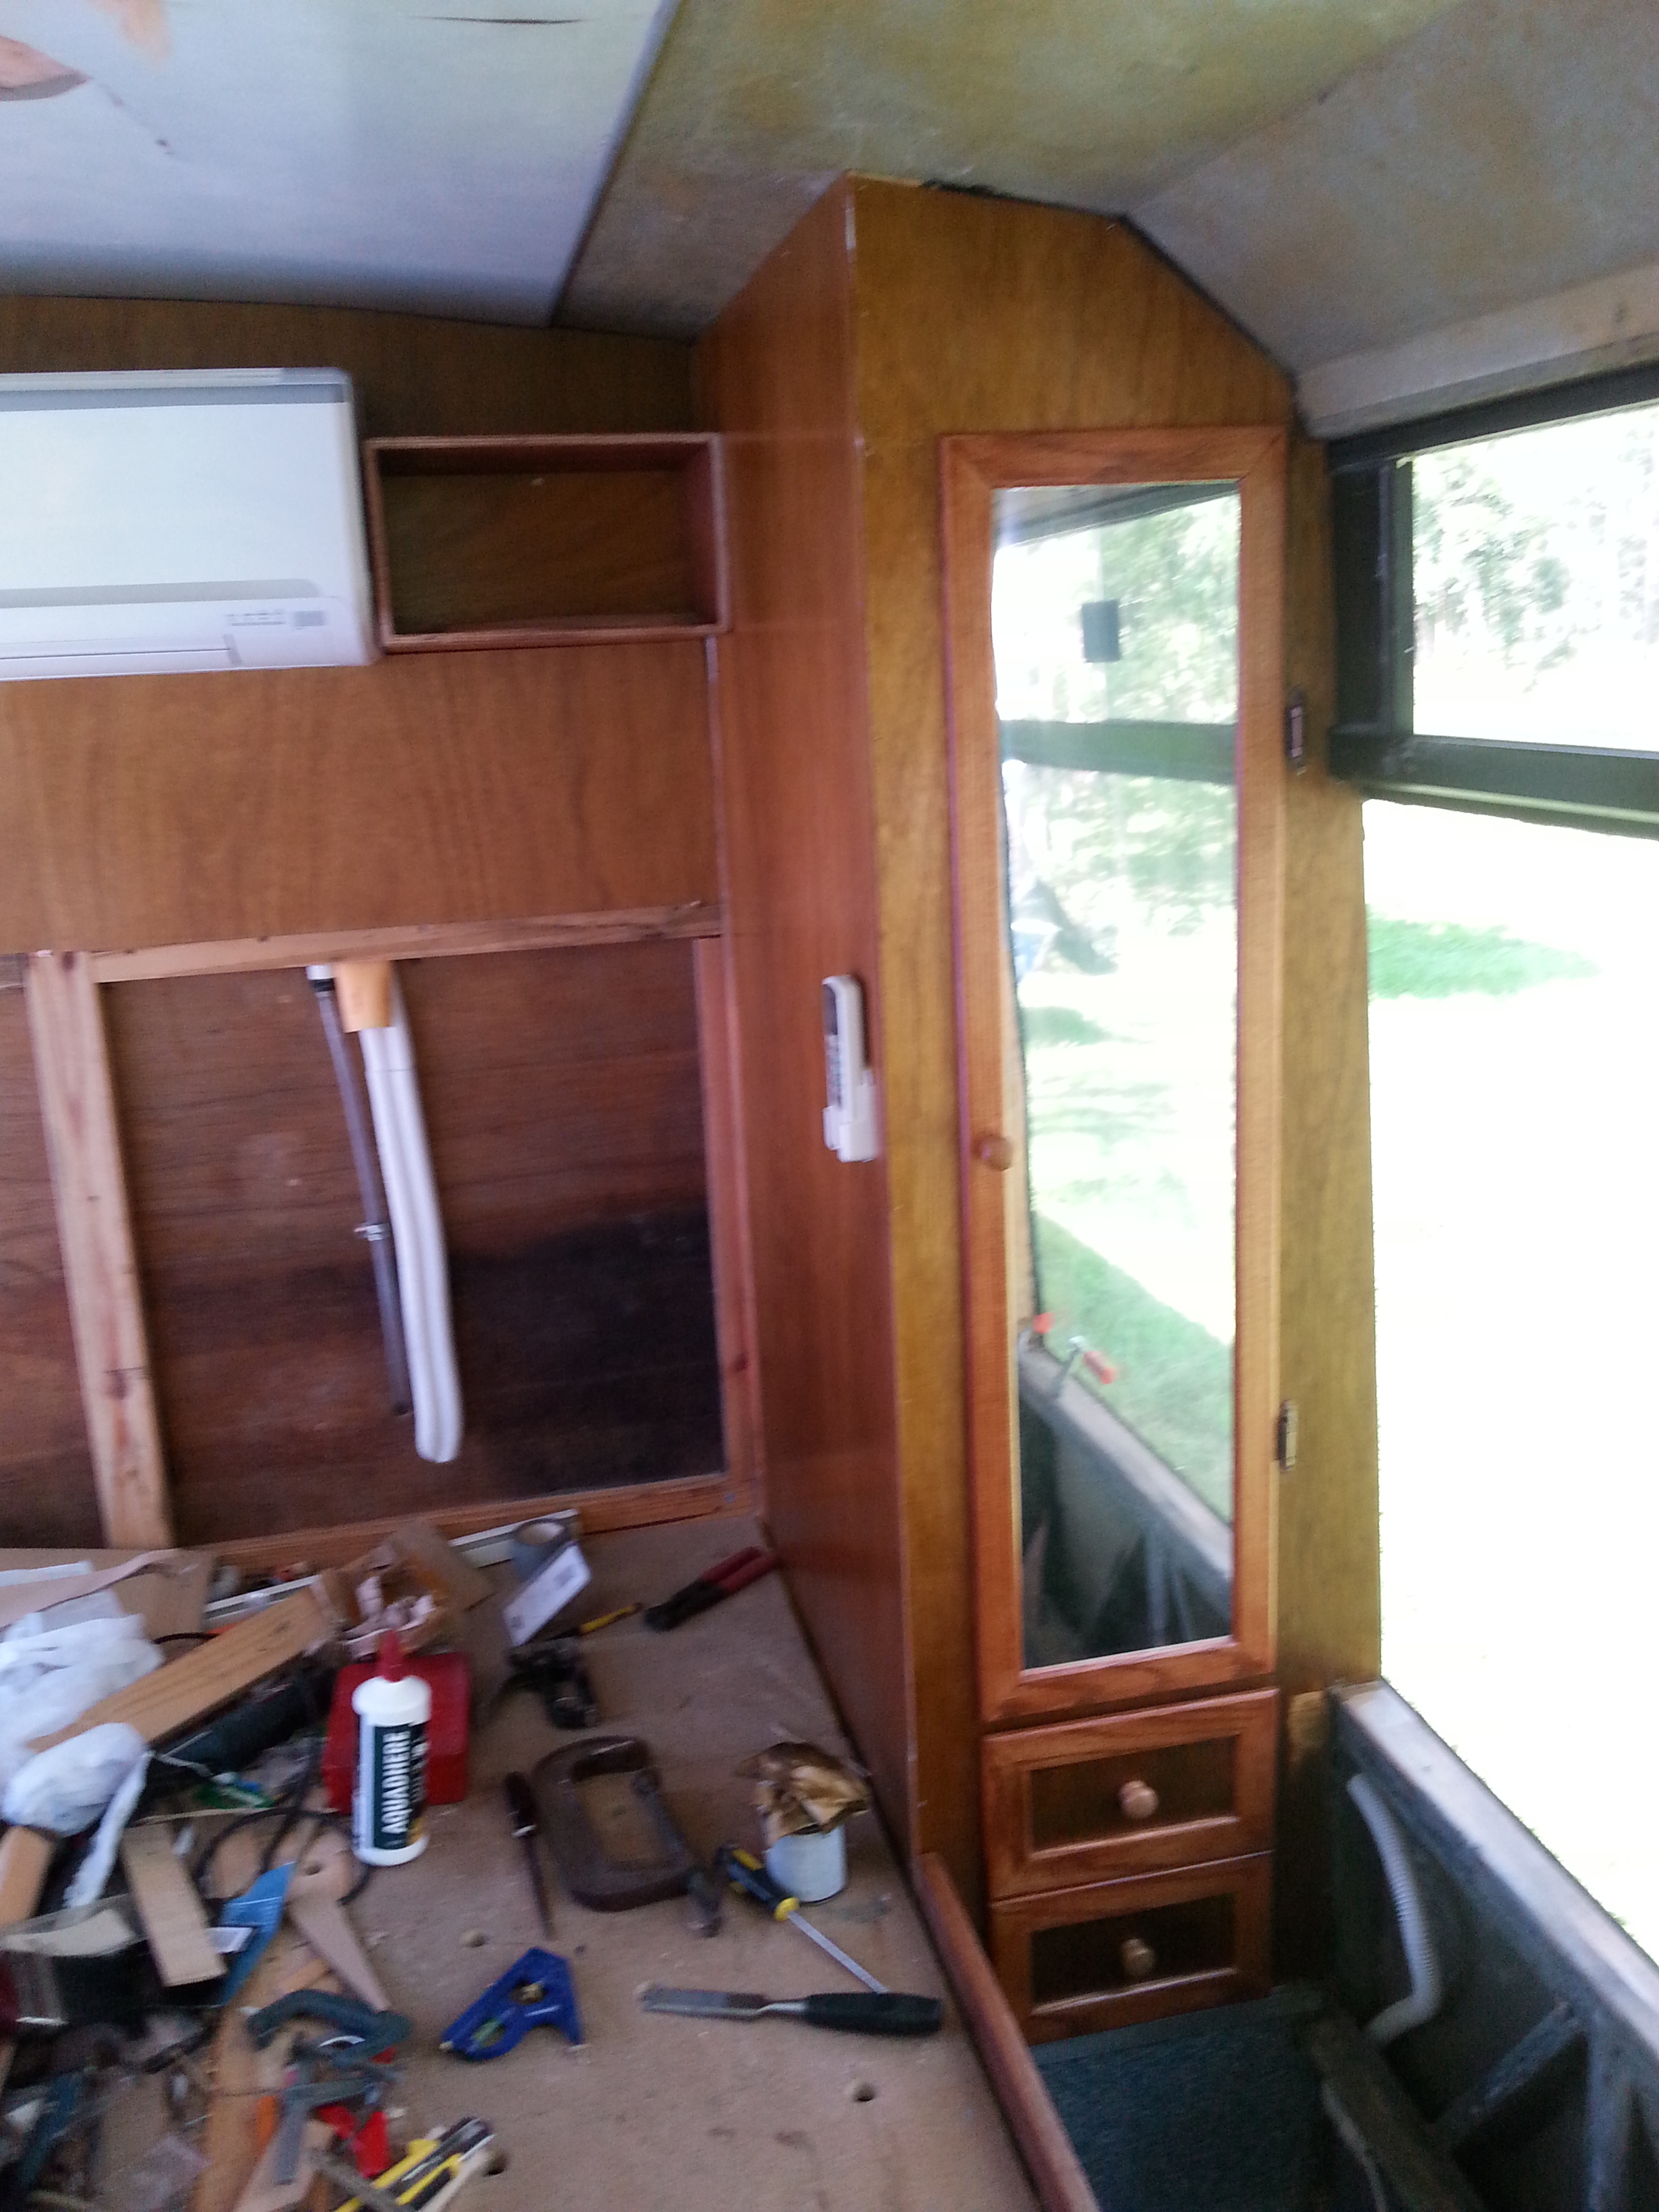
The Left Hand wardrobe is well under way now, Has been slow going however as there are few straight lines or Square edges.
I have finally hung the Robe door & finished Sheeting the fascia & drawers, Just the staining & Estapol to complete then glue the Drawer trims in place. This has taken 3 weeks to this stage, hope the drivers side wardrobe is a little quicker.


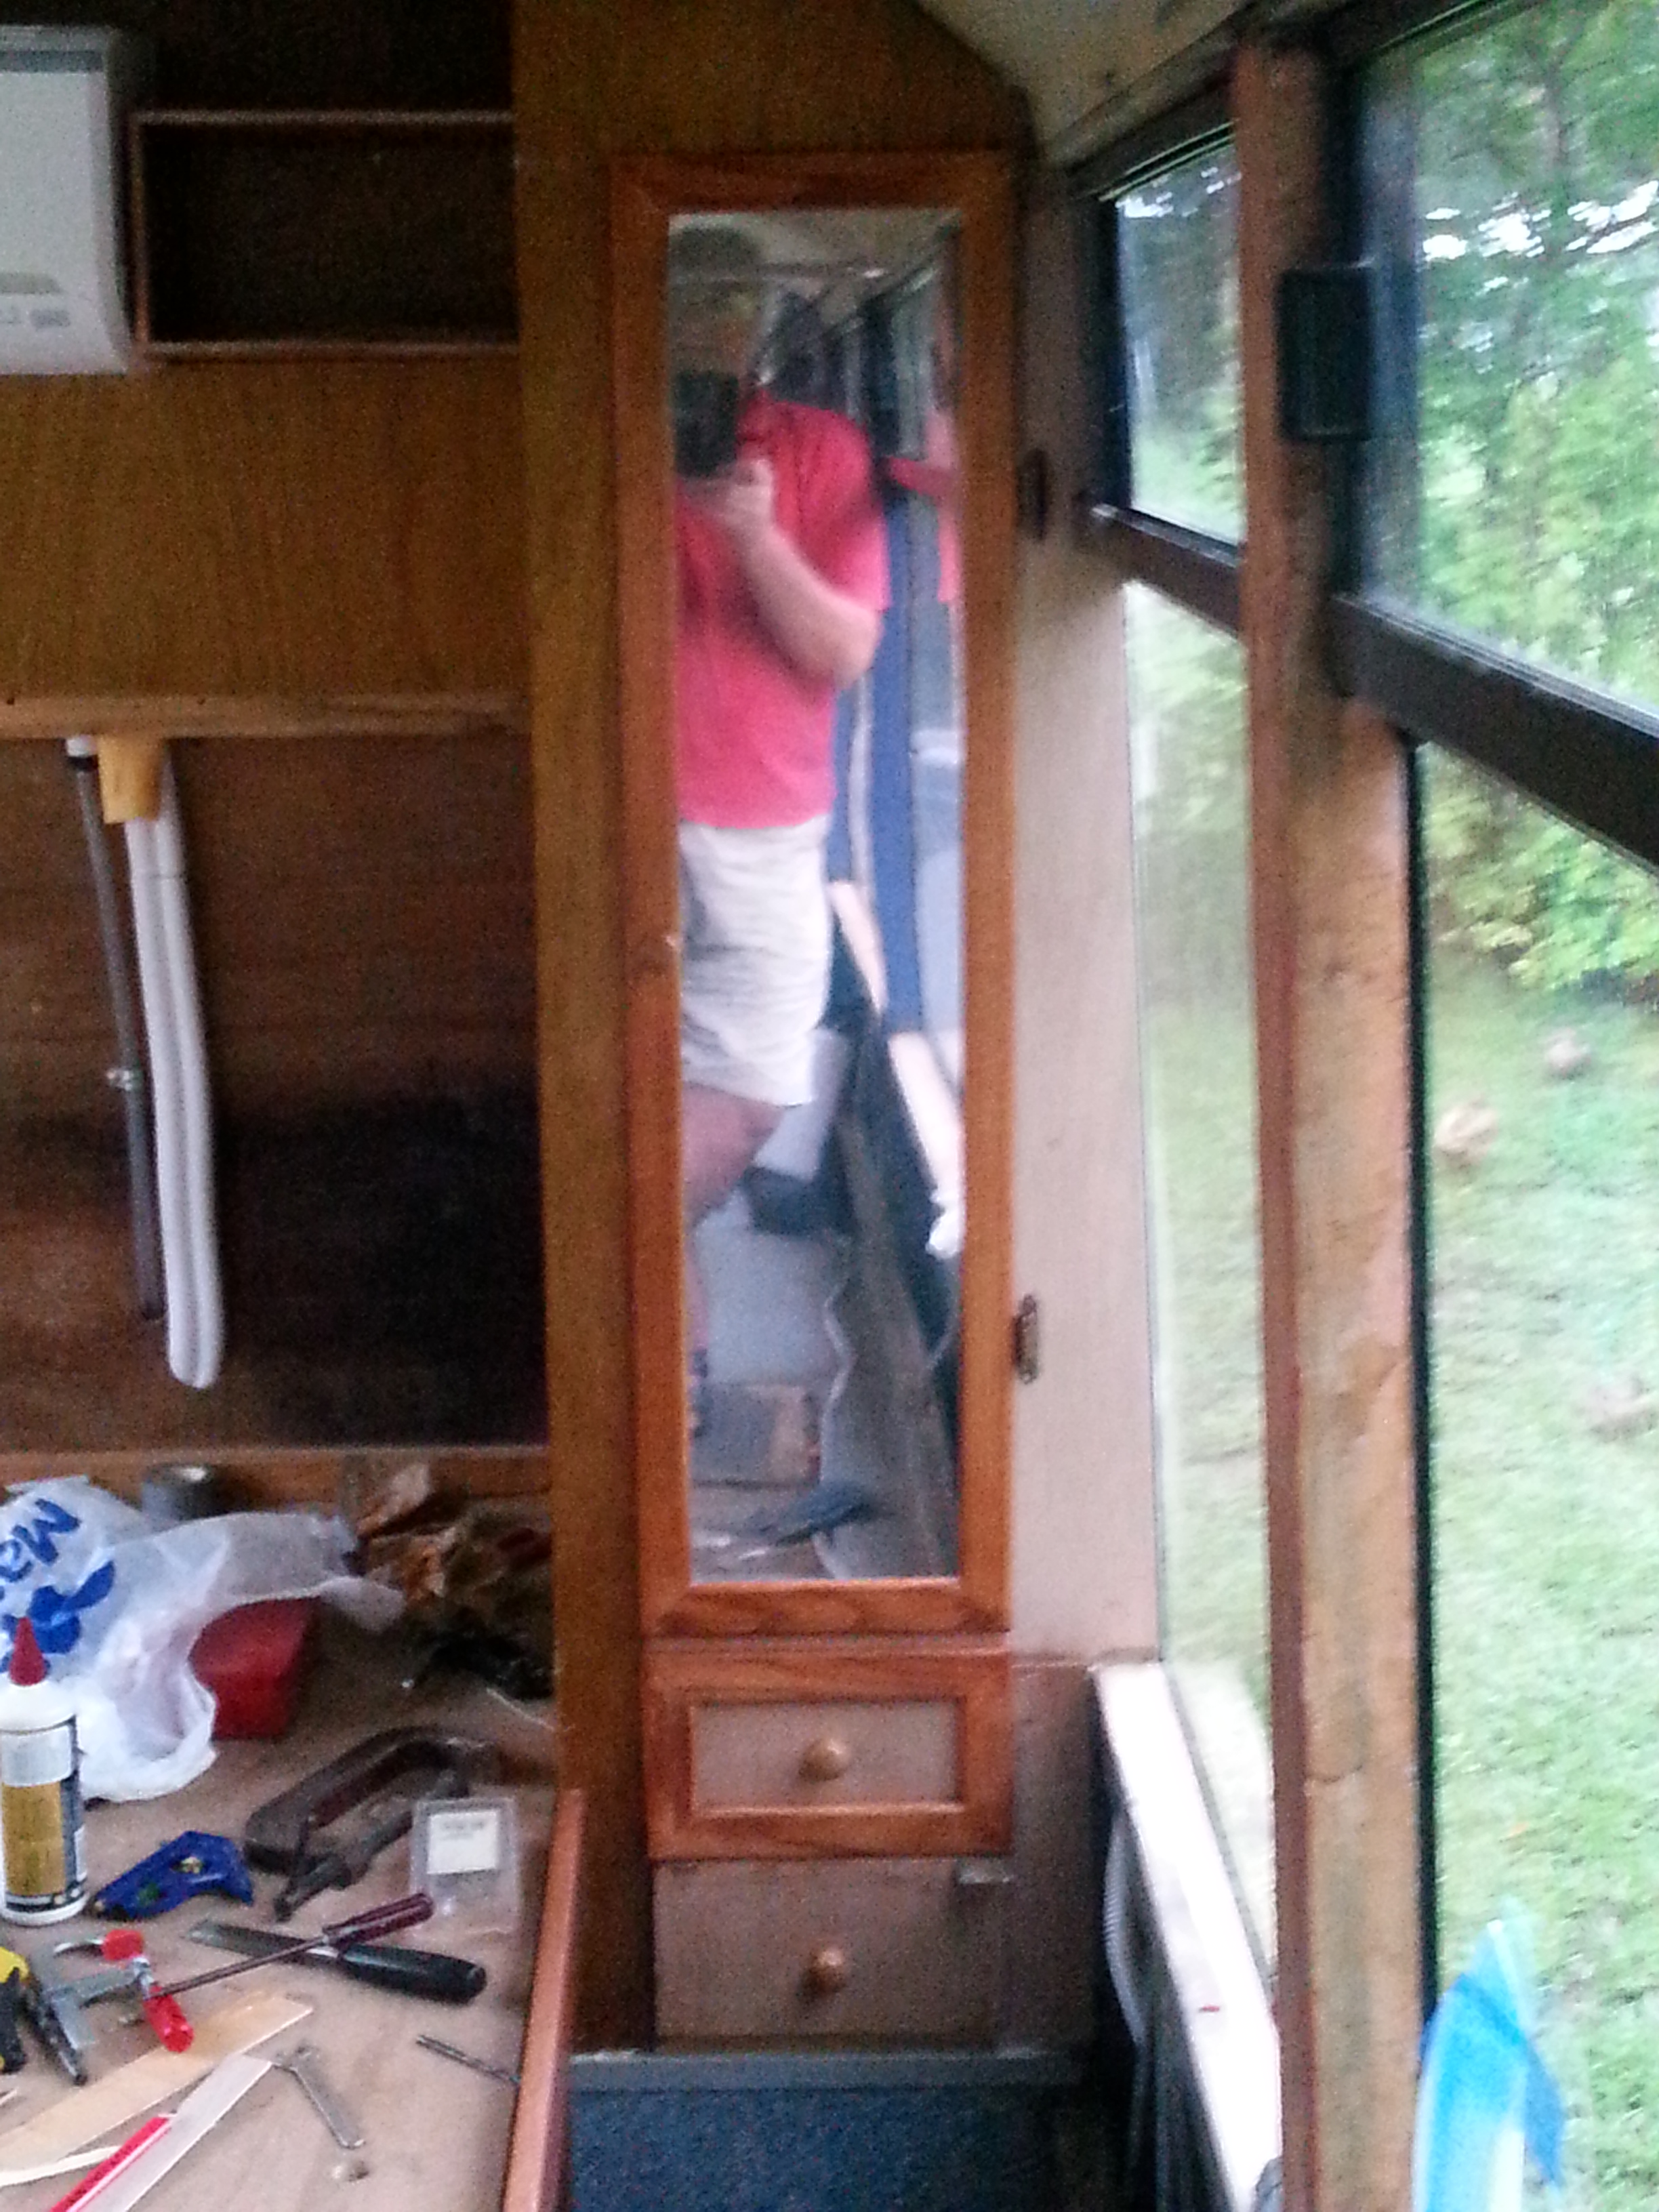
Still need to make doors to cabinets either side of Air Conditioner & Panels to cover the Air-Con plumbing, I am fitting a shelf between the 2 Wardrobes this will cover the join in the Panels below the Air-Con.

I have started the Driver side Wardrobe & fitted the Lower filler panels between the wardrobes, the completion of the Bedroom work is almost near.

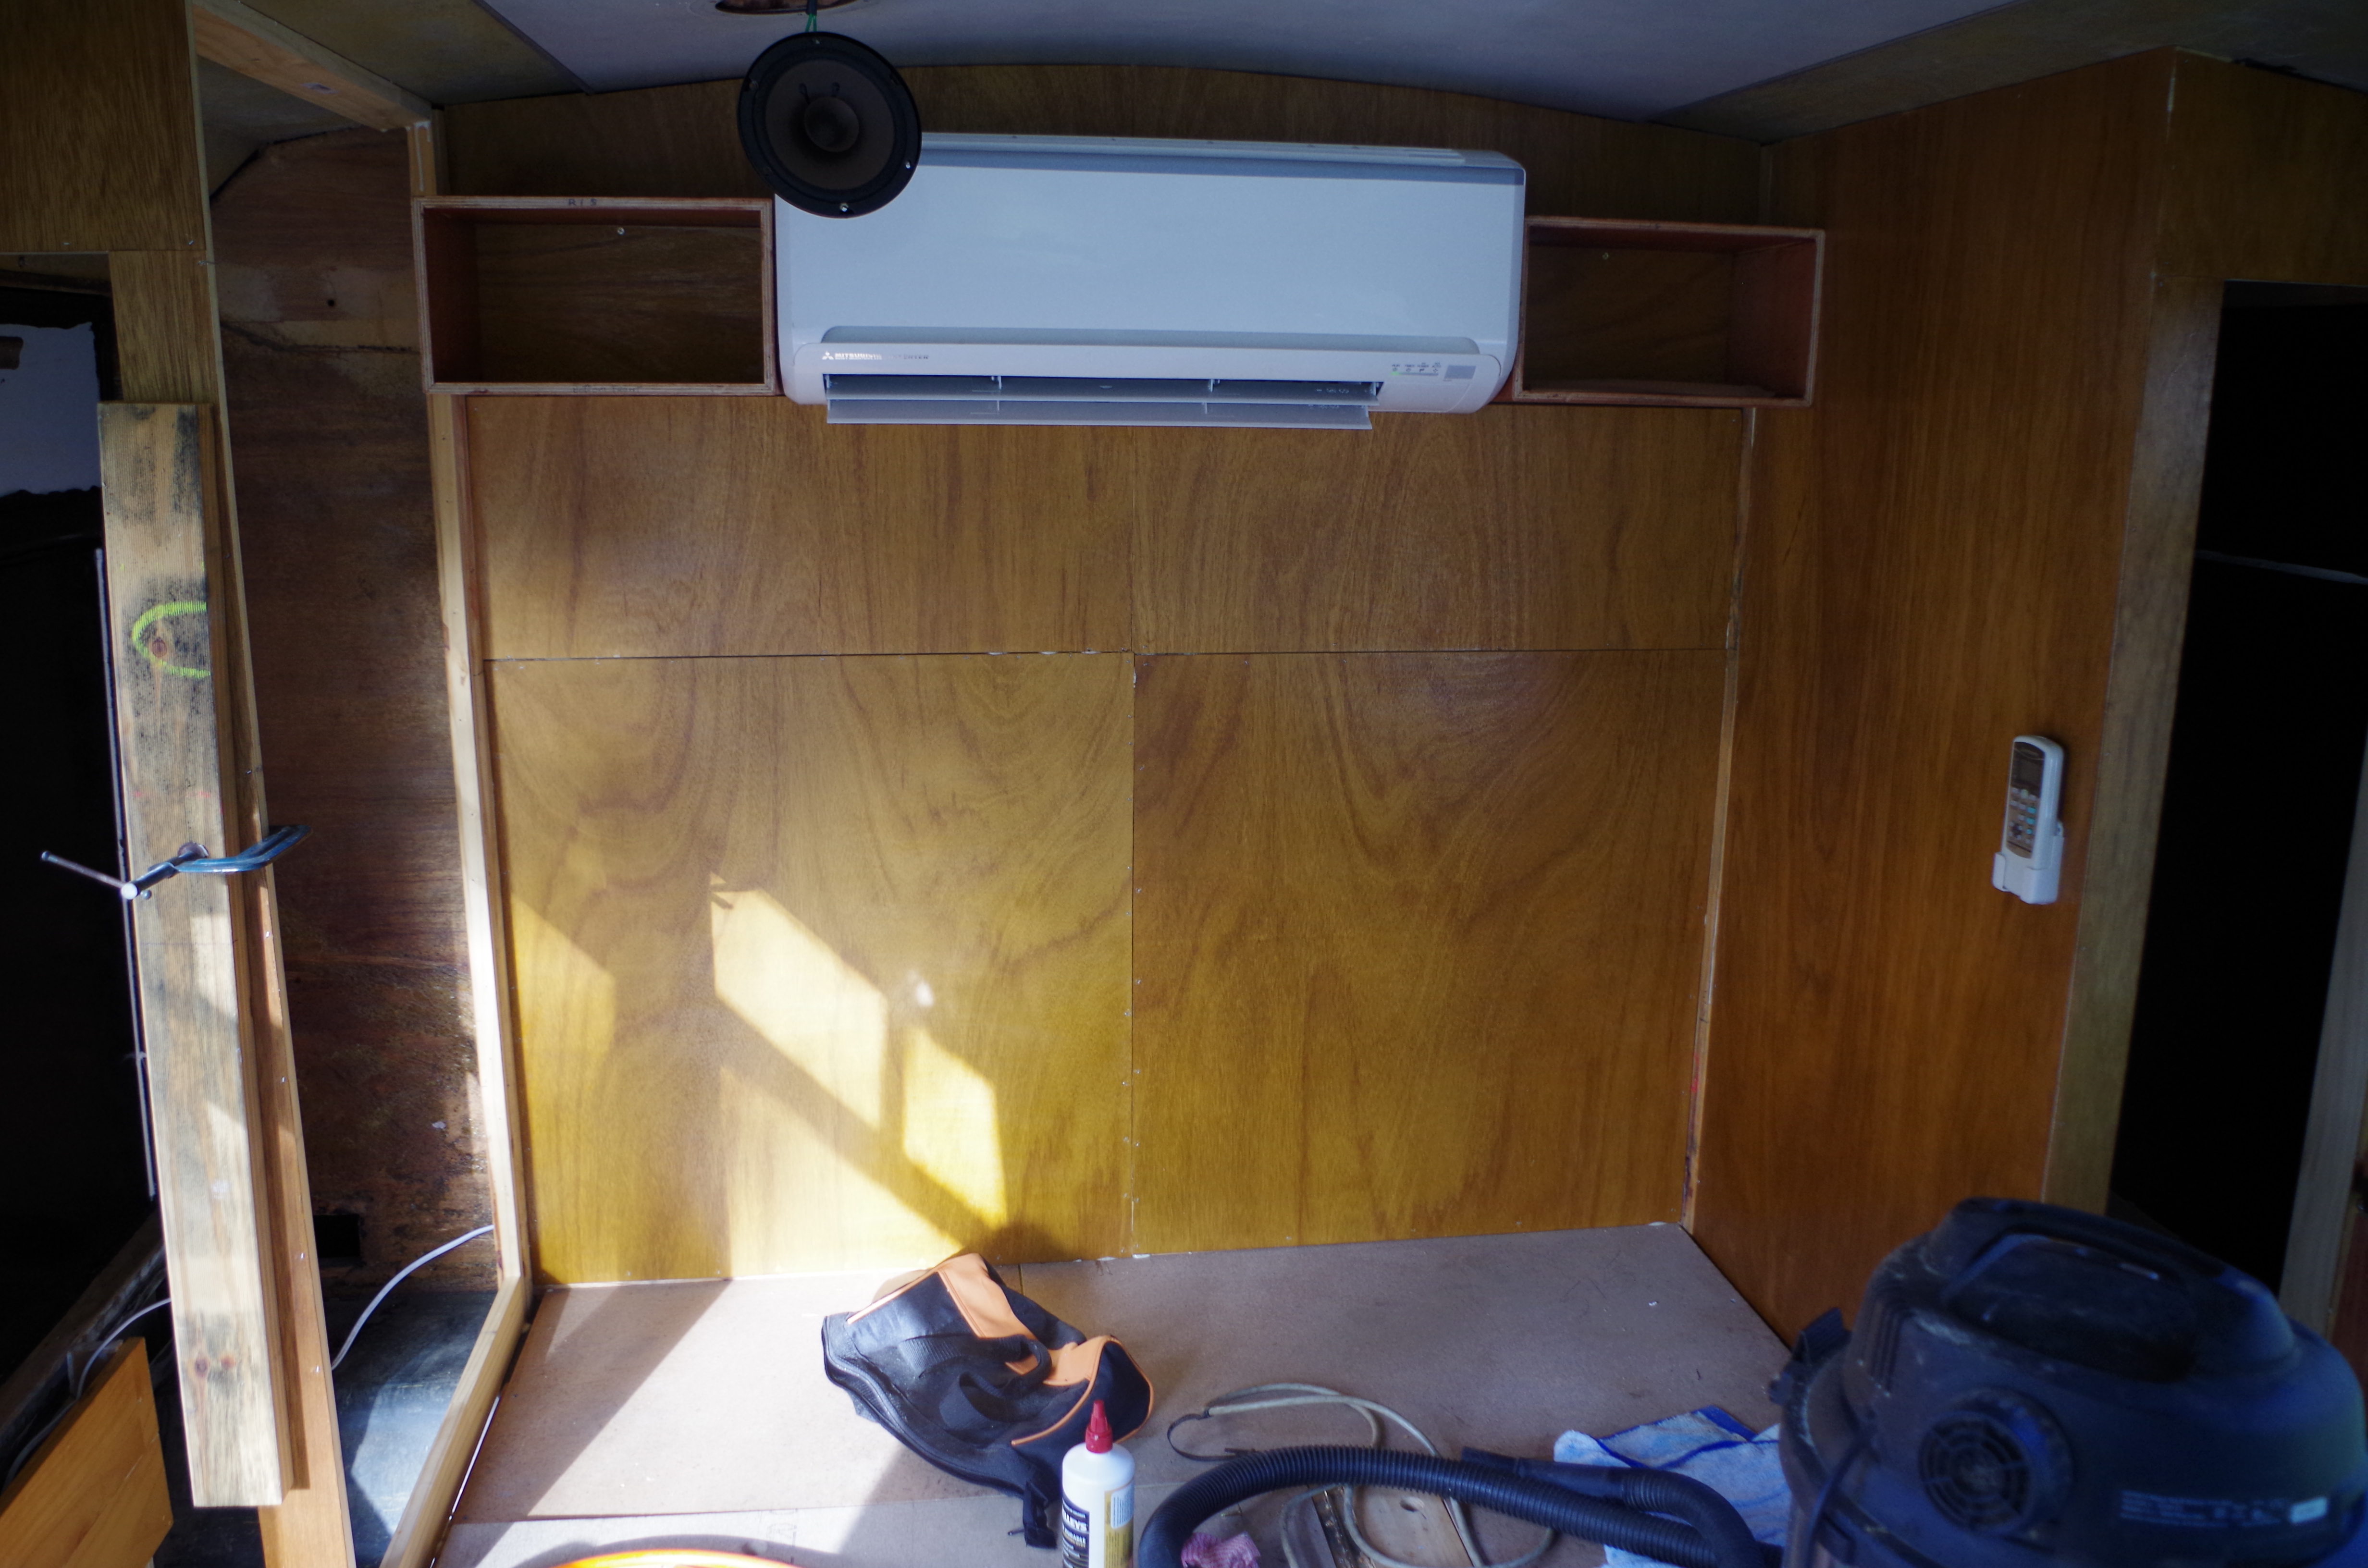
The support rail for the Shelf over the Head of the bed will cover the join in the upper & lower panels, Corner moldings to be fitted in the future.
Driver side wardrobe is now completed, the cover mouldings have been fitted to the rear wall & small shelf has been fitted below the Air conditioner. The only items to be done in the Bedroom now is the TV unit in the ceiling & book racks along either wall below the windows.

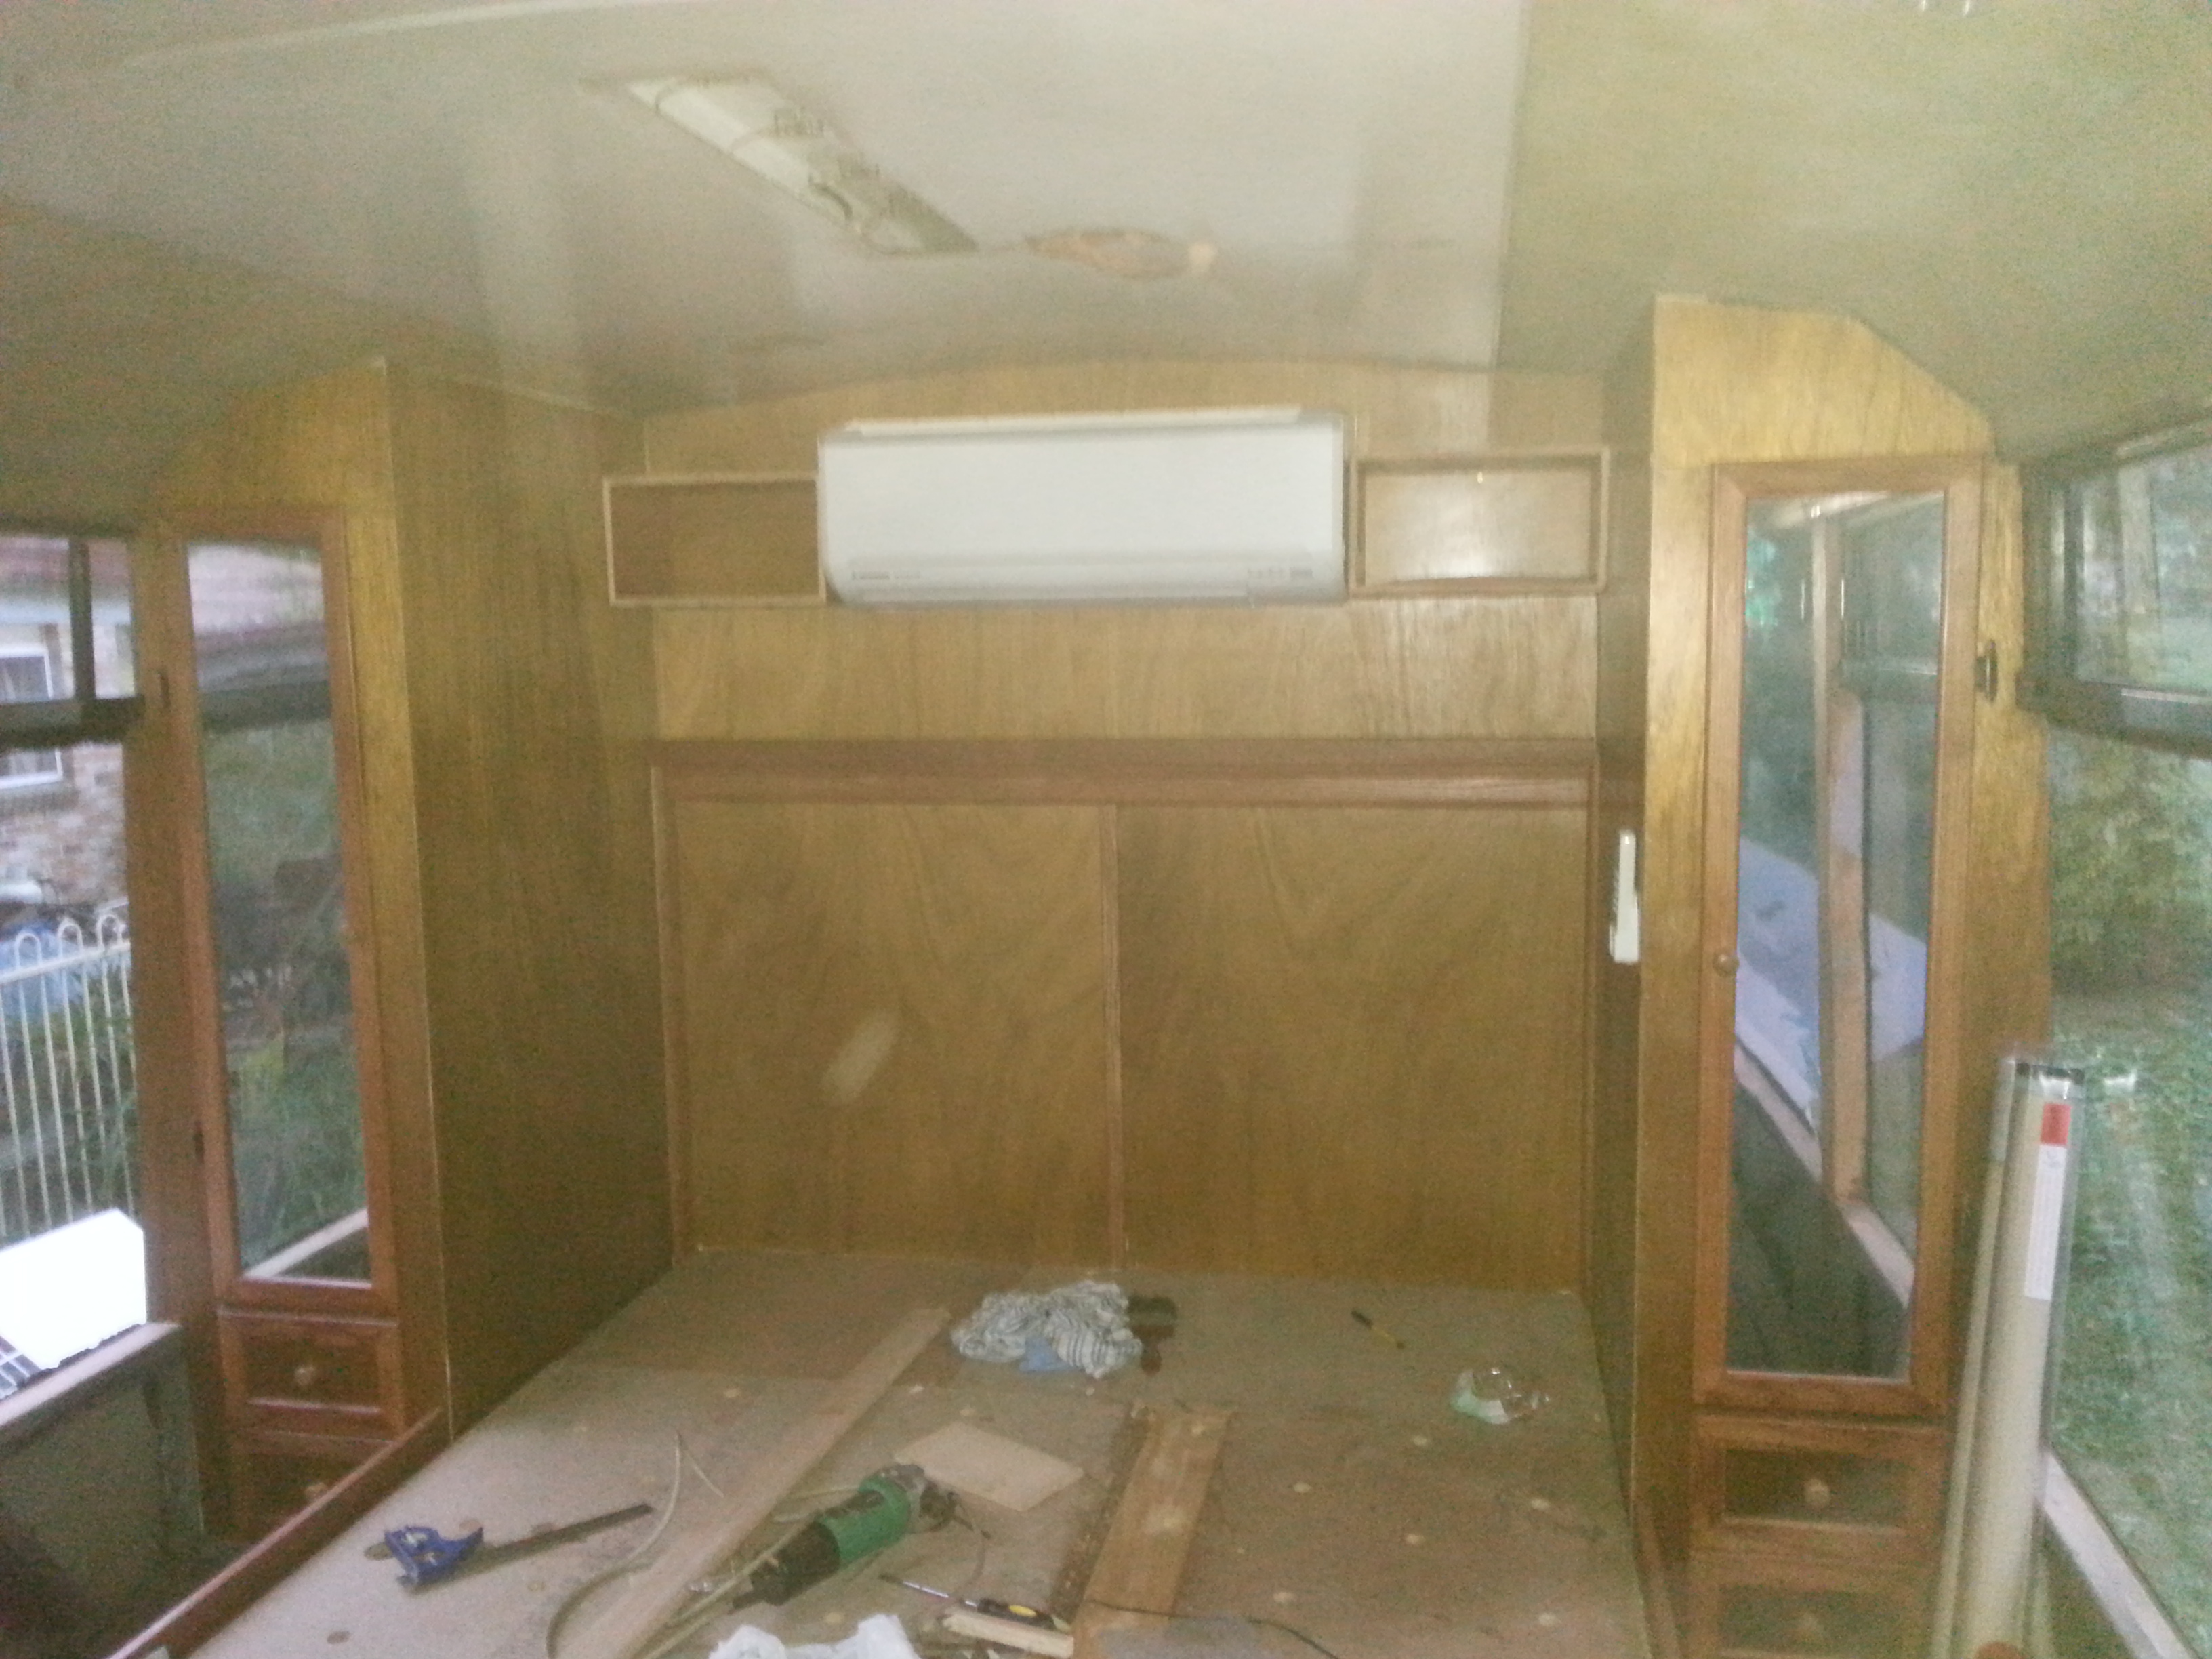
Bedside Cabinets & shelf finished only the roof mounted TV to go.


I am really impressed by all your hard work Chris – well done !